Can I call this a tutorial-ette? Because it’s too easy to be a tutorial. That seems like too big a claim. And I won’t claim ownership. I haven’t seen it, but I’m sure it’s been done. It’s all been done, right? But I thought I’d share what I just made because I love it. And now I’m an ornament factory. Would you like one? Send me your address. That’s how much I like making them. Uh, well, I like making them, but me and the mail…. it could take a few years for you to get it. I retract the offer. Sorry.
All you need are:
– small photos
– vinyl
– scrap fabric
– scrap ribbon
– fusible adhesive, the strongest kind
– fabric markers, if you want to add names, dates, etc.
Start by using this:
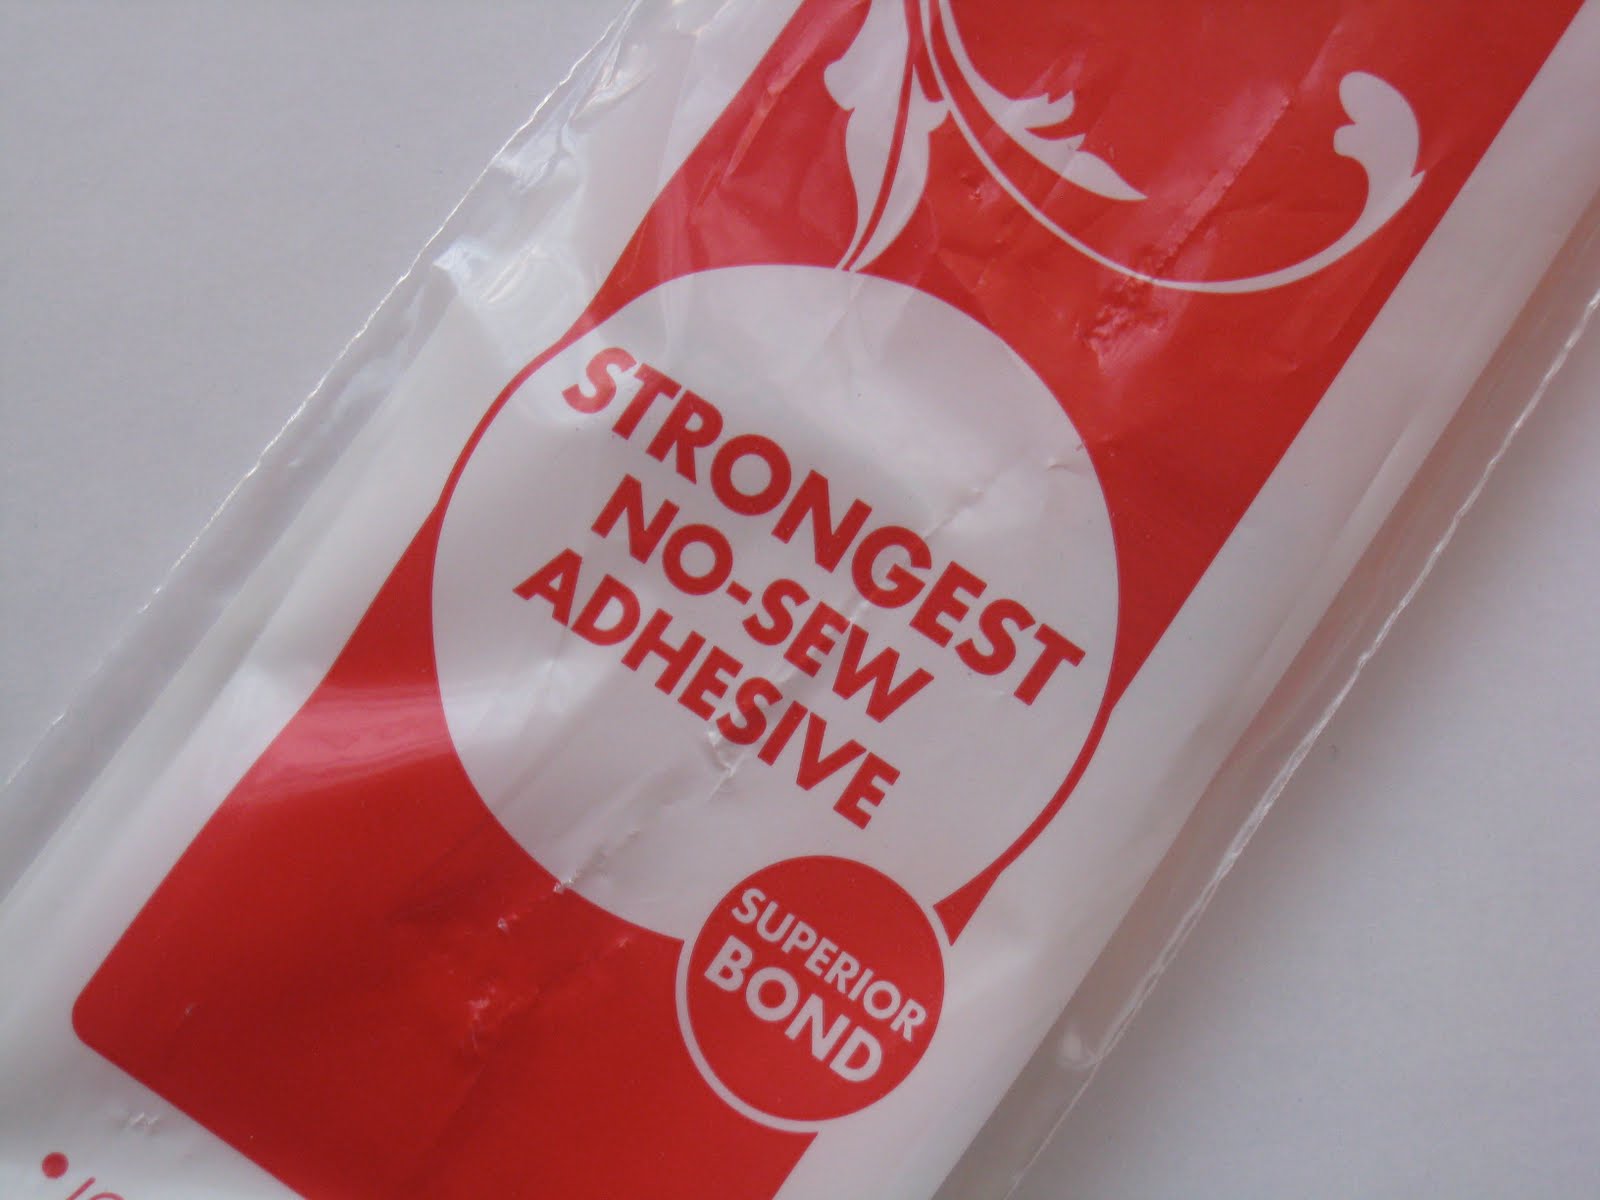
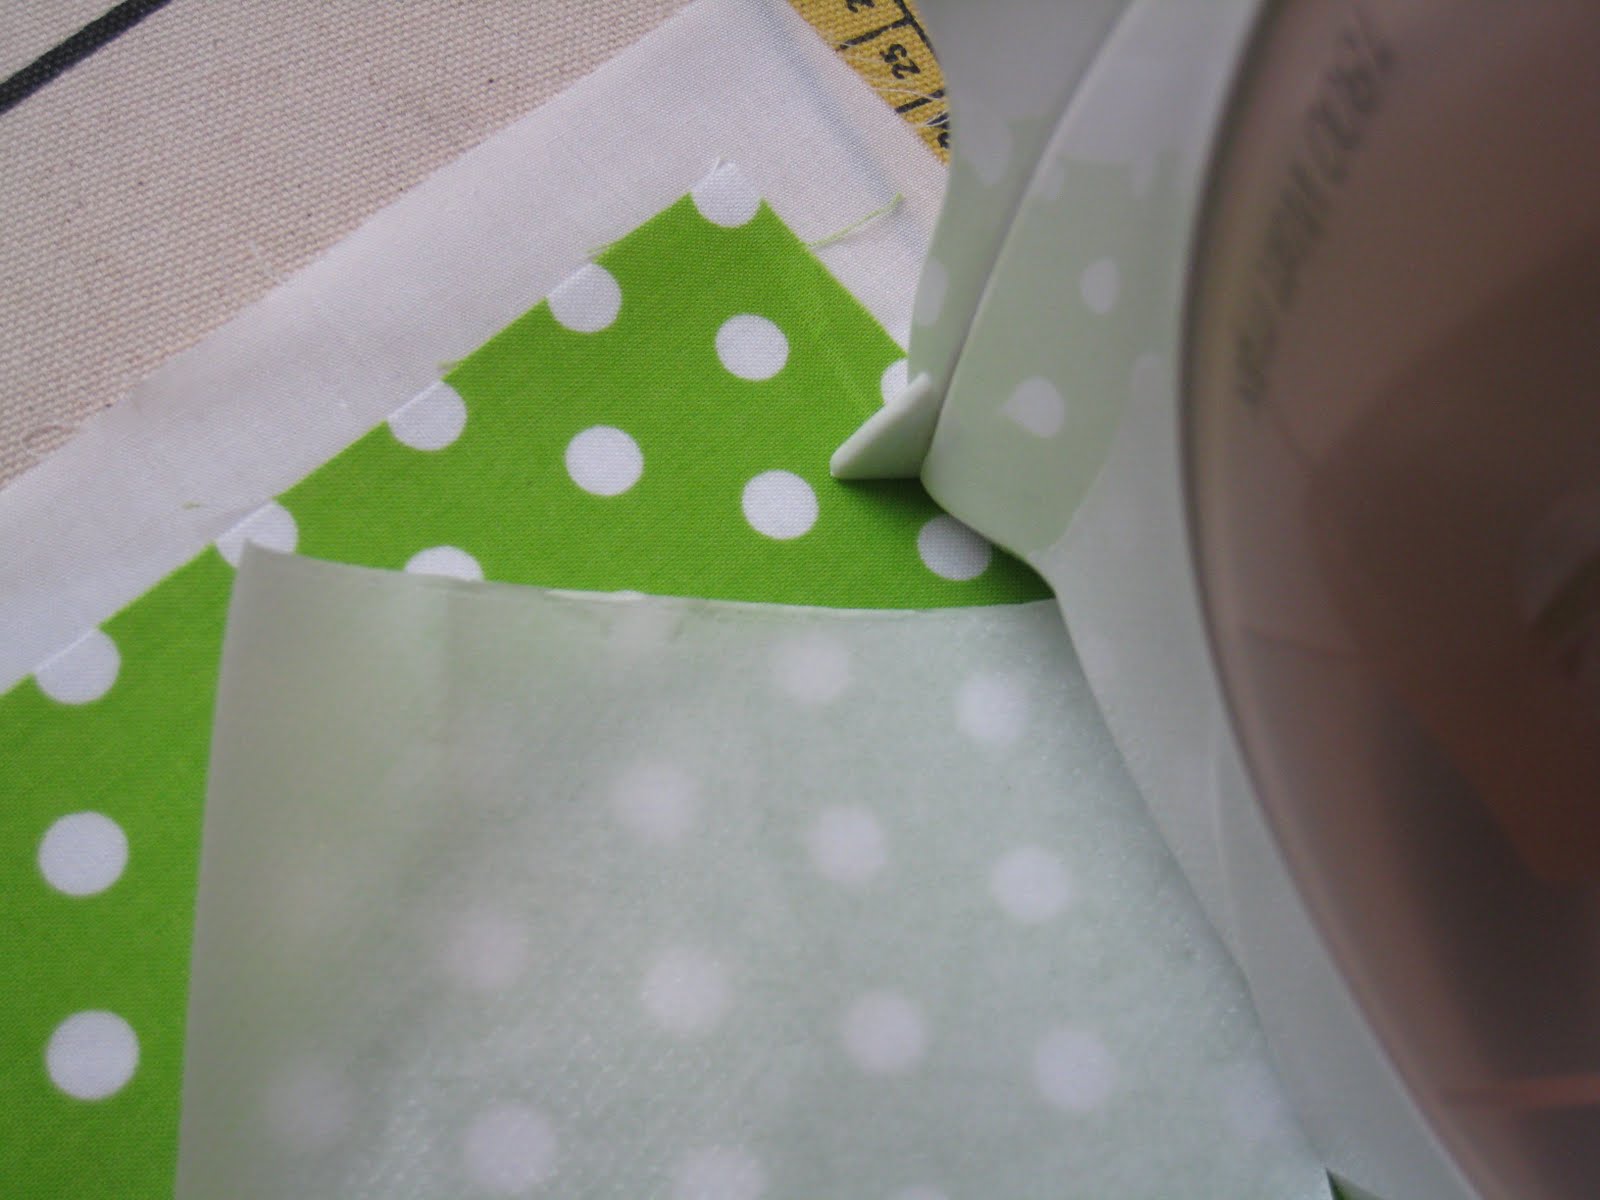
and fuse your fabrics together. These fabrics were ones I used for another set.
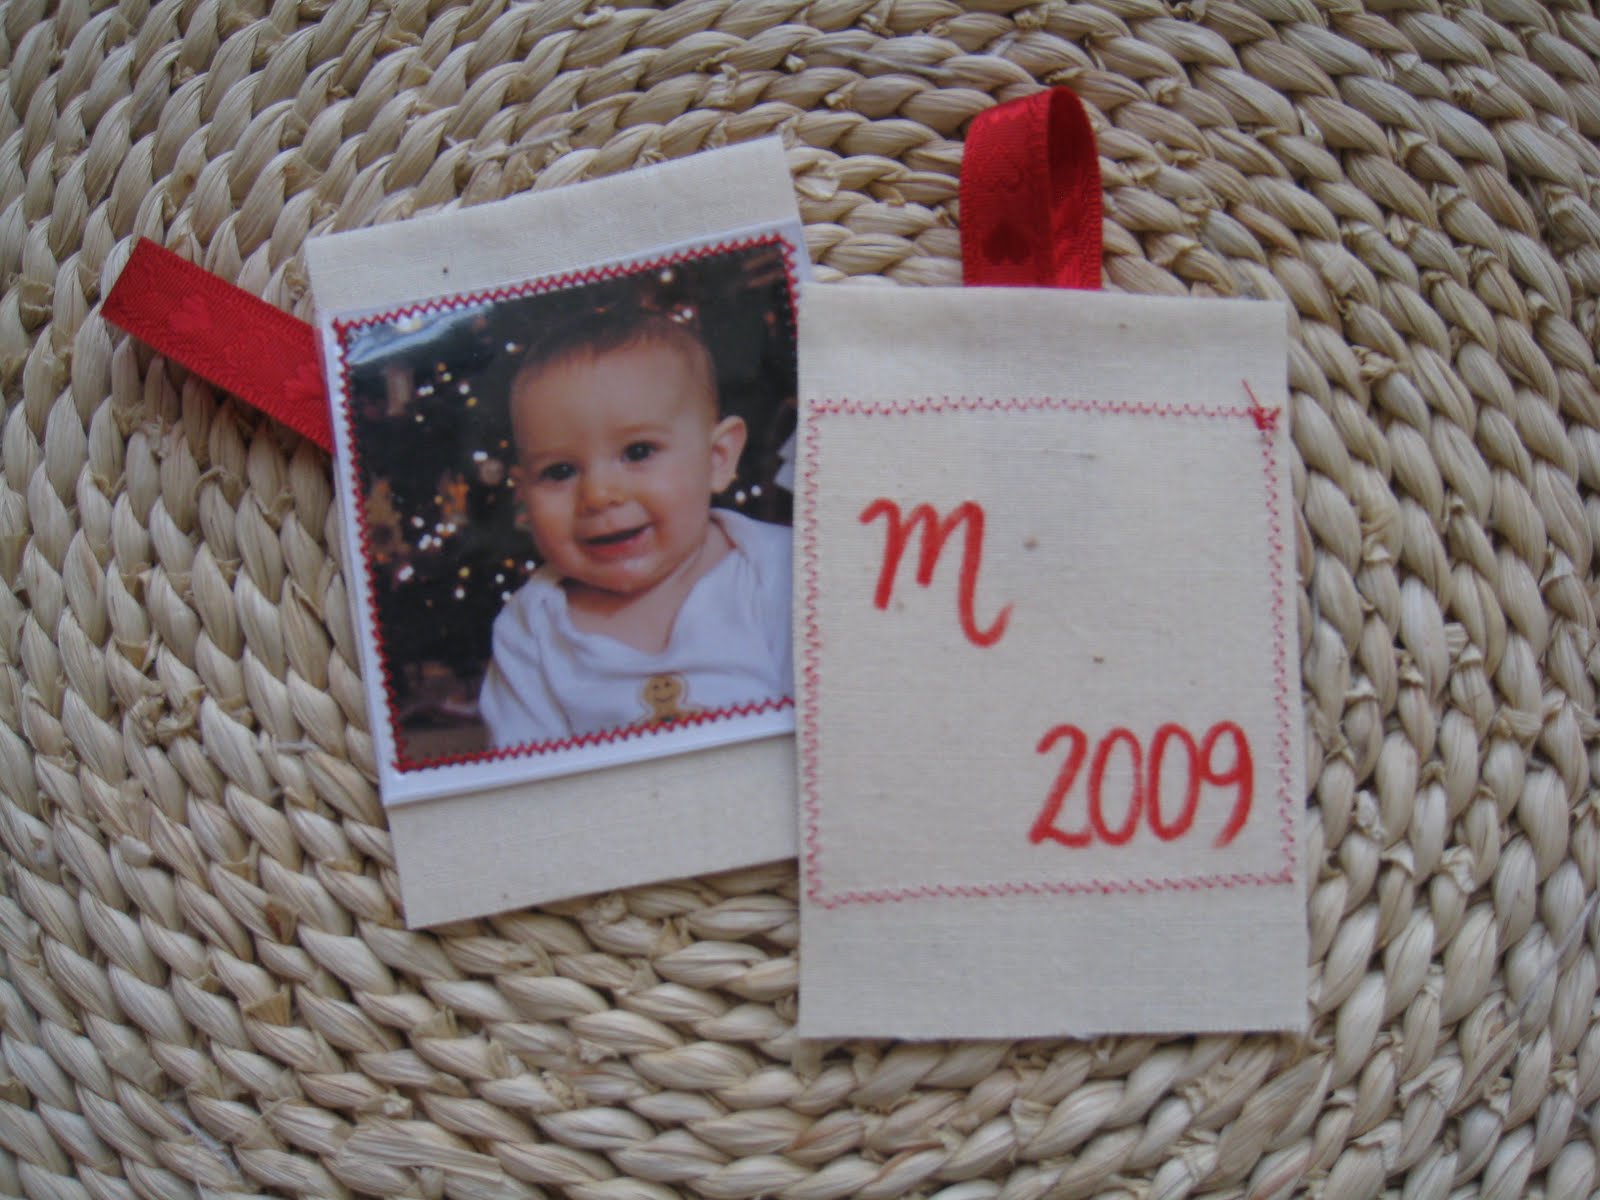
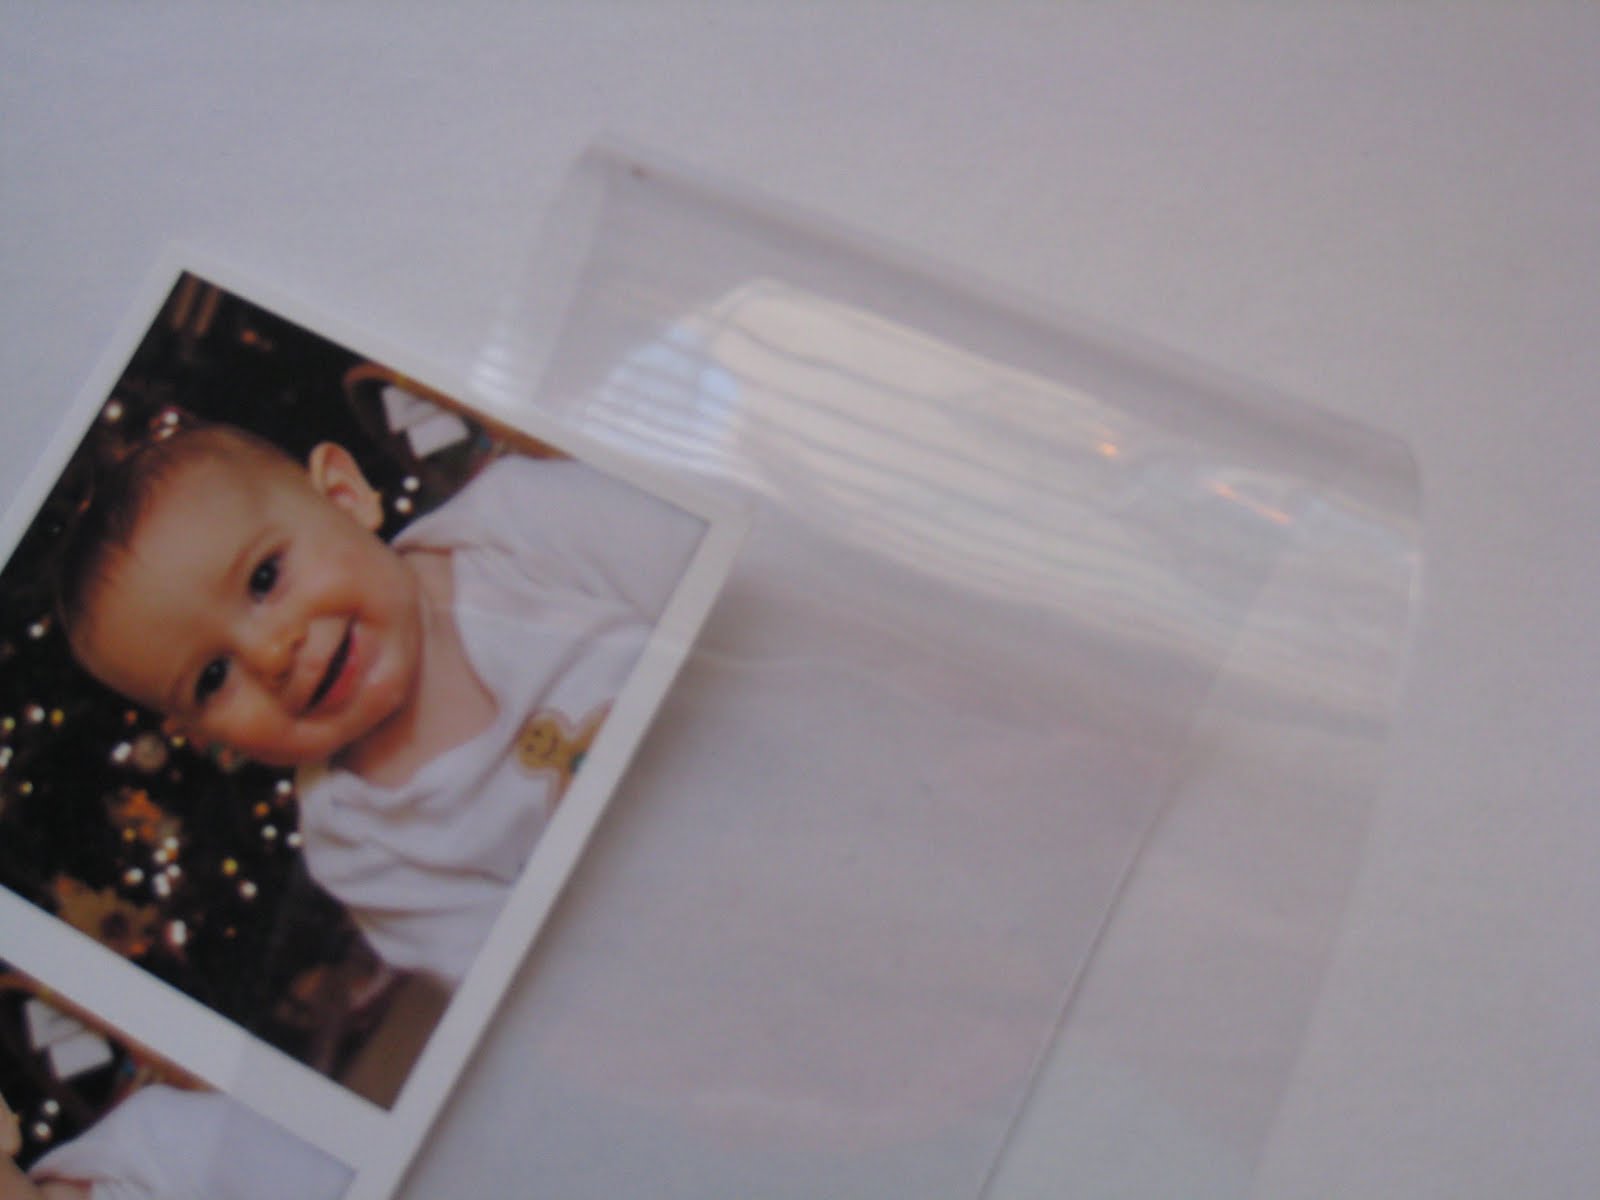
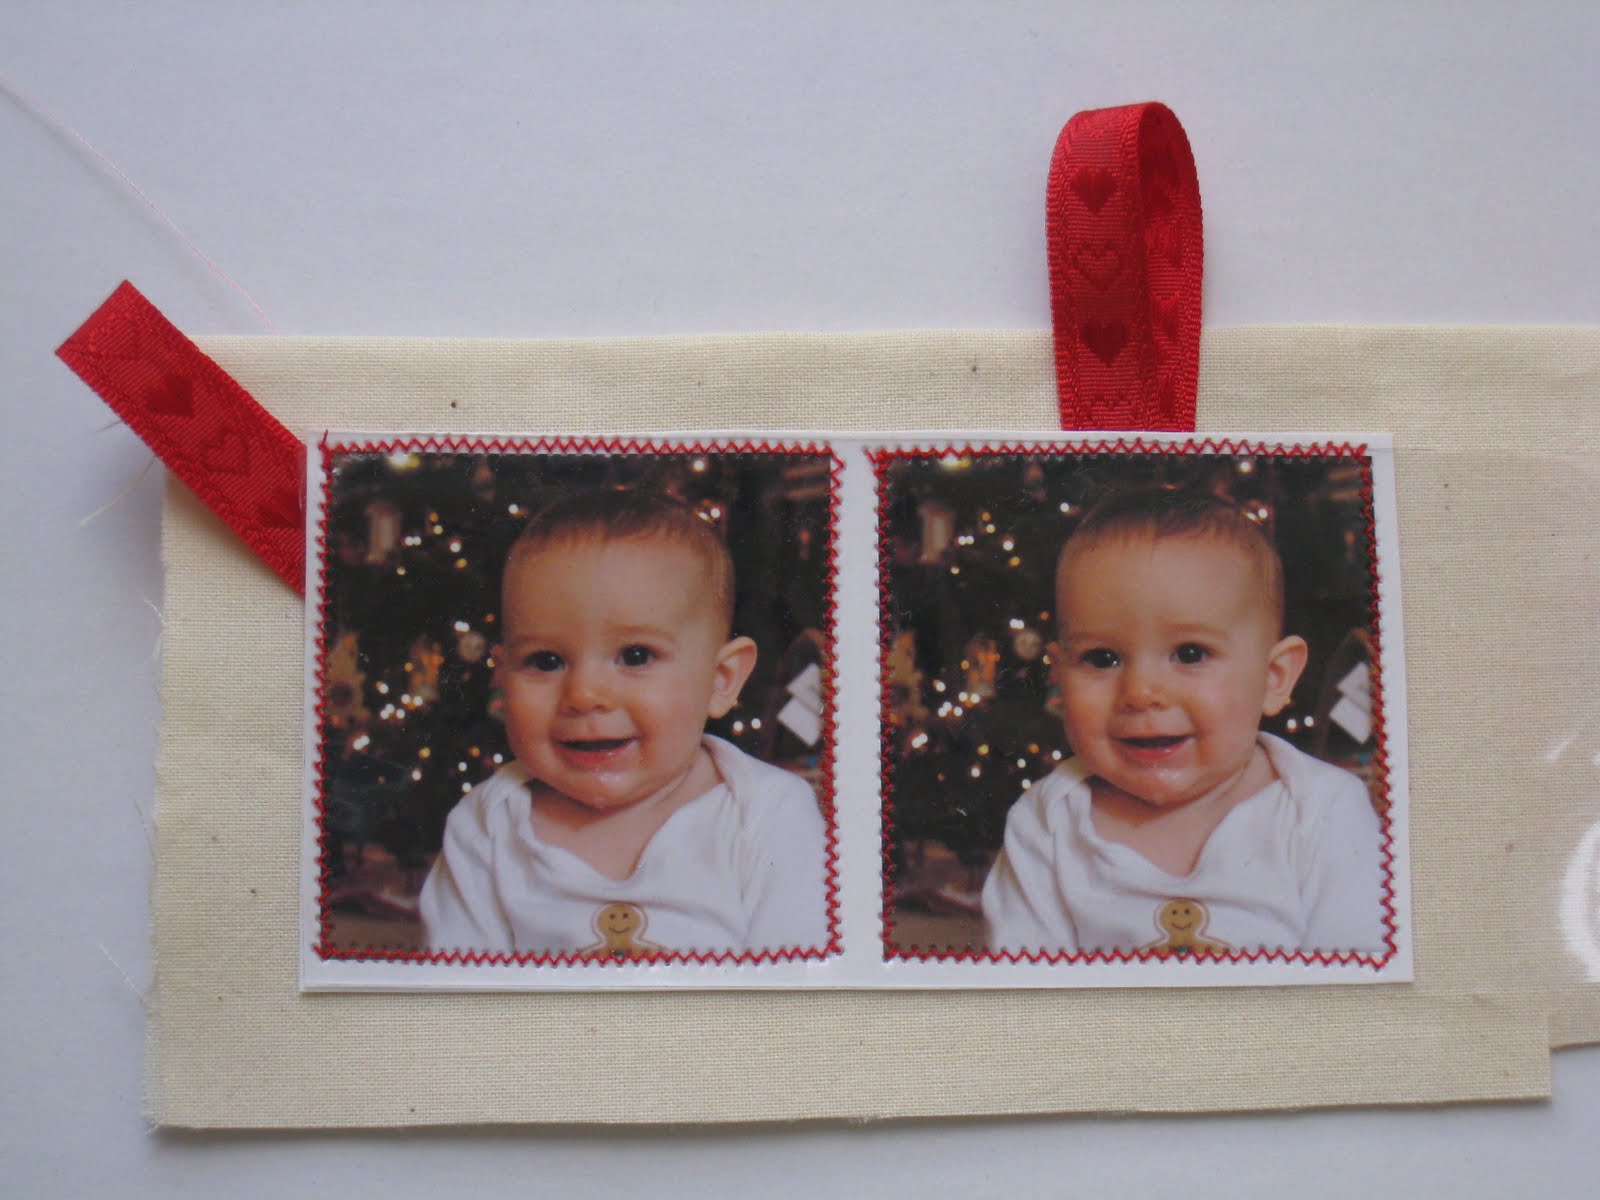
Trim down your photos. Mine are 2 x 2. I like to work with 2 or 3 at a time, so I cut them into strips.

Trim strips of vinyl to match the height of your photos.
Lay the photo and the vinyl on top of your fabric and stitch around the photo. Stitch just inside the photo, or just outside. With a straight stitch, with a small zigzag, with a funky decorative stitch, whatever. So many ways to do it.
Shove the hanging loop in underneath the photo as you stitch one of the edges of your photo to the fabric. Unless you want to attach it separately and embellish.
I didn’t have to use any paper on top of this vinyl. It slid right through without sticking.
Trim down the edges. No need to finish them because the fusible interfacing limits the fraying. Add a note, names, the year, something funny on the back with a fabric marker, if you like. Or embroider it before you fuse the fabric. If you want to get all wild and crazy.
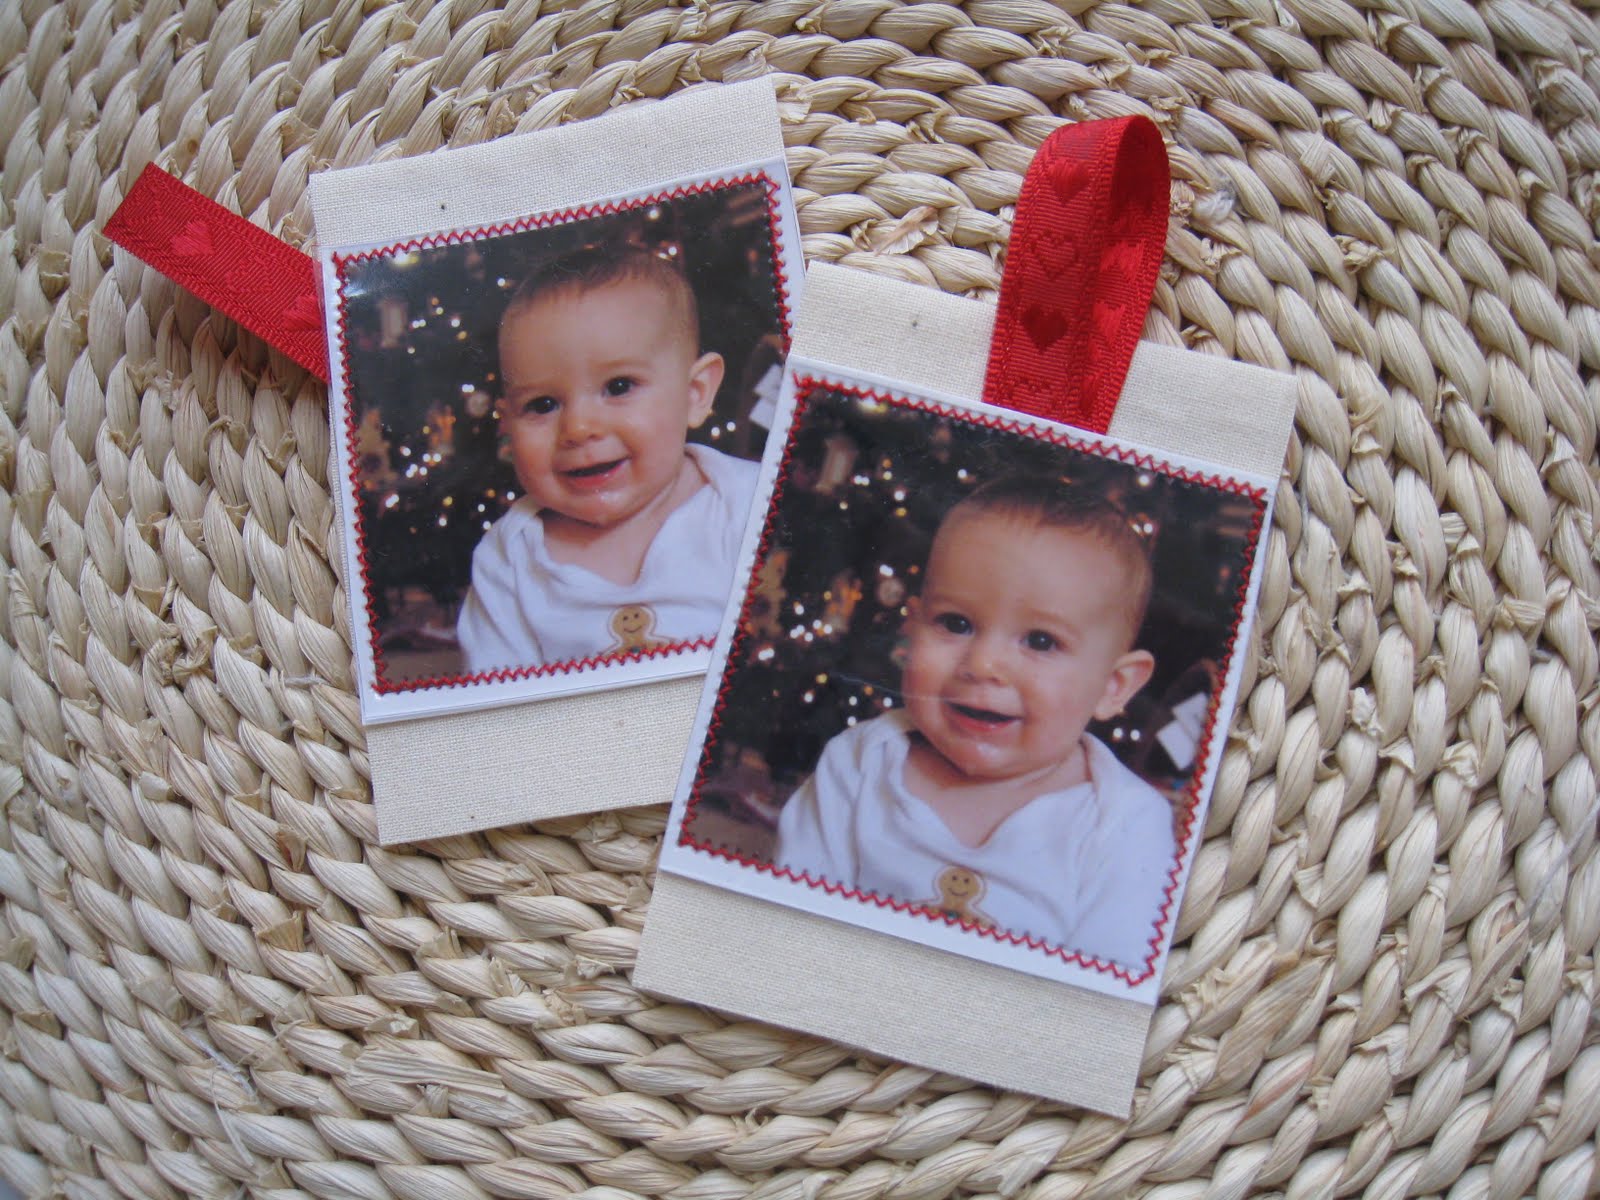
Hang it on your tree or give it to the grandparents to freak out over. Make lots for your friends with your favorite photos of them. But don’t make any for Adrianna. That girl is picky, picky, picky about photographs.

Great idea!! Grandparents would TOTALLY dig this!
I featured your tutorial on Craft Gossip Sewing:
http://sewing.craftgossip.com/tutorial-fabric-keepsake-photo-ornaments/2009/12/21/
–Anne
Just today I wrote on a list for 2010 that I wanted to find a way to make ornaments for the families that send me a photo card…saving this!