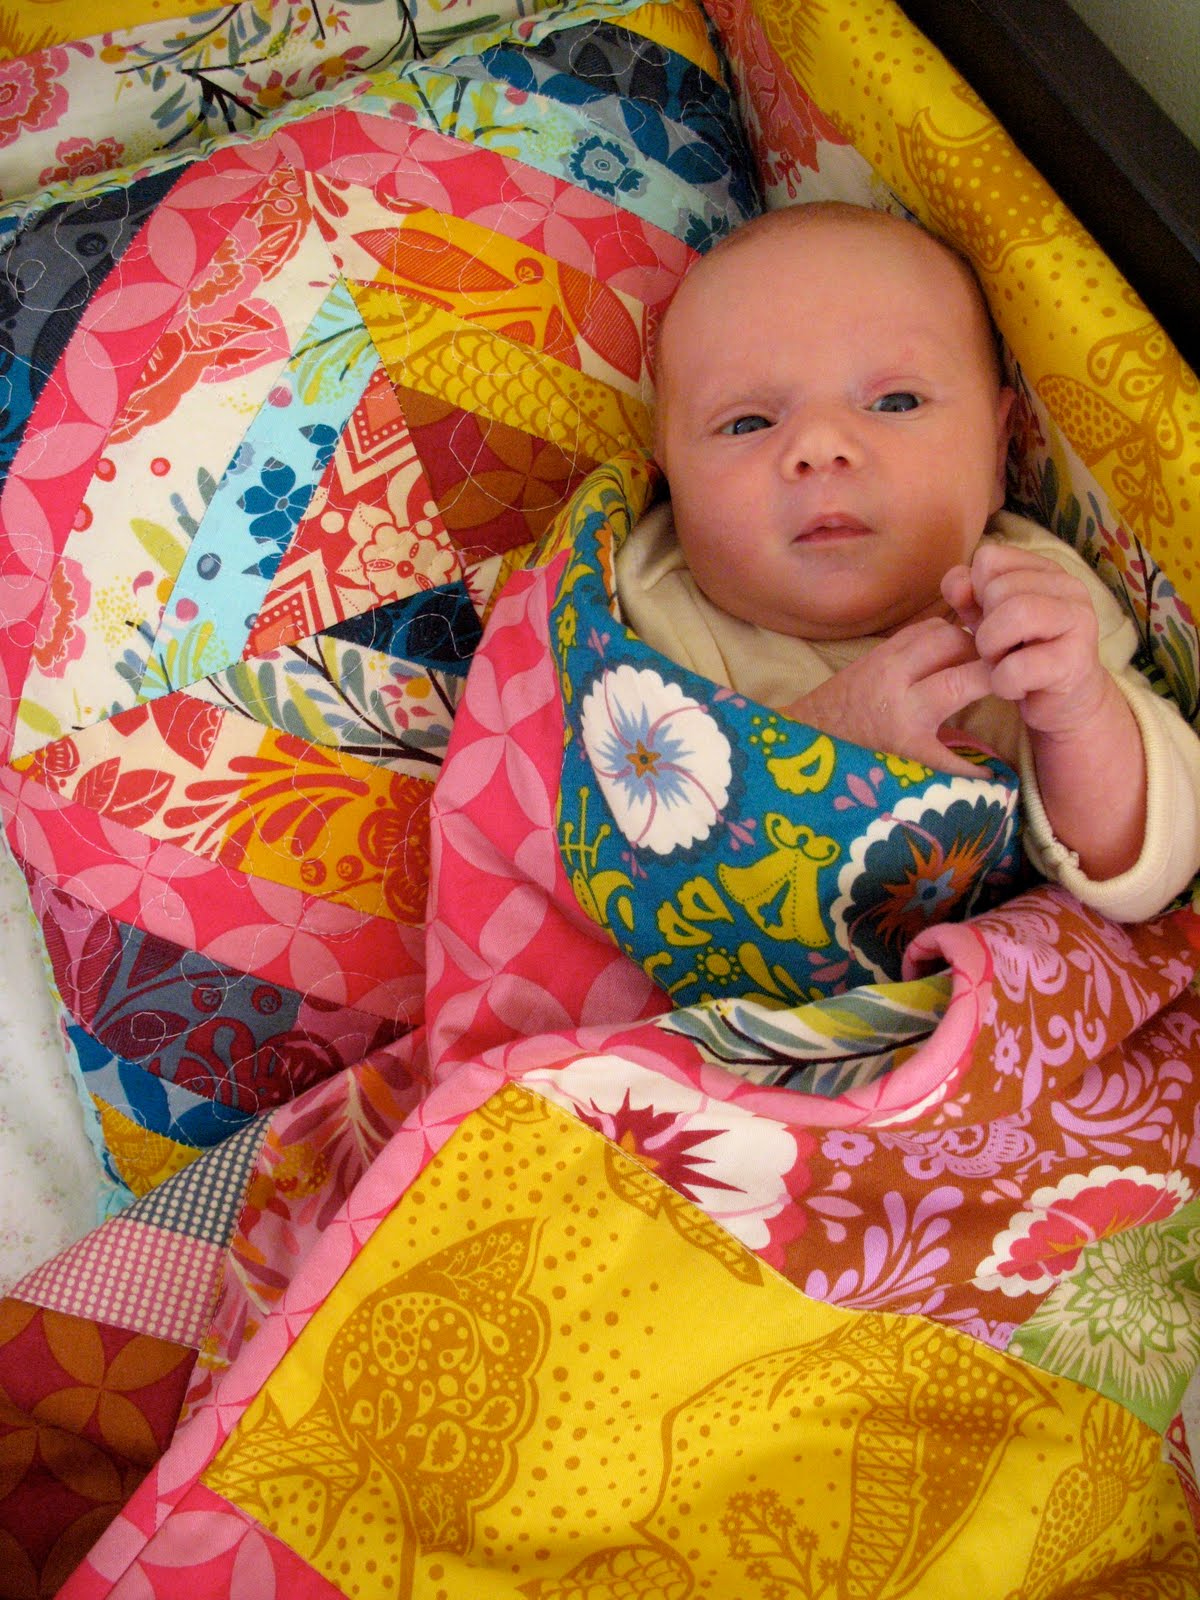
Aaaand now the third and final installment of “Good Folks Having a Baby”! But before we get into the last serving, we thought you might like to see the Good Folks for good folks… with new baby Aubrey checking it all out! (We think she looks a bit confused. Nice, warm, serene environment, and then THIS! Whoa! We don’t blame you, Aubrey. It is a feast for the eyes, to be sure.)
Hi, there! I’m Stacey and I’m guest blogging today from Boy, Oh Boy, Oh Boy Crafts. I’m joining the Crafterhours club today in order to bring you the third installment of coordinating baby gifts for our friend Kyra. My contribution is a strip quilted pillow that was made using the paper piecing method. If you’ve never quilted before this is a great technique for beginners. For the pillow, I cut four 7 1/2 inch squares from cheap copy paper (freezer paper also works well) which I have lying around in endless supply– since my 3 year old tends to draw very small pictures and then move on to another piece of paper. If you have a nice supply of scraps this is a great project for whiling them away.


I glued the first strip to the middle of my block (diagonally on the square) using a glue stick, turned my next strip so the fabrics were right side together and stitched with a 1/4 inch seam allowance. I continued adding strips, alternating sides until the square was covered in fabric. Once all four blocks were complete, I turned each square fabric side down on my cutting mat and using the paper as a guide, cut off the excess fabric with my ruler and rotary cutter. After the cutting of the block, you can then tear away the paper backing. If you fold along the perforations that are made by the stitching each piece should tear away quite easily. After the block was sewn together a 1.5 inch border fabric was added to the large square. I backed the quilt top with batting and quilted the top using a meandering loop pattern.
An equal sized, coordinating square of fabric was used for the back. I sewed right sides together around three sides, turned the the cover right side out, slipped the pillow form inside and whip stitched the remaining side. Voila! Pillow was done!
I sewed a cute little baby doll blanket for a big sister present so she would have something in this great fabric and decoupaged a picture frame to add to the package. Overall, three quick handmade projects that I hope add to the excitement of the new baby’s arrival.

I hope you’ll stop by Boy, Oh Boy, Oh Boy Crafts sometime!
Stacey
Oh my gosh, I’m in love! What an adorable combination for a picture. Beautiful baby and beautiful fabric. So lovely! Anna Maria Horner is my favorite! Great job, Stacey!
Lovely fabric:-)