Yay, we’re finished with that stuffy boring pattern-making stuff from yesterday and ready to get cutting! Grab your cutting mat, rotary cutter, pattern pieces and fabric. I suggest something medium to heavy weight. I used twill because I had it on hand, but I think a textury, bumpy wool or plaid would be super fun.
First cut out your hat band pattern. Place the edge of the pattern on the fold of the fabric.

Now cut the oval top pattern. First fold your fabric up like this:
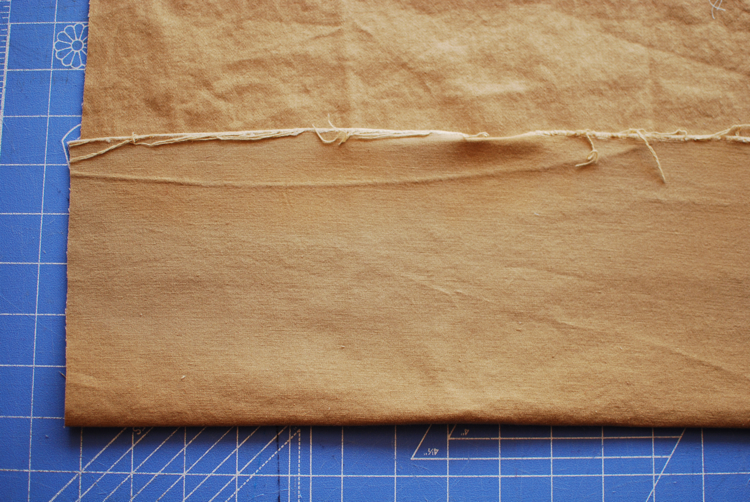
Now fold it over like so:

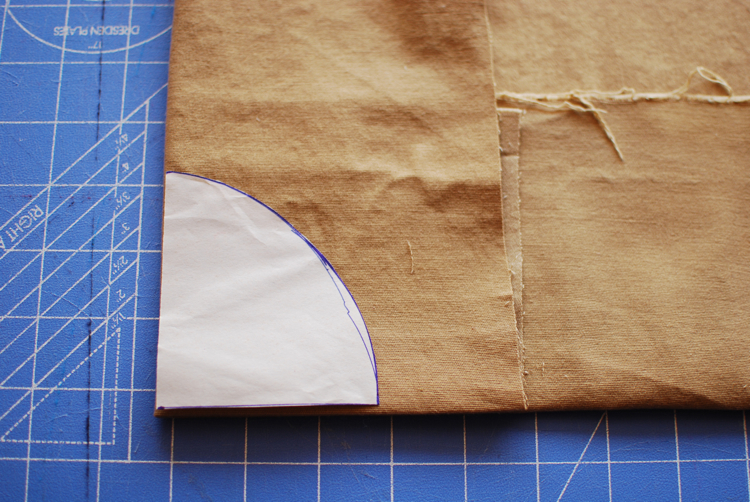
Now place your pattern so it lines up with both folds and cut around that curve.
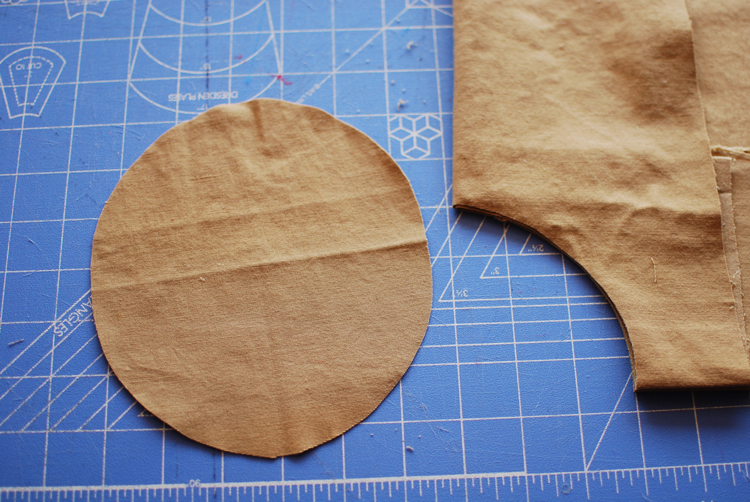
Voila, a perfect oval!
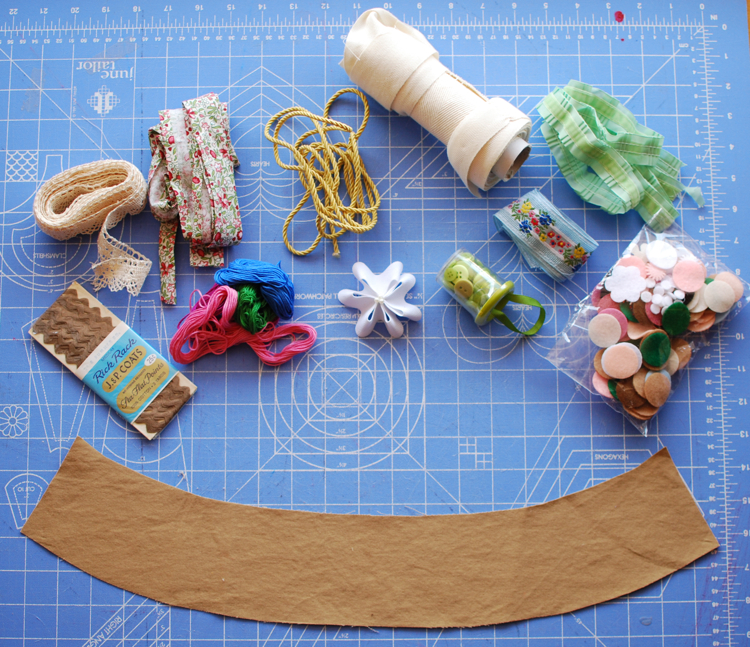
Ok, now for the hardest part of this whole hat construction business: deciding how you’re going to decorate it. I basically emptied my whole “ribbons and stuff” drawer onto the floor and started playing.
Here’s just a teeny tiny list of possible decorative materials:
-lace or crochet trim
-bias tape
-ric rac
-cording
–twill tape (plain or custom printed!)
-ribbon
-buttons
-embroidery thread (make big stitches, outline a feature, or stitch an actual design)
-felt shapes
-fabric flowers
-applique
-freezer paper stencil
-patches
Hm, just playing around with some options…
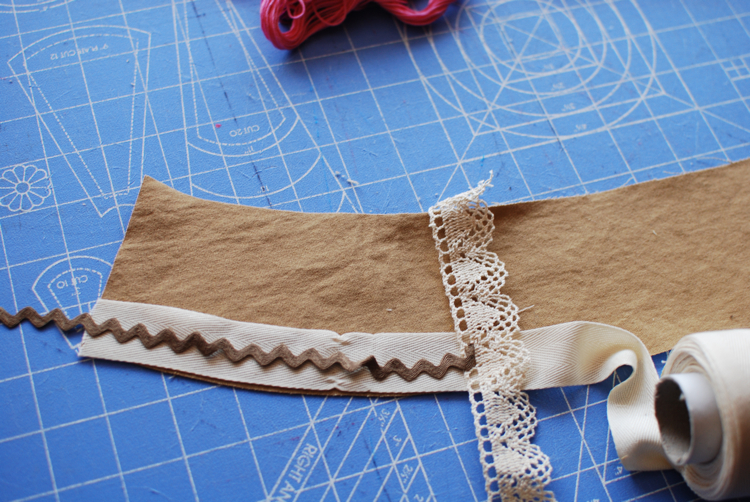
I finally decided to go with a feature that I really like on my mom-sized store bought hat. First I sewed a length of twill tape around the bottom. Make sure, if you’re going to make this type of band at the bottom, that you sew it at least .5″ up from the bottom edge. That part is going to be tucked up as a seam allowance later, so anything on it won’t show.
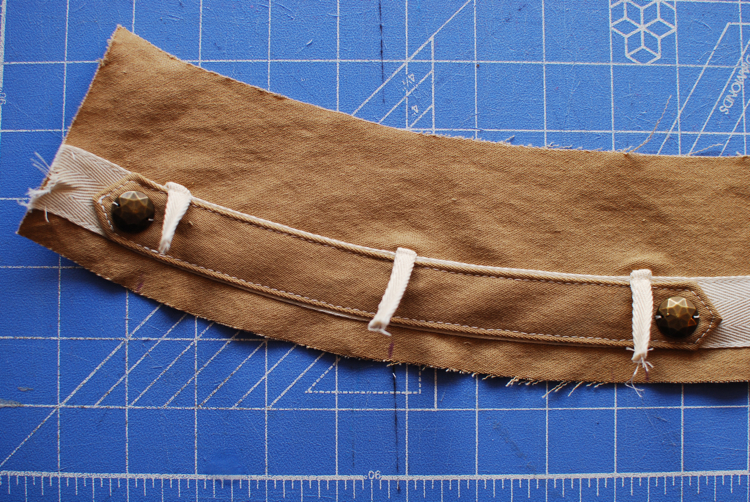
As I was sewing the twill tape down, I inserted short lengths of folded twill tape “belt loops”. Then I made a little “belt” with my twill fabric and secured it on both ends with a decorative button. As you can see, I put this little feature close to the edge. You can put the seam of your hat where ever you want, but I decided to put it on the side, so that little belt feature is actually front and center. Pay attention to placement if you want to center something above the bill.
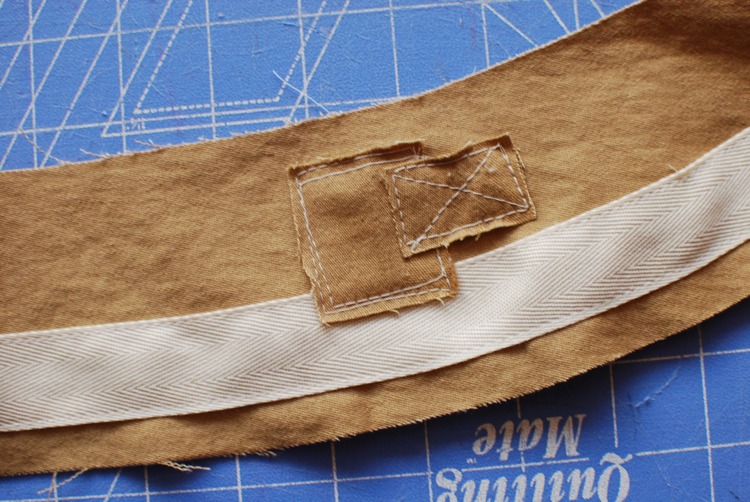
I added a couple of completely practical and functional patches.
And then I decided I was done for this one. Wanted to keep it nice and simple and neutral so it would match everything she wears. But I’m planning a crazier version for next time! When you decide you’re done, you can go ahead and sew the band right sides together. I decided to insert a short length of crochet trim as I did this as a little accent and to disguise the seam.

Now sew the oval top to your hat band, right sides together. This might take a little pinning and finagling, since you’re stitching a curve to a straight edge, but go slowly and keep the edges lined up and you’ll be fine. If you end up with a small little tuck or gather, don’t sweat it. My store-bought hat has a little tuck in it too. If it’s good enough for Target, it’s good enough for me.
Now you’ll need to pull out some lighter weight fabric for the lining. Make it match, or put a crazy print in there for a little surprise.
Cut out another band and oval from your lining fabric and stitch them together the same way you just did for the hat. BUT, leave a gap in your stitches as you’re sewing the band to the oval. 3 inches or so is fine. You need this hole to pull it right side out later.
Almost there! Now that you’ve had your fun decorating, come back tomorrow to see how to put the whole thing together!
This is so so so cute! I love it!! I linked to your tutorial at Craft Gossip Sewing:
http://sewing.craftgossip.com/tutorial-super-cute-military-hat/2011/01/18/
–Anne
I’m actually scheduling my post to go live tomorrow so I can link out to part 3 as well.
–Anne
I loved this hat!! It’s so cute, and so easy to make!!
I have something to ask… could you pretty please make a post about scraps? storing, scrap size, cute projects with them, and stuff.
because you are my scrap-geniuses, and my scraps are about to eat me alive.
help, please?
love your blog!
jesuisavantgarde(at)gmail(dot)com
Love the decorative touches you did on this one – that belt with the twill tape is so cute!! Can’t wait to see the crazy version too. :)
I. Cant. Wait! ~tai @ taidye original
This is literally one of the cutest things I have ever seen. Wow!