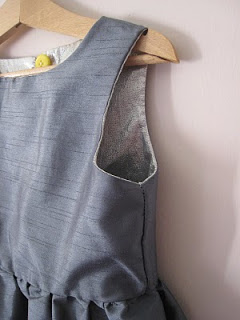
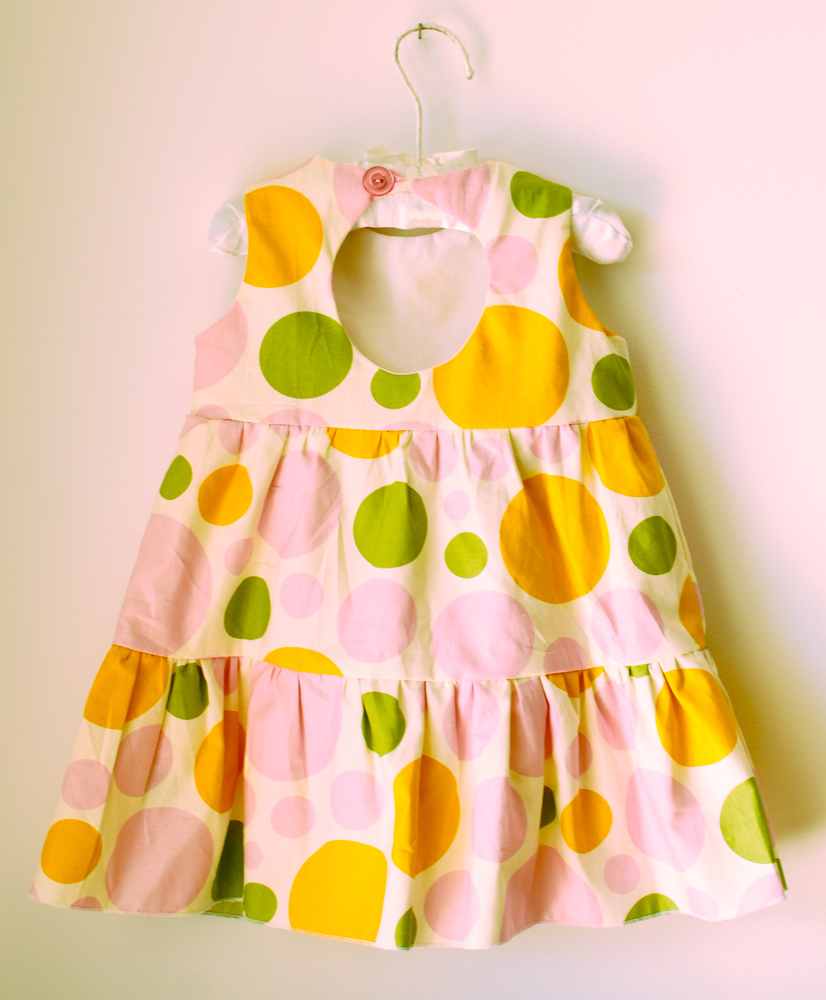
After my previous tutorial for all-in-one facings, Amanda from Kitschy Coo commented and said she had another way of doing it. I was very excited because a) I’m a long time follower of her blog and a big fan and b) it took me long enough to figure out how to do it my way to begin with that I could not even fathom there was a way I hadn’t figured out.
But there is. And, dare I say, it’s SO obvious (now that I know about it, of course) and much easier than the way I showed you guys earlier. Well, at least I think it’s easier. But that could be because I’ve done it my way 3 times this week and I’m tired of it.
After a few emails where she very kindly showed me how she does it (and I felt a bit like James Bond being entrusted with the secrets of a nation), she volunteered to do a tutorial. So, you lucky readers you, go check it out. Tell her “thanks” from me.

Her patterns are great! Hilarious blog stories as well =)
Very nice tutorials, both of you! I’ve read through both and realize that the difference in your techniques is based on the kind of bodice you’re each working with. If you have an opening up the center back or center front, Amanda’s method works very nicely and easily. However, if you have a bodice with no opening up the center back or front, then your method, Adrianna, is a must. Now there are tutorials to fit both kinds of bodices. Thanks!
My blog, Magpie Shinies, received The Versatile Blogger Award and decided to pass it on to you & your blog! Check out the link below for the award and rules if you choose to accept. Take care and congrats for having an awesome blog!
http://magpieshinies.blogspot.com/2011/03/magpie-shinies-gets-its-first-award.html
Much Love,
Kimberlee
Hey Missy!!
I think I figured out a way to make a bodice that is fully closed. Without a zipper or a button. I have to give it another try and probably make a tutorial for it.
:)