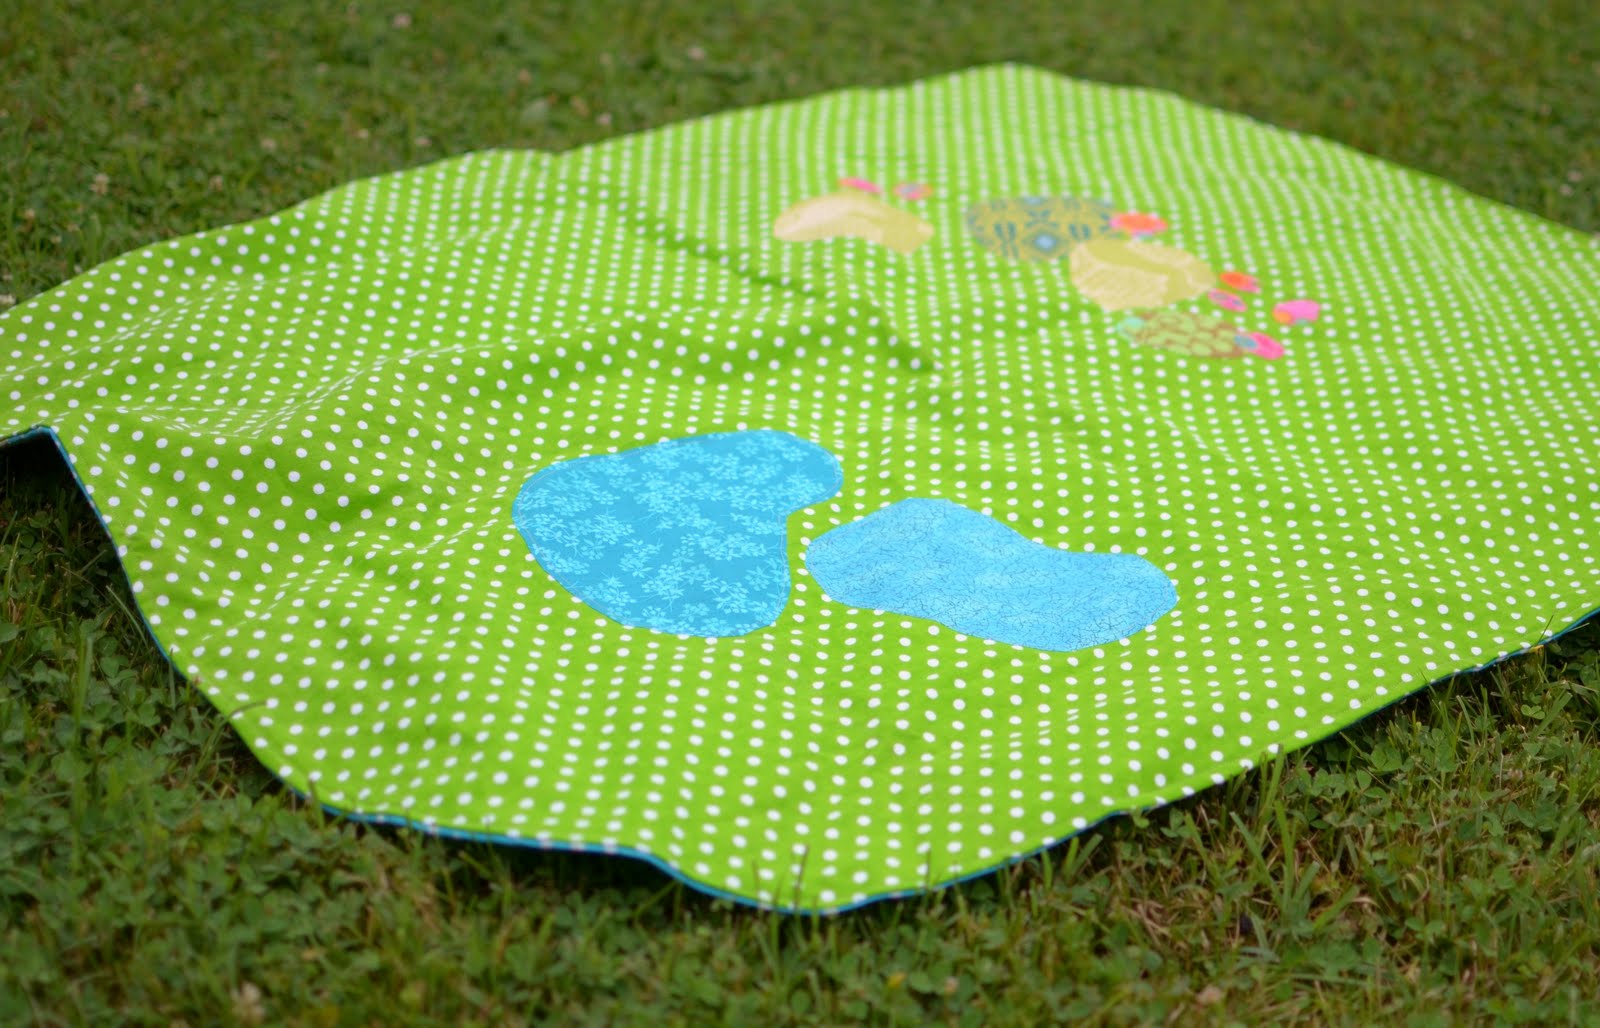
Back when we had just started blogging, I made a play mat for K’s dollhouse. At least… *I* thought it was for her dollhouse. It was a single-sided “lawn” for her dollhouse, with a pool and a garden for her dolls to play. K does use it that way, but she also started pulling it out for all sorts of other imaginative play. She’s grown flowers and vegetables to give as gifts, collected water for her thirsty friends, lounged in the grass on the coldest winter days, and on occasion uses it as a blanket when it was the closest thing to her and she was chilly. And now M is old enough to play, too. As far as a handmade play item, I’d say it’s had the longest active life of anything I’ve made so far.
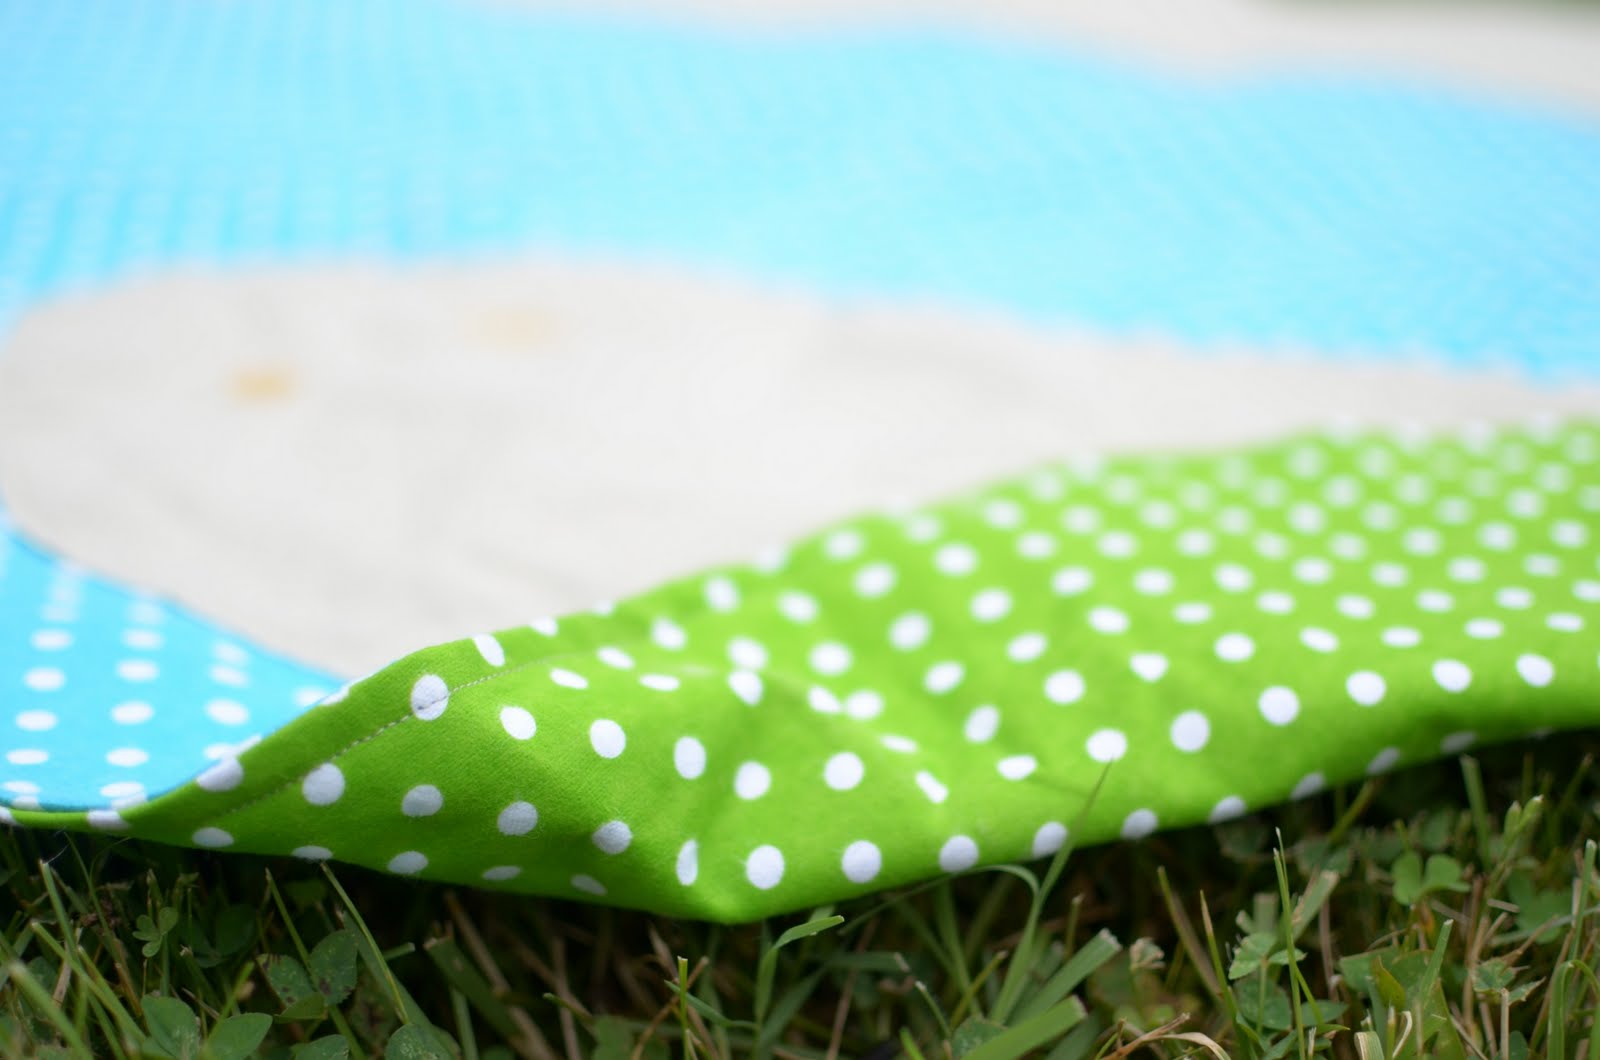
After seeing my girls use it for much more than I’d originally thought, I decided to expand its possible uses and add a “beach” side.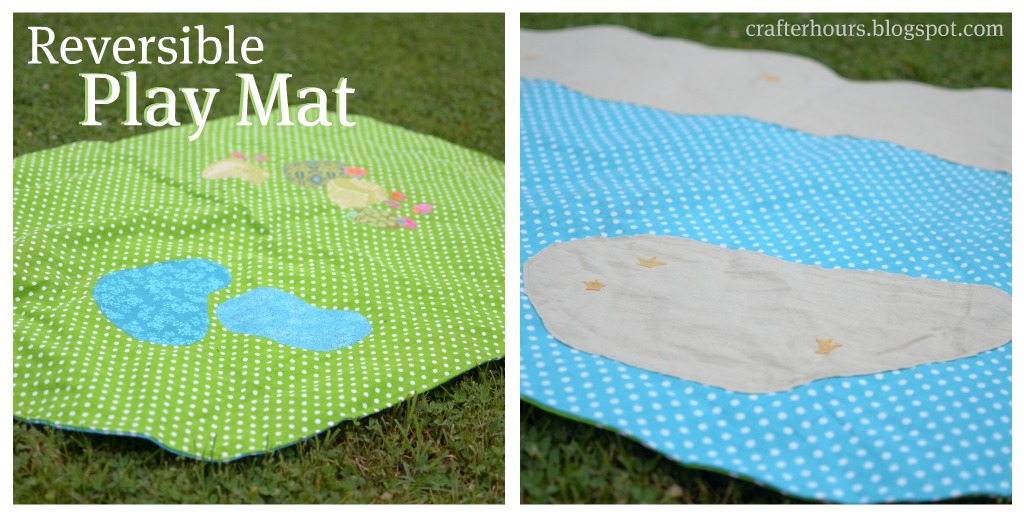
This one I made as a (late! so sorry, so sorry!) gift for friend Alexa as she turned 4.

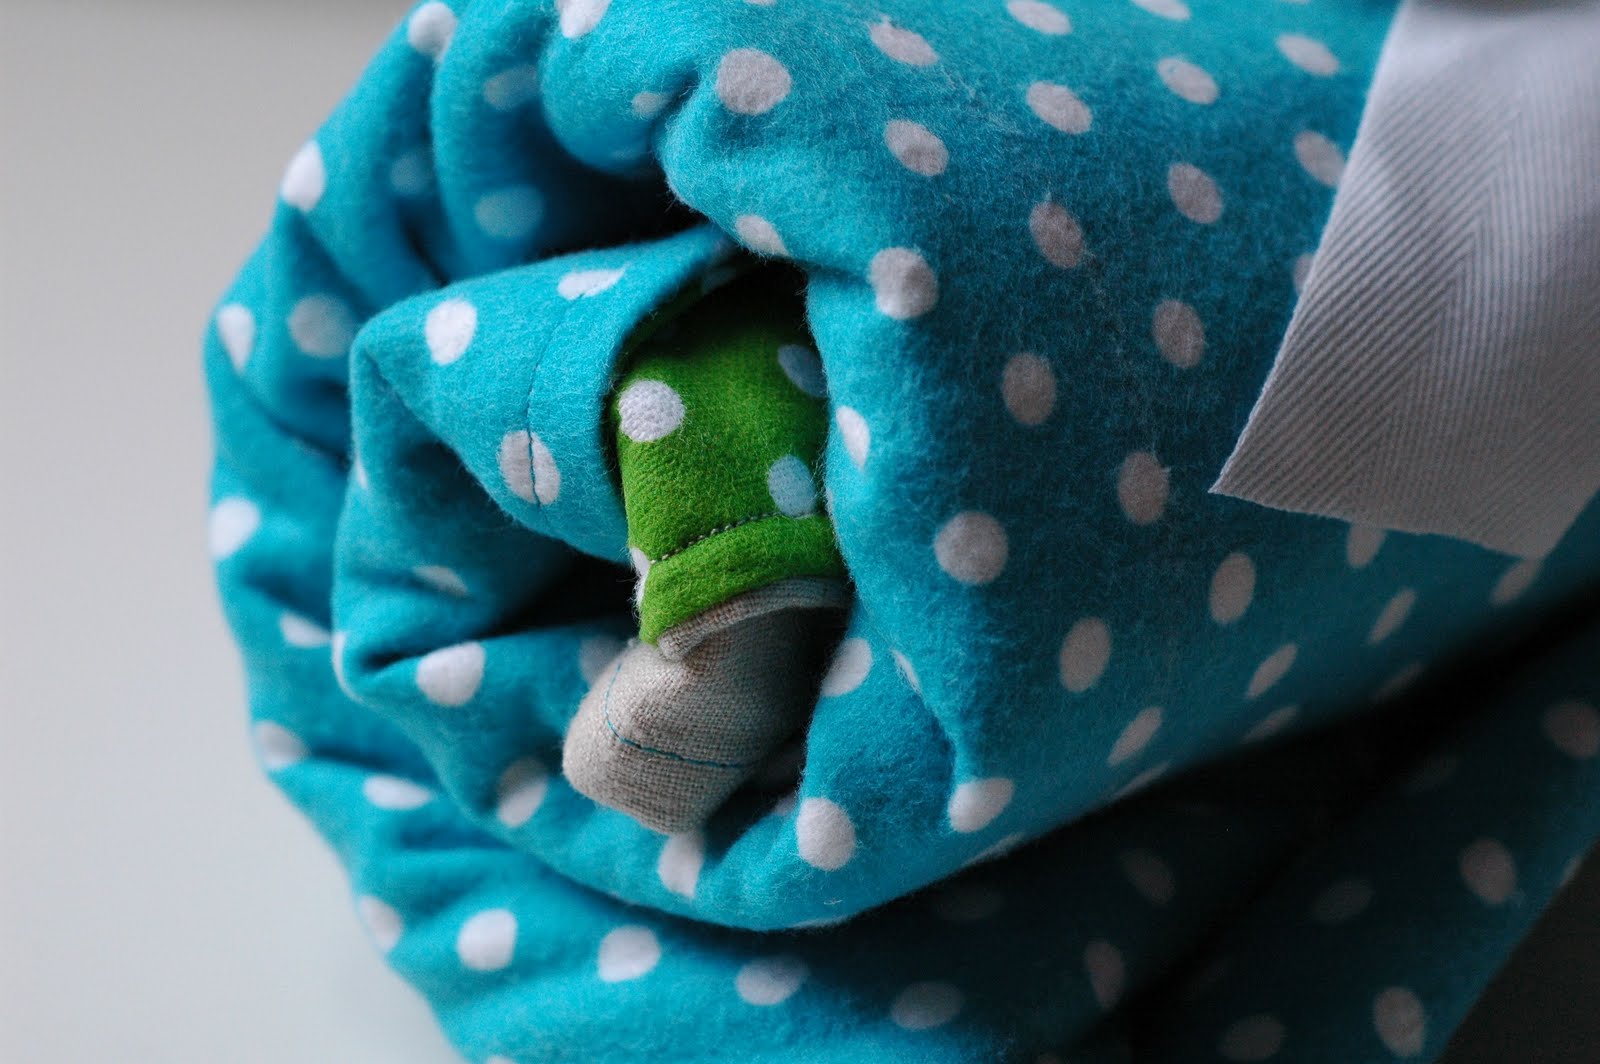
It makes a nice, tidy little package for toting and giving.

- 1 yard of blue background flannel, prewashed
- 1 yard of green background flannel, prewashed
- Heat n’ Bond or similar
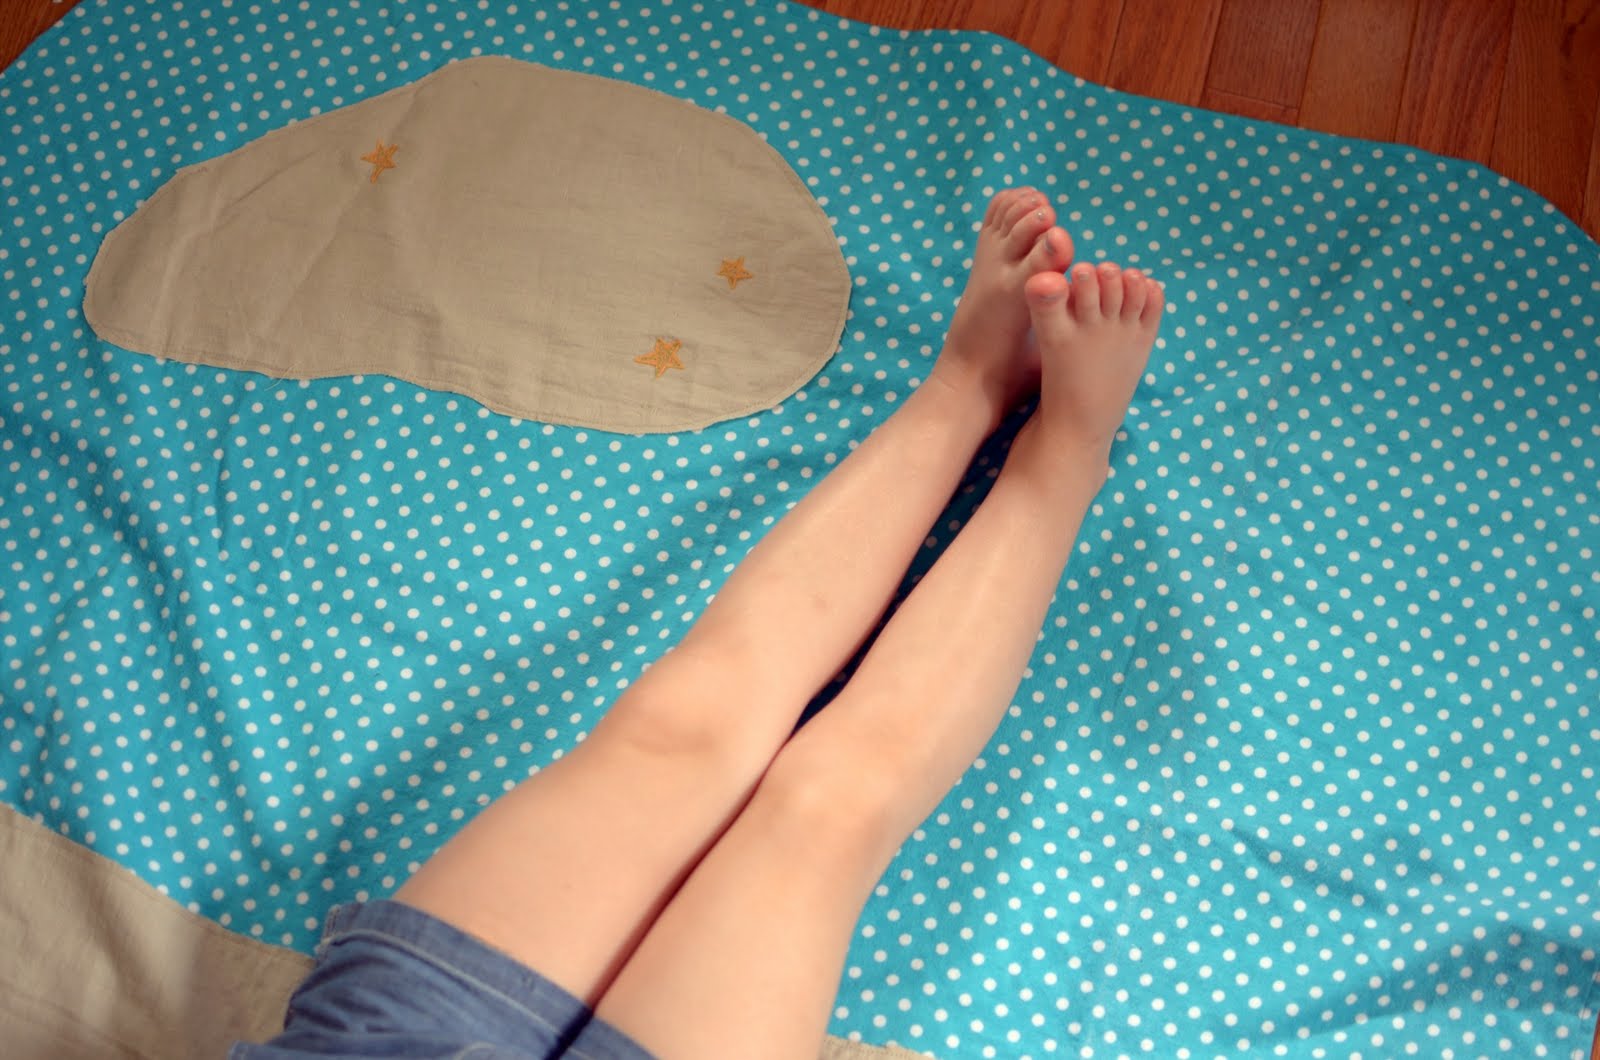
- 1/2 yard or less of sandy-colored fabric (I used linen I had on hand from a remnant buy)
- Colorful scraps

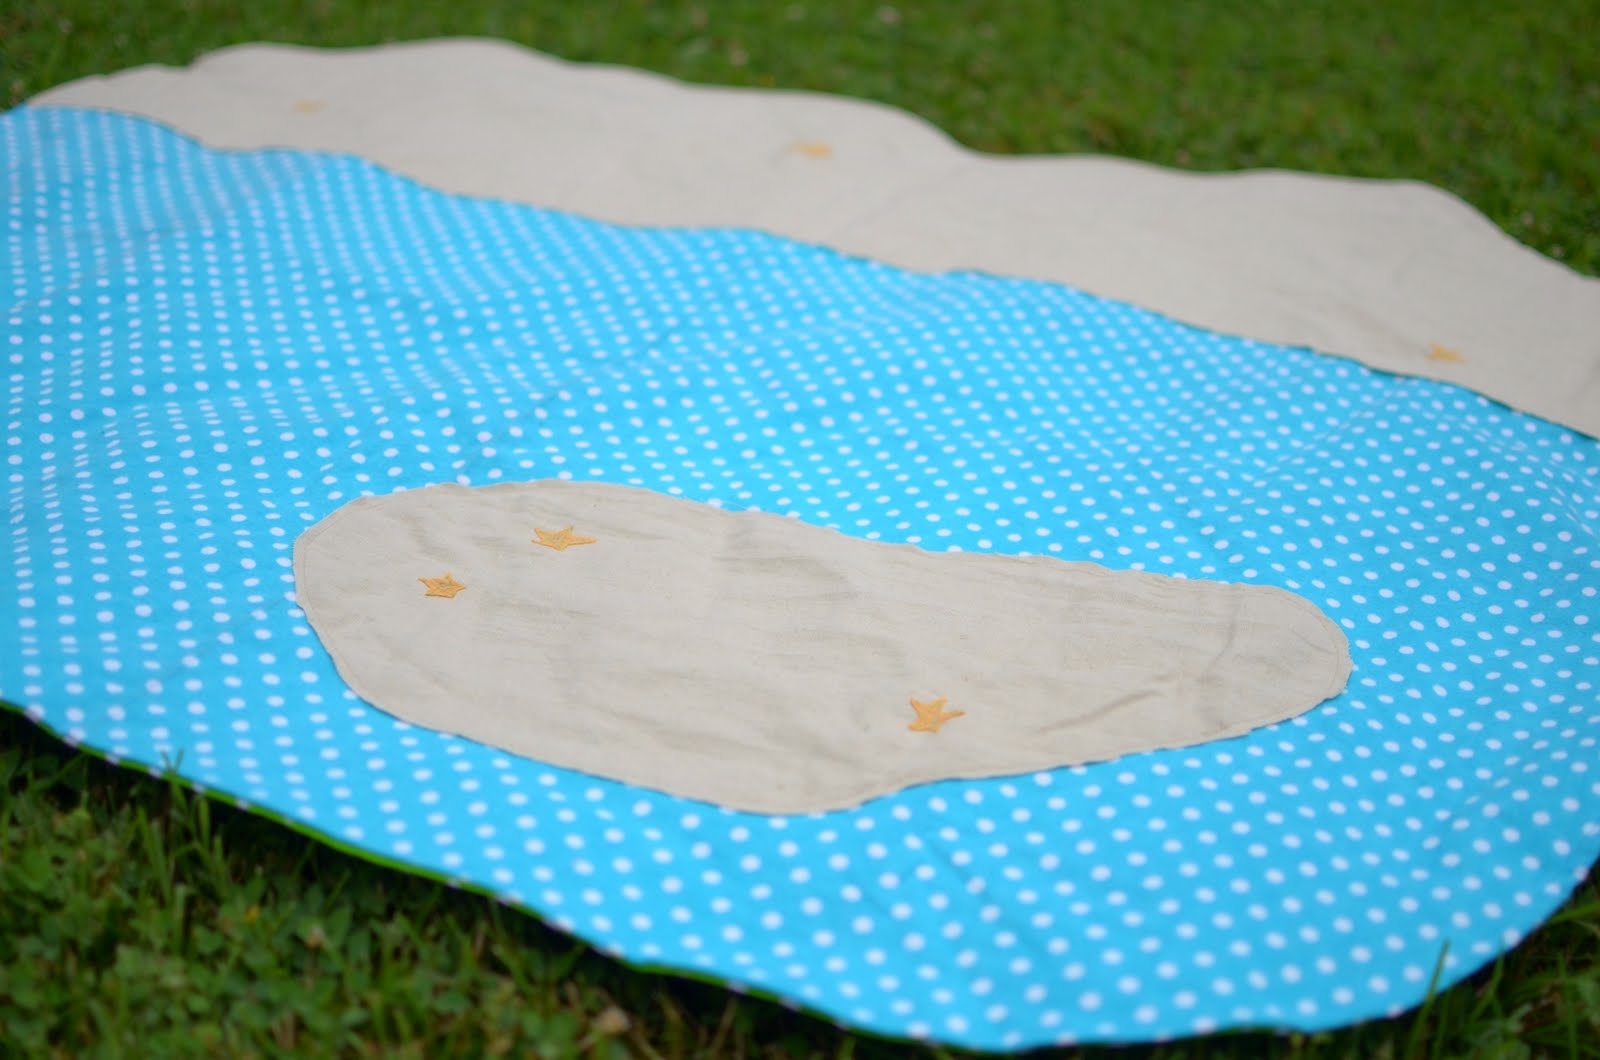
The pool and shrub/garden areas are also eyeballed. With these I did use an iron-on adhesive to hold them in place as I stitched around the edge of each shape.
Once I’d finished the appliques for each side I laid them on the floor right-sides together to match up the edges and pin-basted the two sides together. I cut around the perimeter to add some nice, curvy organic sides and corners. No need for sharp corners here.

And now this one lives in Alexa land. For pretending to relax on the sand…
Or hosting a beach party. Or tea on the beach?
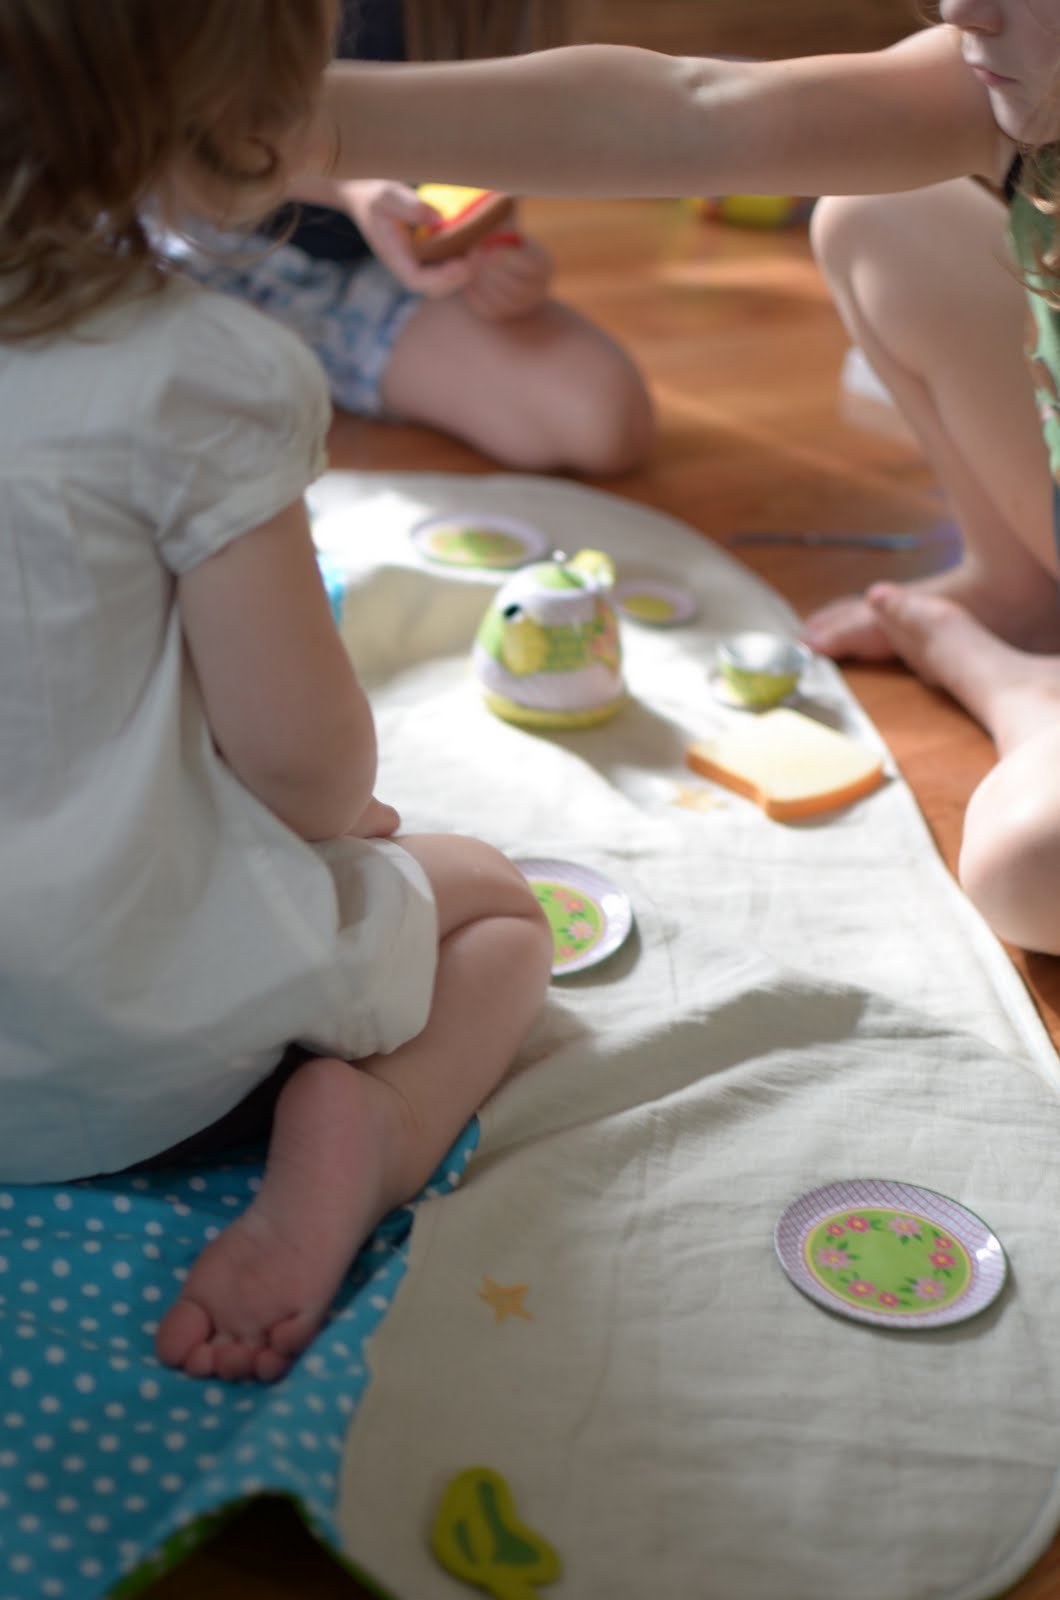
Inside, outside, wherever you like. With dolls or with real friends, if you’re so lucky as to have a play date. Speaking of, that’s Adrianna’s Z on the left with a piece of pizza, and that’s P’s pink sandal on the bottom edge. My M’s chunky legs next to her, and K’s jumble of arms and legs at the top. Alexa’s out of view fetching more snacks. This, and discussion of what was happening on the last day of Skirt Week Voting, is the extent of craftiness when 6 little girls and 3 moms get together.


Sweet idea. My boys love playmats, although ours are dino- and car/construction-themed.
I LOVE this!
cute idea! love this. :D
How fun! What a good idea to make the playmat reversible – twice as much fun!
Such a simple, but effective and cute idea. I am looking for light-weight and relatively inexpensive xmas gifts this year, as we are travelling, internationally, to family…I think this one fits the bill perfectly, for at least 1 little person – quite likely more too! Just 1 question – is there a reason you chose flannel for the main fabric? Just that flannel here in the UK is a bit like hens teeth… Keri