My husband and I went to the Marine Corps Ball this year (we’re not affiliated with the Marines in any way, but they invite lowly civilians like us, so that’s pretty nice. It’s a fun opportunity to get really dressed up and scrape the dried-up layer off the top of your only lipstick and dig under your sink behind all those gigantic post-baby sanitary pads that you still have for some reason in search of your fancy perfume. Plus there’s cake.)

In my brief search online, I soon discovered that the main demographic of formal gown wearers are mothers-of-the-bride or tweens. Apparently nobody between the ages of 22 and 50 goes to formal events anymore. So unless I wanted a double breasted mauve lace jacket or an enormous be-sequined tulle skirt, I was stuck making my own. (Ok, I’ll admit it, I didn’t look very hard.)
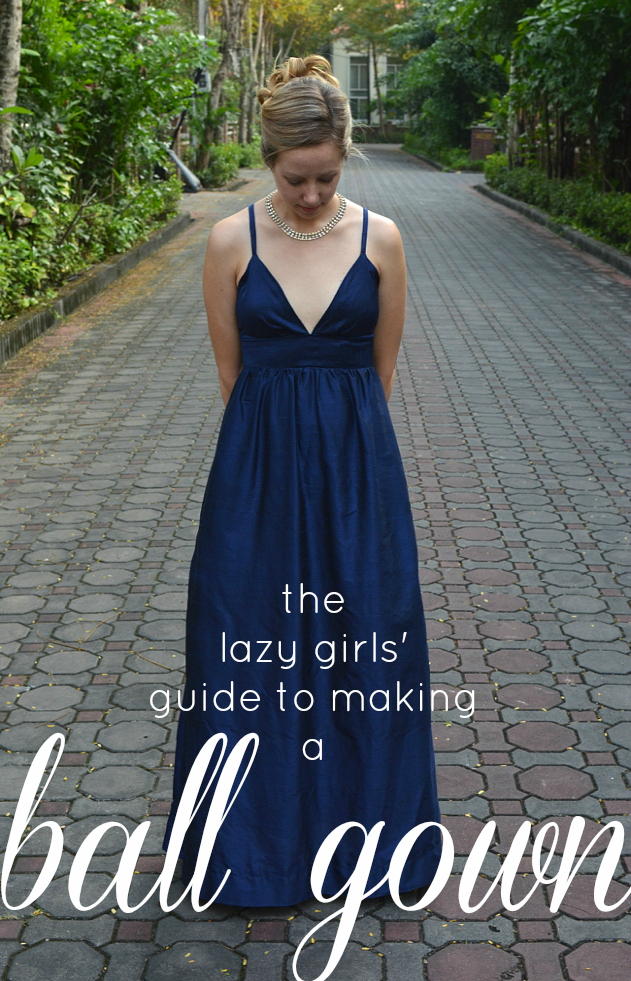
So, I made my own. And now I’m here to share all the details with you, in hopes that you’ll see what I did, remember my tutorial, and go buy your next fancy gown from Nordstrom like a normal person.

The first five steps are optional but highly recommended:
Step 1: Have a store-bought back-up dress just in case.
Step 2: Pick a super simple design. “Fancy nightgown” should not be an inappropriate way to describe it.
Step 3: You’re going to need a dress form. Or not mind pinning fabric to your skin.
Step 4: Stock up on this little miracle. Reapply often.
Step 5: Don’t have boobs. Seriously, this makes sewing anything for yourself waaaay easier.
(if you do have boobs, see the dress that Susan made for this same event 3 years ago. She did a pretty genius pattern/draping hybrid.)
So here’s the way I constructed it: (Note: Don’t do it this way. This way is horribly wrong. I know just enough about sewing to know that my version of draping is the equivalent of a scrapbooker duct taping pictures onto construction paper and stapling them together. Seriously, it is SO wrong. I take no responsibility for any loss of life, limb, or fabric if you choose to follow these directions.)
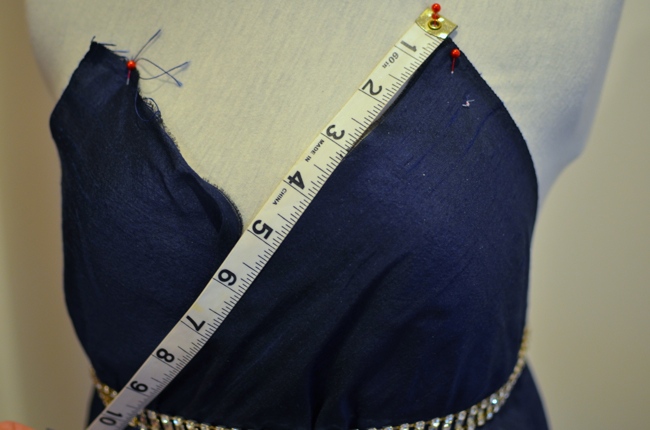
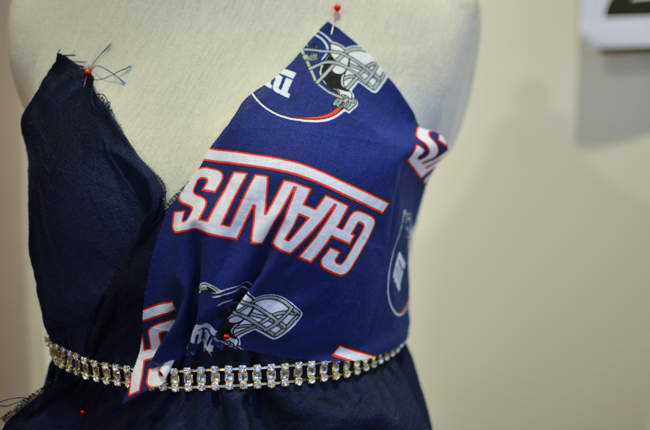
First pin your fabric to your dress form in the way that you want your final dress to look. Get creative without cutting – here I used two corners to emulate triangular bust pieces and I folded the fabric in a tuck to pretend there was a waistband.
Then get approximate measurements of each portion of the dress. For things that need really accurate measuring, like around the empire waist or the straps, I measured my actual person, not the dress form.
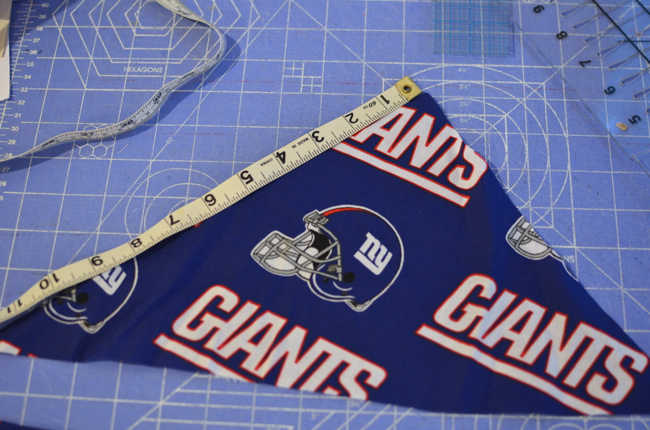
Then take those measurements and use them to cut out your bodice pieces on to a small portion of the 5 (yes five) yards of New York Giants fabric that fabric.com sent you instead of white voile. Or, you know, use a muslin.
Take your newly cut pieces and pin them to the dress form, adding tucks and pleats and gathers where desired. Pin those details in place.
If you see a big gap like the one on my dress form’s side boob here, you’ll need to add a dart there. These gaps can occur all over the place with no advance warning. They’re like ninjas. Be vigilant and mind the gap.
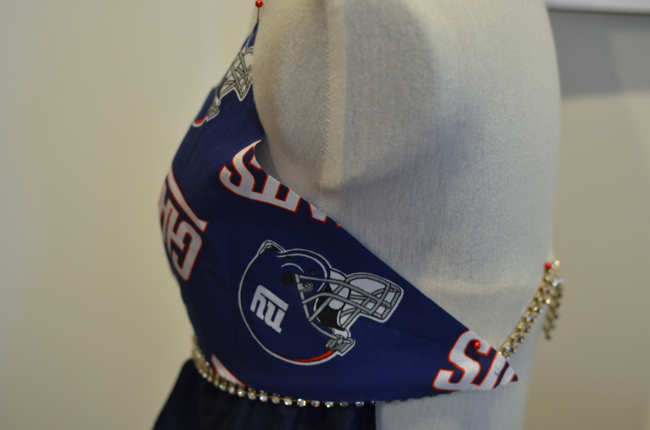 If you’re like me and don’t want to add a dart because it’ll detract from the final design (or you plain don’t want to deal with one), move your fabric around until the gap is gone. Ta-da! Problem solved. Or at least mine was. Yours might not work this nicely, in which case good luck with that. Cut the now-excess fabric off. For me, that was the little triangular piece extending down past the diamond trim.
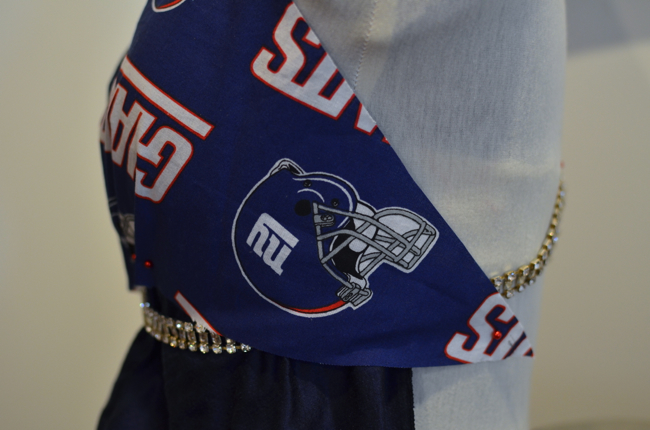
With your pleats, gathers, and what-not in place, baste your bodice together. I just did one side and attached it to the waistband. Try it on your actual body. If it’s good, use those pieces to make a pattern. If not, take notes and try try again.
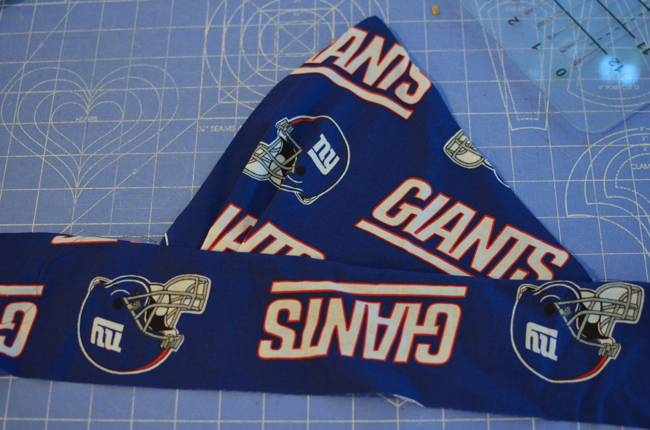
Here’s my pattern:
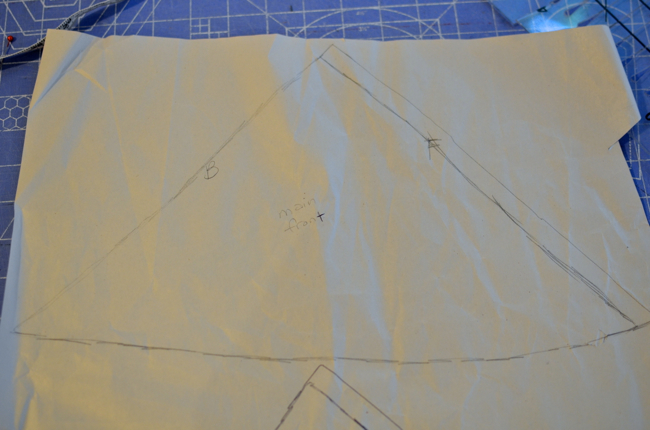
And here’s what I do when I need to make a small bust adjustment on a top with triangular bust pieces: Instead of messing with the fit and cut and all that hard stuff, I simply angle the triangles down in the center to eliminate gaping and thus reduce the amount of fabric that needs to be filled up with something. (in this case, the aforementioned nonexistent boobs). Make sure the straps are still coming out of the top at a good angle though. If not, you’ll have to re-shape the triangles.
I marked the stitch line with white chalk since my angled triangles were now in the way of my seam allowance guide.

Oh, did I forget to mention straps? Yes, you should sew those in while you’re sewing the front and lining triangles together. I made mine skinny using this clever tutorial. I also used this technique to make the button loops in the back.
After sewing the bodice to the waistband piece and getting the straps all lined up and fitted perfectly, I pinned the waistband lining on, right sides together with the waistband, with the bodice sandwiched in between. I pinned my button loops to the inside of one end of the waistband and sewed the waist band to the waistband lining on both short ends and at the top, leaving the bottom open.
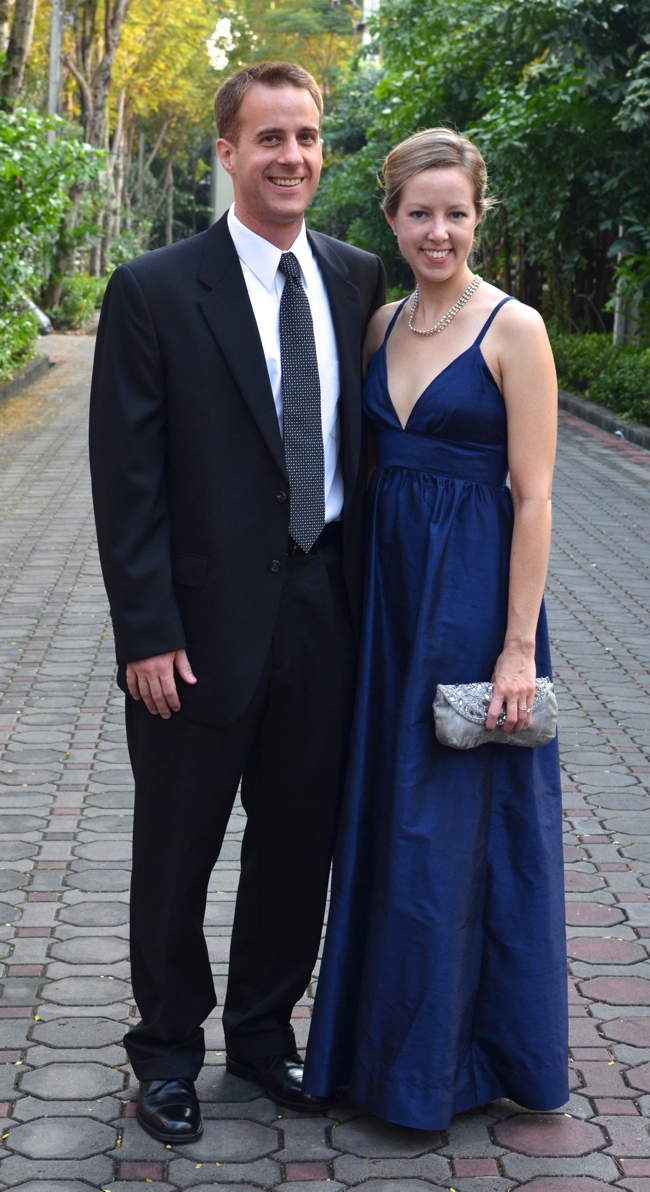
The skirt is just a big rectangle that I angled in at the top to reduce bulk. At the top of the back I made a simple notch to allow ease to put the dress on. I made it shallow enough that it didn’t need a closure, and the gathered nature of the skirt kept it shut anyway. Then I sewed the skirt front and back together, gathered it at the waist, sewed it to the waistband, hemmed it, and sewed on my buttons. And then I sewed in boobs to make the bodice cups nice and smooth (and make it look like I have boobs.) When I stitched the bra pieces to the inside of the dress, they did warp the outside fabric a little bit, as you can see in the pictures at the top of the post. But luckily I noticed this before we left and a little tug was all it took to get things nice and straight again. I’m thinking this happened because the sides of the triangles are on the bias and were prone to waviness.
And that was it! In some ways the two gowns I’ve made have been a lot easier than some of the little girl dresses I’ve made. There aren’t as many little parts and I’m not as concerned with durability or finishing. I knew this one was probably going to be one-time-use. I mean, realistically, the fanciest I usually get is when I’m watching battlestar galactica in my pjs and I’ve forgotten to take off my make-up.
So what happened to that diamond trim that was supposed to go on the dress? Well, in the end it just looked too Miss America for my taste, so I wrapped it around my neck and frankensteined the clasp from another necklace onto it with some pliers. Yes, my entire ensemble was an exercise in defining the word “ghetto”.
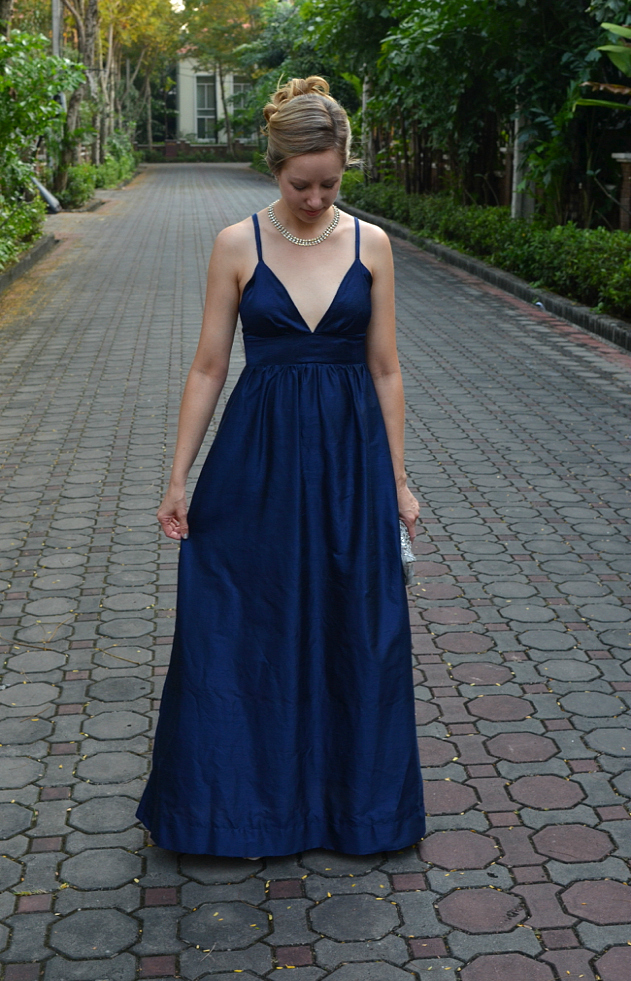
Here’s me and my man all ready to dance the night away! (and by dance, I mean me dancing with my girlfriends whilst our husbands sit at the table and talk about work and drink free g&ts.)

I applaud you, but I am never ever doing this. :) You and Sam look gorgeous. Nice job!
You are hilarious! Your dress looks fantastic and was super fun to read about :) I had actually spied it in the dress form in the background of a previous post. Great job.
This is so funny – especially step 5 – hahaha….I don’t have boobs either but have never thought about it like that ;-)
You and your husband is a very beautiful couple and the dress look great on you!
This is a stunning gown on you and it fits so well. I love the daring neckline. I would never be able to make a gown for myself and I am completely impressed that you did!
OMG. I am so impressed by your mad sewing/tailoring skills, it turned out so nice!
This post was really fun to read! It will not, however, deter me from taking advantage of the opportunity to go shopping for a fancy dress should the need ever, ever arise. It looks fabulous on you–if it weren’t for the lack of sequins and tulle, I would never guess that it was homemade :)
Finally a dress for those of us with nonexistent boobs! Thanks for the non-tutorial! You and Sam look awesome. Hope you had fun. xoxo
I don’t think it really matters if it is the ‘proper’ way of draping or not, as long as it ends up fitting right. You look very elegant. =)
So awesome!!! You look fantastic!
You look beautiful—and I love ghetto looks too ;)
The dress and you are gorgeous!! But my favorite part is the tutorial – so funn!! You could write out the phone book and I’d read it. ;)
The dress is beautiful and your tutorial is hilarious! I’m assuming that’s what you were going for and that’s a compliment! Awesome!
The dress is gorgeous, but I’d love to see the mock up too.
that giants fabric is so couture.
Your dress looks fabulous and that last picture is gorgeous. I have boobs which always causes me problems attempting to make clothes. Even skirts ;-)
Gorgeous! Don’t think I will make my own for our ball next year, but very impressed by yours!
fabulous gown, A!! You look gorgeous in it! I love the giants fabric muslin, too. lol!!
Probably one of the funniest blog posts I’ve read, and definitely the greatest tutorial ever. EVER. Giants fabric!!! Anyway, you looked gorgeous in your dress, not ghetto at all. Love Step 5. Pretty much crucial. ;)
wow. I can sew but I’m pretty sure this is never on my list of projects. Amazing. You look great. The dress is beautiful.
Just submit your email at http://ωwω.
freeipad3.allthebestproducts.net anԁ ѕign
up tο test Apple’s products! You get to keep them afterwards!
My webpage > verseo super kegel pelvic muscle thigh exerciser review
Sooo very pretty! Great job! And your tutorial had me laughing out loud. :)
You are so stinkin gorgeous! You are your guy are a lovely couple. Your tutorial made me laugh. Been there, done that, feel kinda of sad that I don’t have to any more. One of my formal event outfits came from fabric I found junking….
Gorgeous! Future reference: try consignment shops near the base or base yard sale sites. Around ball time, they tend to have TONS of gorgeous dresses for that exact reason.
What type of fabric did you use here? Just found your tutorial. Love it! :)
Great job! Beautiful dress! Loved the NY Giants fabric!