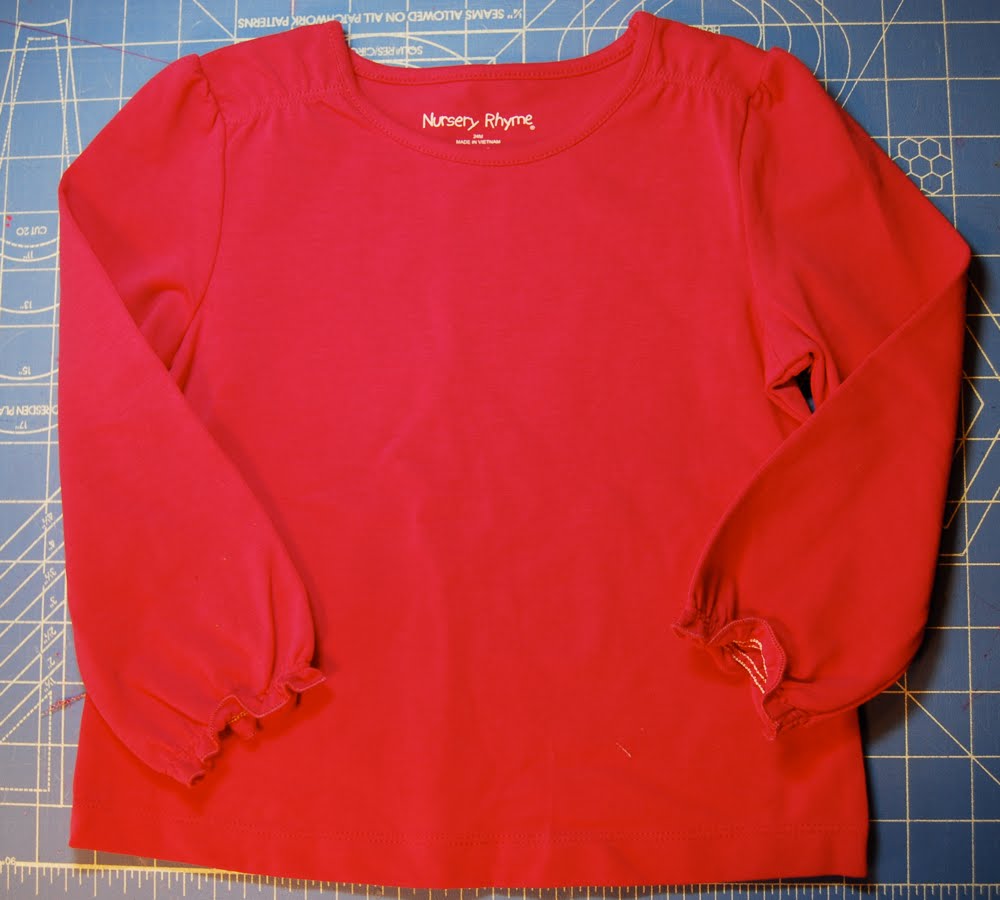
Here’s a simple makeover to add some decoration to a plain T. This is pretty self-explanatory, so it’ll mostly be a pictorial tutorial (I love saying that).
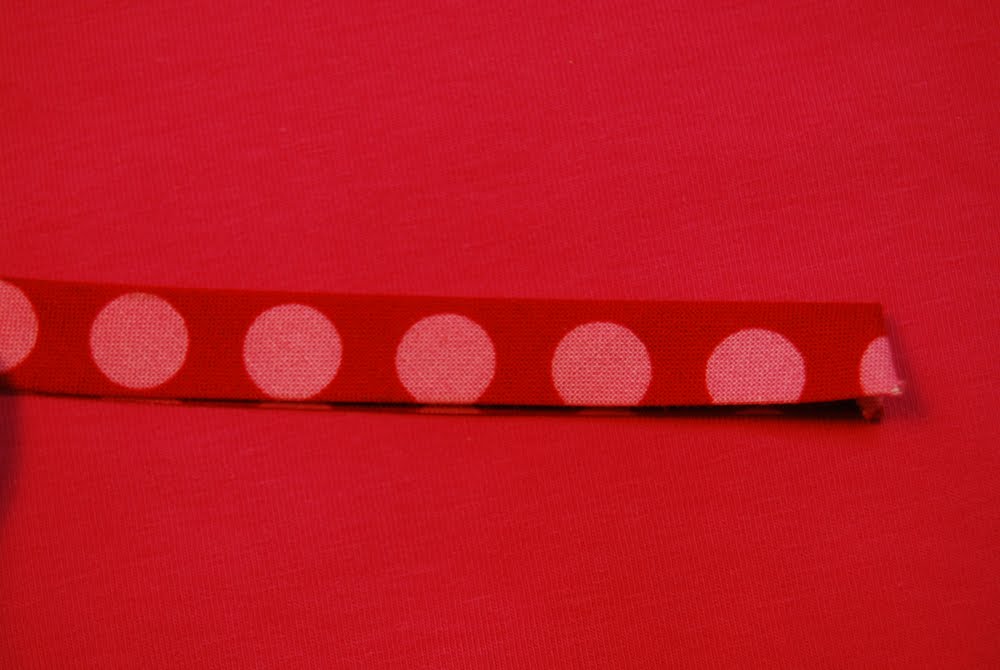
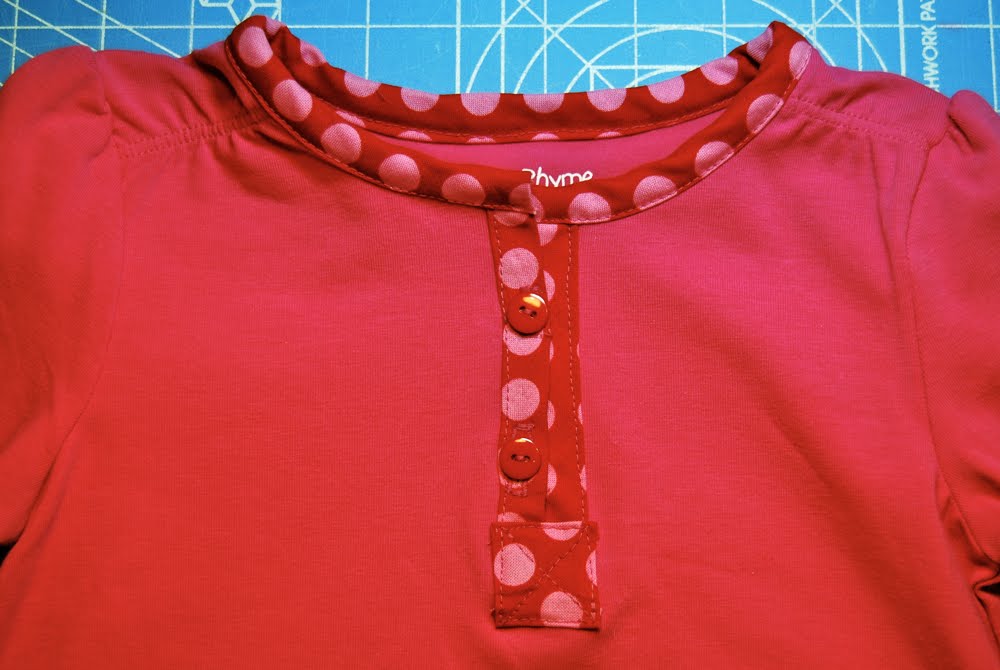
Make enough bias tape to go around the neck and about 4 inches down the shirt front. Cut the ends into a “V” and press down for a nice finish.
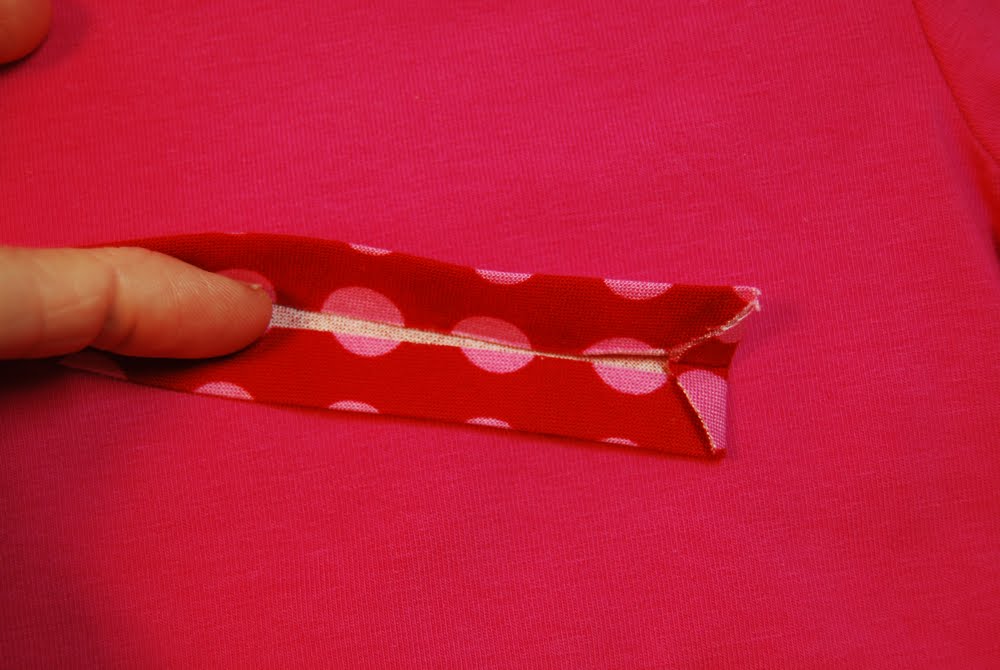
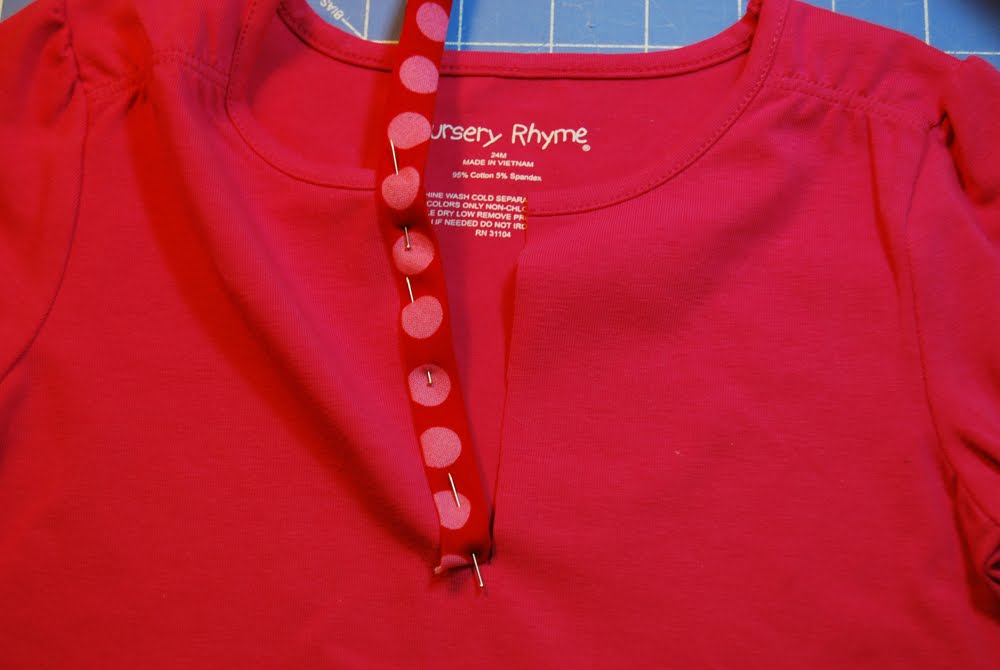
Make the bias tape for one side twice as wide as the other, so they overlap for the button placket.
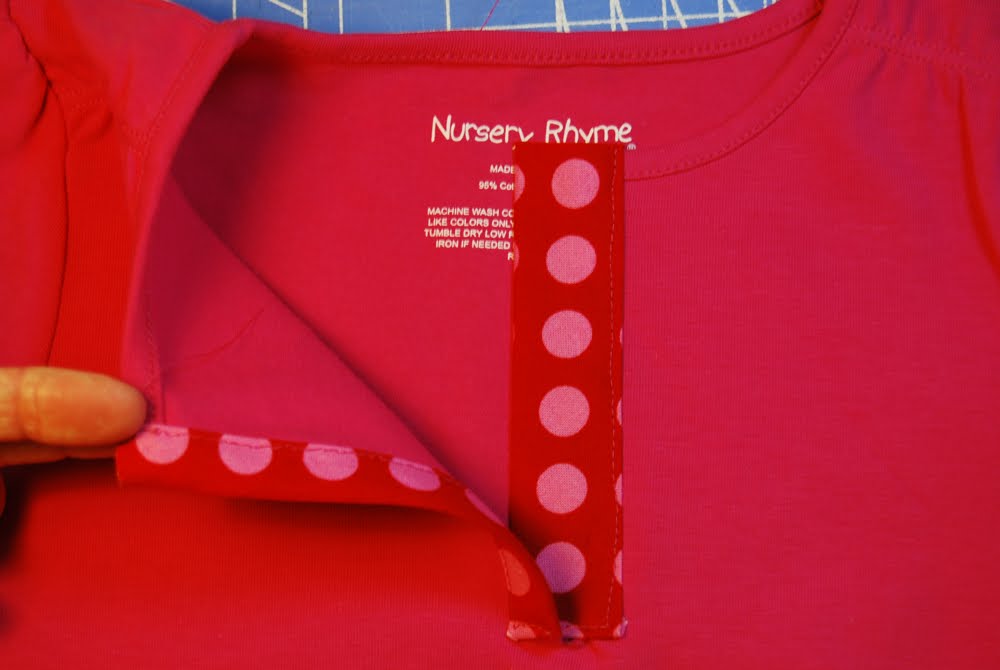
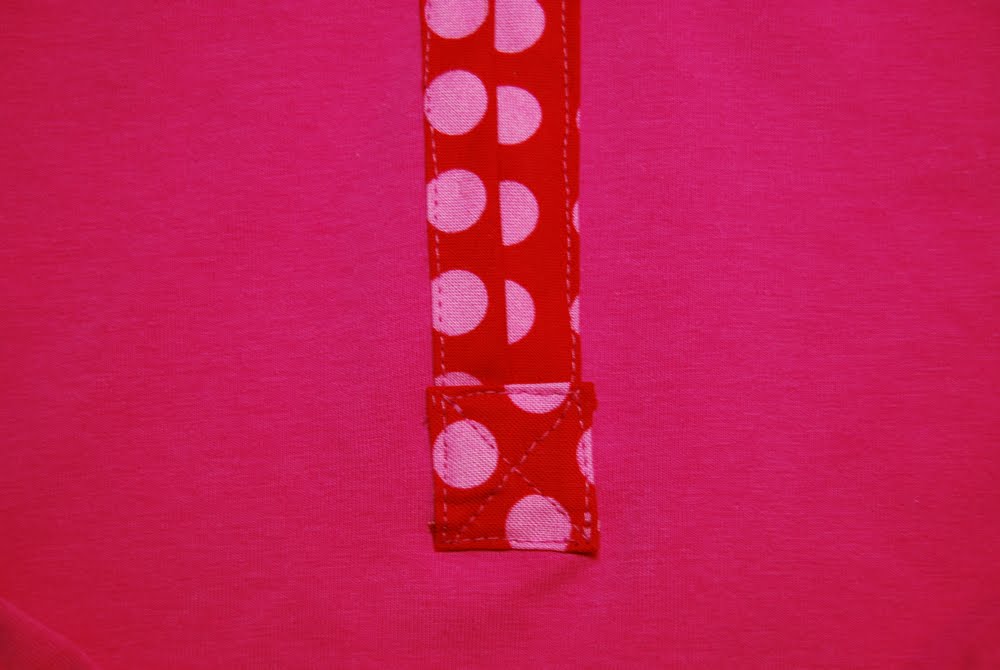
Cover the raw ends of the bias tape with a square patch, stitched on with an “x”
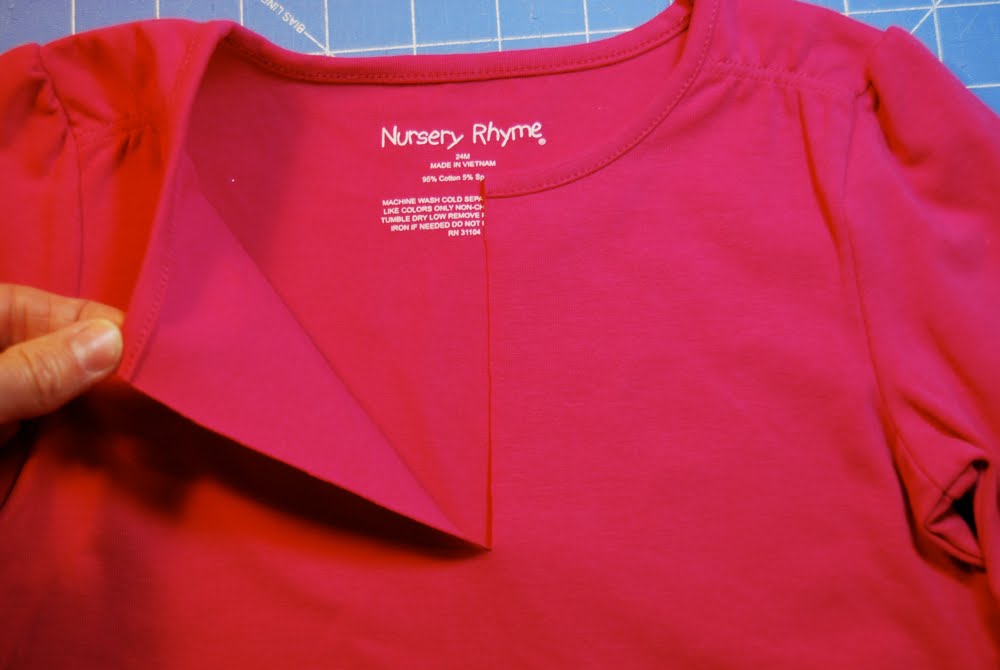
Bias tape around the neck
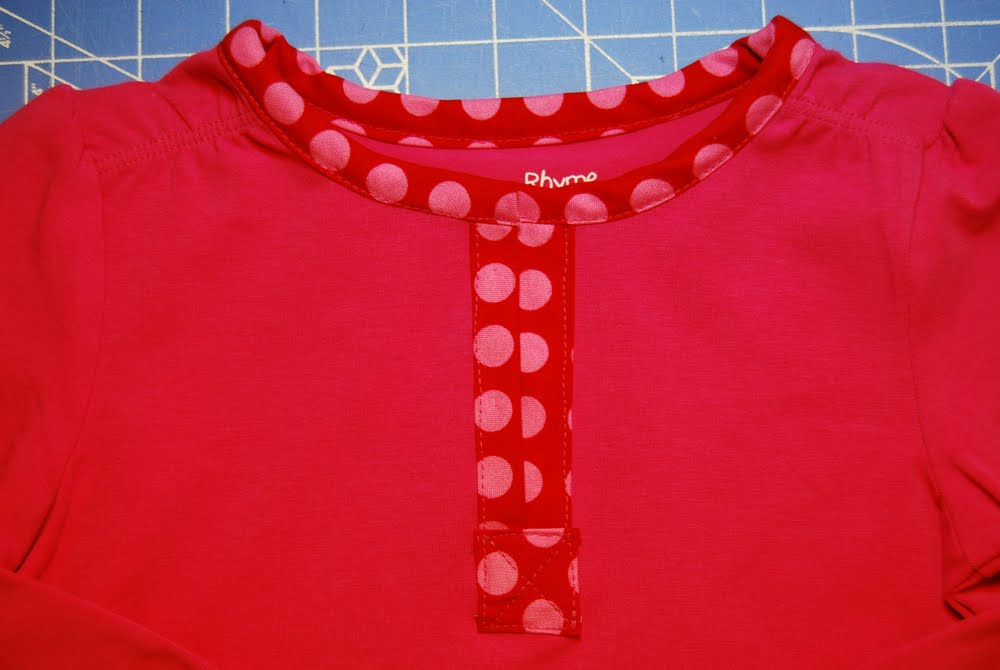
Add buttons & buttonholes
Done! And some bad nighttime flash photography to see the final product:

Now go make a cute skirt for a whole coordinating outfit!

I love this pictorial tutorial! The shirt looks so professional! I’m so impressed! :o)
I love it, it is so cute!!!
Super cute! I love it!
cute stuff! I love it that you can add little details like this to make a really cool shirt.
just wanted to let you know that I’ve given you a couple blog awards. Check them out at http://theoscreativecorner.blogspot.com/2010/03/ive-been-awarded.html
Great idea! Super-cute and I bet it makes it easier to get the shirt over her head!