Just dropping in with a quick Friday post to show you what I did for baby #3’s name decor. I’ve enjoyed personalizing each of my babies’ nurseries with their names, and I love how each of them were a little different. (I’m going to show them to you, but you have to keep in mind that the first two were PB (pre-blog) and were not photographed with mass internet consumption in mind.)
Baby #1 had purchased wood letters that I painted and hanged with decorative ribbon:

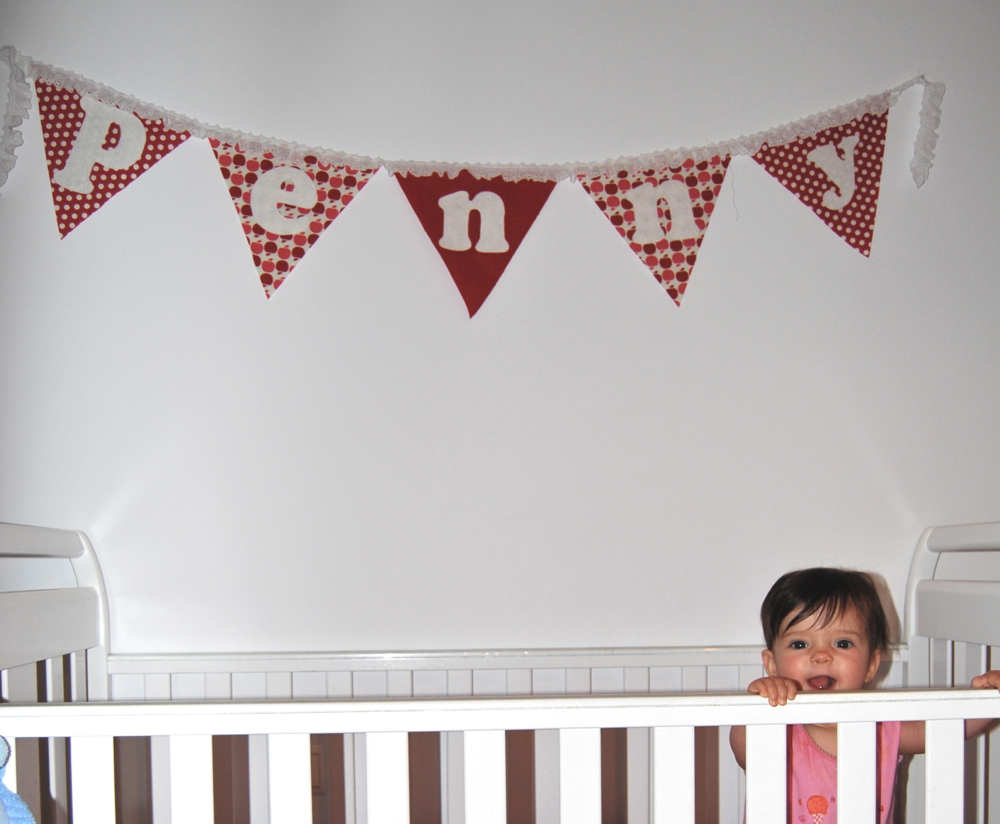
Baby #2 had a pennant banner thingie with a different letter on each triangle (I just did her nickname):
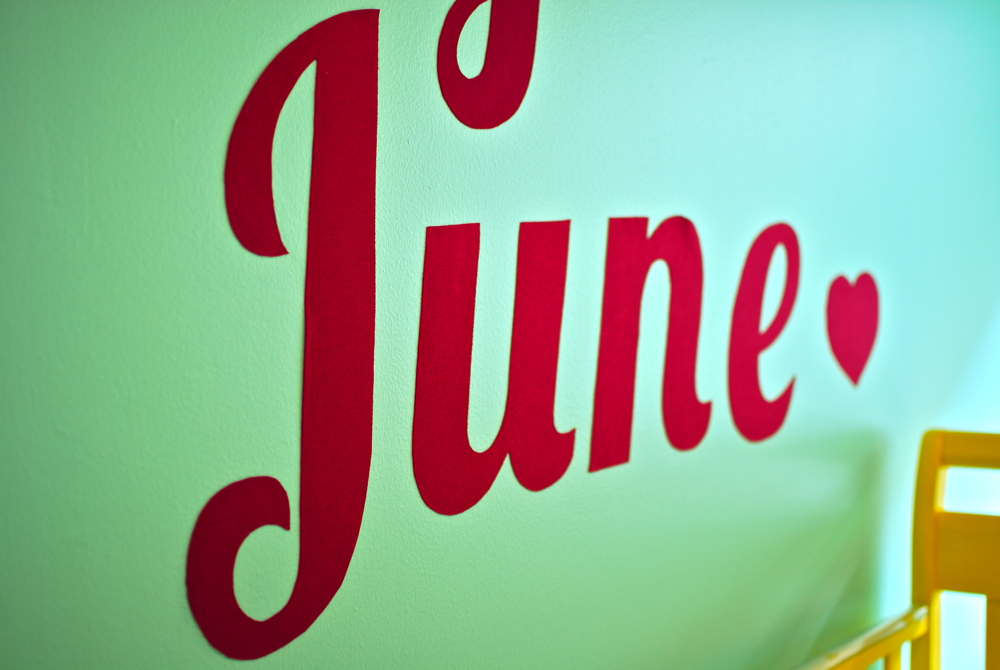
For baby #3, I cut out each letter on pink knit fabric fused to double stick fusible then ironed them directly onto the wall. (here’s my font boyfriend again!)
There are a lot of tutorials on how to do this, but that previous sentence is about all the tutorial you’ll need. In case you missed it:
1. Iron one side of double stick fusible to your fabric.
2. Cut letters out of fabric using scissors or silhouette or what have you.
3. Peel paper backing away and iron to wall.
That’s it. There are ways to do this using liquid starch too, but why would you? This way is so less icky.
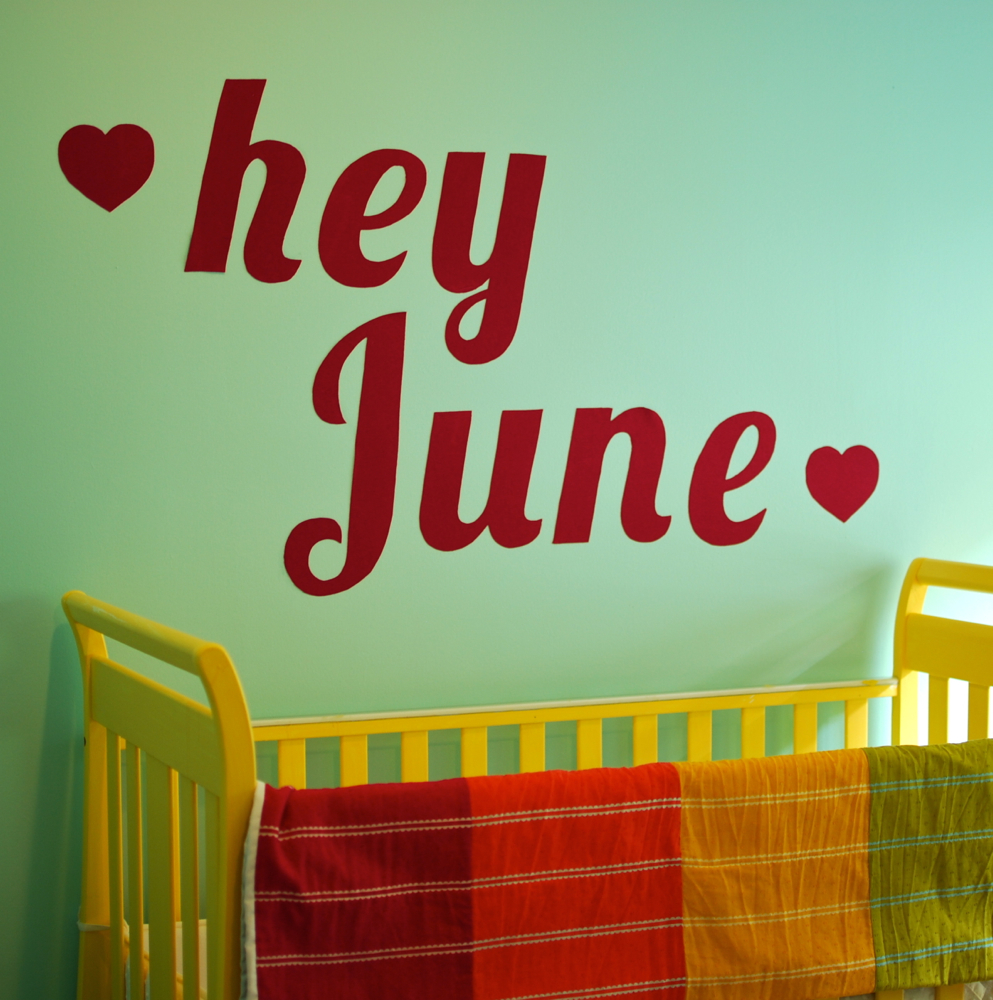
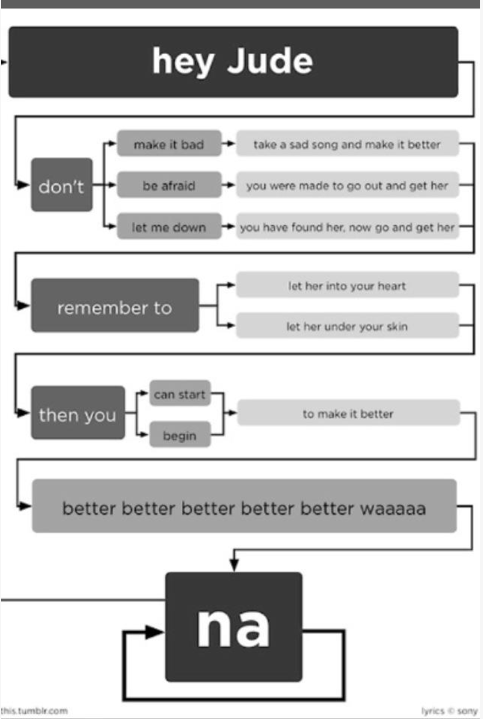
Can you tell baby #3 was supposed to be a boy named Jude? We improvised. We use this nickname most of the time, but her full name was revealed here, if you’re interested.
And while I’m on that subject, here’s a helpful little flowchart from love all this:
Such a cute idea!! Thanks for sharing! And I love that flowchart :)
that flow chart is classic! :D Love LOVE that font too…it looks adorable!
(Oh, and I’m super jealous of your awesome Firefly shirt!)
Aww, love them all! And of course, whenever I see Penny anywhere I get all giddy inside! Would it be weird to name my baby June if it’s a girl? We are sooo on the same name wavelength :-) we’ll have matching families, lol!
That’s awesome!
This is so cute & so simple – love it!
So pretty!
Hey :) I was just wondering what font u were using for the letters? The J is soooo pretty & i want to do something like that in my little sisters room… but i can’t find the right font :L Anyway they are all beautiful, i <3 the bunting one, so cute!! Thanks in advance :) From Brunei
Hi there! It’s called “lobster”. You can download it for free by clicking on the link in my post where it says “font boyfriend” :)