So Adrianna calls me last night and suggests I scan fabric to make wrapping paper. And when I say suggest, I mean she said “here’s your next task.” Here is an example of my inability to refuse a creative task. This is not the first time it’s gotten me in trouble. And by in trouble, I mean up at 5 am with this thought in my head. Which isn’t trouble all by itself, but I’m expecting trouble when I’m ready to go to bed for the night at 4 PM since I was up three times in the middle of the night with a wee one who needs to sleeeeep more.
But back to the point. I do love the idea of making my own wrapping paper from my favorite little fabric blend-o-rama. So, here’s how I made my stripey wrapping paper.
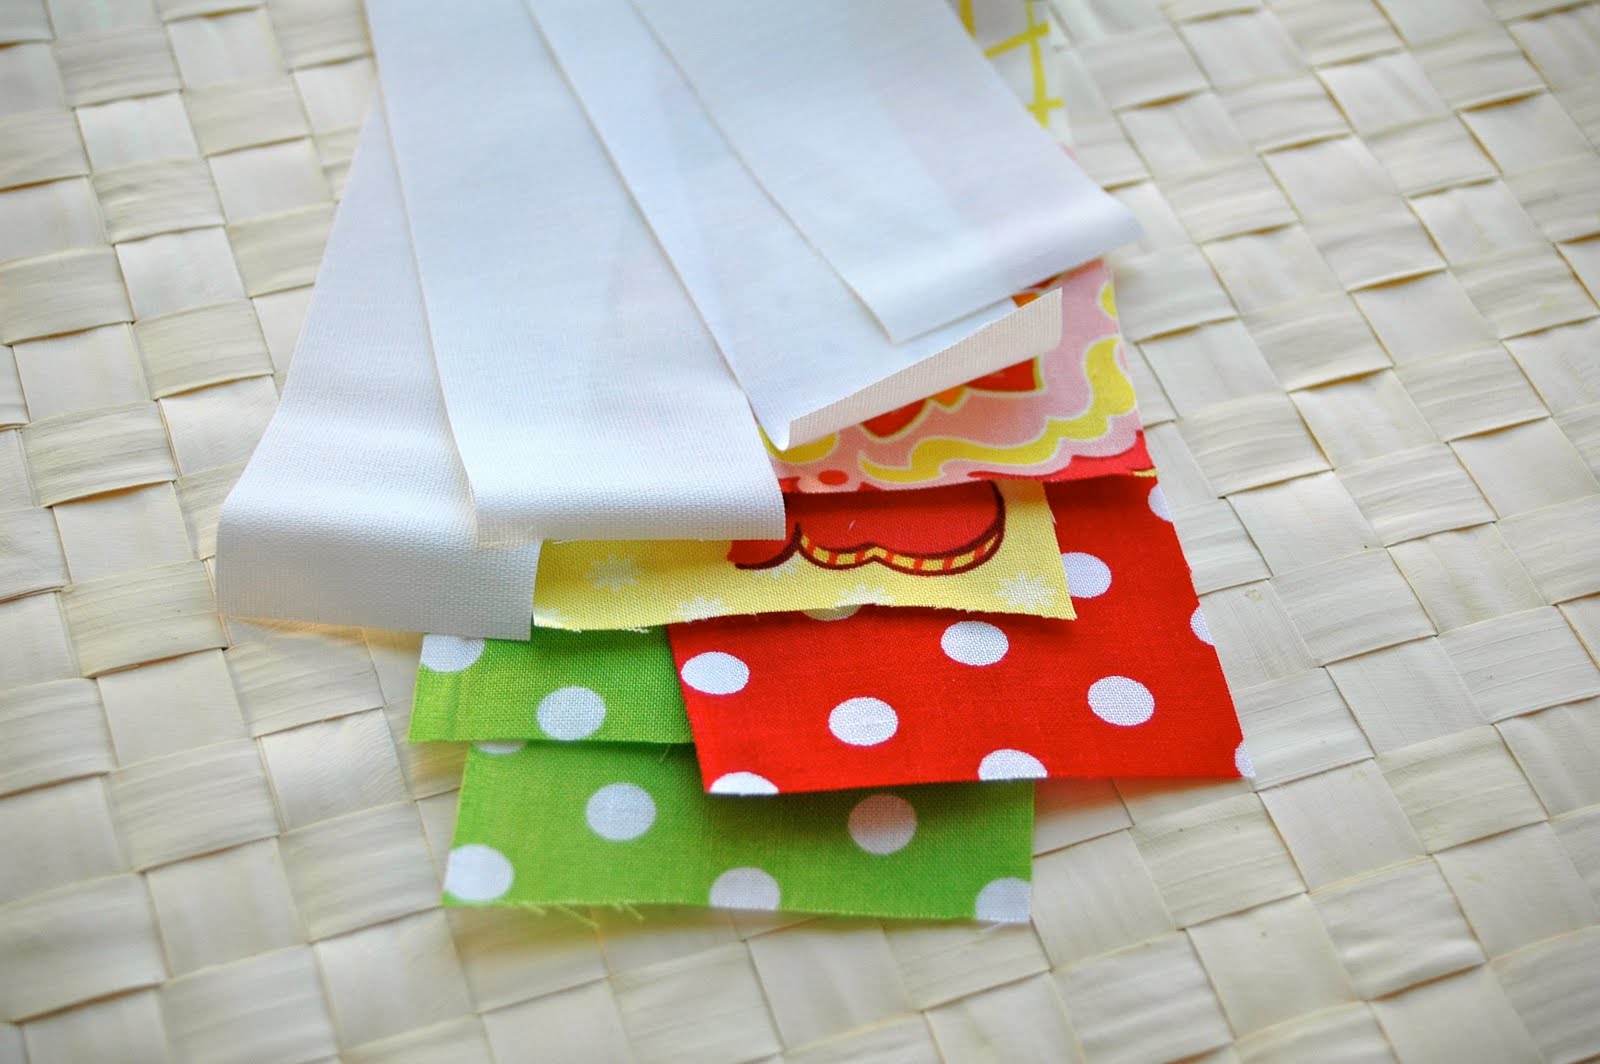
Cut strips. You don’t need many or much, because the average scanner will only accommodate something slightly larger than a letter-sized sheet.
4 white: 1.5″ x 9″
5 patterned: 1.5″ x 9″
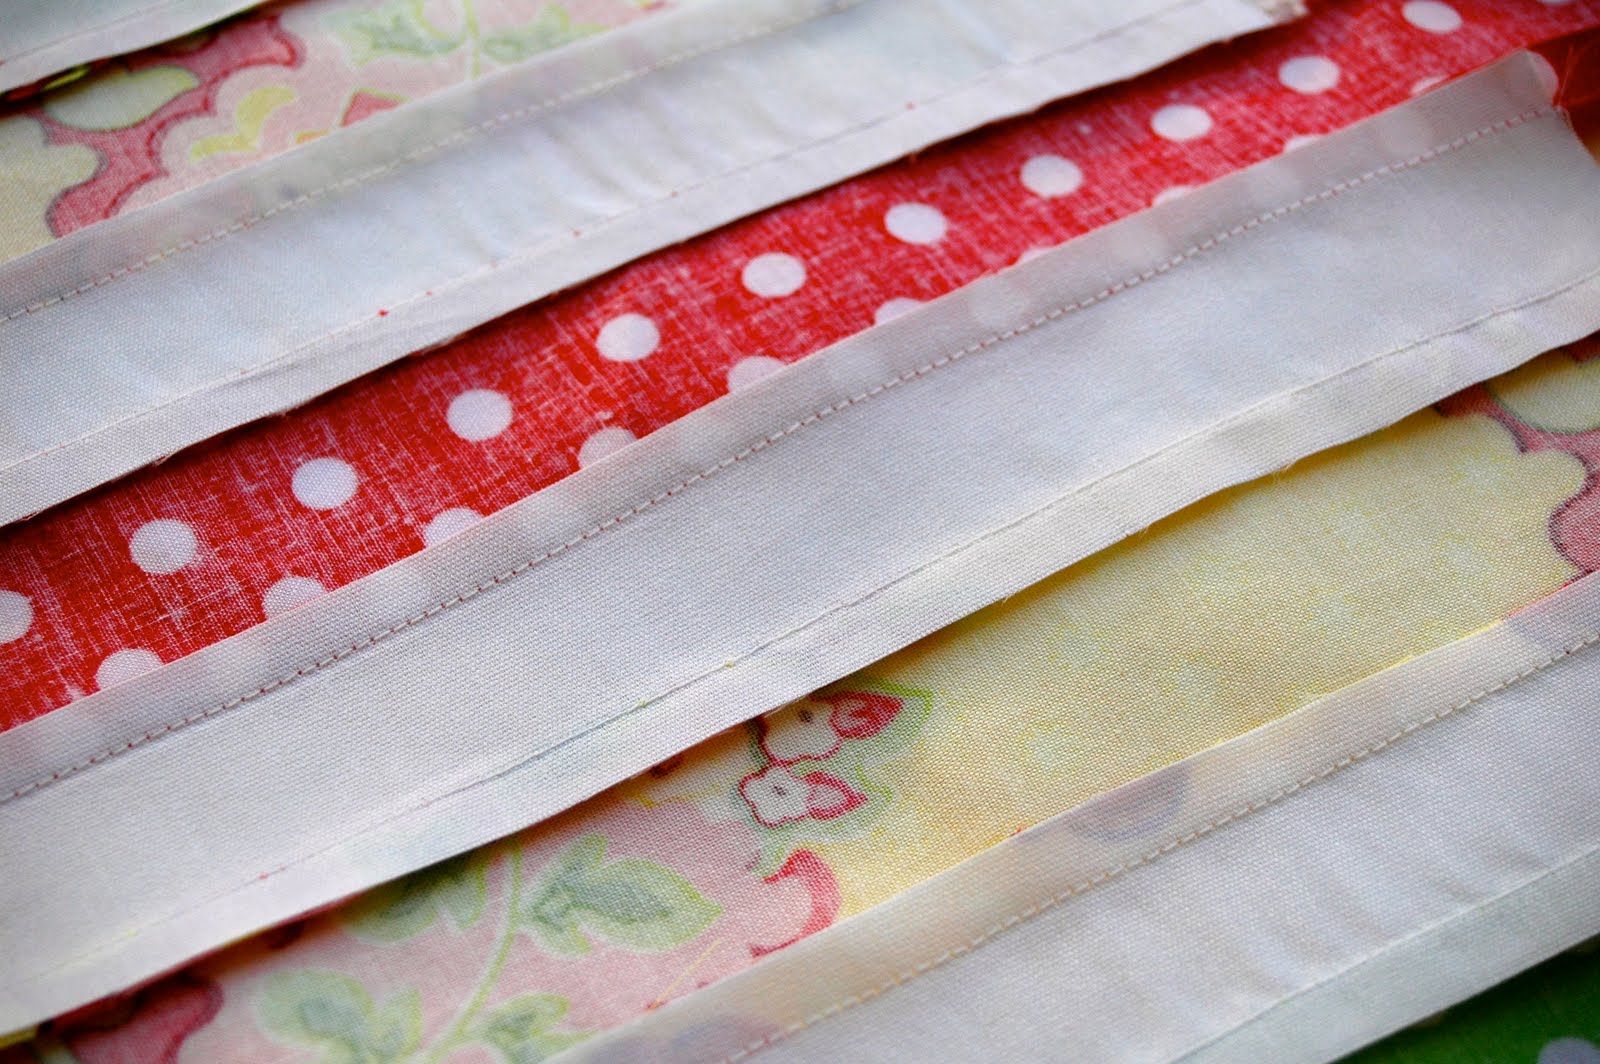
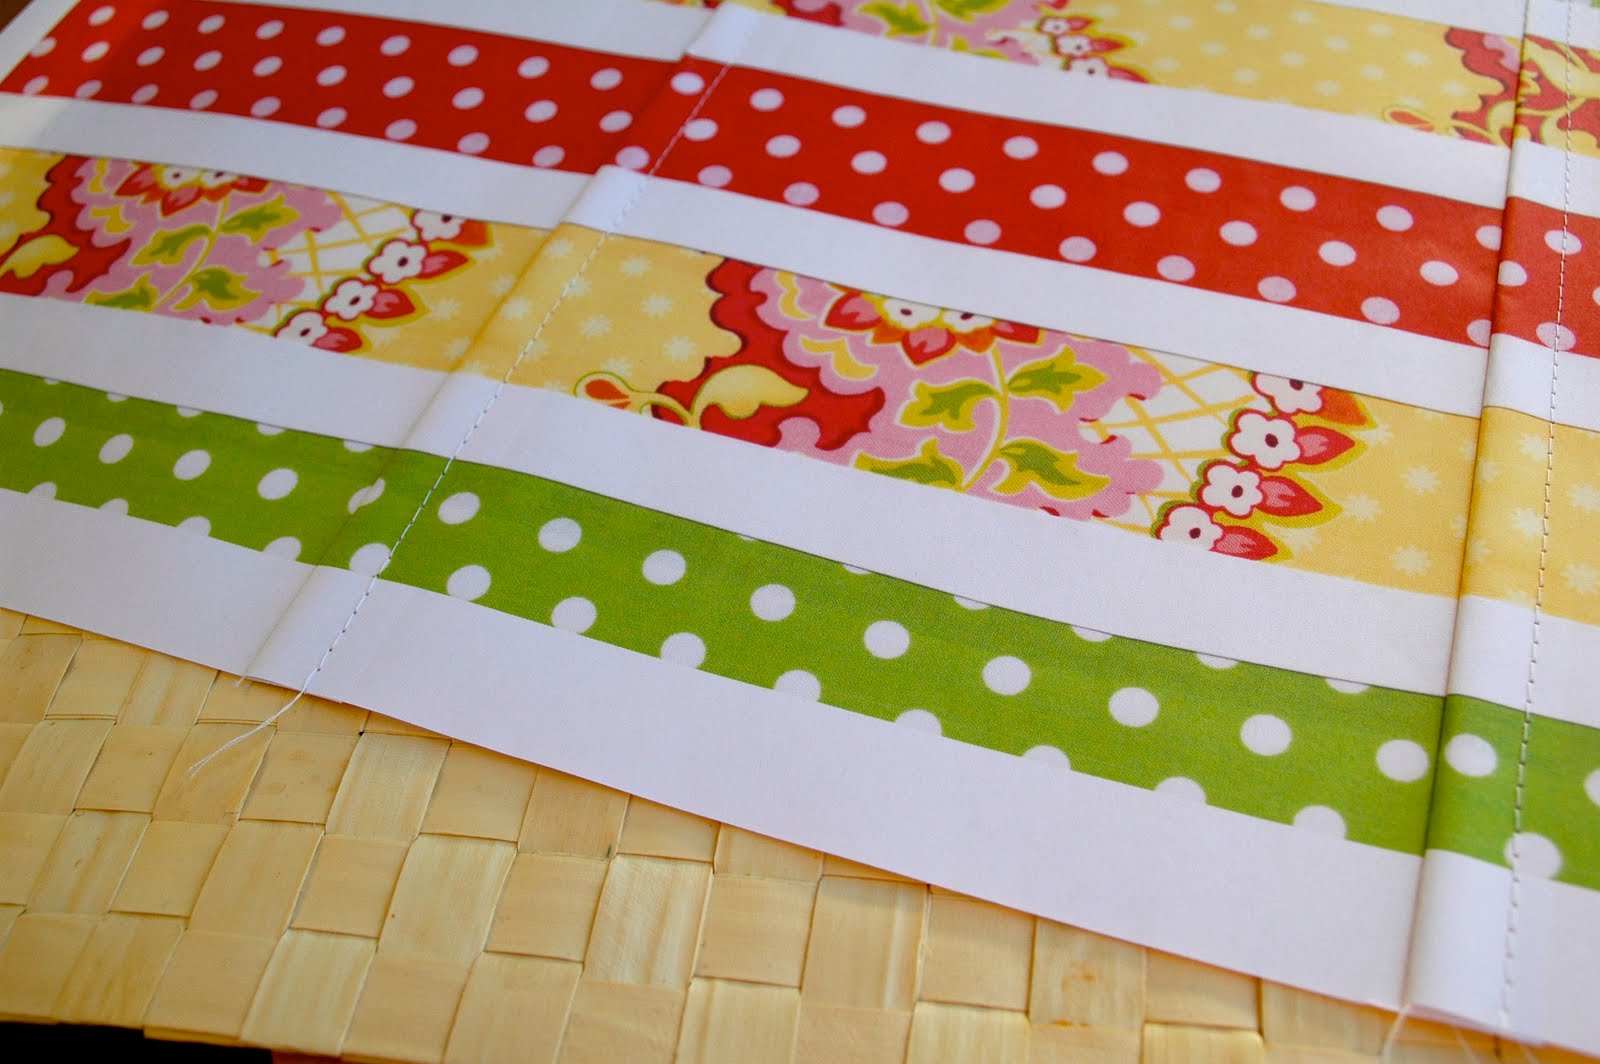
Stitch them together. (Or overlap them with exposed edges in sort of a cascade and lay them on your scanner just like that! Ooh! That’s what I’m doing next!) No biggie if it’s a tad wonky.
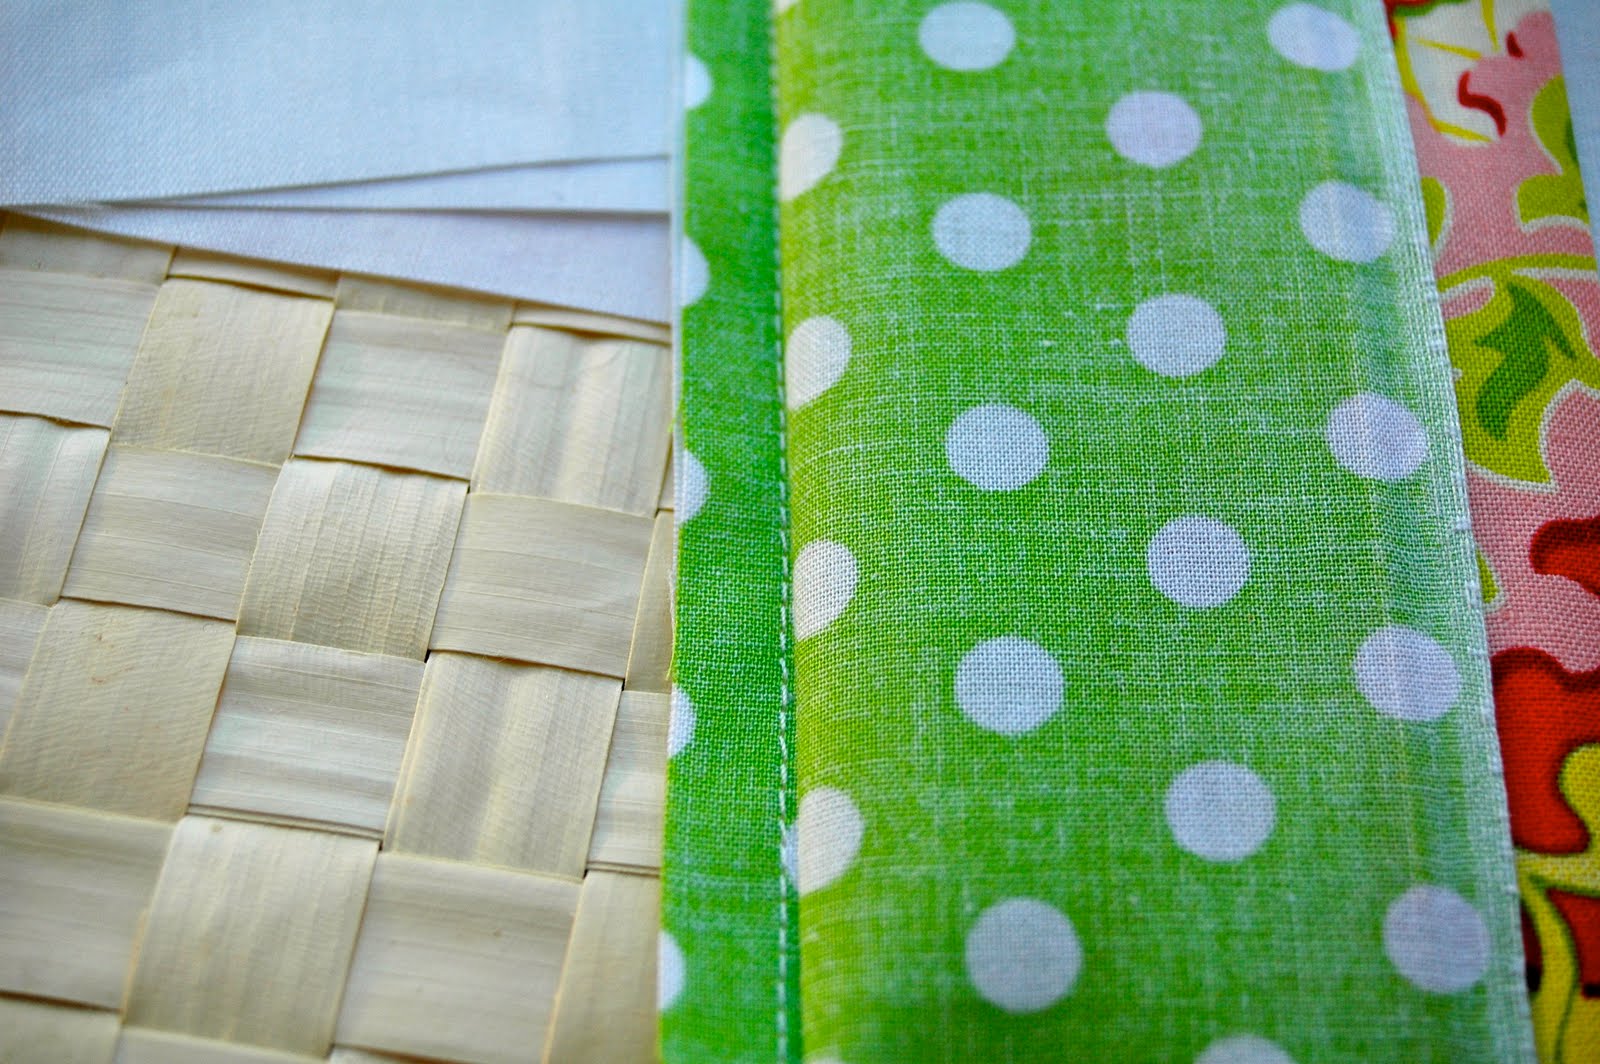
Iron them flat, pressing from the wrong side first so that the white sections are flat, like so. You don’t want the patterned pieces folding behind the white because it’ll make dark sections when you scan or photograph it.
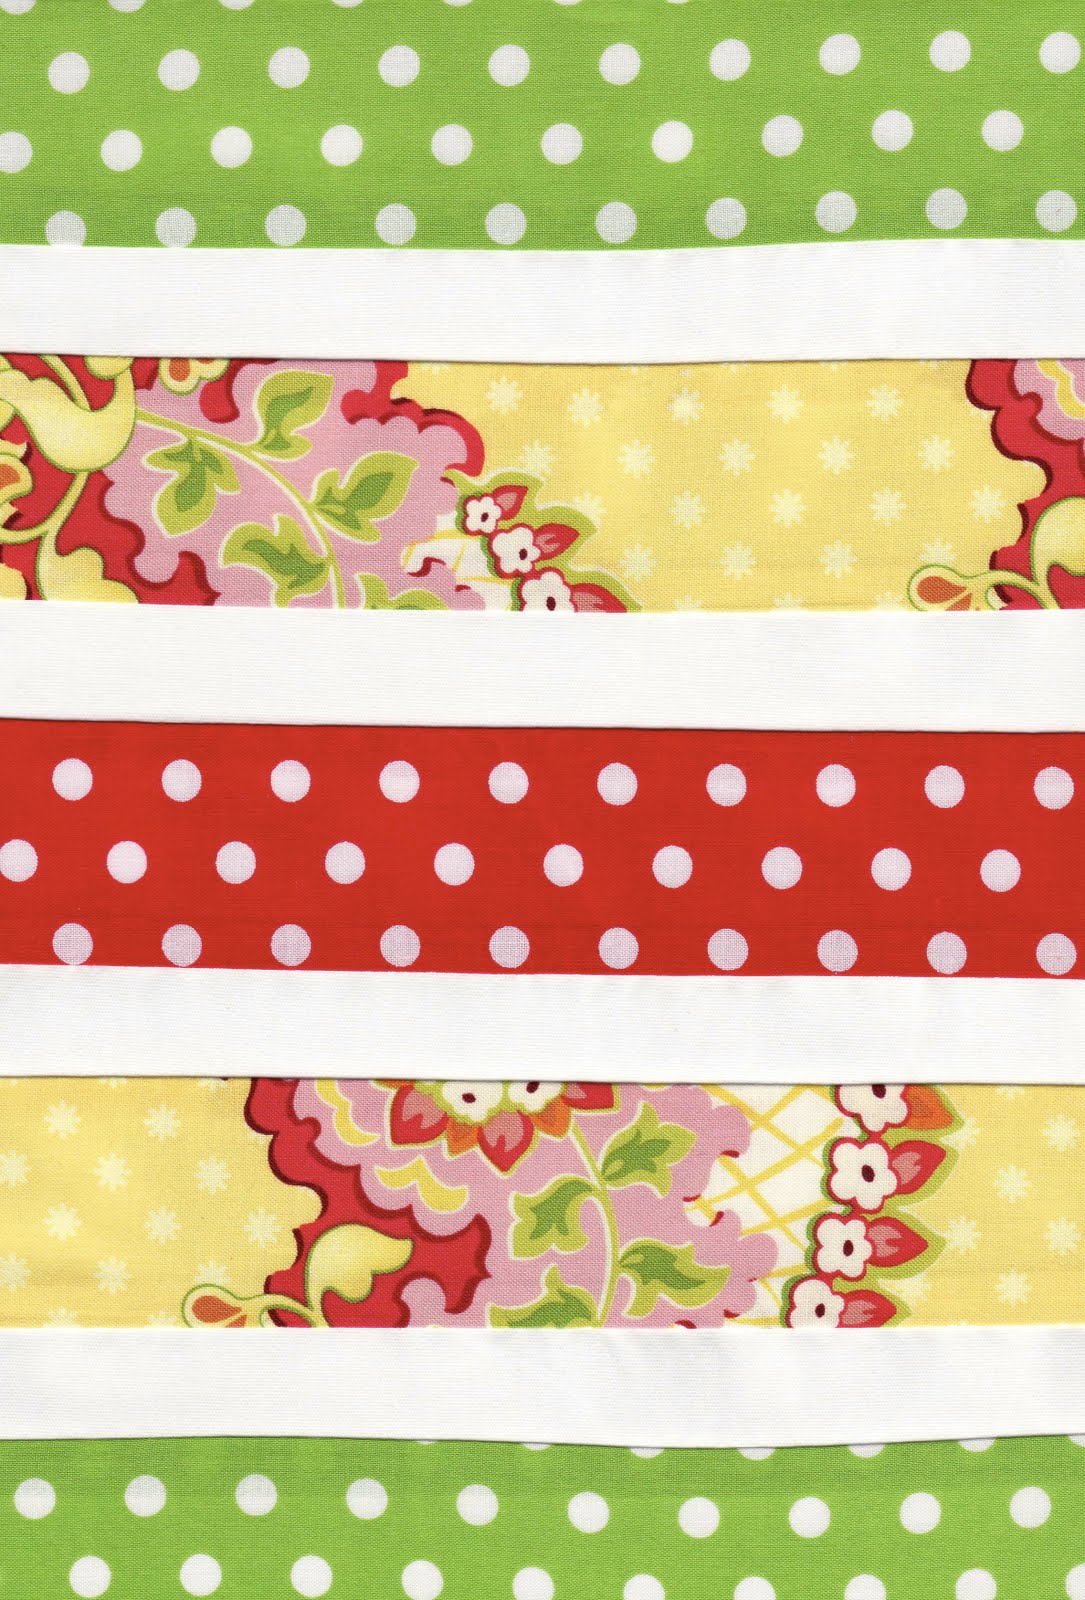
Scan your stitched piece. If you don’t have a scanner, you can place this on the floor and stand above it, doing your best to hold your camera evenly parallel to it. Then you can crop your toes out of the photo if needed.

Print, print, print.
If you like, you can:
- Stitch the printed pages together to make a larger piece of wrapping paper.
- Glue or tape the pages along folded edges.
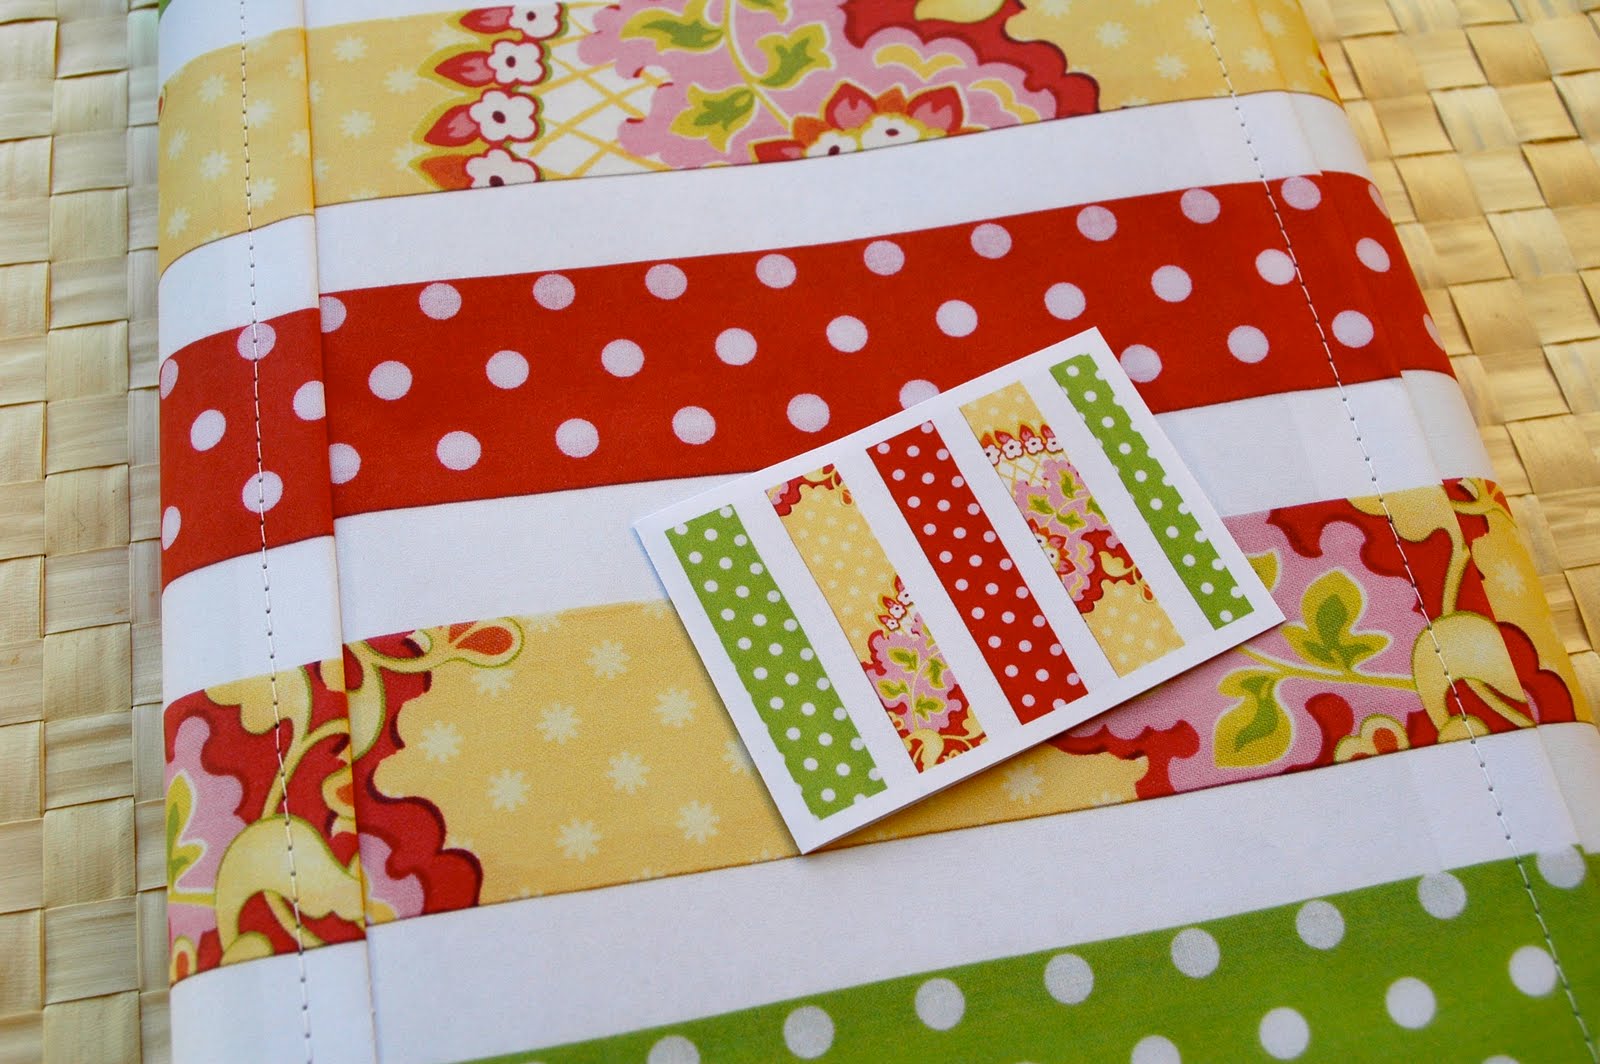
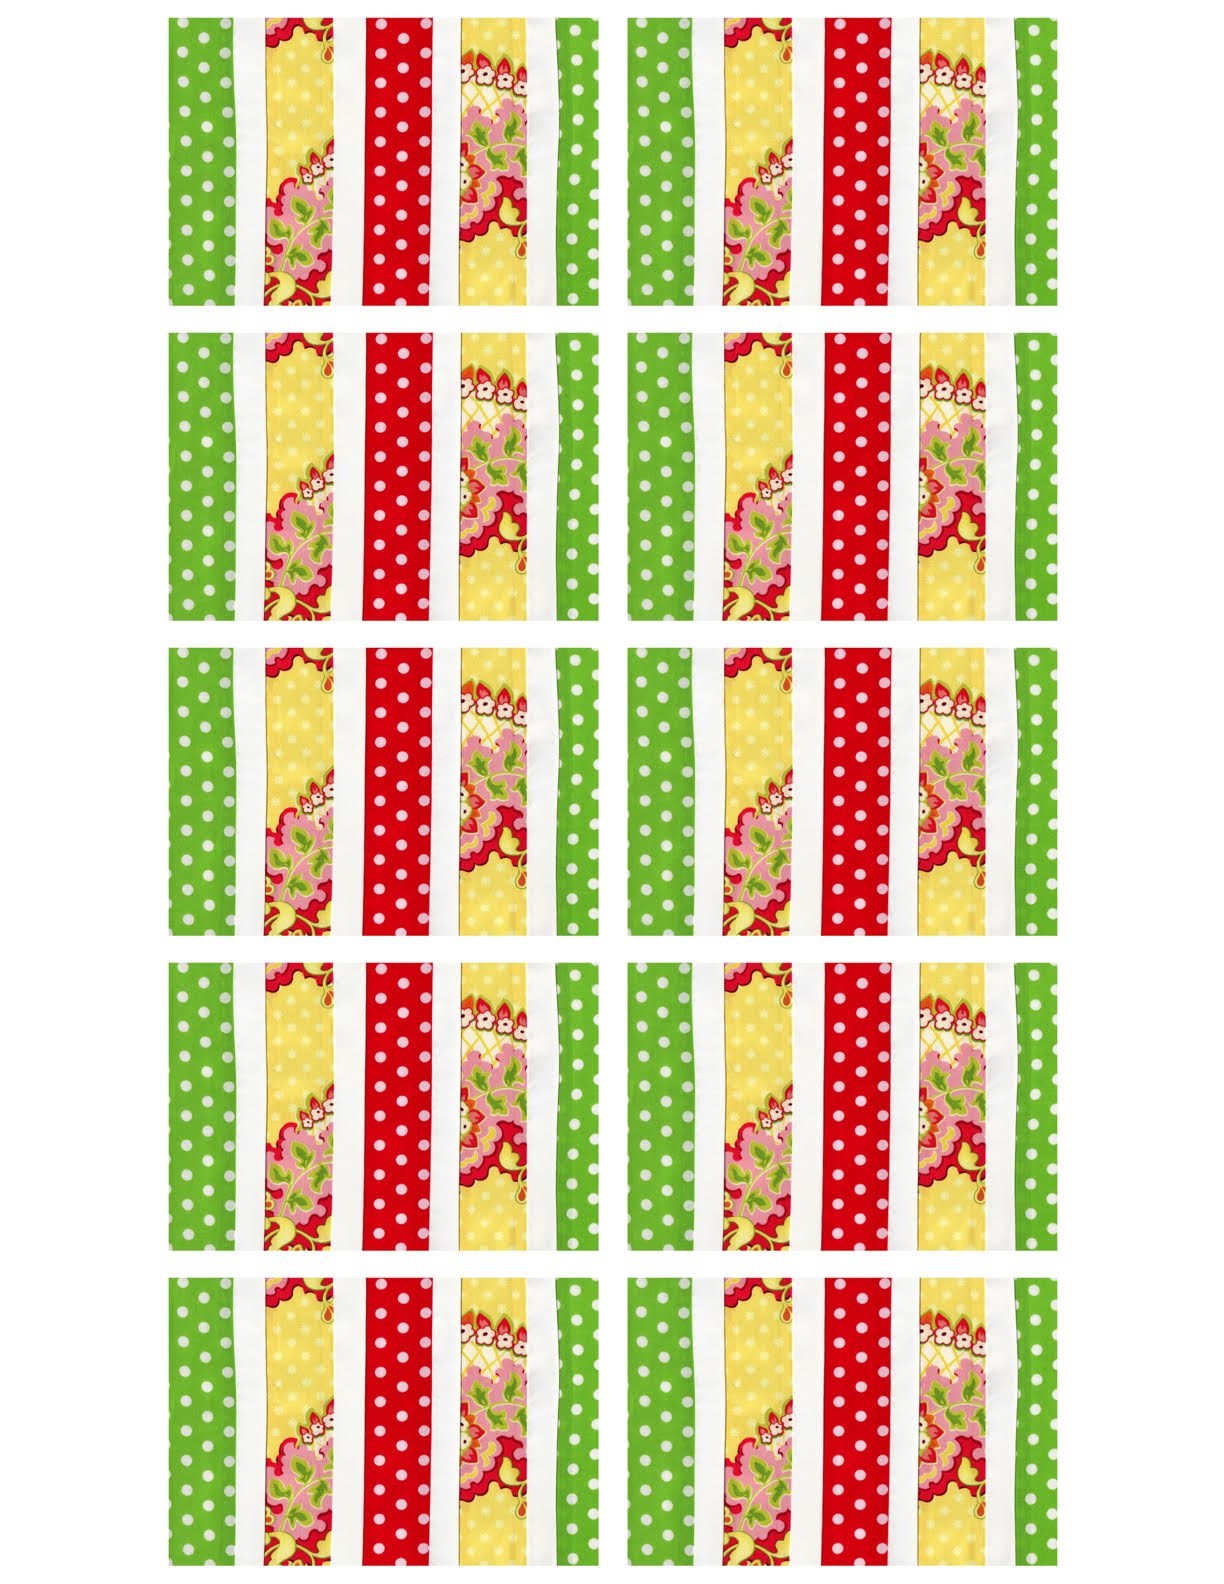
- Reduce your image to make coordinating gift tags. I used my photo editing software and directed it to print ten 2″x3″ images on one sheet.
Or, you’re welcome to try these: (be sure to zoom to get the full-size image)
Get to wrappin’.

Shut up! Best idea ever. Love, love, love it!
My husband read this and said “Um, why did she say shut up?” So I had to do some impressions of proper use of a girly “shut up”. Made me giggly. – Susan
He didn’t know that we say that? SHUT UP!
OMGoodness, I am SO trying this. Now which fabric to choose….that’s the hard part ;) Thanks for such a fabulous idea!