crafterhours

sleeping babes. crafting moms.

  • Tutorials
  • Patterns
  • Shop
  • Contact
  • Follow

Pocket Locket: A Tutorial

December 19, 2009 By crafterhours 9 Comments

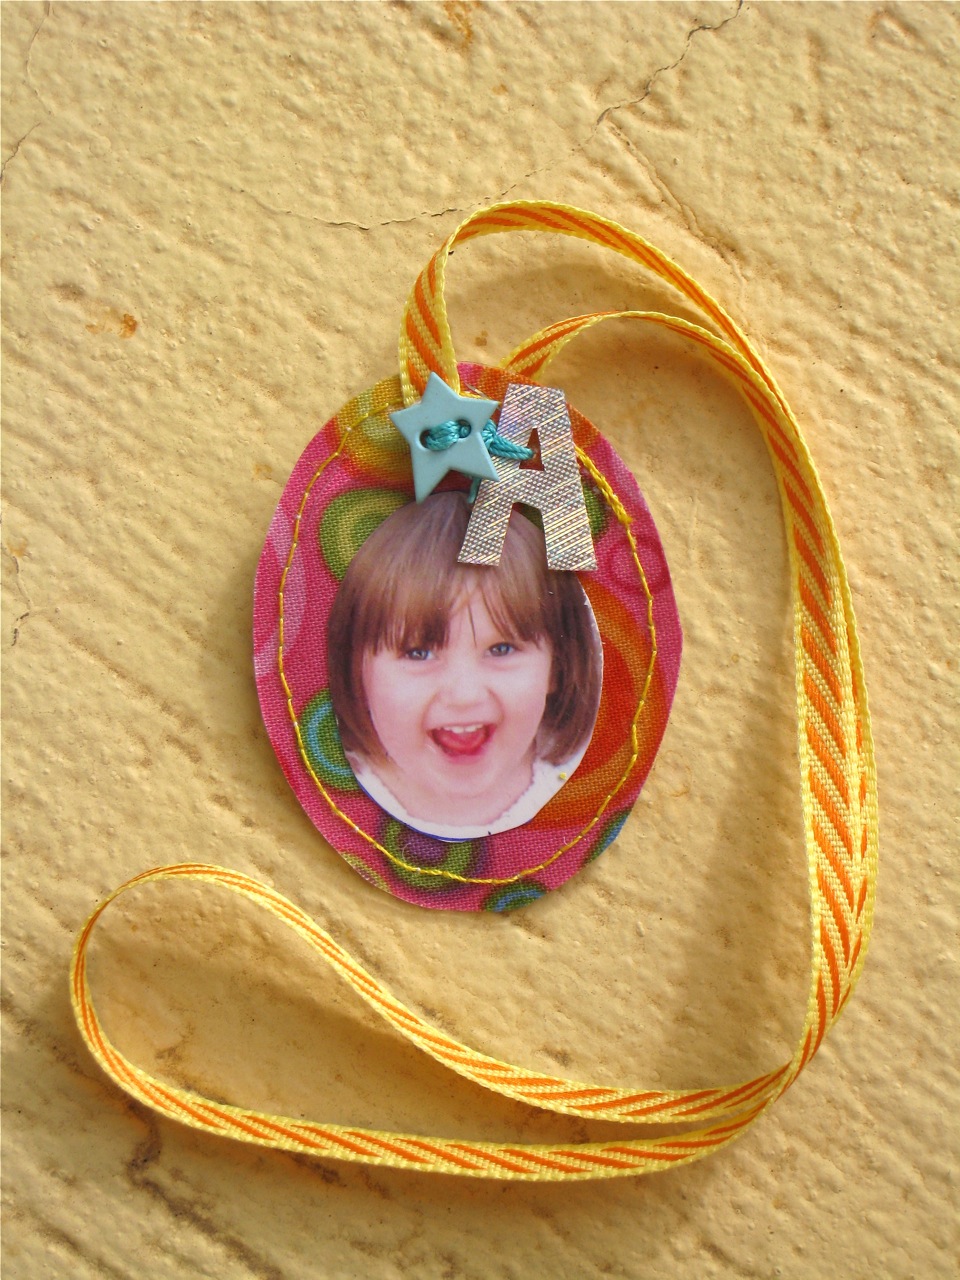
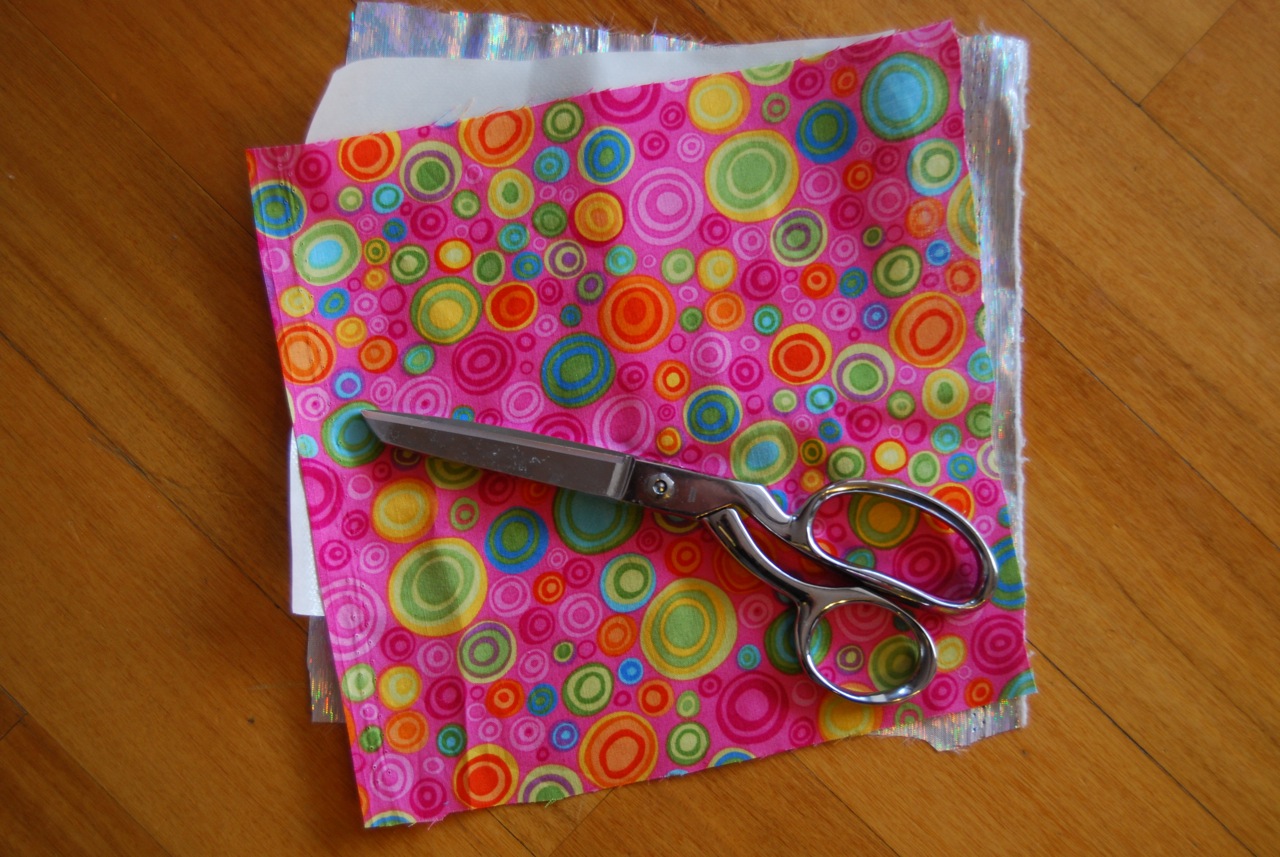
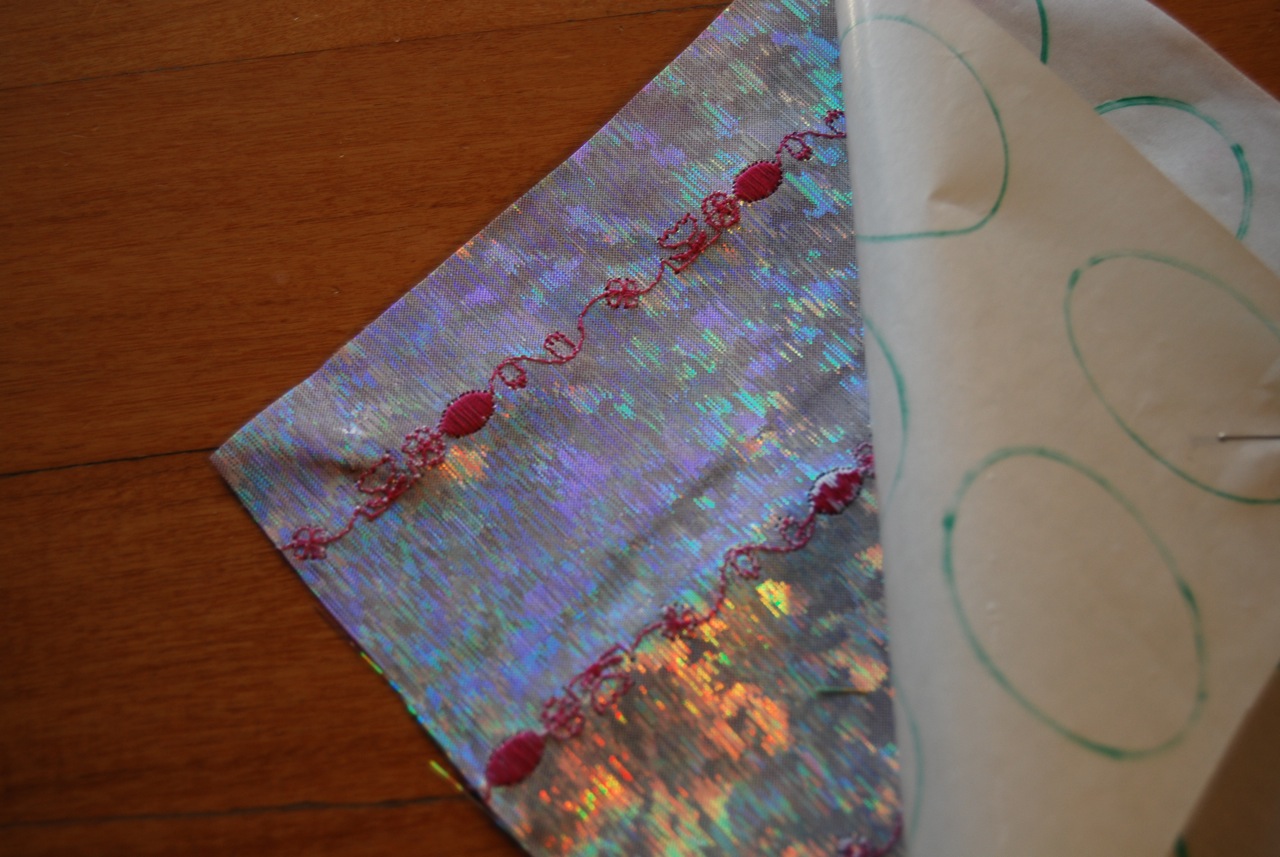
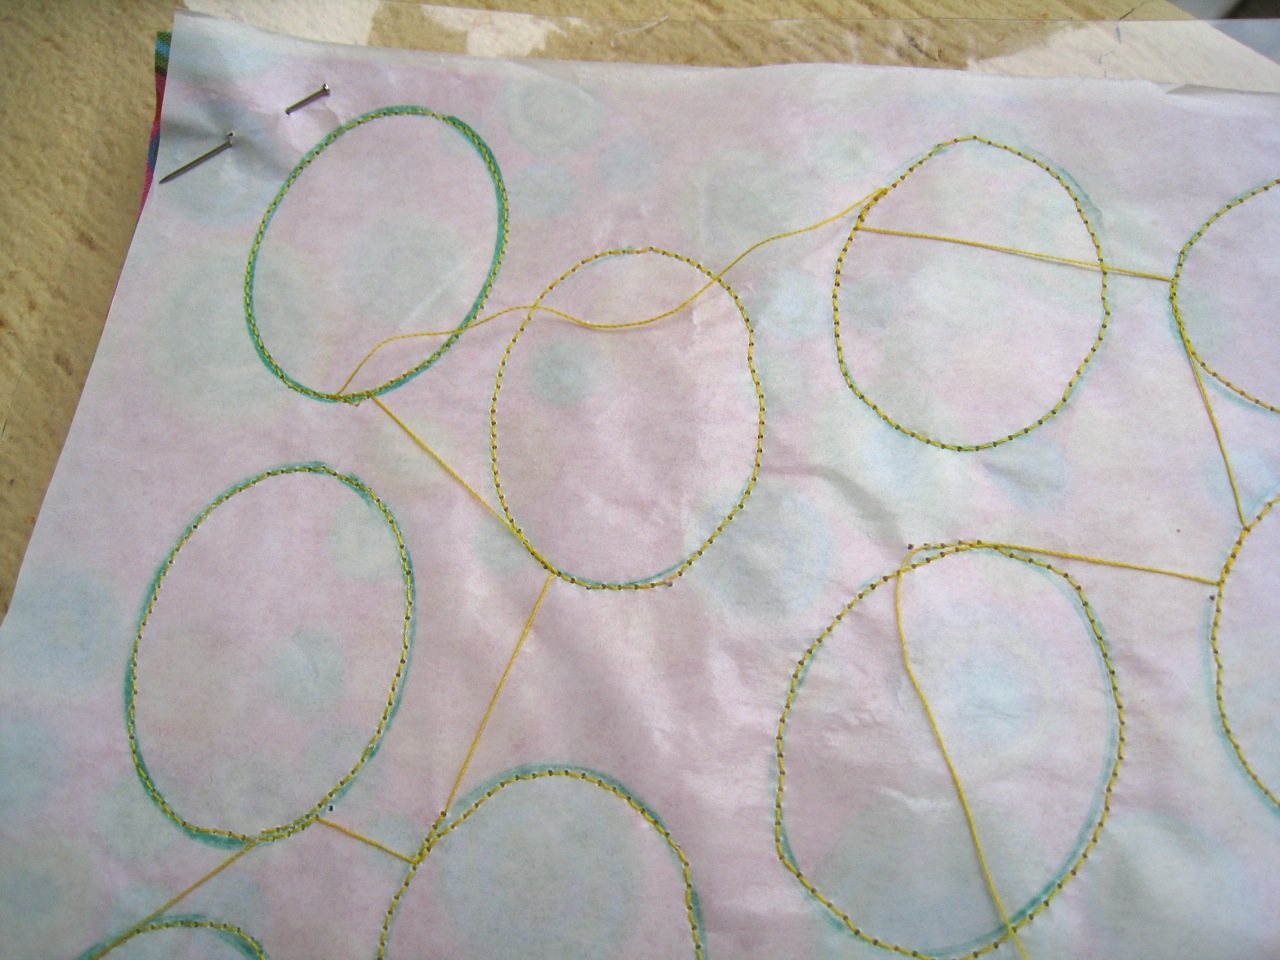
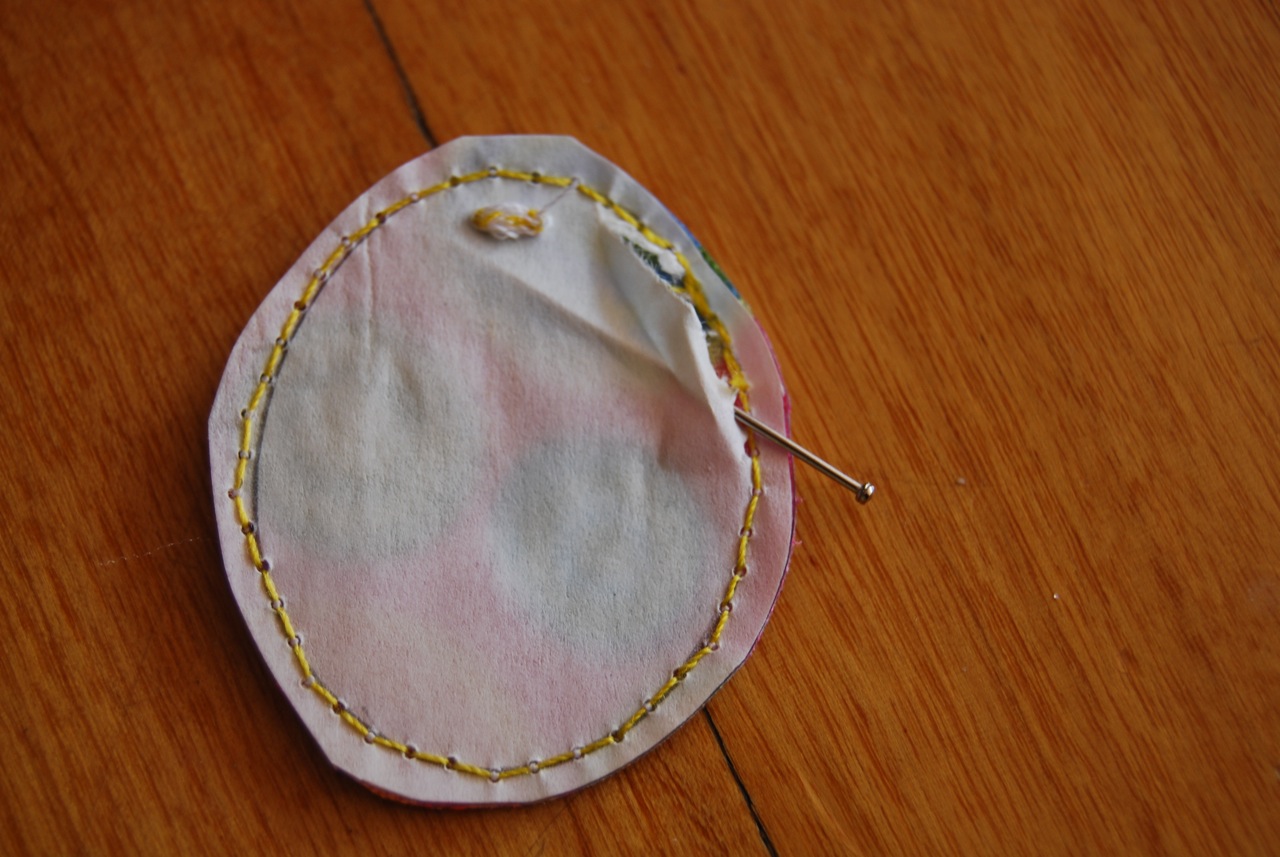
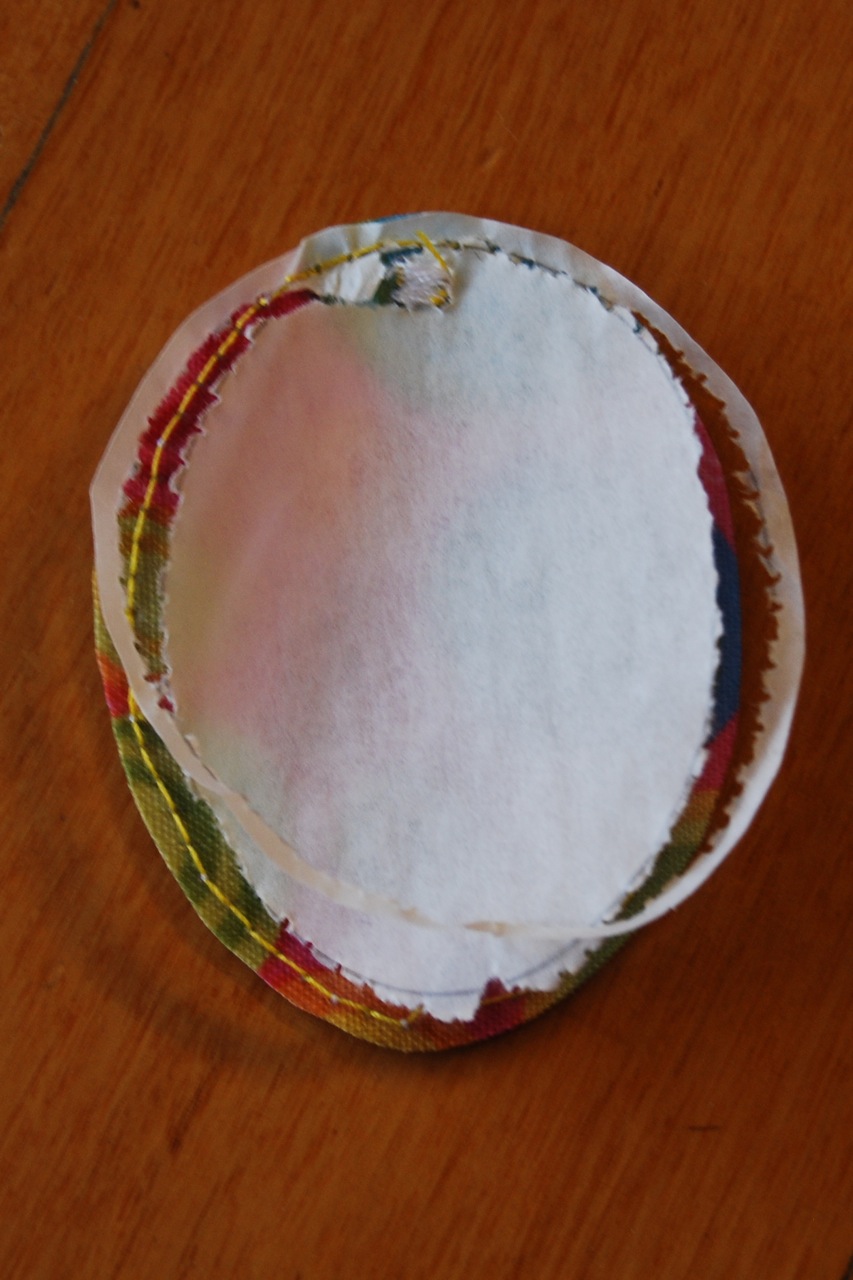
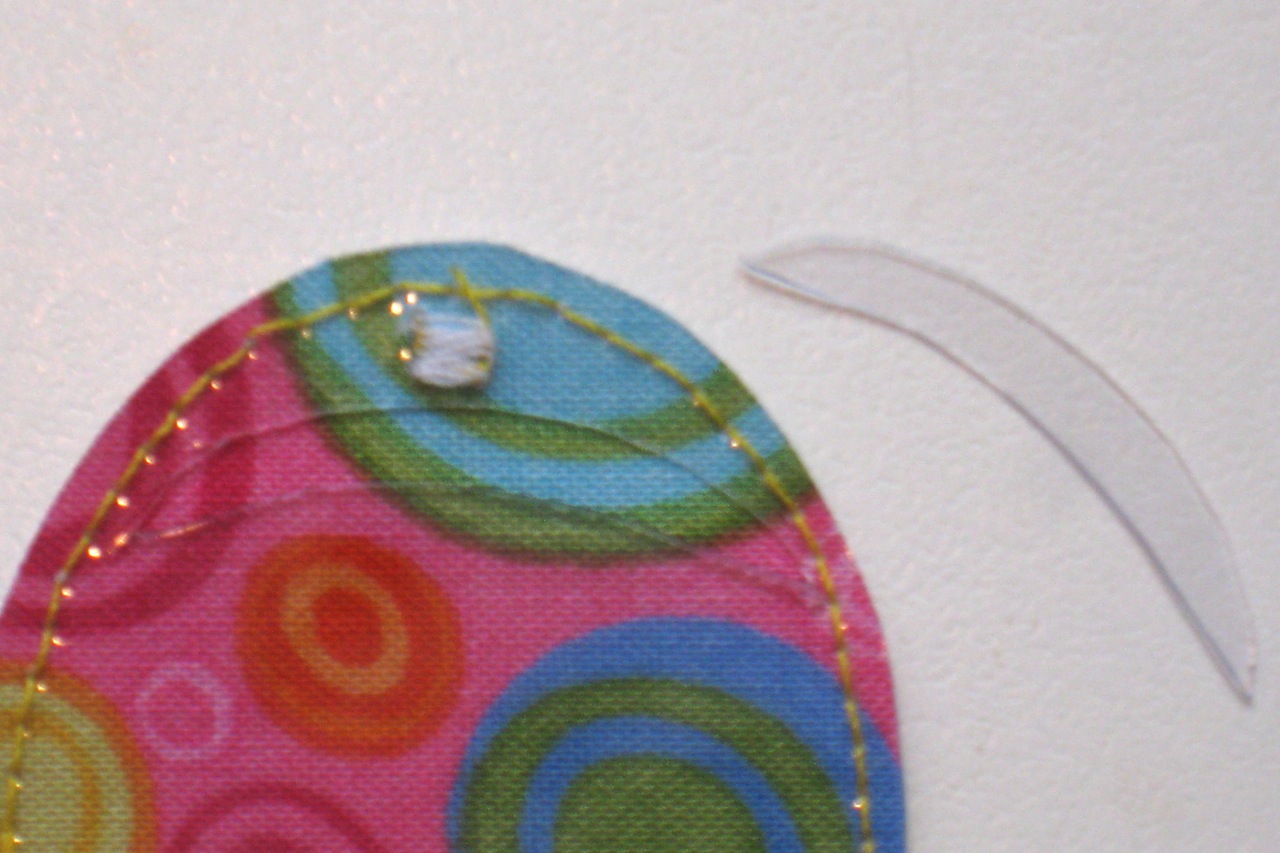
A reasonably quick, fun gift for a little girl in your life. Especially the Curious George type. Instead of opening and closing with a hinge, this locket has a pocket.

A little background on the idea. I thought about getting K a locket. Well, in fact, she has one, but I will not let her hold it, wear it or touch it. Why? Because she puts EVERYTHING in her mouth. Well, it’s not as bad now as it was a few months ago, but still a lot of things go in her mouth. It’s frightening. In fact, it’s been an ordeal. Do you recognize this?

That is one of those snappy metal hair clips. That she swallowed. And immediately told me she swallowed. Another story, but I include this photo to illustrate the source of inspiration.
So working with the idea of a locket and how she could enjoy it without scary mommy moments, I decided to make one with fabric.
Here’s what you need:
Matching-size (mine were about 9″ x 12″) pieces of:
– backing fabric
– facing fabric
– fusible interfacing
– vinyl
– thin scrap paper
Tiny bits of velcro
Scraps of ribbon
Any embellishments you like
Place the fusible interfacing between the wrong sides of your facing and backing fabrics, and iron those suckers together.
If you like, embroider a design on your backing fabric before or after fusing.
Place your vinyl on top of your facing fabric. Place your scrap paper on top of that. Pin this sandwich together at the corners where the pinholes won’t show on your final pieces. Draw your locket shapes. Circle or oval or heart or whatever. I’d say at least two inches long. Any smaller and little fingers will have a tough time with it.  Stitch the shapes with a straight stitch. A shorter stitch length will make the paper easier to remove. I used 2.0.
Stitch a tab of velcro to the top of each locket on the backing side.
Cut out your lockets, just outside of your stitches. No worries about fraying since the fusible interfacing will keep things under control. The scraps left over after you’ve cut the locket(s) are great for cutting little letters and shapes out of. Add ’em to the locket or to hair clips (not for my child, though!) or teeny tiny garlands.
Slide a straight pin into one of the stitching holes. Carefully push the edge of the pin against the paper to tear around the stitching. Using the pin to do this helps keep the stitches from loosening.
Use a straight pin to make a hole on one side of the vinyl large enough to get the tip of some small scissors into. Cut a crescent shape for getting photos (or rocks, or other treasures) in and out.
Attach the corresponding piece of velcro to a length of ribbon. I like folding the velcro in half and the ribbon end in half inside it. Nice and sturdy layering. Stitch these together and trim the extra away.
Stitch the other end of the ribbon to the locket. Come to think of it, I could’ve done this at the same time that I was attaching the velcro to the backing. Live and learn.
Embellish.
Add Martha. Admire. Laugh when your kid asks “Mama, who’s dat?”
Wrap up for a kiddo whose cheeks you want to pinch.
I let K check it out for a photo shoot. Wouldn’t you know it… in her mouth it goes. And that’s why mommy made a pocket locket.

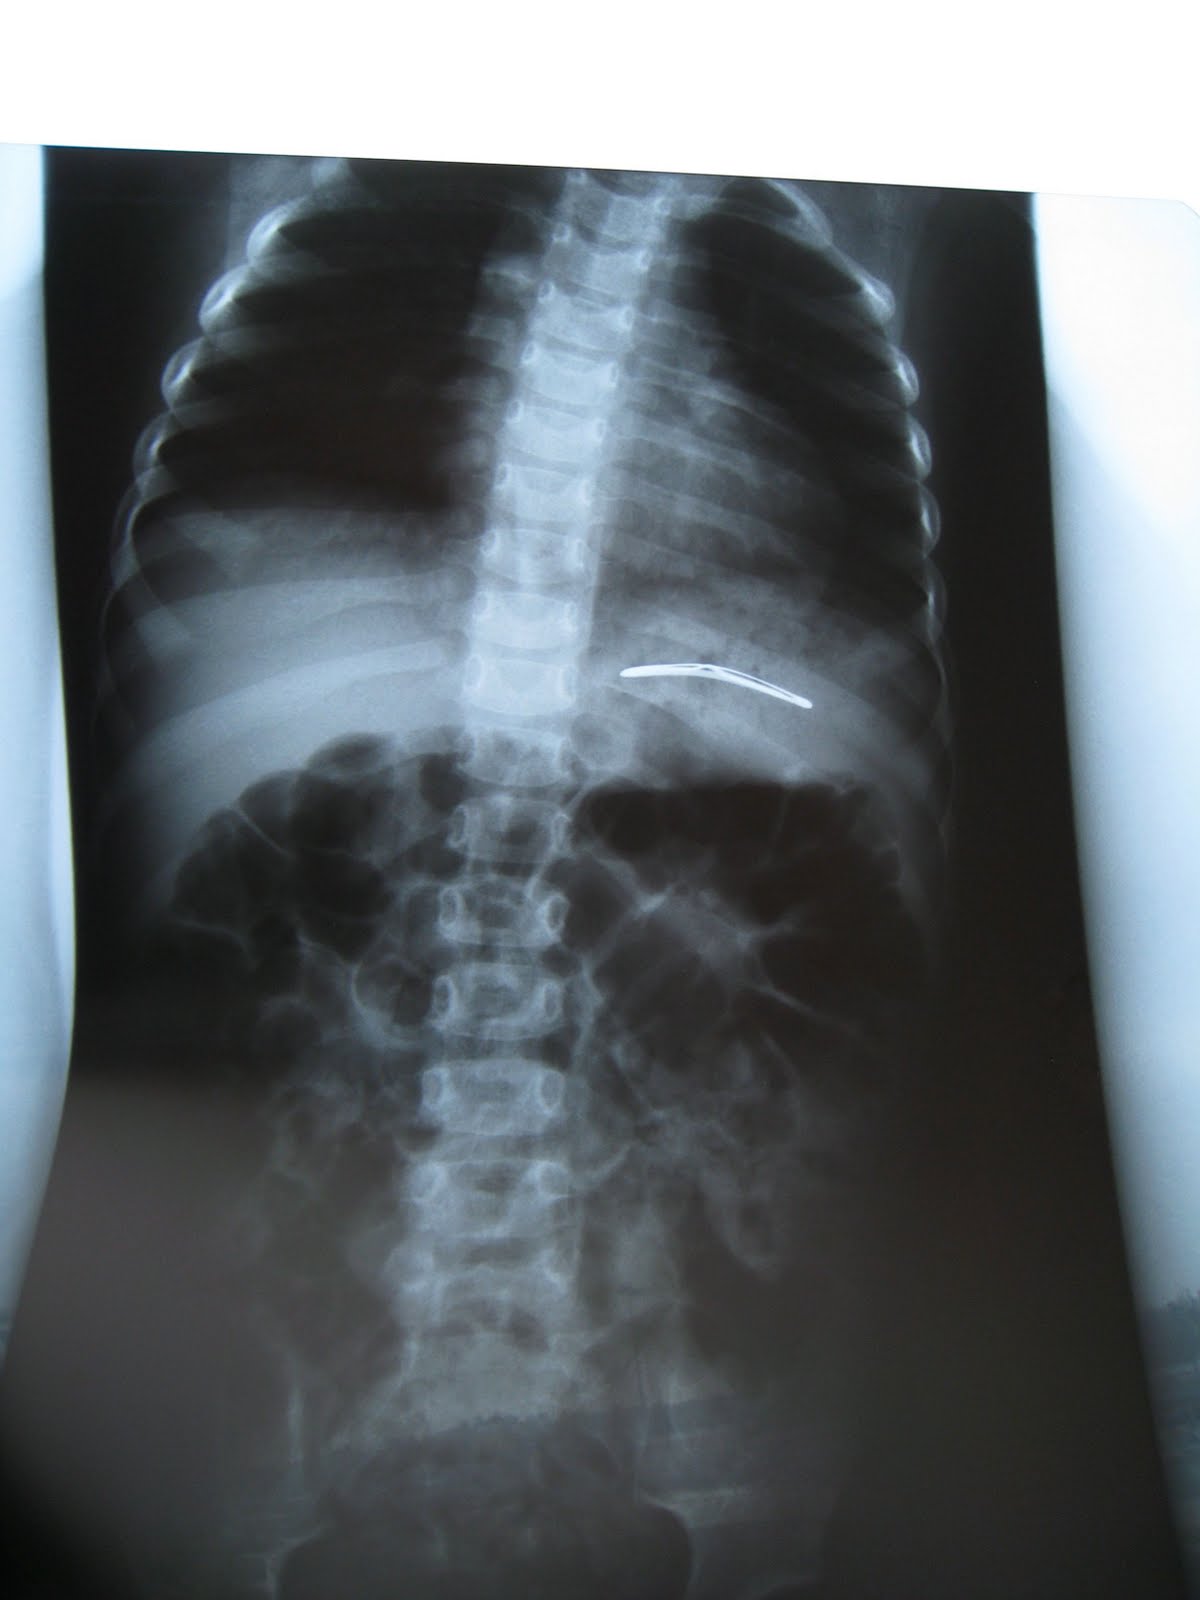
P.S.  Assuming you wanted to know… apparently, the concern for an item like the hair clip is whether they choke on it. Once it’s past the esophagus, the question is whether they pass other things through that are larger. If the answer is yes, you can stop panicking and start waiting to see it again. Exciting! 

Filed Under: tutorial Tagged With: accessory, gift, tutorial

« Feature Friday: Adventures in Dressmaking
Stitched Photo Ornaments: A Tutorial »

Comments

  1. crafterhours says

    December 19, 2009 at 10:17 am

    Ungh, i love this so much it hurts. so much that i’m commenting on my own blog, when I really could just call you and tell you. so much that i really reallllllly hope my girls are getting a pocket locket for christmas…

    Adrianna

    Reply
  2. Kayla says

    December 19, 2009 at 6:53 pm

    Confused. You are embellishing over the vinyl opening? How can you change out the picture?

    Reply
  3. MAB says

    December 19, 2009 at 9:21 pm

    Love that you included the x-ray. I swallowed a dime when I was little, and I still have the x-ray. As a first grade teacher, I pull it out every year and talked to my students about what goes in your mouth and what doesn’t! Glad your little girl is okay!

    Reply
  4. casserole says

    December 19, 2009 at 11:45 pm

    There’s a little drool spot in front of my keyboard right now. This is utterly FABULOUS!!!

    I featured your tutorial on Craft Gossip Sewing:
    http://sewing.craftgossip.com/tutorial-sew-a-fabric-locket/2009/12/19/

    You ROCK!
    –Anne

    Reply
  5. crafterhours says

    December 20, 2009 at 12:49 am

    Hi Kayla,
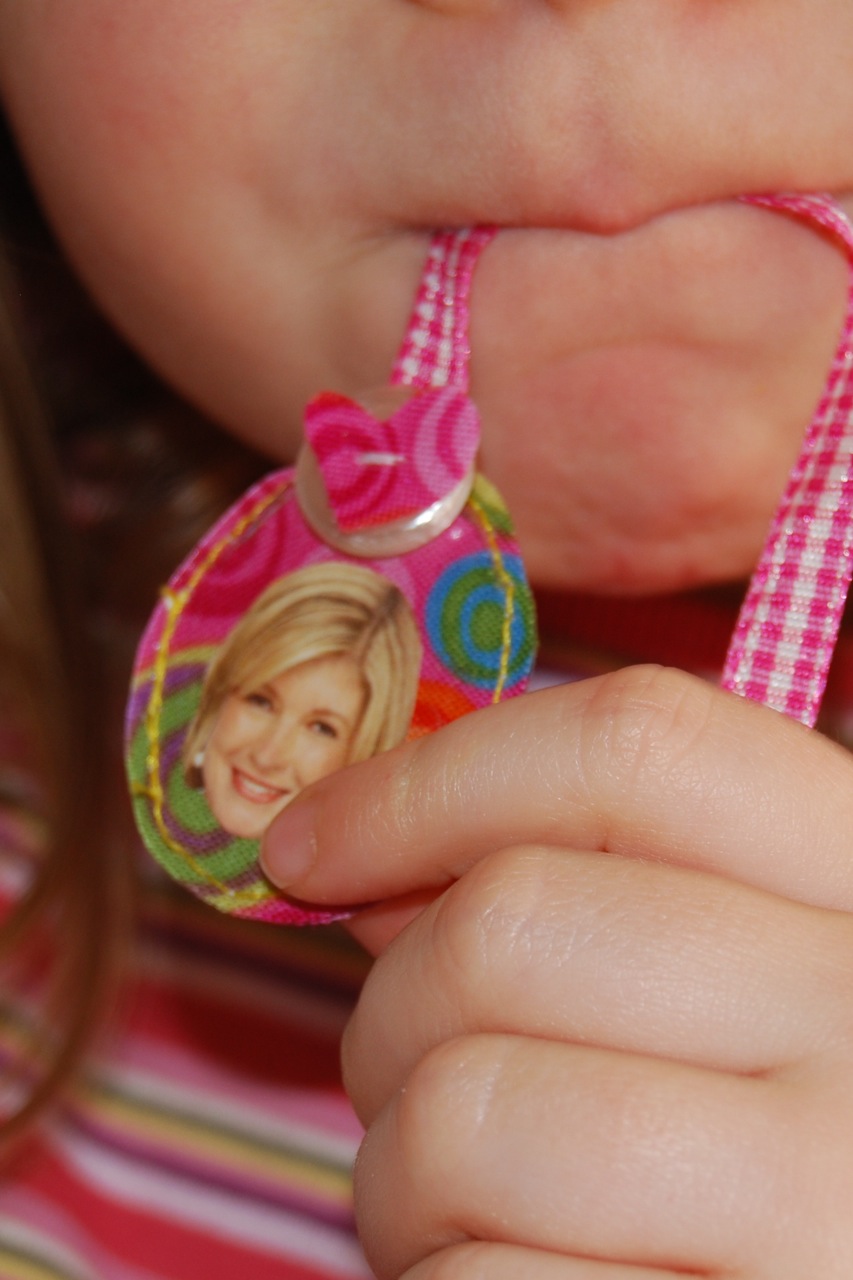
    The embellishment is just above the opening for picture changing. Since it’s all flexible, you just bend it back a bit. The opening could also be larger if you like. Or, if you want one item to stay in there for a good while, you could put it in there before stitching the pieces together. And then you can always change your mind and cut the opening later. I make myself nuts thinking about 57,455 variations.
    Susan

    Reply
  6. Disney says

    December 20, 2009 at 1:41 am

    Haha! I love the swallowed hair clip. I would freak, so I’m glad you told me about what the Dr. said….in case it ever happens!
    I loooove the pocket locket. I really enjoy saying it out loud, actually. This is perfect for kids!

    Reply
  7. Anonymous says

    January 7, 2010 at 4:42 pm

    Love your craftiness but your comment about your daughter putting everything in her mouth (and occasionally swallowing) made me remember that I just saw one of those crime drama shows about a boy who had Pica (https://health.google.com/health/ref/Pica). I don’t mean to scare you I promise! Maybe just check out the article and see if anything sounds familiar and ask your doctor about it. Happy crafting!

    Reply
  8. Mina says

    April 22, 2010 at 8:10 am

    This is such a great idea and I love the fabrics!!!
    The X-Ray picture was so interesting to see here…

    have a great day of inspiration, and, thank you!

    Reply
  9. emedoodle says

    June 4, 2010 at 2:53 am

    Oh my! My daughter (2yrs old) wears hearing aids… and a couple weeks ago we thought she might have swallowed the ear mold part (about the size of a quarter, the part that fits snug in her ear and made out of silicone)… that was NOT fun. Didn’t swallow it. But tries to eat those darn hearing aid batteries as often as I take my eyes off her. The hazards of hearing. She’d looove these though!

    Reply

Leave a Reply Cancel reply

Your email address will not be published. Required fields are marked *

Search This Blog

Archives

Popular posts

  • FREE Pattern: Monkey Bar Skirt
  • A Note on Sewing Skirts for Girls
  • T-Shirt to Tank: A Tutorial by Jen from Upcycled Education
  • Side Panel Shirt Refashion: A Tutorial
  • Racerback Dress: A Tutorial + PDF Pattern
Visit Susan Yates's profile on Pinterest.

Our Privacy Policy

This Site is affiliated with Monumetric (dba for The Blogger Network, LLC) for the purposes of placing advertising on the Site, and Monumetric will collect and use certain data for advertising purposes. To learn more about Monumetric’s data usage, click here: http://www.monumetric.com/publisher-advertising-privacy

Copyright © 2026 ·Foodie Child Theme · Genesis Framework by StudioPress · WordPress · Log in


Creative Commons License
This work is licensed under a Creative Commons Attribution-NonCommercial-ShareAlike 3.0 United States License.
»
«