crafterhours

sleeping babes. crafting moms.

  • Tutorials
  • Patterns
  • Shop
  • Contact
  • Follow

Trimming (the cost of) a Project: A Tutorial

December 9, 2009 By crafterhours 10 Comments

In the latest issue of Threads, there’s a quick little piece about trimming a pillow. I’m not working on any pillows right now but I am working on a crib bumper. Adrianna, another friend and I are making coordinating baby stuff for a friend due in January out of Anna Maria Horner’s Good Folks collection. I needed to trim the top and bottom edges of the crib bumper, but I don’t want anything that will distract from the fabrics themselves that are on their own pretty busy. I also don’t want to wait for trim to get here, since I won’t likely find anything I like locally. I also wouldn’t mind not spending more on the project if I can make something myself…

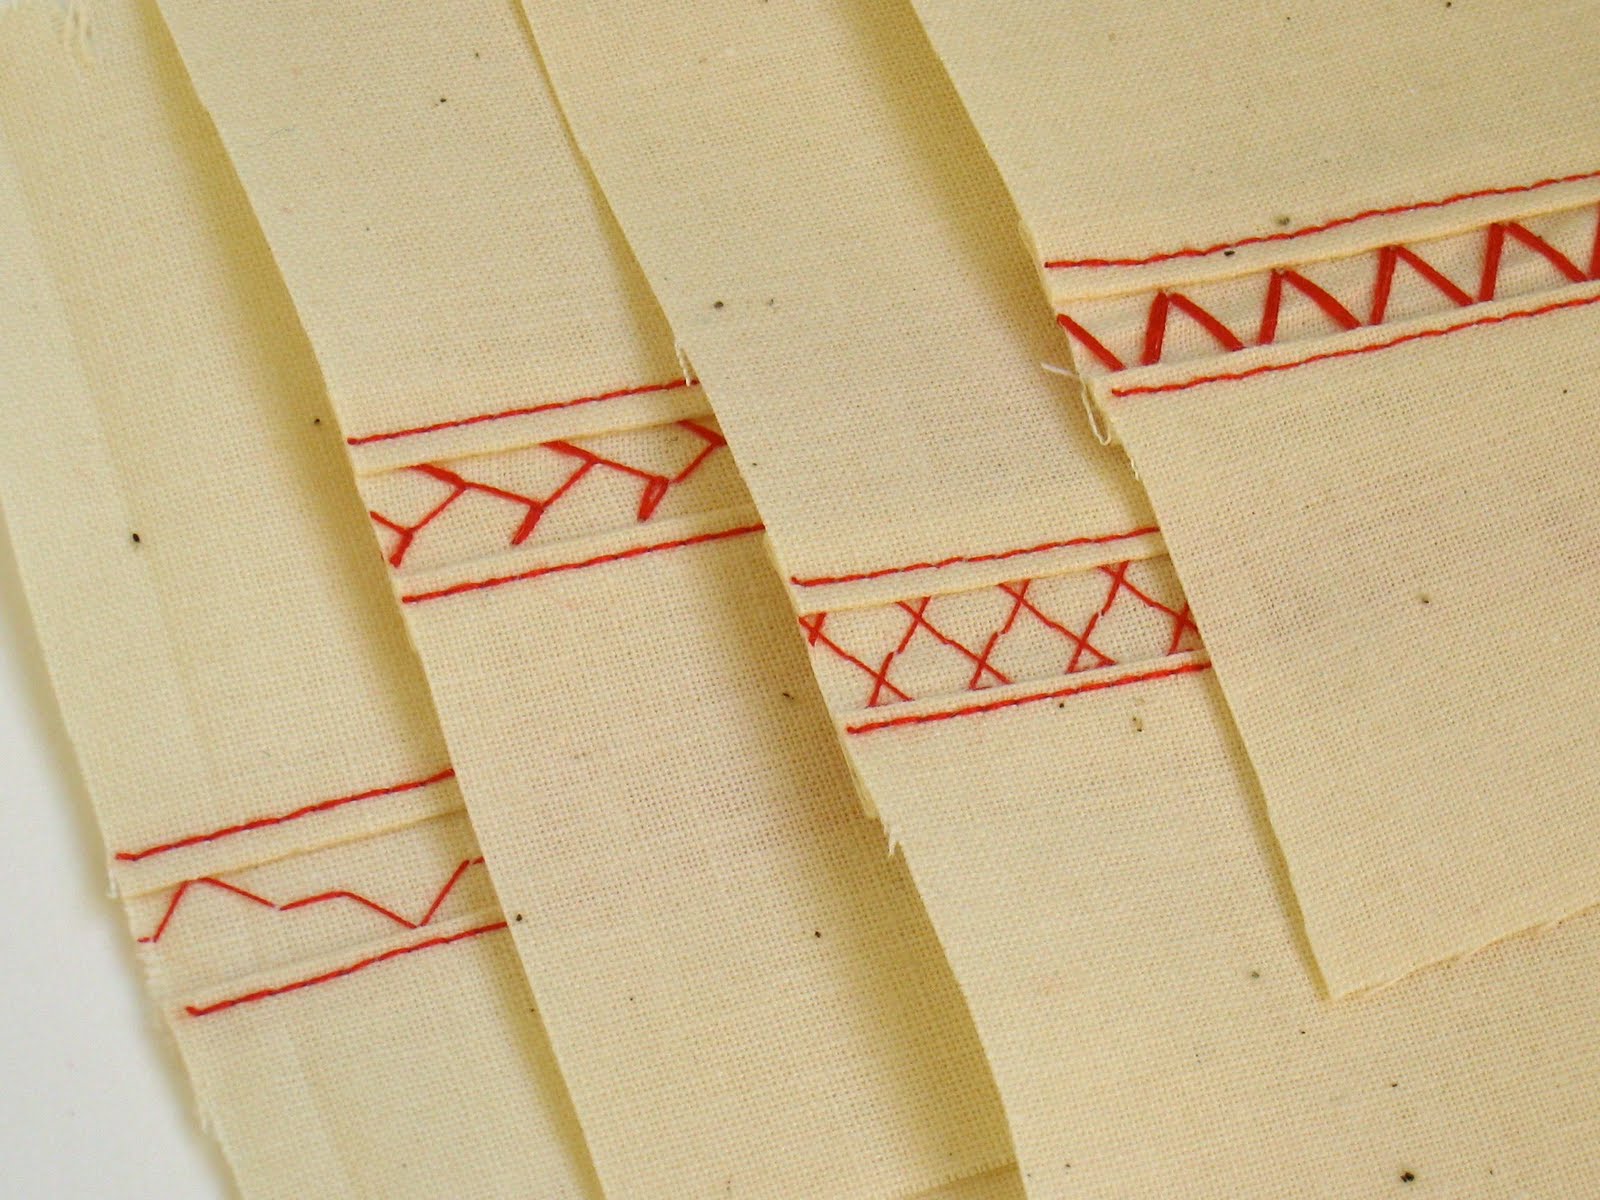
With the Threads article in mind, I made this bit of trim as a trial for sashing that will be part of a crib bumper. Well, I made a little piece first, and then I made 3+ yards of it.

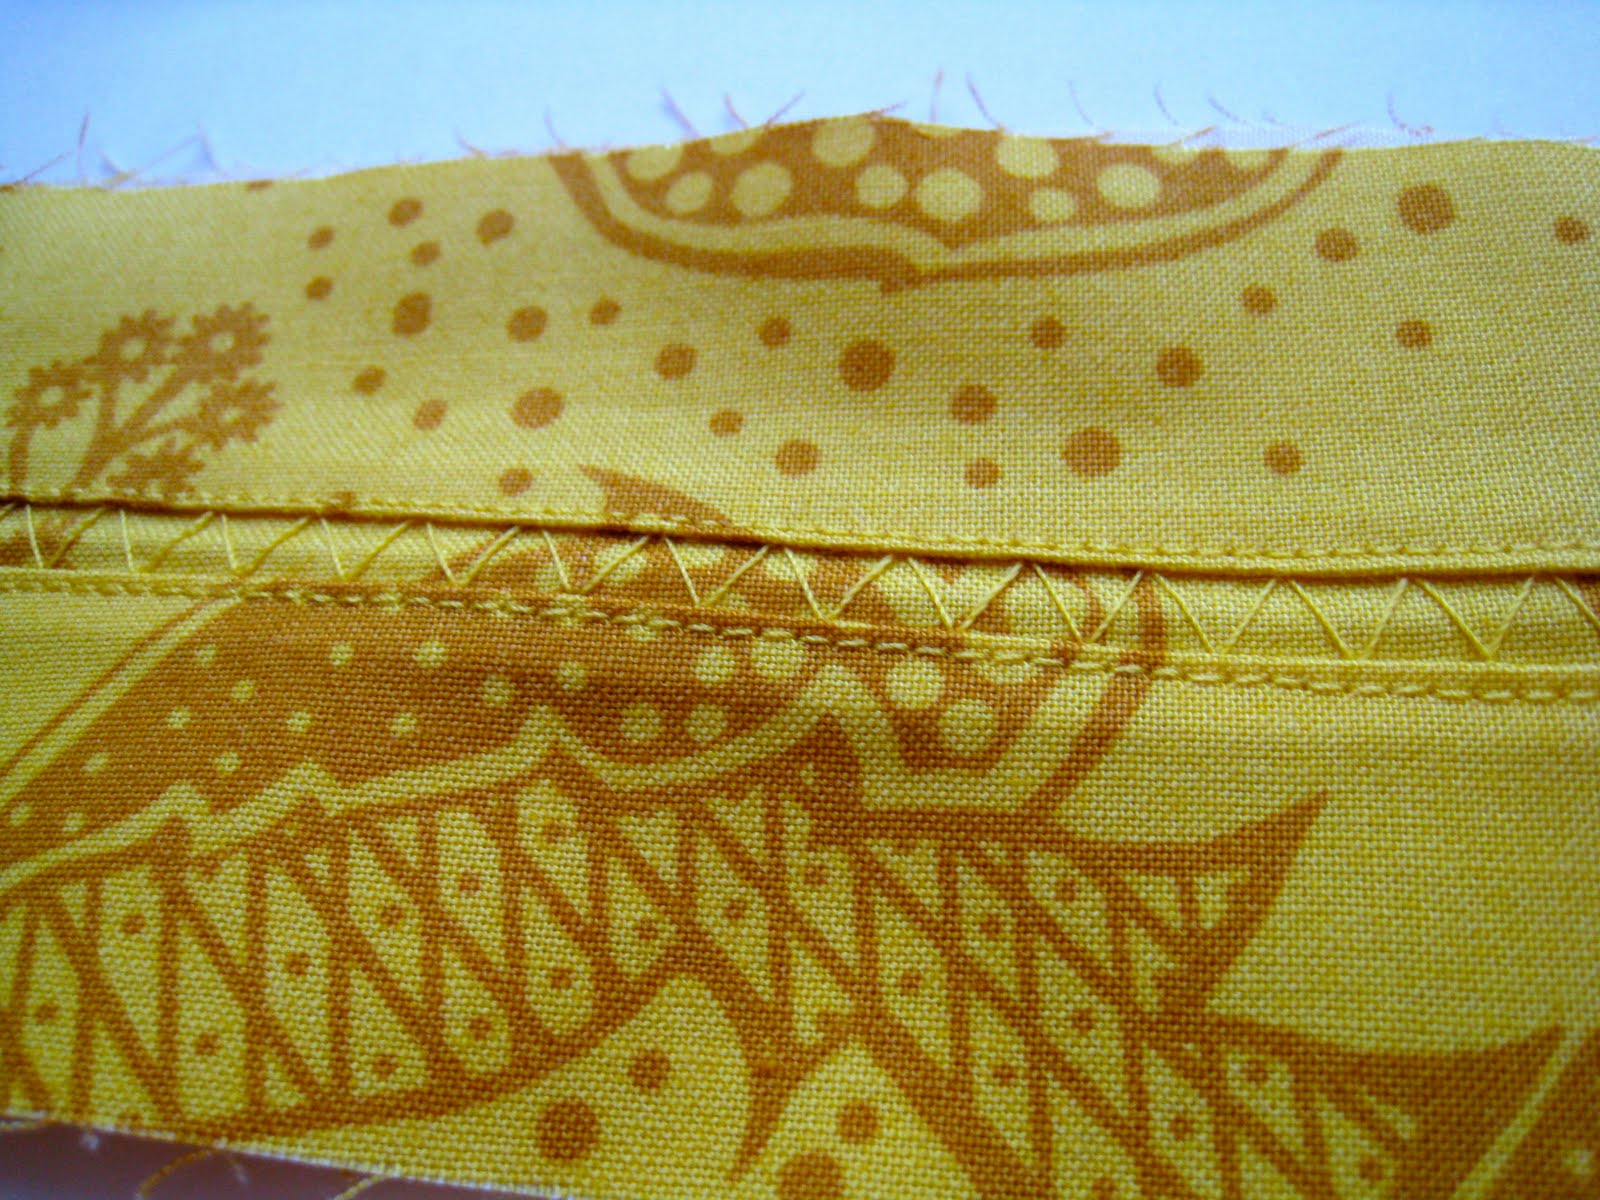
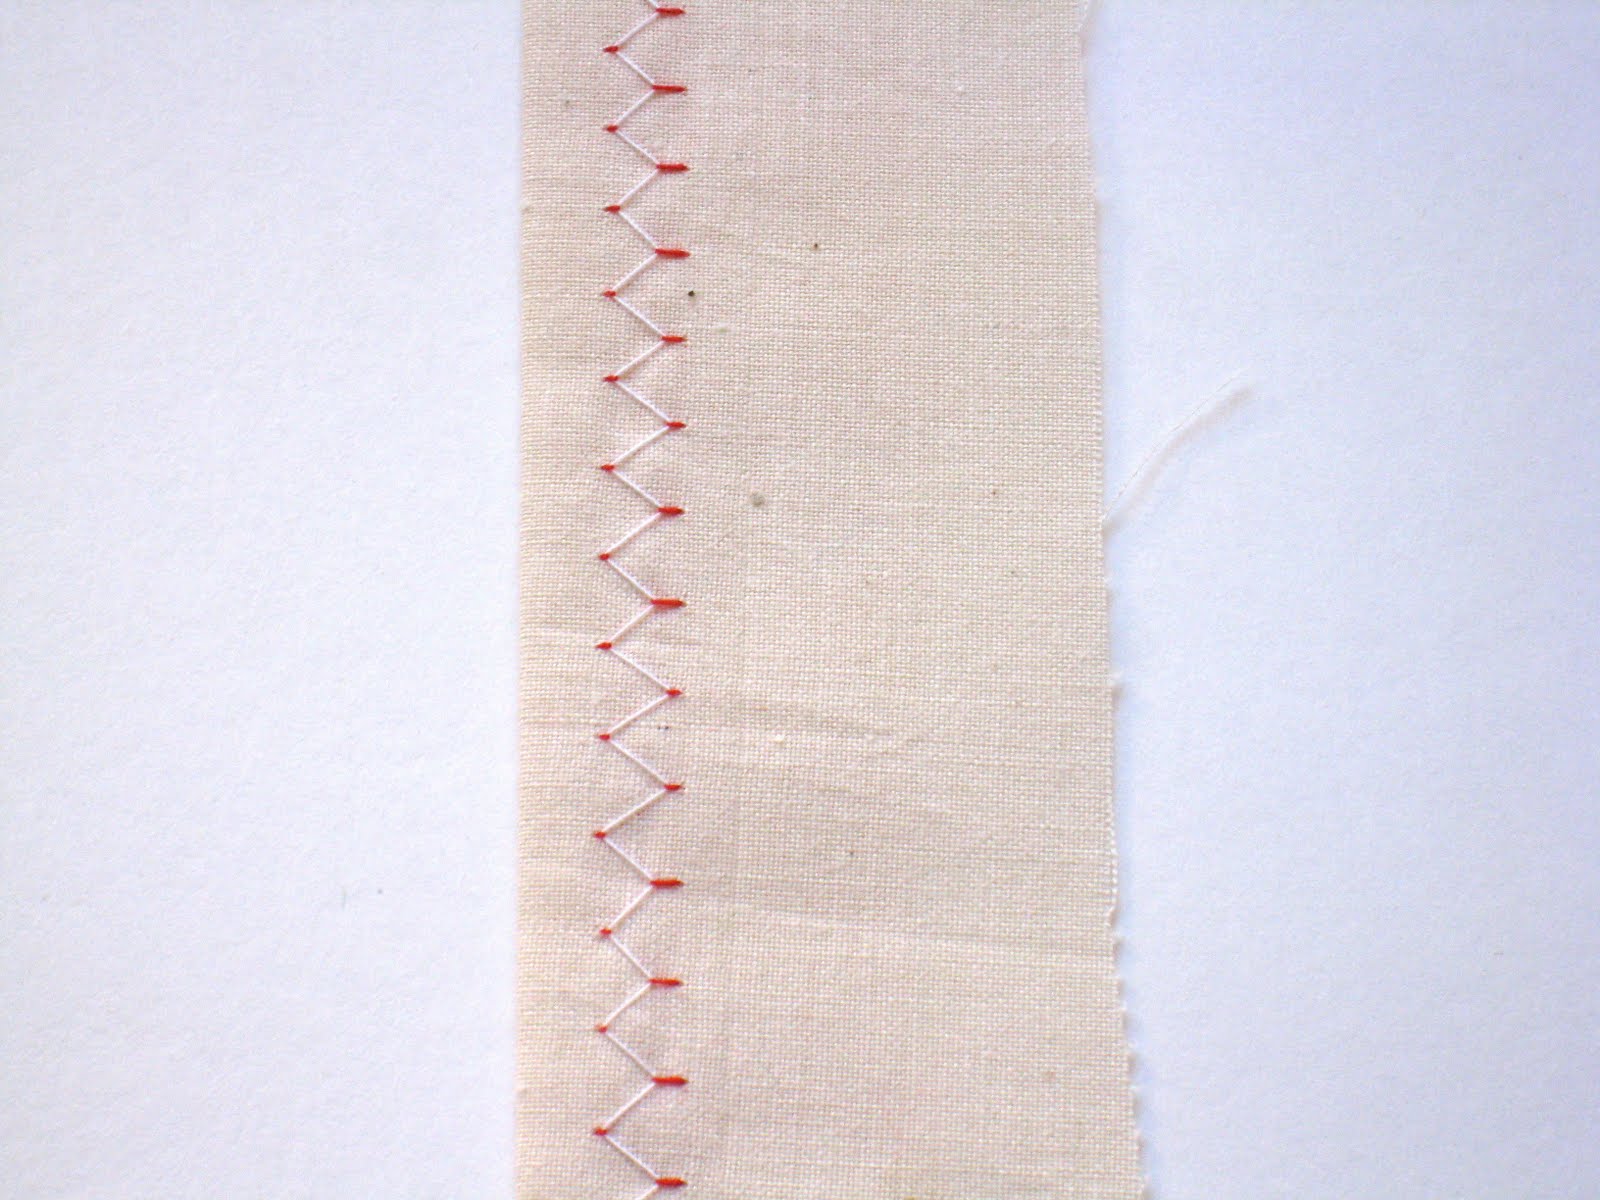
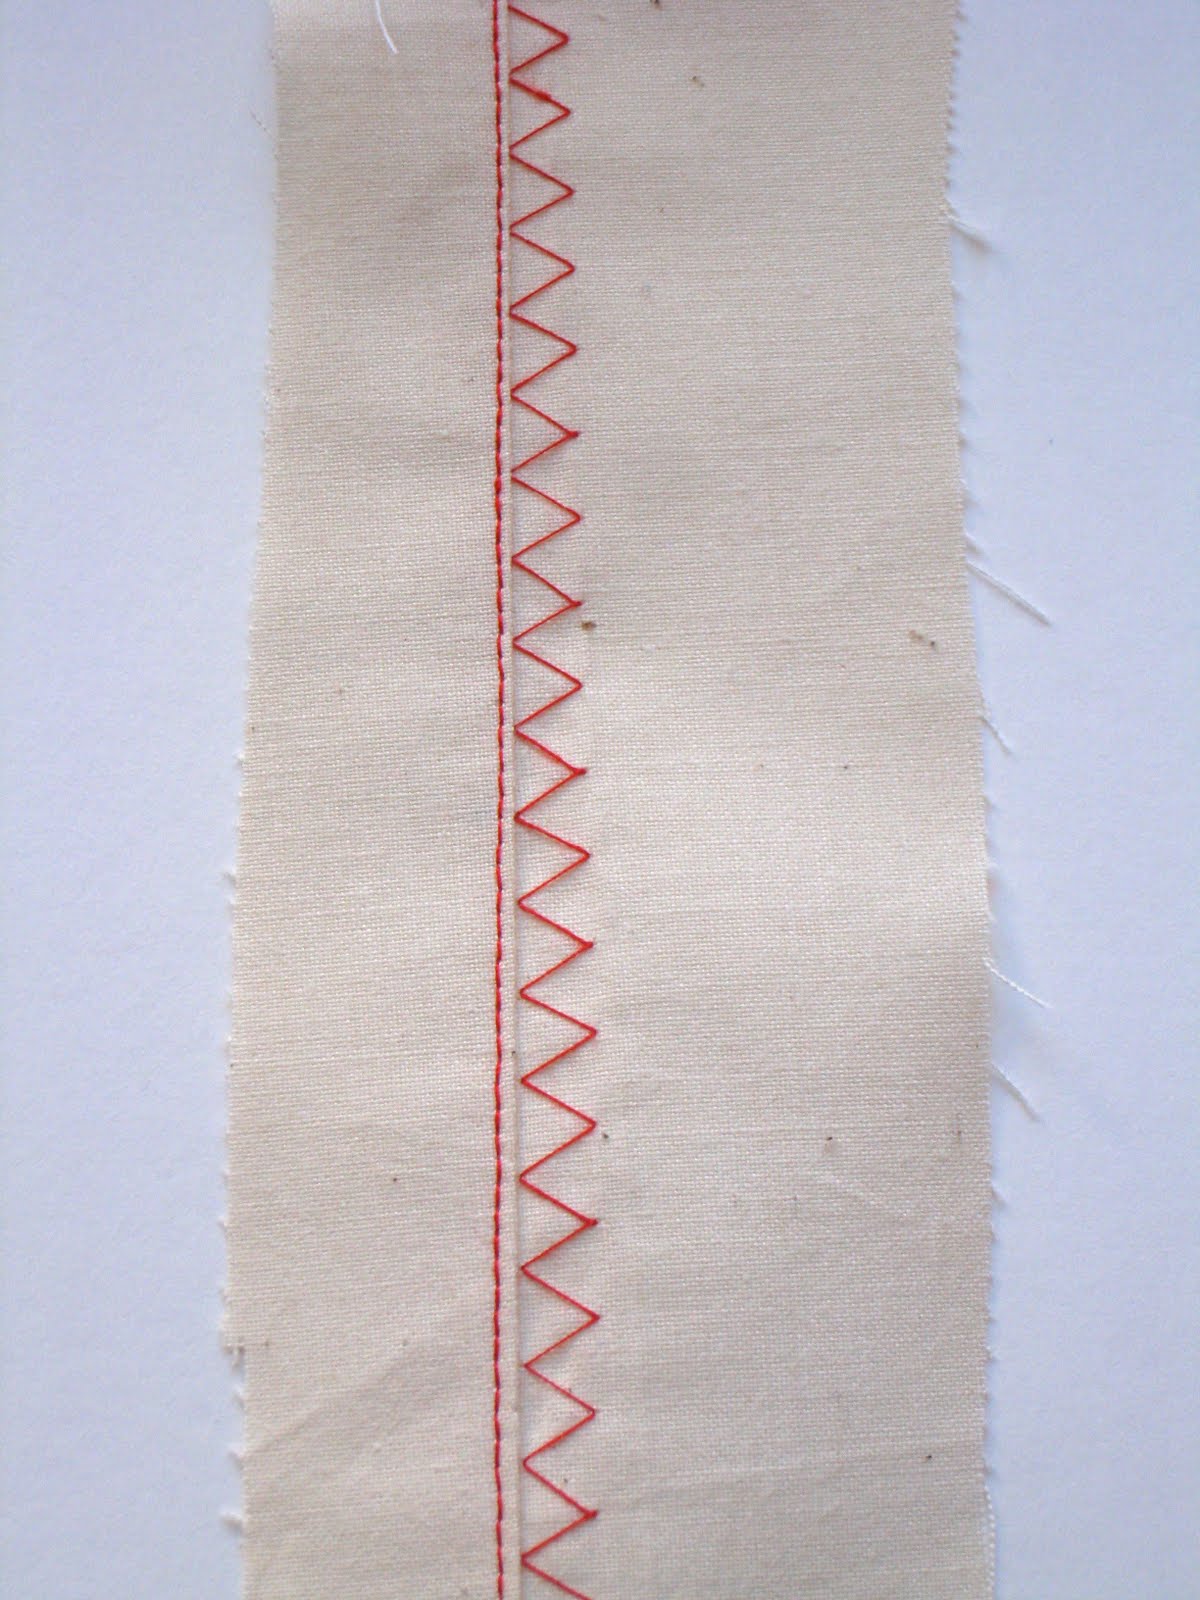
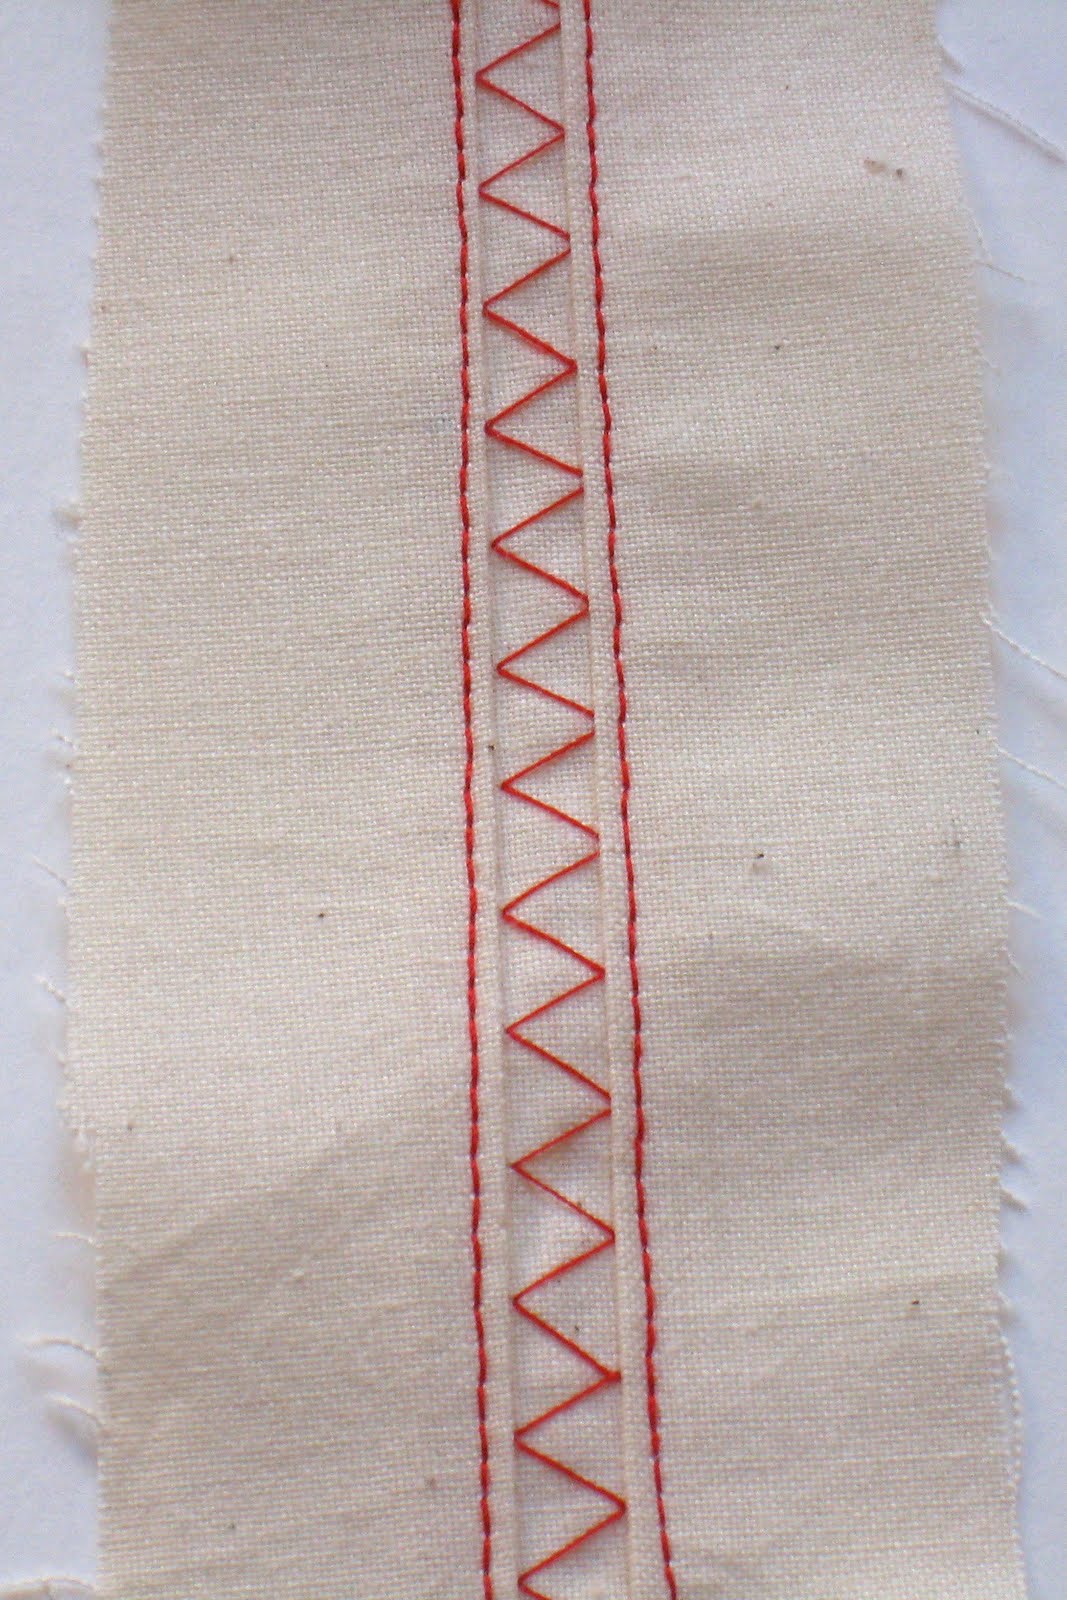
And I thought I’d show you how. It’s so easy. And reasonably quick. And fun. And now I can’t stop thinking about variations on it. And layering it. Since my original piece is pretty low-contrast, I used unbleached muslin and red thread for this demo. And now I love that too.

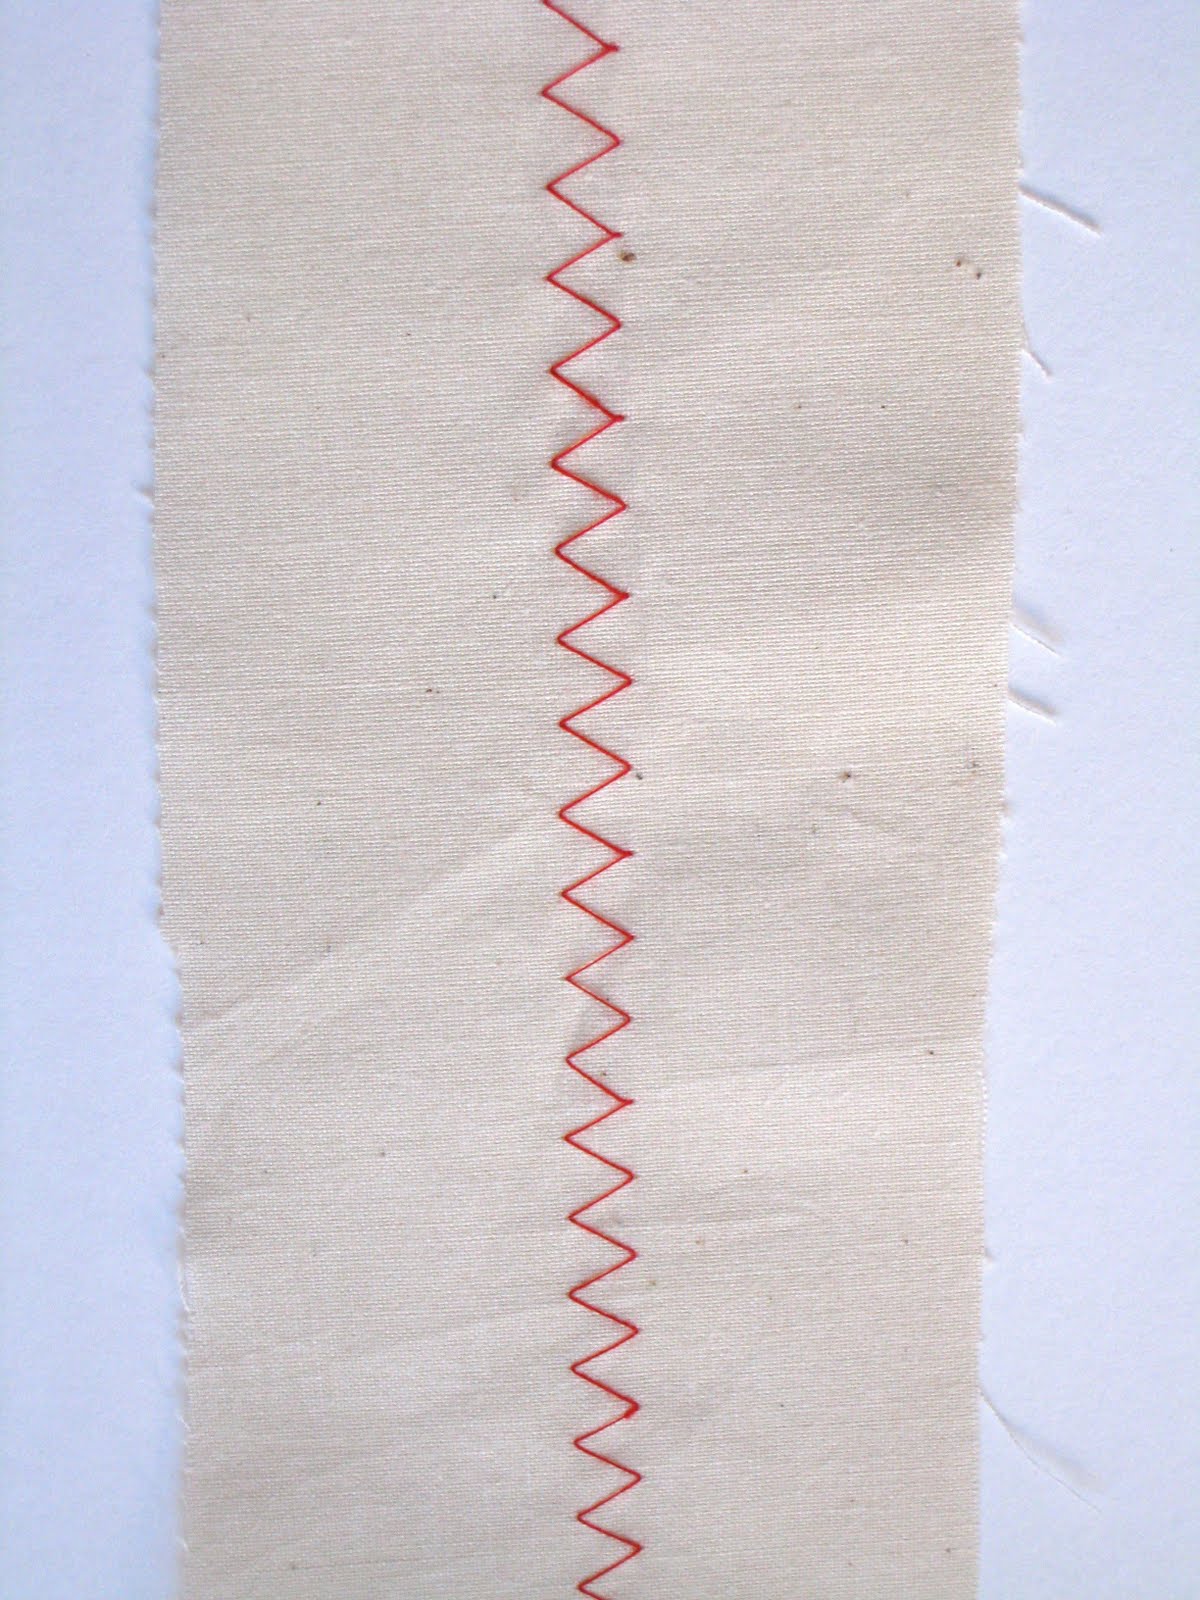
Start with a zigzag (or other decorative) stitch, on the longest and widest settings. I pressed a crease in the middle of a 3.5″ piece of fabric so that I had a line to follow.

Turn the fabric over, pressing a line next to the zigzag, 1/4 to 1/8 of an inch away from it. Please stop looking at my obvious tension problem. You’ll make me nervous.
Place that under your presser foot for a run-through with a straight stitch, gently folding the fabric over as you feed it through. I thought that it would wiggle out of place and come out wonkily-horribly-why-did-I-waste-my-time-ily, but it didn’t. Just a little bit of guiding as it went through. Like so:
And then you’ll have this:
Press a crease on the opposite side and straight-stitch again and you’ll have this:
And using the same process with a variety of decorative stitches you could have this:

Now I’m thinking about skirt hems, dress hems, bib shirts with this down the middle and ruffles on the sides, stacking a bunch of lines of this on a skirt….

And now I have a new obsession. At least it’s not one that involves acquiring new gadgets.

Filed Under: tutorial Tagged With: trim, tutorial

« The Accidental Quilt
The stockings were hung on the clothesline with care… »

Comments

  1. Adventures in Dressmaking says

    December 9, 2009 at 3:22 am

    That is so cute! I will have to try it! And you can use any color you have thread in…

    Reply
  2. Stacey says

    December 9, 2009 at 5:18 am

    Yep. As always, I learn something cool every time I visit. I’m thinking pretty drapes or shower curtain myself.

    Reply
  3. AmesOx says

    December 9, 2009 at 7:04 am

    Wow, I can not wait until my new sewing machine arrives to try this out! (Hubby broke mine trying to sew name tags on a rucksack…lol) This idea would be wonderful on a little pleated skirt length wise! Wonderful idea/tutorial!

    Reply
  4. star.originals.stuff says

    December 9, 2009 at 9:45 am

    that is a GREAT embellishment!! I will be using it!! thanks…

    Reply
  5. carriegirl says

    December 9, 2009 at 11:07 am

    THAT is awesome! I’ll be trying this out for sure!

    Reply
  6. Maranda Danelle says

    December 9, 2009 at 3:58 pm

    What a great idea! Thanks for the tut!

    Reply
  7. Lois Grebowski says

    December 9, 2009 at 6:25 pm

    WOW, What a great idea. I never would have thunk of that!

    Reply
  8. Courtney says

    December 10, 2009 at 3:56 pm

    Those would look so great on kitchen towels or table napkins. Well, on anything really. Super cute for the perfect finishing touch! Thanks for sharing!

    Reply
  9. casserole says

    December 11, 2009 at 10:31 am

    This is such a cool look!! I’m definitely going to have to use this on my next sewing project.

    I linked to your tutorial on Craft Gossip Sewing:
    http://sewing.craftgossip.com/tutorial-zig-zag-stitch-trim/2009/12/11/

    –Anne

    Reply
  10. od Andulky says

    December 14, 2009 at 5:56 am

    Wow, thanks for sharing!!

    Reply

Leave a Reply Cancel reply

Your email address will not be published. Required fields are marked *

Search This Blog

Archives

Popular posts

  • A Note on Sewing Skirts for Girls
  • FREE Pattern: Monkey Bar Skirt
  • T-Shirt to Tank: A Tutorial by Jen from Upcycled Education
  • Side Panel Shirt Refashion: A Tutorial
  • Racerback Dress: A Tutorial + PDF Pattern
Visit Susan Yates's profile on Pinterest.

Our Privacy Policy

This Site is affiliated with Monumetric (dba for The Blogger Network, LLC) for the purposes of placing advertising on the Site, and Monumetric will collect and use certain data for advertising purposes. To learn more about Monumetric’s data usage, click here: http://www.monumetric.com/publisher-advertising-privacy

Copyright © 2026 ·Foodie Child Theme · Genesis Framework by StudioPress · WordPress · Log in


Creative Commons License
This work is licensed under a Creative Commons Attribution-NonCommercial-ShareAlike 3.0 United States License.
»
«