Hello all! I’m Taylor from Mary Janes and Galoshes. First off, thanks to those sassy Crafterhours girls for having me today, that Susan is a spitfire isn’t she? I love it, and looks like you do too as you’re here aren’t you. Anyway, I’m pretty sassy myself, I’m a Capricorn, so I’m stubborn, a bit sassy (okay and a bit bossy) and a whole lot of organized. Although you wouldn’t always know it if you came into my house. I have one year old twins and a 2 1/2 year old so give me a break okay?
I’m also one of those people that has a box of things I’ve picked up at a good deal to use as last minute gifts! So naturally I have a TON of greeting cards too. This is probably not even half of my stash….
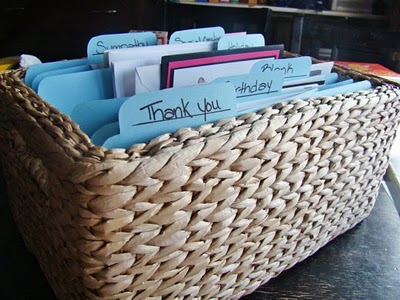
but it is a good place to start. Since I’m usually the one who has to get not only myself but all the kids (and usually my husband) ready to go it’s important that my husband can do a few things to get us ready to go. This usually includes grabbing the appropriate card for the occasion. I know, I know, if I were THAT organized I would have had the gift wrapped and the card signed a week ago right? Well BOO! I said I was organized, I didn’t say I wasn’t a procrastinator, because that I AM! Back to the husband, we all know they need a bit of help when it comes to finding things. So I made it nice and easy for the boy to not only locate a stash of greeting cards, but find the appropriate category as well.
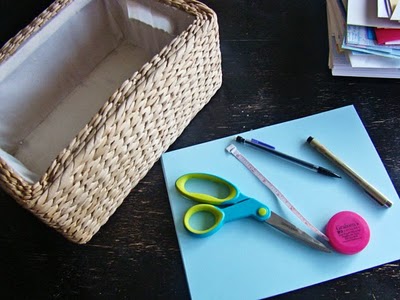
Here is what you need-
Cardstock, as many sheets as you need catagories
Scissors
Pencil
Basket
Something to measure with be it a measuring tape or a piece of ribbon, both will get the job done.
Marker(s)
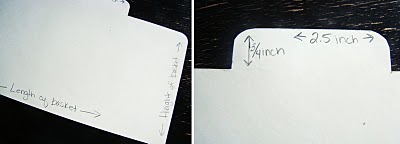
First you need to measure the long side (inside length) of your basket as well as the depth.
Then make yourself a template adding a tab at the top, anywhere along the top is fine, we will adjust to make the other dividers.
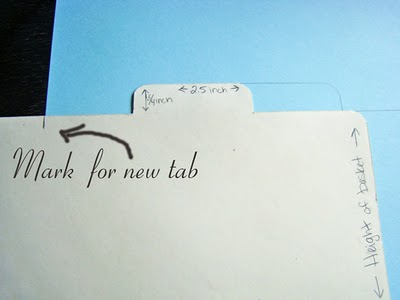
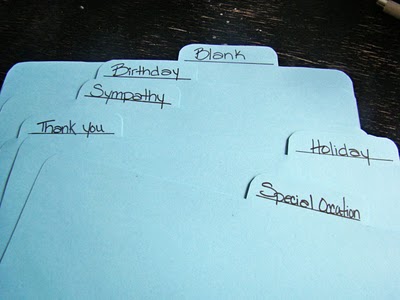
You can make your tabs as large or small as you like, I chose to make mine 3/4 inch tall and 2.5 inches wide. I also rounded my corners on the tab and on the ends of the top of the divider. Trace your template onto your final cardstock. When you have your first one traced move your template over so your tabs overlap a bit and make yourself a mark on your template where you will need to trace your tab on your next sheet.
Lay your template on your new sheet of cardstock lining the mark you made with the edge and trace the tab, then put your template back at it’s original position and trace the rest. Use a straight edge to connect any missing line along the top. Continue moving your tab over and making marks until you have all the tabs you need. Remember you can always repeat your tab positions, just put them apart when you stack all your dividers up.
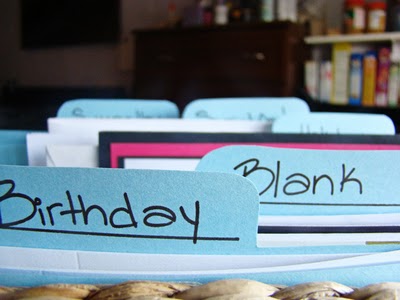
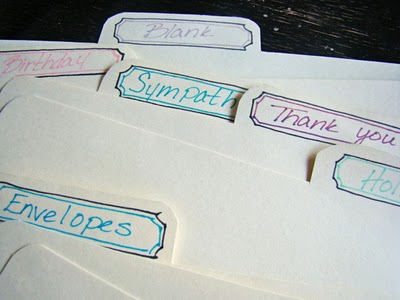
Write your catagories on the tabs. You can do simple or color coded. You could even use stickers or rub ons if you prefer.
Now put them in your basket and fill!
Useful AND pretty, just like you!
Well thanks to all of you for having me today. I enjoyed spending time with you. A and S are running amuck over at MJ&G today so go say hello! -Taylor


Oh, wow. So simple, yet so cool. Thank you for sharing.
I have an very old card box that is looking very shabby which I hadn’t realized till I saw your sweet basket! Now I guess I must do something with it!
bee blessed
mary
i am lovin this idea…totally going to organize my cards now. thanks!
I’m making this TONIGHT!! Thanks for sharing. way cool. Another trip to Target for me! :)))
Great idea! Now I just need to get on the card making! :)
Beautiful and fashionable young people theme of the times!It is my pleasure to read your article!I hope your readers become more and more!
Thanks for posting, I really enjoyed your most recent post. I think you should post more often, you obviously have natural ability for blogging!