When Susan asked me to write a necklace tutorial, I was a little befuddled. My first thought was “what can I try to teach someone that requires following directions more than luck to make it turn out well?” Really, most of what I do is the result of happy accidents because I create for fun and not necessarily to pay the bills. Bill paying is a bonus.
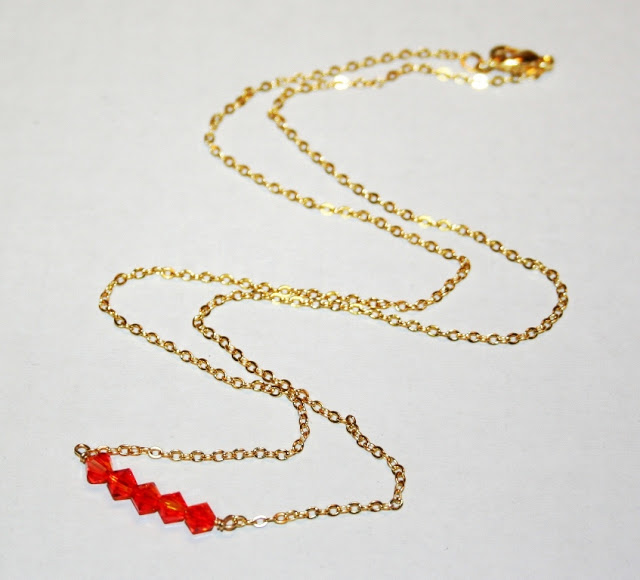
But a “roll” necklace is something we can make together I think. I’ve seen a lot of really beautiful ones lately and while the basic idea is simple, the possibilities for making it uniquely yours are endless – plus you don’t need much in the way of specialized tools and it doesn’t have to be expensive.
Supplies:
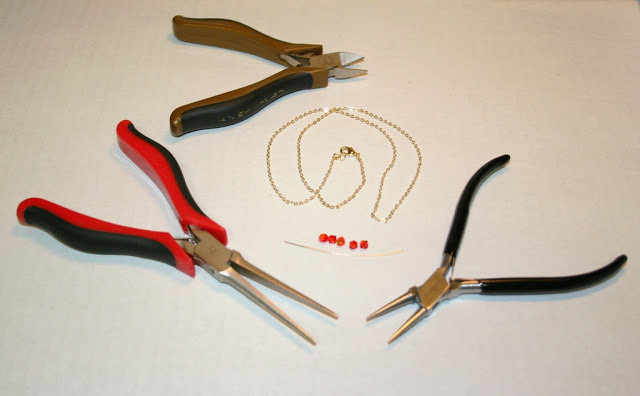
· 1 open link chain necklace (the length/material is up to you; by “open link” I mean one where you can fit a piece of wire through a link.) I’m using an 18” gold plated chain for this project.
· 5-7 beads (here is where anything goes – but my favorites are faceted gemstone rondelles or Swarovski bicone crystals). I’m using some cool red-orange Swarovskis for this project.
· A 2-inch piece of wire (you can use inexpensive craft wire, but sterling silver or gold filled wire labeled “half hard” or “full hard” will work best and give a longer lifespan to your piece.) I’m using 24 gauge, full hard, gold filled wire for this project.
· Wire cutters (you can buy a small pair of Craftsman cutters at Sears for $10 and they have a lifetime guarantee. If they ever get chipped or dull you just take them into the store and they give you a new pair.)
· Flat nose or round nose pliers (round will give a little better end result but if you only have flat they will work and there’s no reason to go out and buy round.)
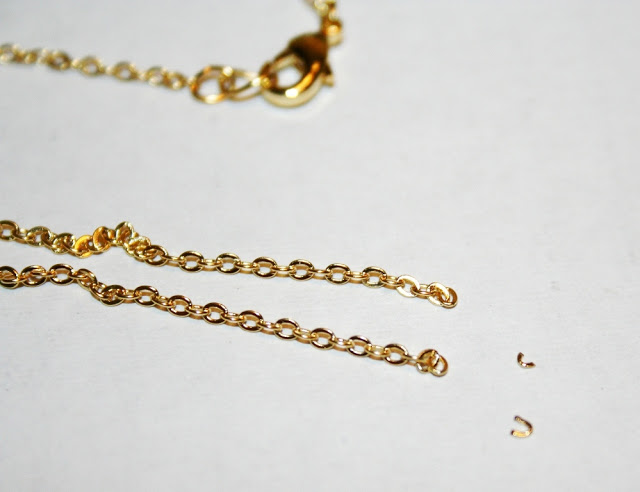
1. Decide on necklace length. If you have an 18” necklace, it will be @19” when you are done. If you’re cool with that, just take your wire cutters and cut the link at the center of the necklace. If you want a specific length of chain on either side of your “roll”, simply divide that in half and measure from each end. Remember that carpenter’s saying about measuring twice and cutting once! Be sure you are cutting evenly on each side because you can’t really fix that without making the whole thing shorter.
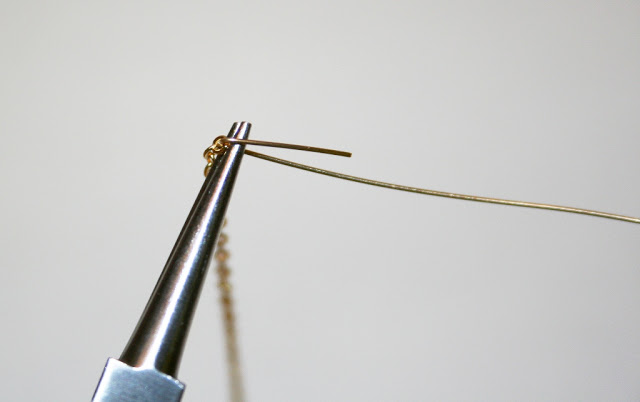
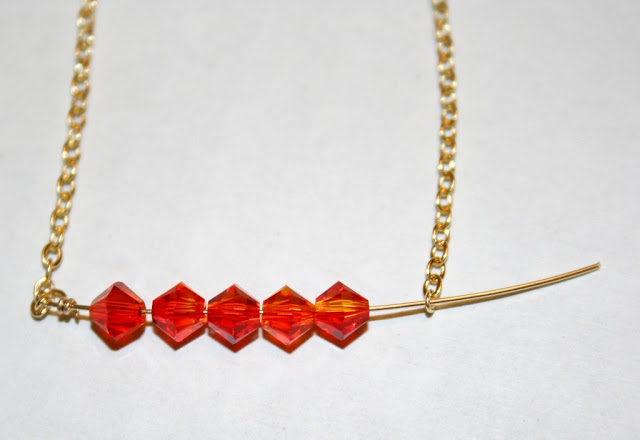
2. Take your 2-inch piece of wire and thread one end through the end link of one of your necklace halves. You can make a loop here one of two ways: the simple way is to take your flat or round nose pliers and, grabbing the end of the wire, make a simple loop with the end link still in it. I don’t think that’s as secure so I do the complicated way. I grab the wire with the pliers about a ½ inch from the end and make my loop there. This gives me some extra wire to wrap around the base of my loop 1 or 2 times. The harder your wire, the more challenging this will be but it’s not impossible so don’t give up. Then I cut the extra wire at the base of the loop and squish the end with the pliers so it doesn’t catch on anything.
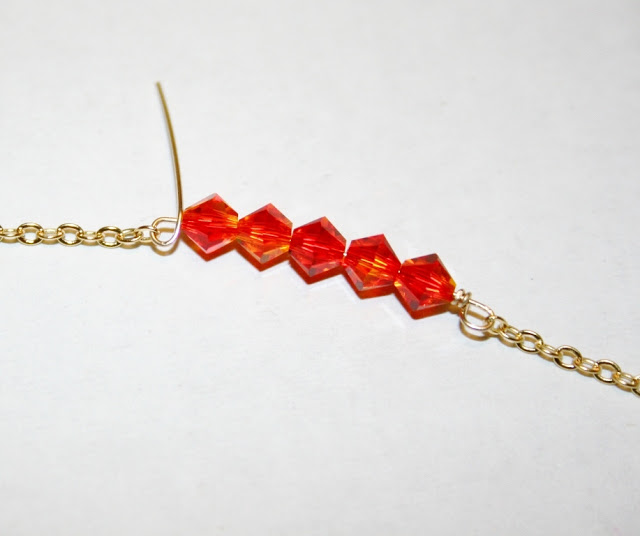
3. Thread your beads onto the wire.
4. Now place the end of the wire on the remaining necklace half and make a loop the same way you did the first half.
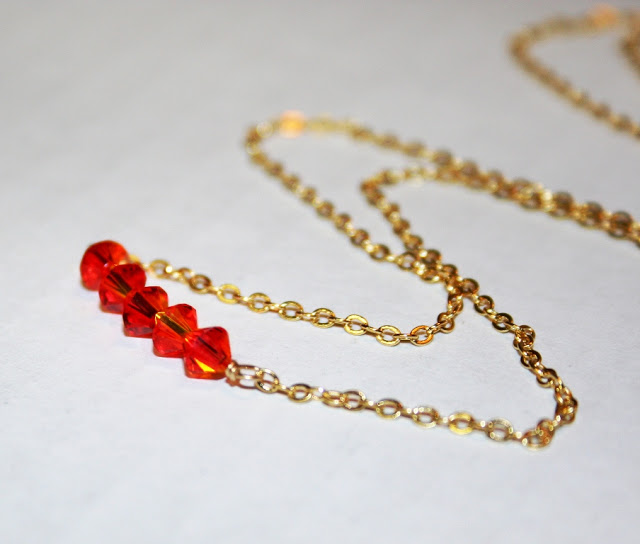
Voila! You have made yourself a very fun necklace, and now you know how to make one to match any outfit or occasion. Once you feel comfortable making the wire end loops connecting to chains, experiment with different materials and sizes of beads on your wire.
If you have craft stores around you it’s very easy to find tools like pliers and cutters as well as Swarovski and other beads. I’ve also seen sterling silver wire and open link chain necklaces at Hobby Lobby. For items like gold filled wire and gemstone rondelles you may have to go online unless you are lucky enough to live in a city with a bead store nearby. One of my favorite places to shop for supplies online is Fire Mountain Gems because they have $5 flat rate shipping and the more you buy, the less the items cost. They also have a giant selection of everything and lots of free video tutorials. If you like to shop on etsy.com, just type what you are looking for into the search box and search supplies – great for when you need small quantities.
And if you’ve already decided that’s too much to deal with, this necklace will be in my shop until it’s gone!
——–
This is Julie’s second Black Friday appearance on crafterhours. Well, not sure that the first one counted, since I didn’t ask her first. I just sent people to her store. Since I *did* consult her this year, she’s offering crafterhours readers one week, starting today, to shop at her store and get 20% off of their purchase. (Shipping costs are not discounted, but they’re not unreasonable, either!) Just enter the code CRAFTERHOURS at checkout.
Thanks, Julie!

By the way, the coupon code will have its own box in the etsy checkout section where you choose how to pay. DON’T put it in the “message to seller” box because that won’t adjust the final price for you!