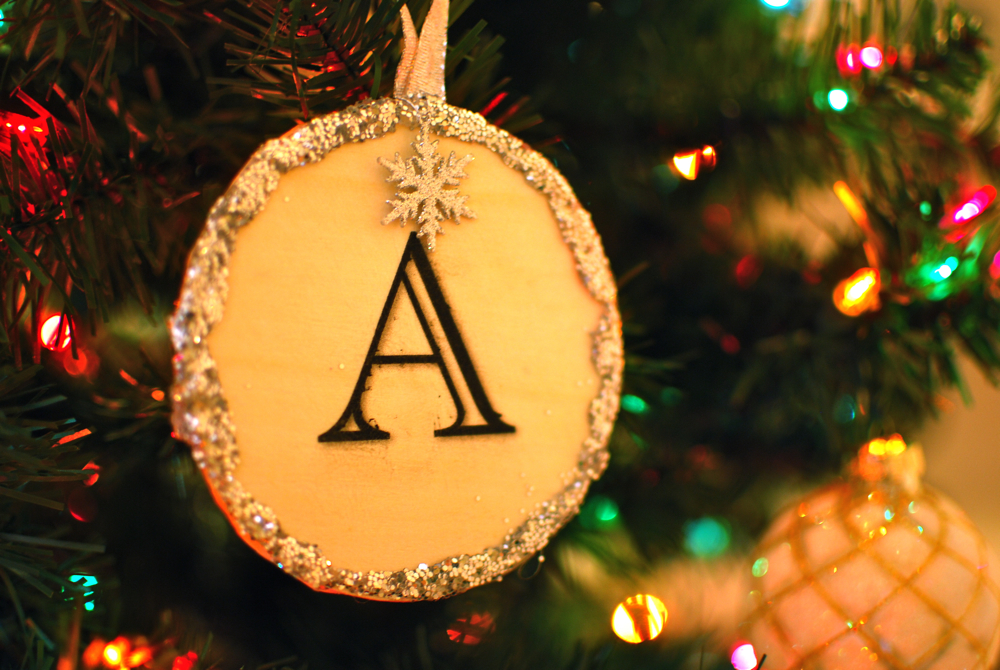
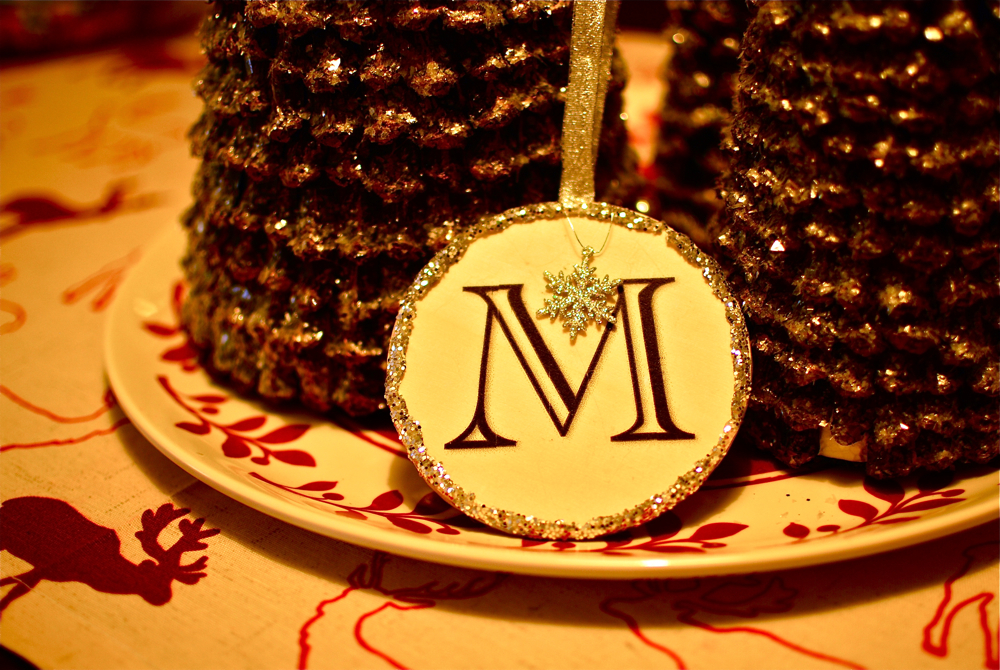
This knock off is based on an ornament I saw in a Pottery Barn store, but I can’t find it in the catalog or online, so you’ll have to take my word for it. It was basically a wooden disk with an initial printed in the center, glitter around the edge of the disk, and an itsy bitsy ornament dangling at the top. Just for a visual, here’s my version (which is pretty darn close, if I do say so myself):
To make your own, you’ll need:
computer & printer
white or off white tissue paper
tape
scissors
hot glue gun & glue sticks
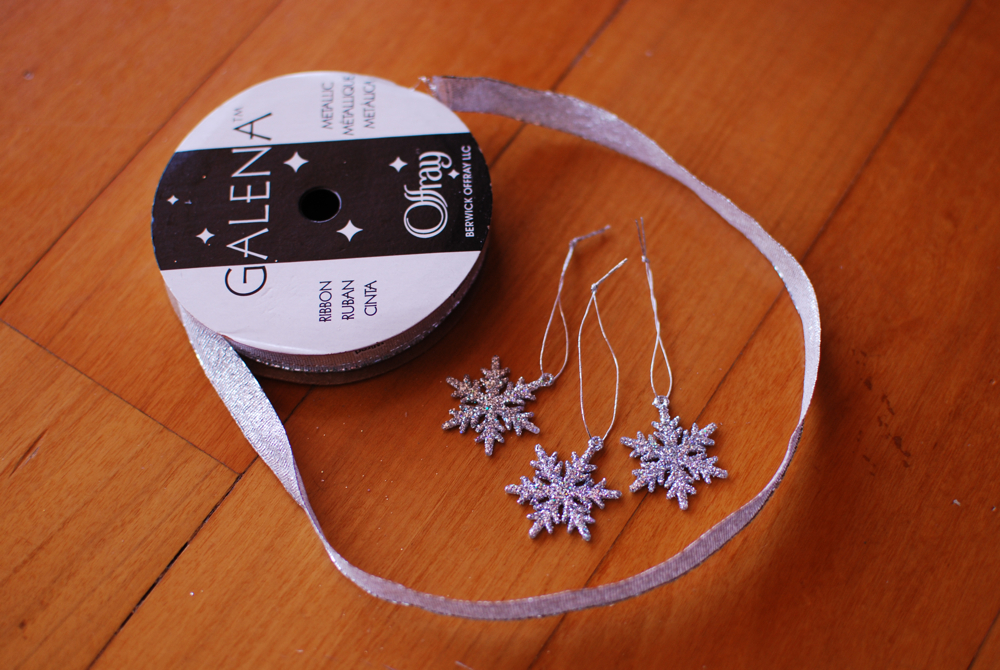
ribbon (I used wired)
miniature ornaments (~ .5 inch)
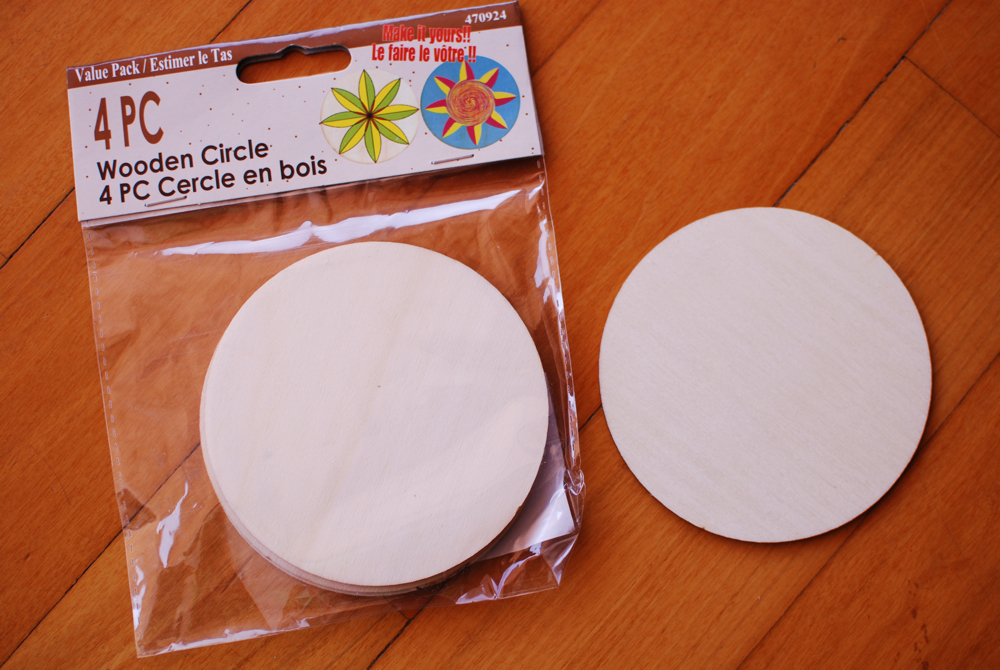
flat wooden circles
Mod Podge & brush or sponge
glitter
We’re going to be printing onto tissue paper and Mod Podging that to the surface of the wooden disk. When it dries, it’ll look like the words and images are printed directly onto the wood (it’s magic).
Begin by cutting your tissue paper to equal the size of your printer paper. Tape the tissue paper to the printer paper on all four edges.
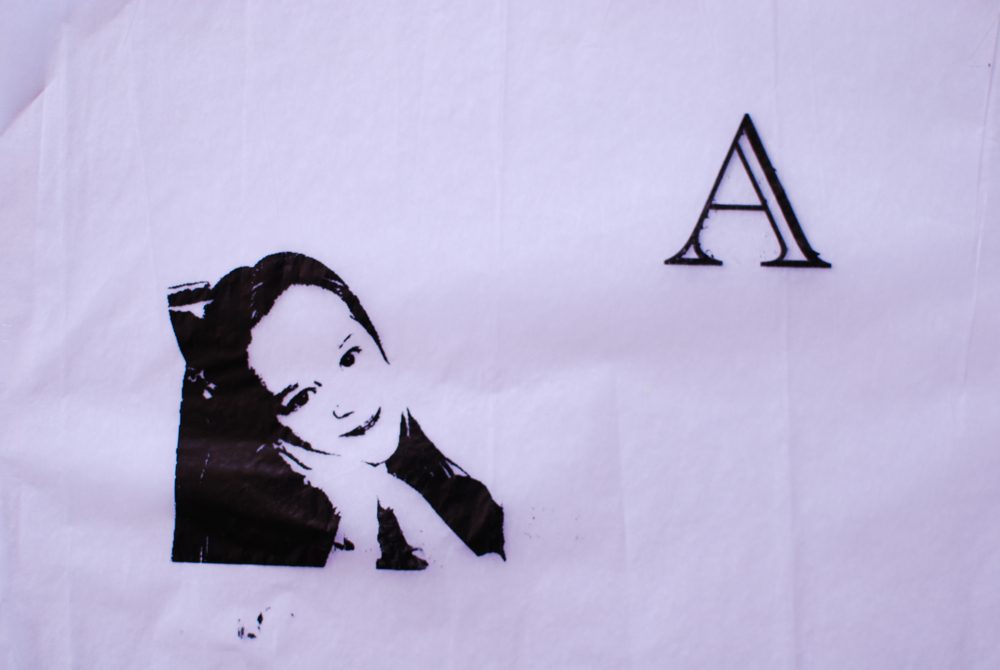
Now use your preferred software to produce your initial, a phrase, a silhouette, a black & white image (more info at the bottom of this post), or really anything you want. Print it out, making sure that your image will fit on the wooden circle, and that your paper is loaded so that the tissue paper side will be printed.
If you have a laser printer, this will work really well. If you have an ink-jet, you’ll want to change the settings to “normal-draft” or “normal-fast” quality and “greyscale” color. Your goal here is to use as little ink as possible, while still producing a clear image, so you may have to play with the settings a bit. Too much ink will run, bleed, or tear the tissue paper.
You can print out two images per page to conserve time and paper, but make sure they’re far enough apart that you can cut a circle around each of them.
Now pull out your wooden circles. You can spray paint these if you’d like, or leave them natural. I liked the look of a slight woodgrain.
Next, paint an extremely thin layer of Mod Podge onto a wooden circle. You won’t need much more than a pea size amount.
Carefully lay your tissue paper over the circle (you don’t have to trim the paper yet), and use the pad of your finger to tap down any air bubbles. Try not to use a spreading motion, as this can tear the tissue paper. Also, you’ll want to designate an “ink” finger and a “tissue paper” finger. If you touch the parts that have ink, it is very easy to smear it or transfer it to the white parts. Trust me.

Once the Mod Podge is dry, carefully trim off the excess tissue paper.
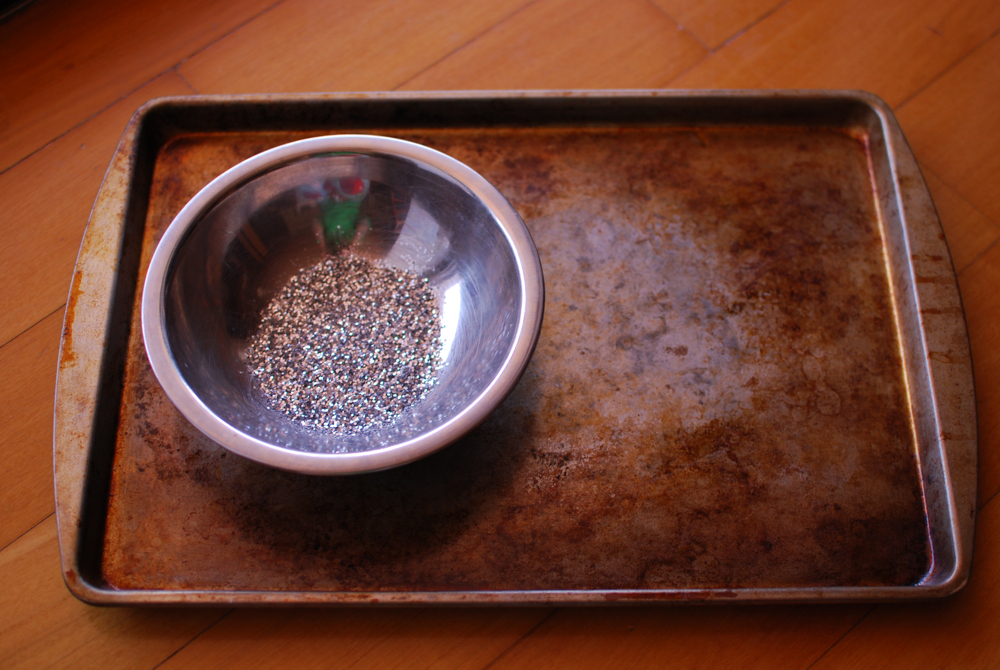
Shake some glitter into a bowl. I like to put everything on a cookie sheet, so I can pretend to limit the glitter mess. This never works, but it sure seems like a good idea, right?
Get your ribbon and tiny ornaments on stand-by. I chose itsy bitsy snowflakes, but I saw all kinds of teeny ornaments to choose from at the craft store (in America).
Now, carefully pipe hot glue on the perimeter of your wooden circle. Work in sections so the glue doesn’t dry before you can roll it in the glitter. I also tried using epoxy craft glue, but it took nearly an hour to dry, got all over my hands, and stuck to the ornament in all the wrong places. Stick with hot glue. Plus, you won’t have to worry about ventilation. Cut a length of ribbon to your desired length and use hot glue to secure the ends together.
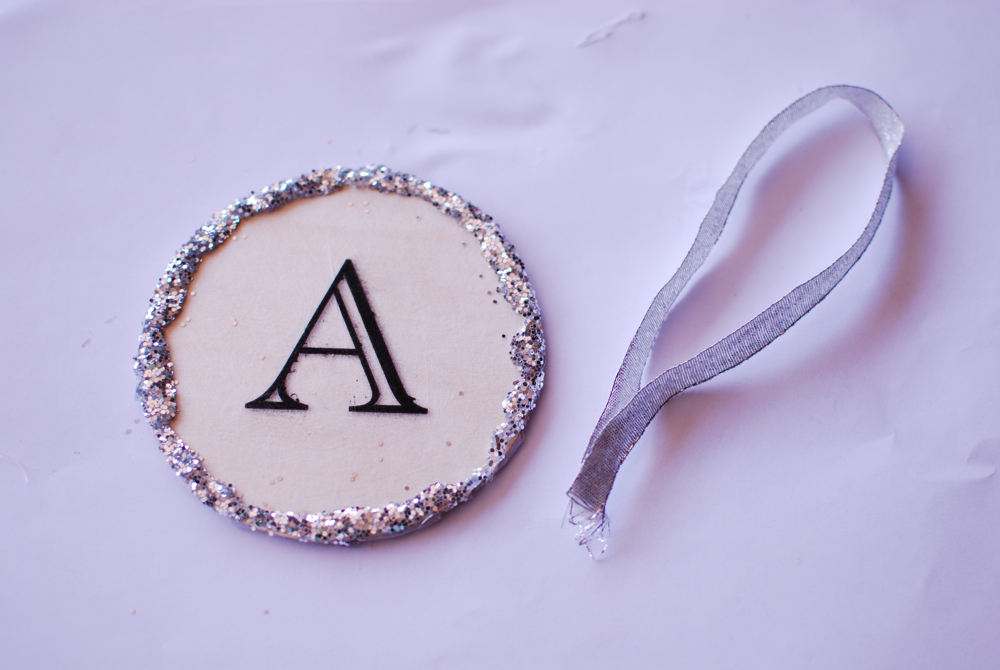
Now just hot glue the ribbon hanger to the back of your ornament, and slip one of the tiny ornaments over your hanger. Done!
Once you have all your computer images made (which really is the longest and hardest part of this project), these go together really quickly. Enlist your older kids or crafty friends and put them together assembly-line-style. The ease, low cost, and broad appeal of these ornaments makes them really great for neighbor or teacher gifts. And nothing says “I tried” like a personalized gift!

I got a little carried away and made 8. Here’s one for my neighbor:
A tried and true message (before I got a bit more experimental):

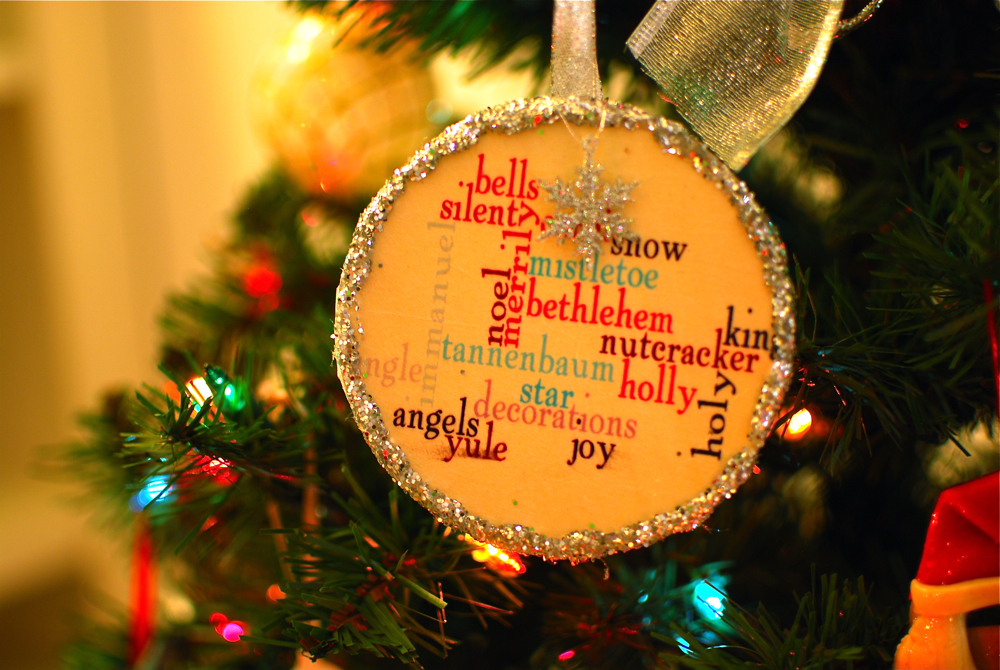
A holiday word collage (made using Wordle):
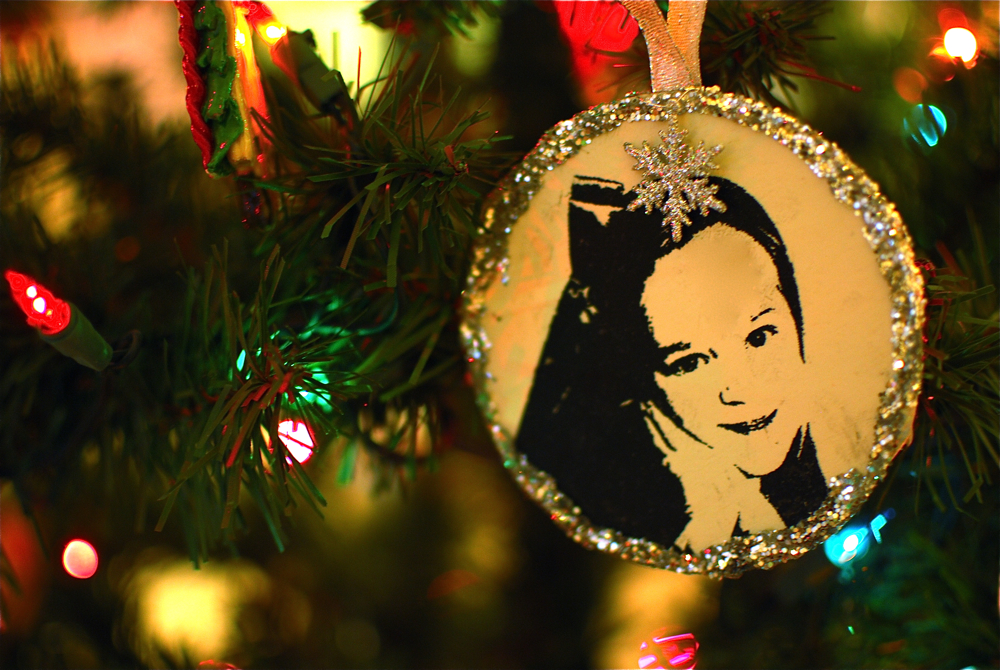
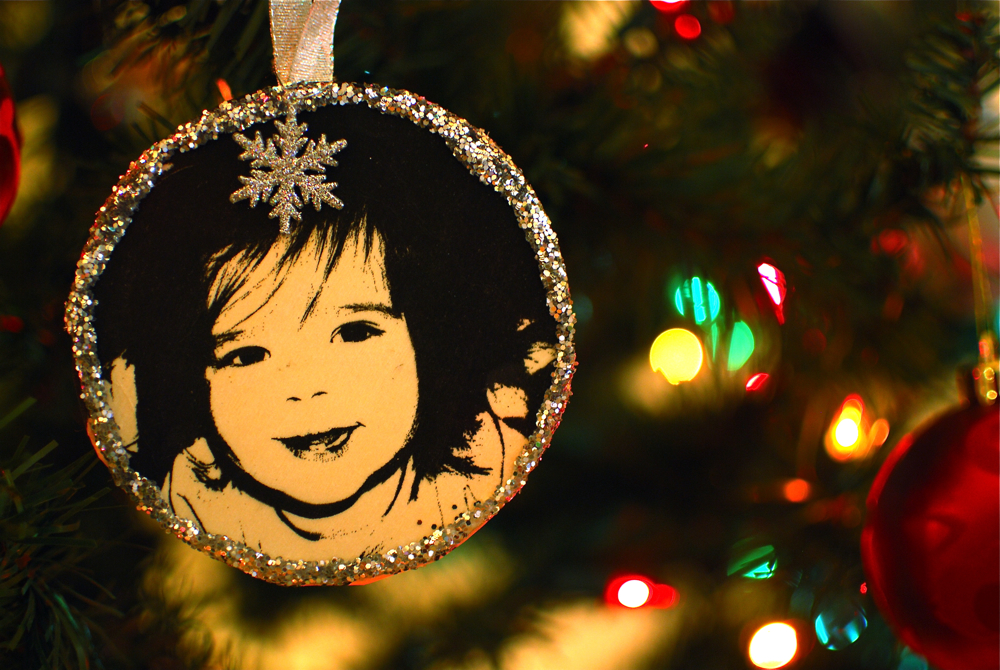
Pictures of my daughters:
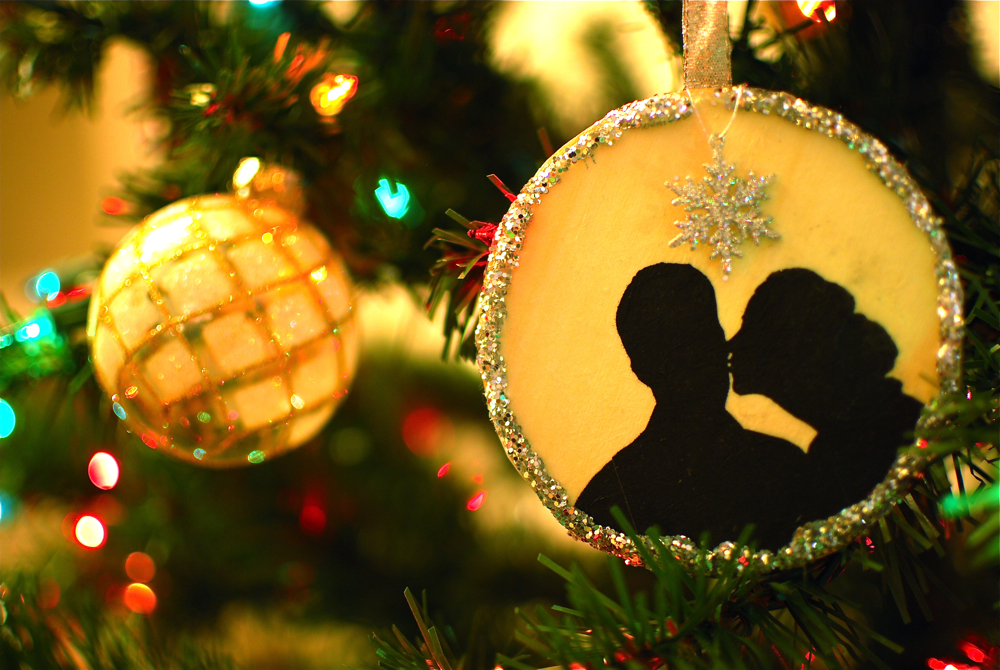
A silhouette of me and some dude in the Witness Protection Program (no, that’s my husband. But I probably should’ve chosen a more distinctive profile):
And my personal favorite:

And now for my very quick, basic tech info. Please don’t underestimate the power of google if you have further questions.
If you’re not super tech-y when it comes to making graphics, let me suggest Microsoft Power Point to you. It’s the most user-friendly way to produce graphics, and you’d be surprised at the capabilities. My favorite functions are the ability to rotate pictures or text, cover up unwanted parts of a picture with a white shape, layer images so text and/or images can overlap, and resize things (hold down the shift key so they retain their aspect ratios).
For the pictures, I used Gimp, a free software download for those of us unwilling to pay for Photoshop. There are tons of tutorials to make a silhouette if you google it. If you want to make black and white images like the ones of my daughters, you first need a picture that clearly shows their face and doesn’t have a lot going on in the background. Solid white background is best. First, change the picture to greyscale, or desaturate it. It will look like a normal black and white picture. You might find it helpful to play with the contrast at this point to really bring out the features. Now, choose “posterize” and change the number option to “2”. This will make your picture truly black and white, with no greys. Play around with different pictures and you’ll get an idea of what kind of picture you need in order to produce a good posterized image.
And of course, if you’re looking for a good, simple graphic, don’t forget to do a google image search, then change the criteria to “line drawing”. Just be careful about copyrights if you’re going to sell anything made with these images.
Good luck and have fun! The possibilities are endless!

Those are amazing! Here is a pic of the pottery barn ones (not my blog) but yours are way better. I love the picture ones.
http://saseaboutique.blogspot.com/2010/12/oh-christmas-tree.html (scroll down)
those are so great. I think it’s time I finally bought some mod podge. and thanks for the info about the techy stuff. I think this looks like a manageable craft.
Very cute. I love the silhouette especially!
I LOVE the picture ornaments, good job! Thanks for sharing
Just bought some Mod Podge for the first time and these look just the thing for me to try using it. Thanks for a great tute!
You know I love this – so much!
I love this idea! Thanks for sharing!
I love these Thanks for the tutorial
Thanks! http://emilyscraftblog.blogspot.com/2010/12/christmas-scripture-ornaments.html
ha! you had me (as a new follower) at kissing the guy in the witness protection program! too funny! :) i’m ordering flakey too! i love unique books. great blog! (i linked from Ucreate) :)
I love this! I can’t wait to try it. Thank you so much for the tutorial!!
Very cute! I think these are in the email I received today.
I love this…what a great gift idea for friends and family! I’m your newest follower =) Happy Holidays
Thanks for the great idea. I did purchase some of the ornaments I think it was last year or the year before from PB but being able to make my own designs will be much better. Merry Christmas.
using tissue paper is ever clever!
I love this project – where did you get the “Oh Holy Night” sheet music?
These are amazing. I’m going to make some today! Also, we used to use aqua net hairspray to set ink before modge-podging a few years ago. I’m not sure if this works for inkjet ink, but you might try it. Just lay the pages out after you’ve printed them, mist the hairspray over the page, and let dry. This should “set” the ink. If not, you might try a spray fixative from the scrapbook section of the crafts store.
LOVE, LOVE, LOVE these ornaments. The witness protection one cracked me up!!
Thanks! I made these yesterday and they turned out really lovely! I made some modifications based on my skill set and the materials I had. I skipped the wooden disks and just used a few layers of card stock. I used a pretty metallic silver patterned cardstock that I had leftover from scrapbooking and I used that as the backs of the ornaments. Then I used a combo of printed silhouette and some hand drawn words and art with a calligraphy marker. Skipped the modge podge. I found a beautiful silver cord to hang them with instead of ribbon, soo pretty. The only thing I would do differently next time would be to use flat ribbon and sandwich the closure of the loop inside the ornament layers so that you don’t see it lued on the back of each ornament.
Those look totally awesome!
This is actually a craft I could do! Another great idea for that hard to buy for person. Thank you.
Judi
simes@telus.net
I love this ornament. It is so versatile. Thanks for sharing.