Yeah, seriously. Actually, two of them. But “holey sheets” didn’t sound as fun.
I love jersey knit sheets. Especially for kids’ beds. But apparently there’s something tempting about them. Tempting to pull at them or poke a pencil through them or…. well… honestly? I have no idea where these holes came from. I was dismayed to find them. The kid we’re talking about here is 4. “Four-and-a-quarter” if you ask her how old she is. And if you ask her how the holes got there, she’ll just shrug and say “I don’t know.” Riiiiiiiight. I know that when I first put these sheets on the bed, there were no holes. And now there are. Curious.
Both of the holes are smallish. I thought briefly about doing the eyeball thing. But I think I’ll save that for another occasion. Might be too creepy at bedtime. We’re already talking a lot about monsters. I don’t need to add fodder to that.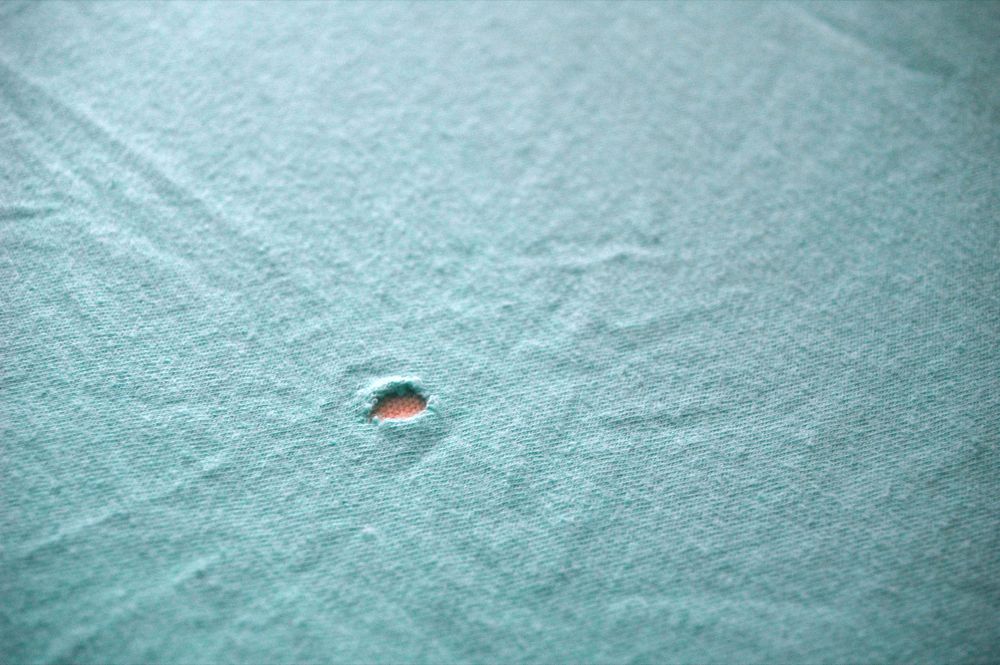
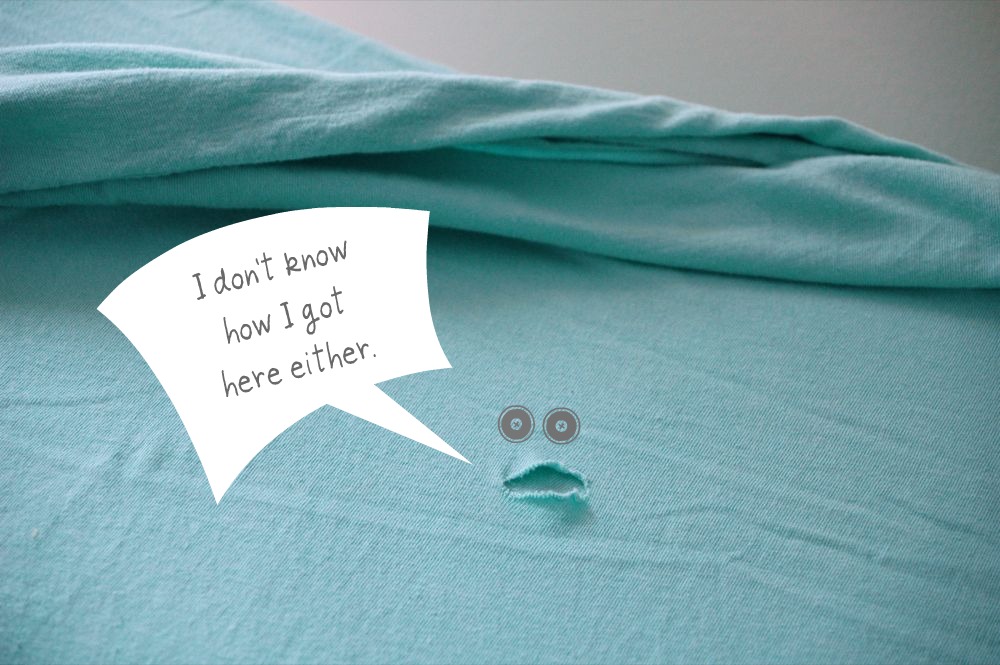
This one begged me to let it speak for itself.
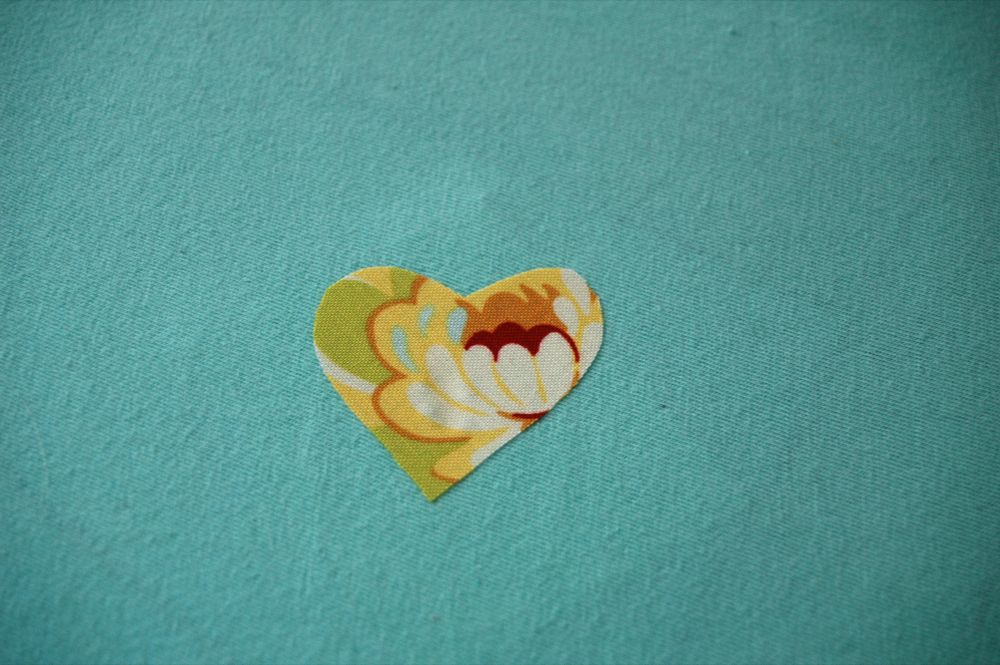
To remedy the holey sheet(!) situation, I decided two simple patches would work. I guess I could’ve tried to patch them from the reverse side and pretend it didn’t happen, but in my mind it’s not worth the effort. Really I’m just trying to keep the holes from getting any bigger so that the sheets will last longer. Fusible interfacing to the rescue. I keep all of my fabric scraps that have the stuff (Heat n’ Bond, Steam a Seam, Stitch Witchery) in a bag for quick projects like this. It’s a very, very fancy zippy bag.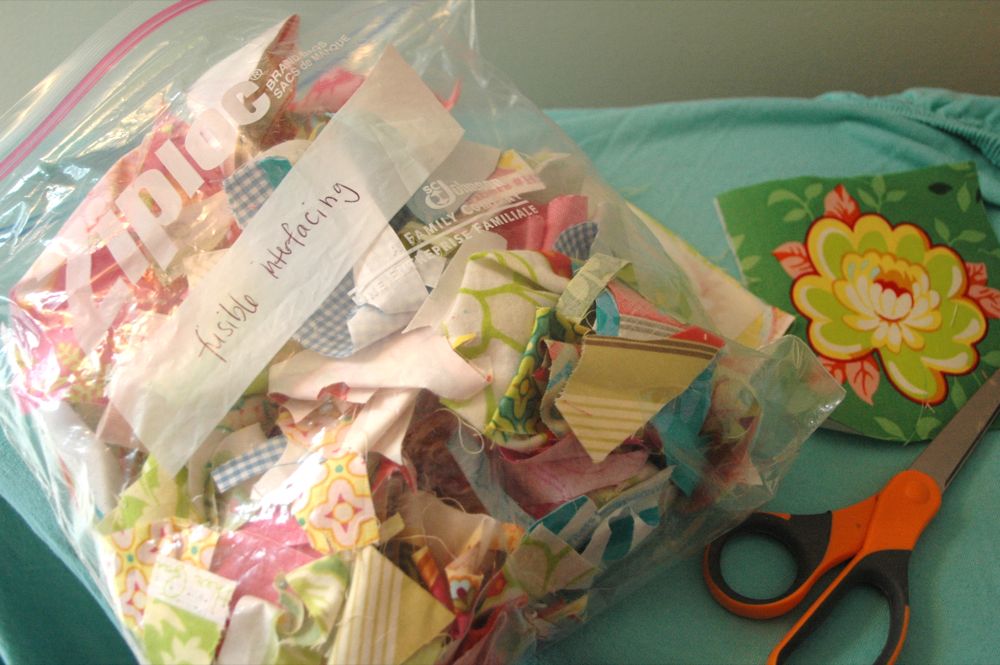


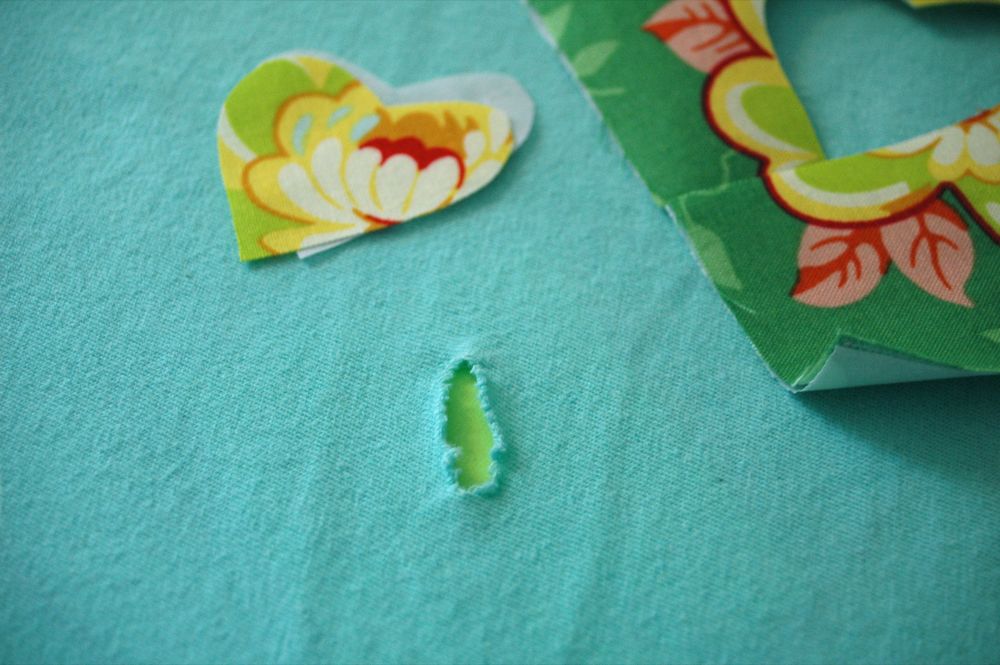
I just put the applique where I wanted it, put a piece of scrap paper behind the hole so that the applique didn’t stick to my ironing board and ironed it down.
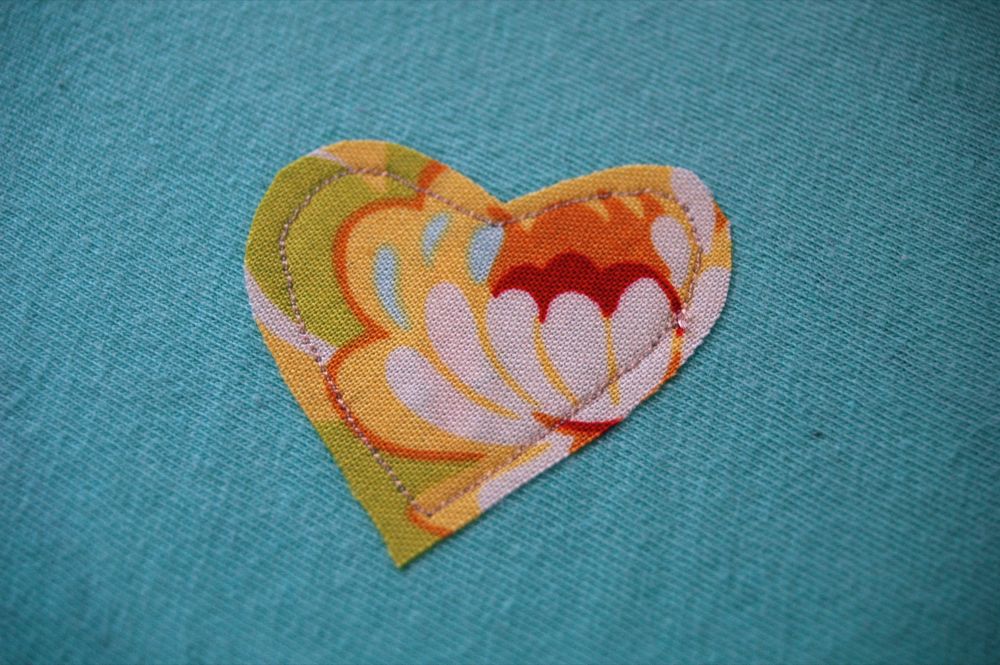
Quick stitching around the edges to be sure it wouldn’t peel off. I’m quite sure the same fingers that poked at the original hole will try to peel this thing off like it’s just a sticker. I used a very small stitch length to help keep it on there.
K was pretty pleased with the patches. She looked so pleased, in fact, that we then had a quick conversation about how the patches are cool and all, but if she ever wants to put holes in something on purpose…. let’s talk about it first, okay? She thought it was cool that she could feel the hole underneath.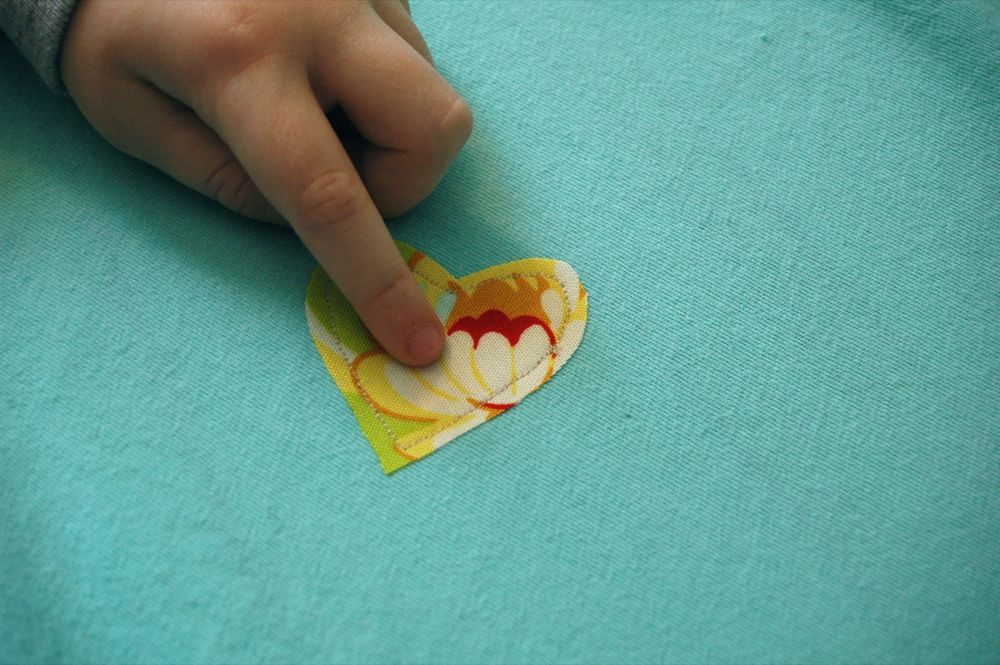
I thought that by doing this I’d be solving a problem and could get back to other things on my to-do list. But now I just want to applique more stuff. And put eyeballs on something.

Adorable!!! What a fabulous idea.
LOVE that idea. LOVE the concept of keeping your fusible scraps together too! Brilliant!!
Saving your fusible scraps in one place? Why didn’t I think of that?! Thanks for the brilliant tip!
Haha…love your talking hole! ;0)
Fusible scraps in a bag?! What a brilliant idea, I’m so doing that!
Love the idea of a fusible scrap bag! Awesome job at the patches too;)
And speaking of sheets, I made your skirt – with sheets – http://craftedition.blogspot.com/2011/01/sheets-to-skirt.html thanks again for the tutorial – it’s so cute!
Why don’t I have all mine in a separate bag too?! Cute repair :)
My cat loved my jersey sheets so much one spot looked like swiss cheese by the time I threw them out. :( No more jersey sheets for me. lol (LOVE the patch!)
Now didn’t we all pull the little tufts out of chenille bedspreads when we were younger? ;) I know I did as did my Mother who confessed to me.
I love that eyeball applique. I’ve made at least 3 shirts with that tutorial!
Great fix!
I love your talking hole. Thank you for making me smile today.. I needed it badly
Great tutorial ! Loved the heart idea.
Hugs
If my did that, my kids would always want to sleep with pencils and scissors to aquire more cute patches.
Perfect bandage for an ailing sheet.
Clever fix, and I love the added cuteness of the hearts – perfect. :)
Great idea – classic, even. I remember having some clothing with clever little patches on them when I was a kid, and teenager. My fave jeans in high school got holes in the knees, so we put some frayed denim flowers over top. Then, when the backside wore out, I cut up the pants and made pillows. Some things just refuse to die! Now I can actually state a reason to my husband for keeping those little fusible scraps around in our shared hobby space!