

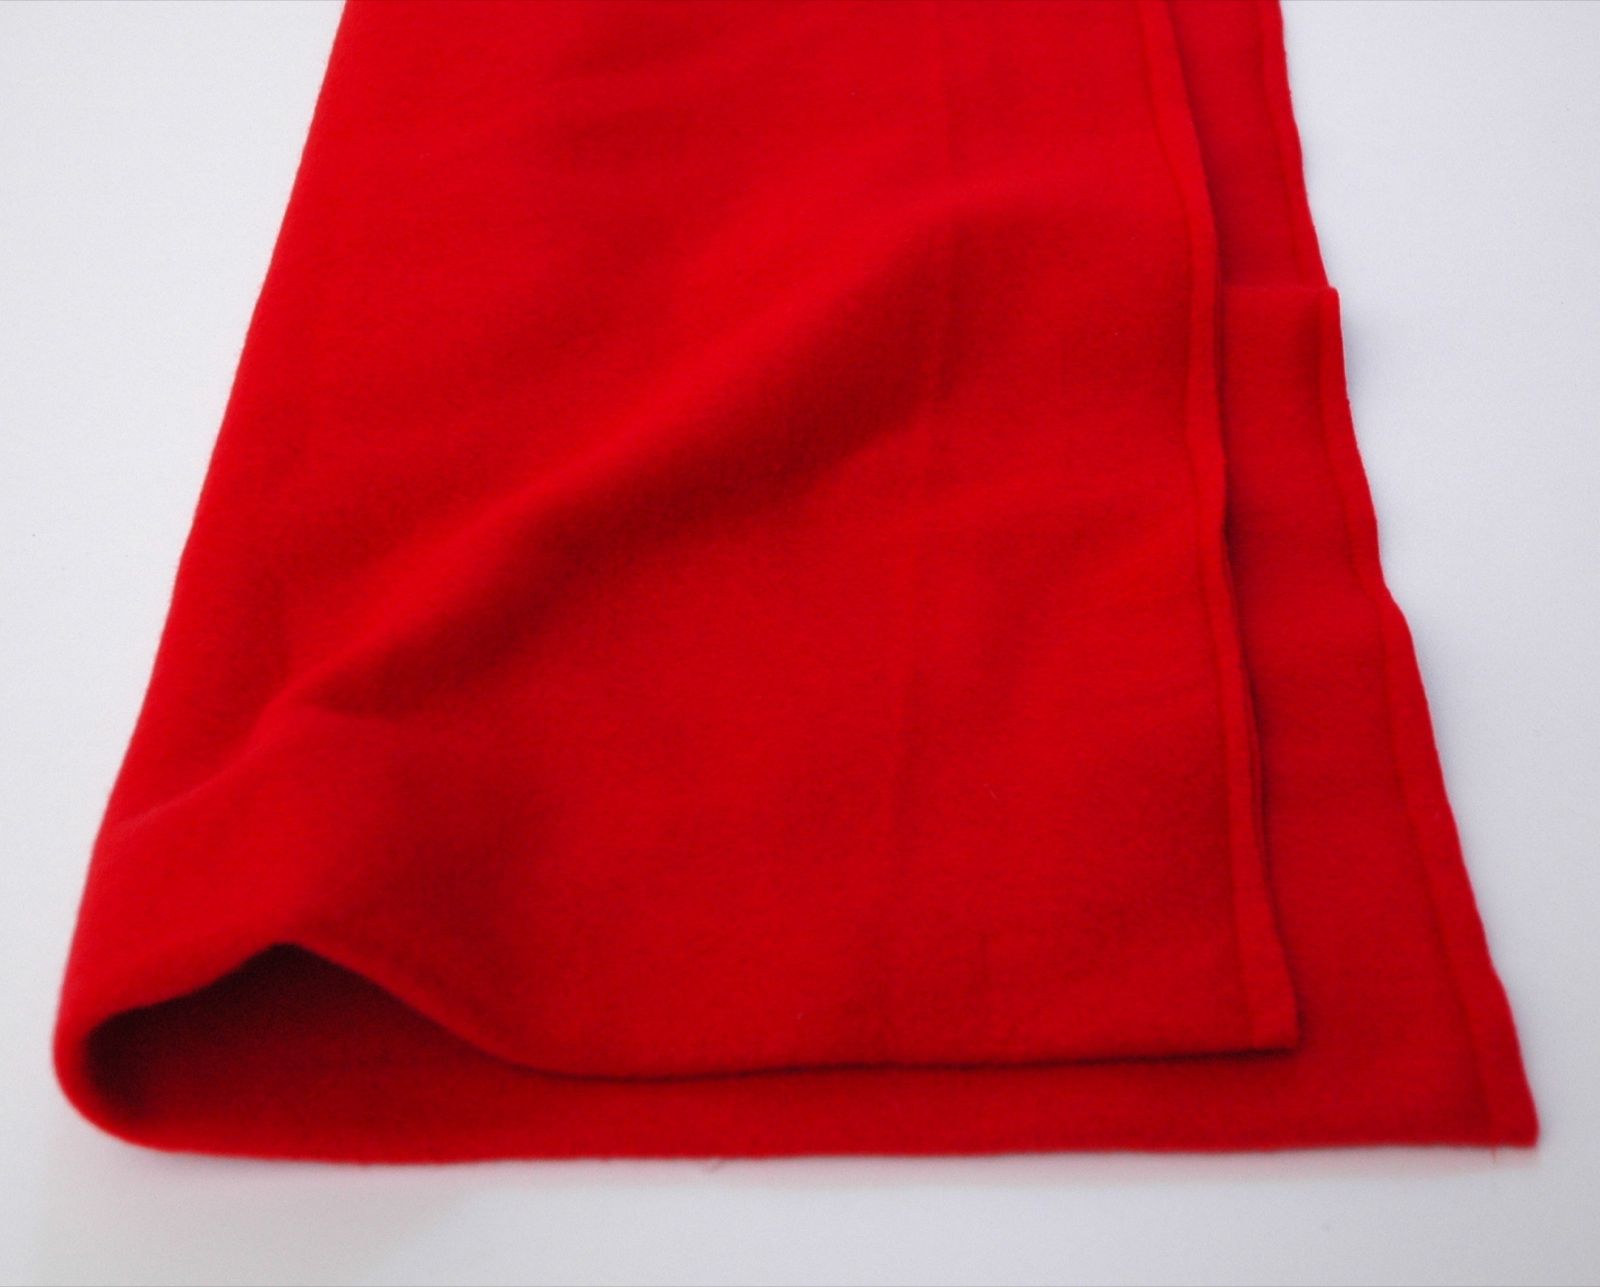
Since the body of the bag is cut on the fold and doesn’t need to be stitched, we’ll start by stitching the sides closed. A 1/2″ seam allowance works well. Use a slight zig zag or stretch stitch (looks like a lightning bolt) to give your seams a little stretchability in case kids decide to climb in it themselves so that a friend can slide them around in the bag. Just sayin’, that might happen. And you don’t want those side seams to snap and spoil the fun. No worries about finishing the edges– fleece doesn’t fray.

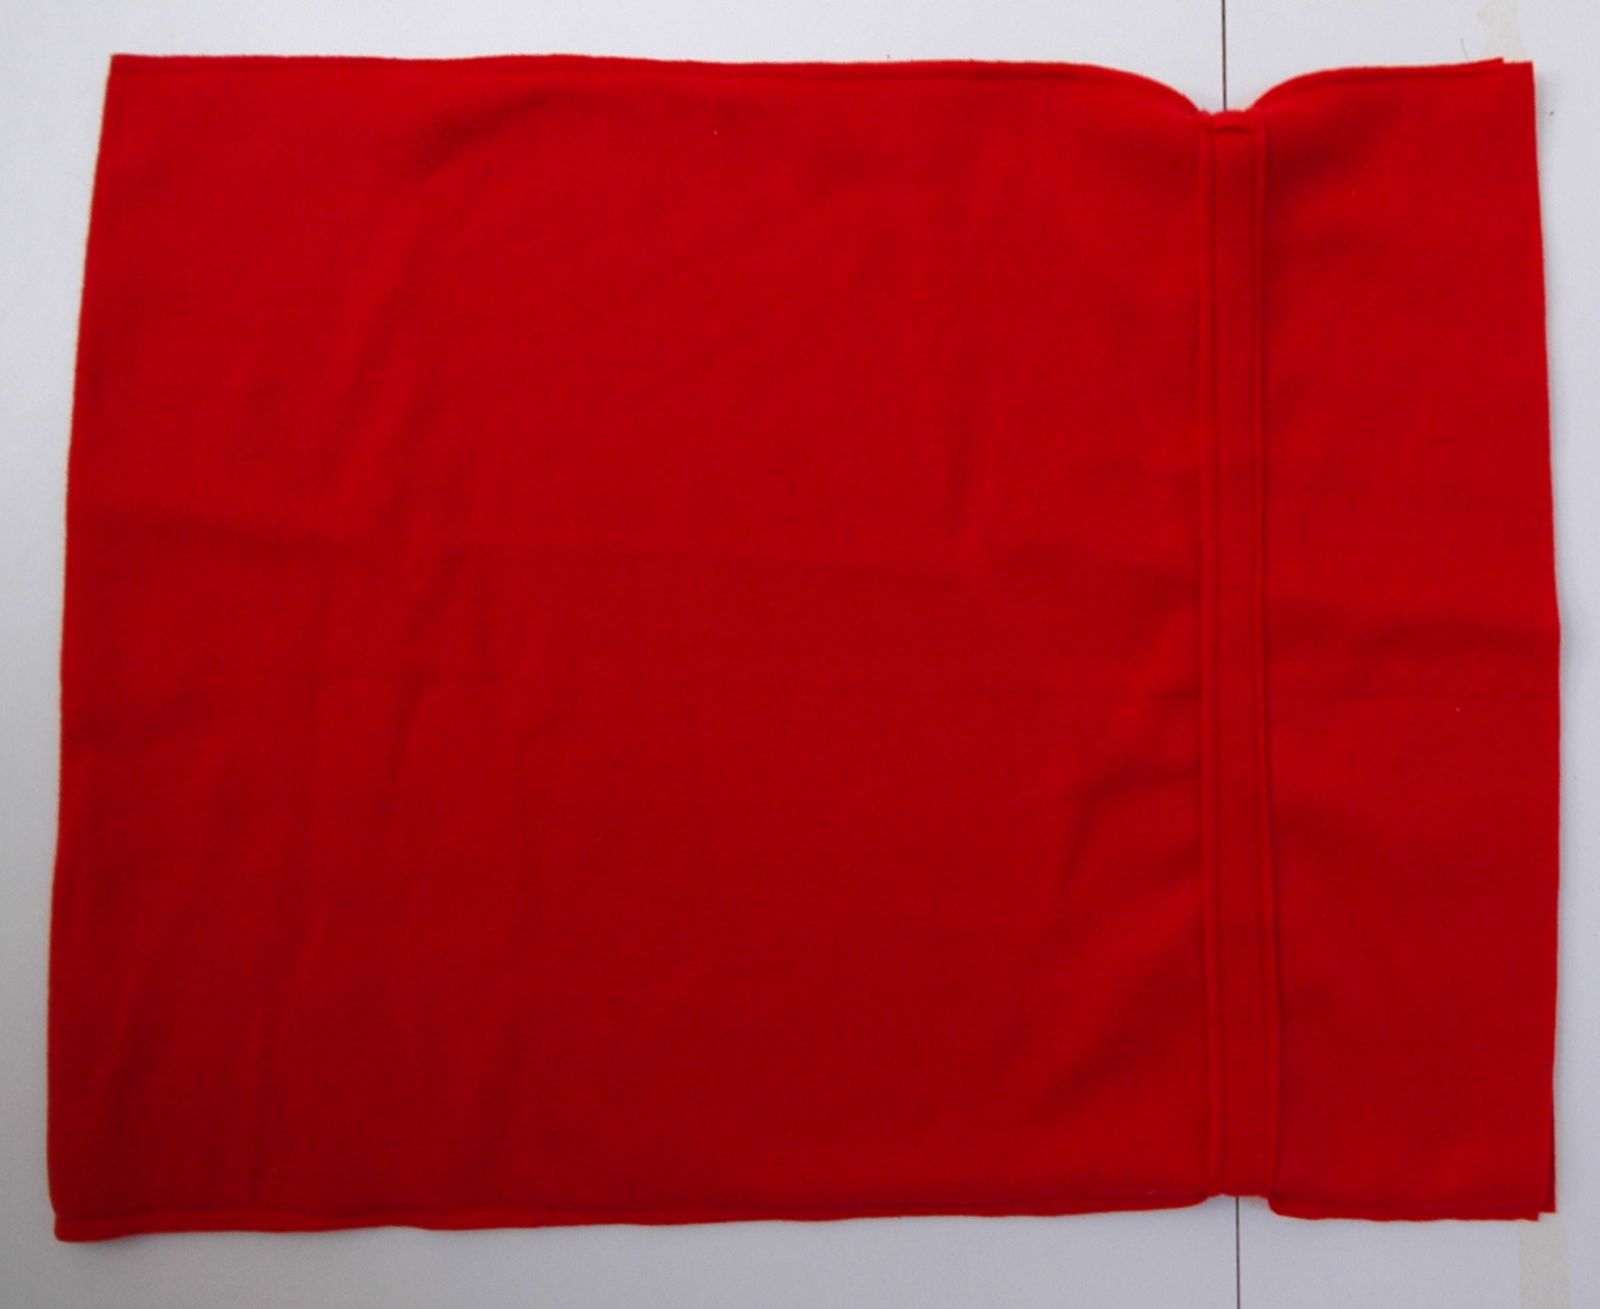
It’ll look like this:
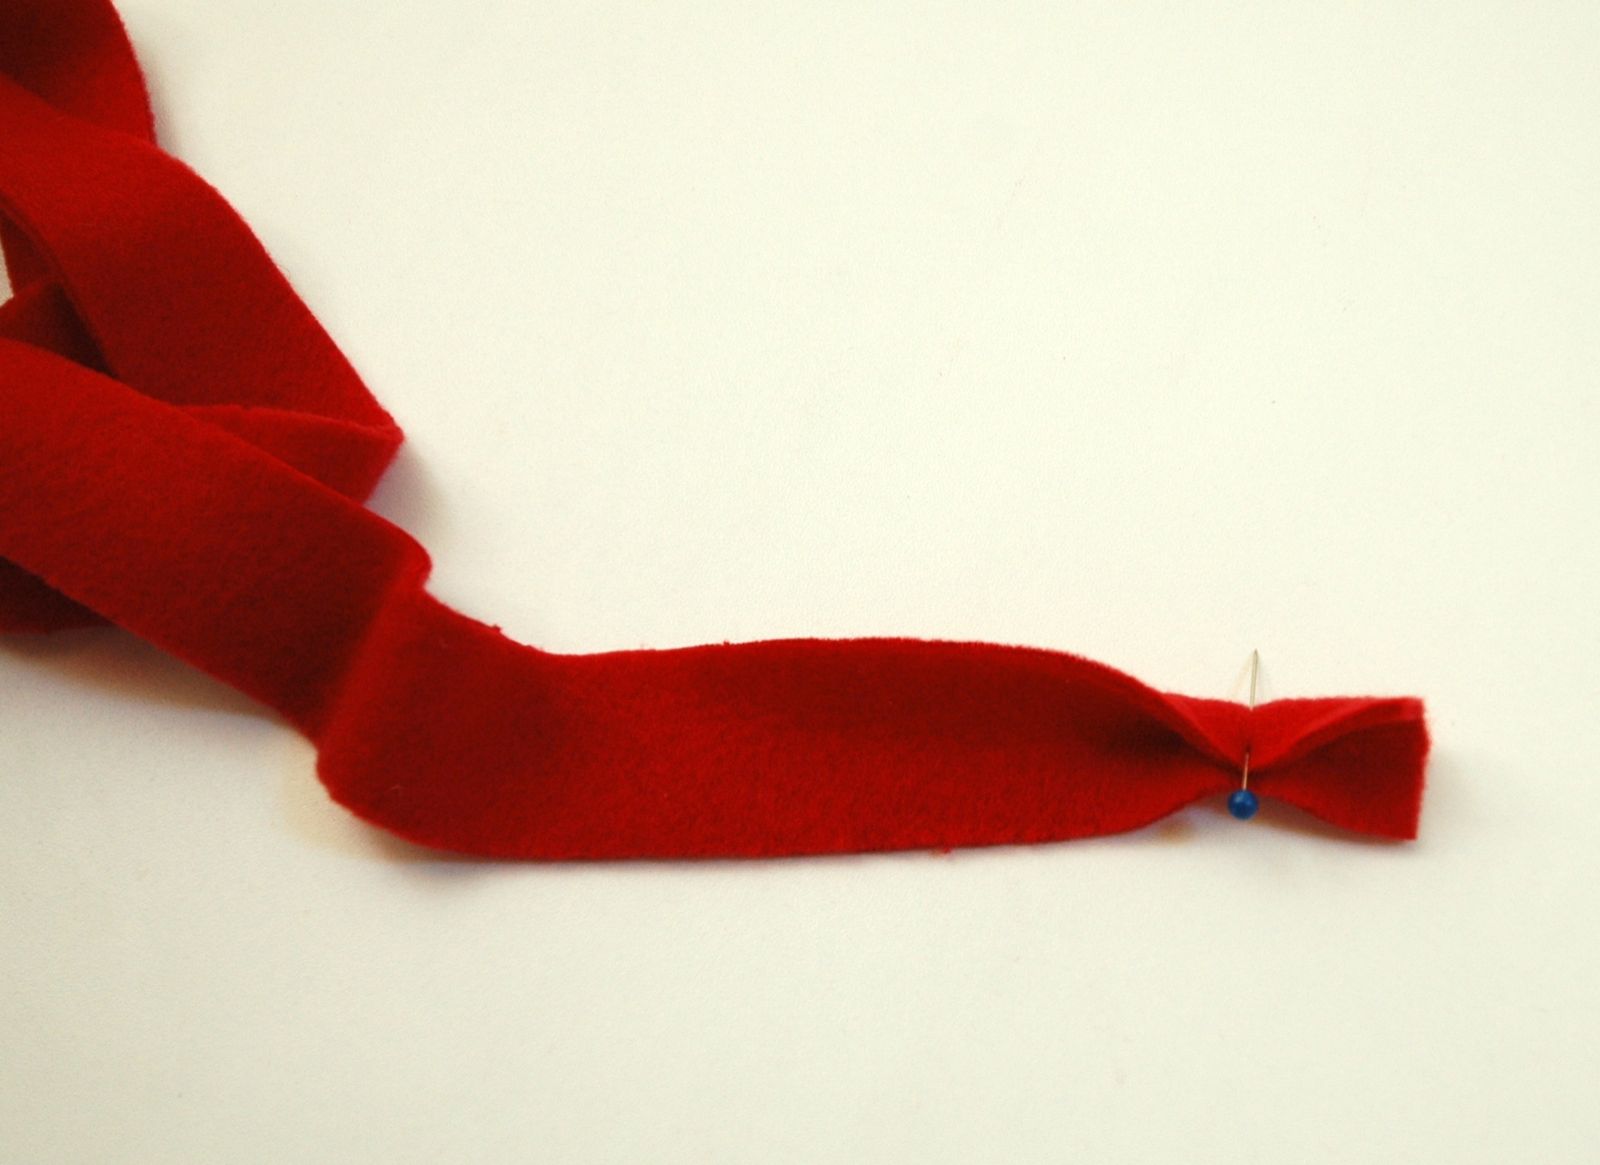
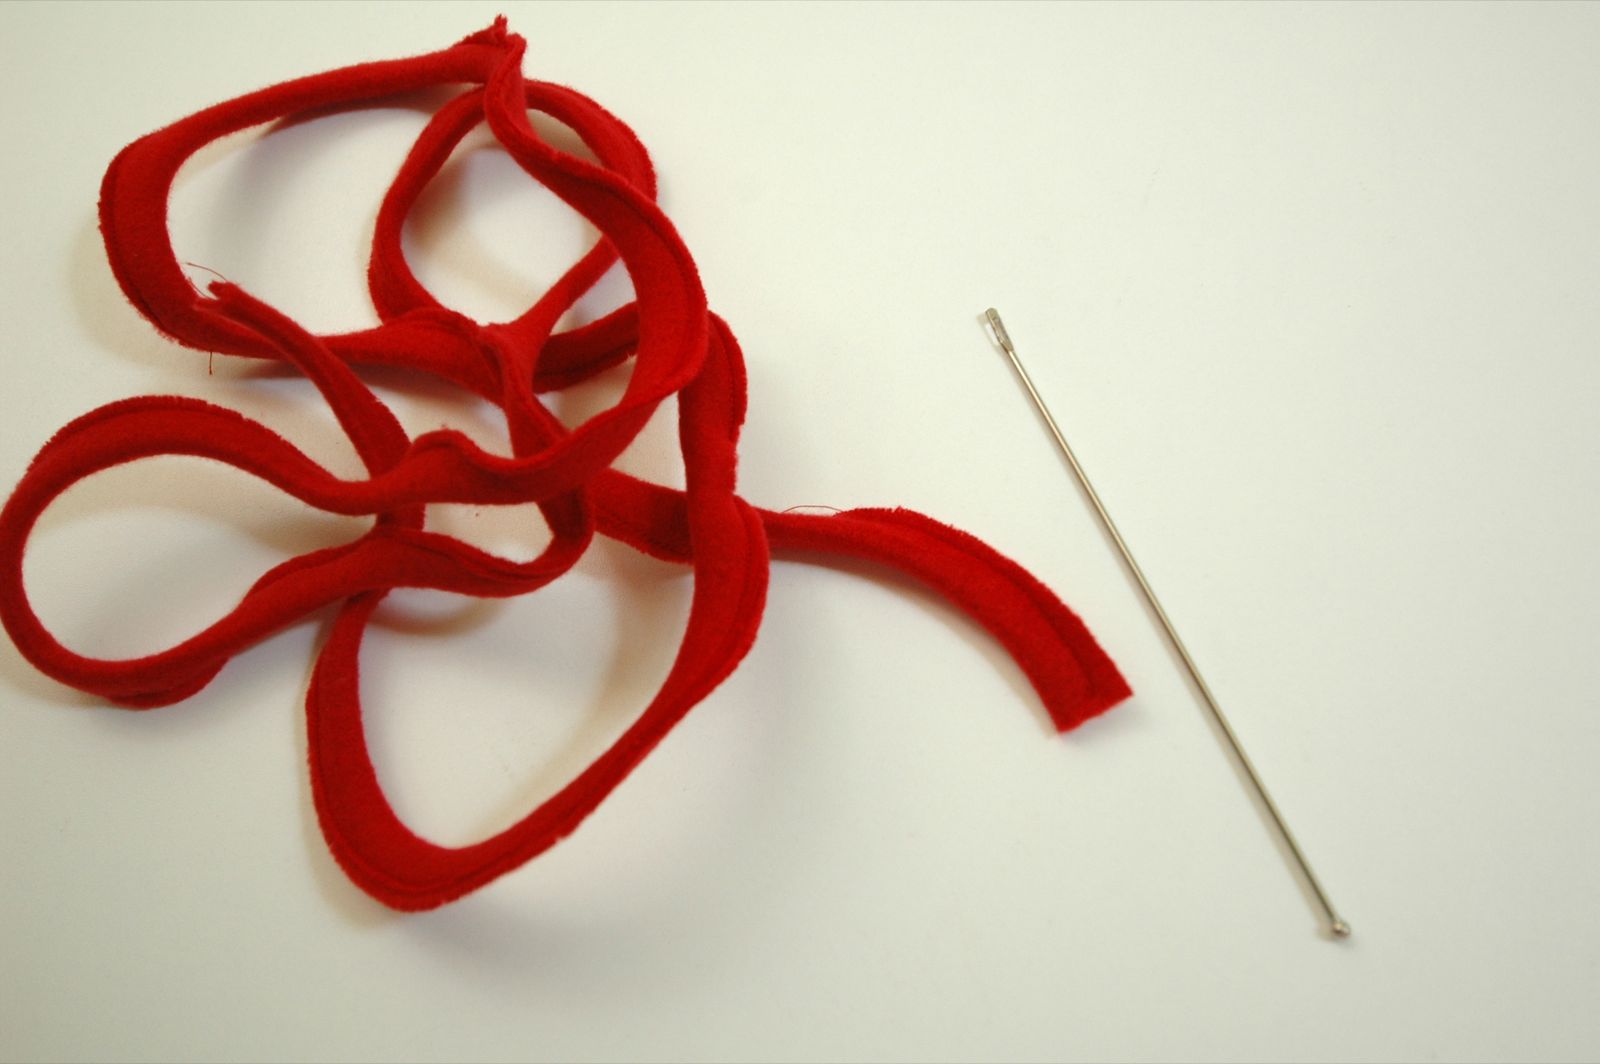
You can flip your bag right side out and put it aside for a minute. Now grab your drawstring and fold it in half. I used a pin to get it started under the presser foot, but you may or not want to bother to pin it all the way down. I tend to avoid pins when possible. Whichever way you do it, stitch all the way down the length of your drawstring with a 1/4″ to 1/2″ stitch allowance. You want to leave enough room inside the tube to be able to turn it. If you hate tasks like this, you might decide to just stitch it and not bother to turn it. Up to you. Either way, you want to use a stretch stitch here, too, ’cause this will get tugged on a good bit.
Now I used my ball point threading bodkin to turn this inside-out. Or right-side out, in this case.
In order to thread the bodkin, I chopped one side of the tube off at the end, slid the bodkin in and….

Then fed the end through the eye. And started pulling. You can use a safety pin for this if you don’t have a bodkin.

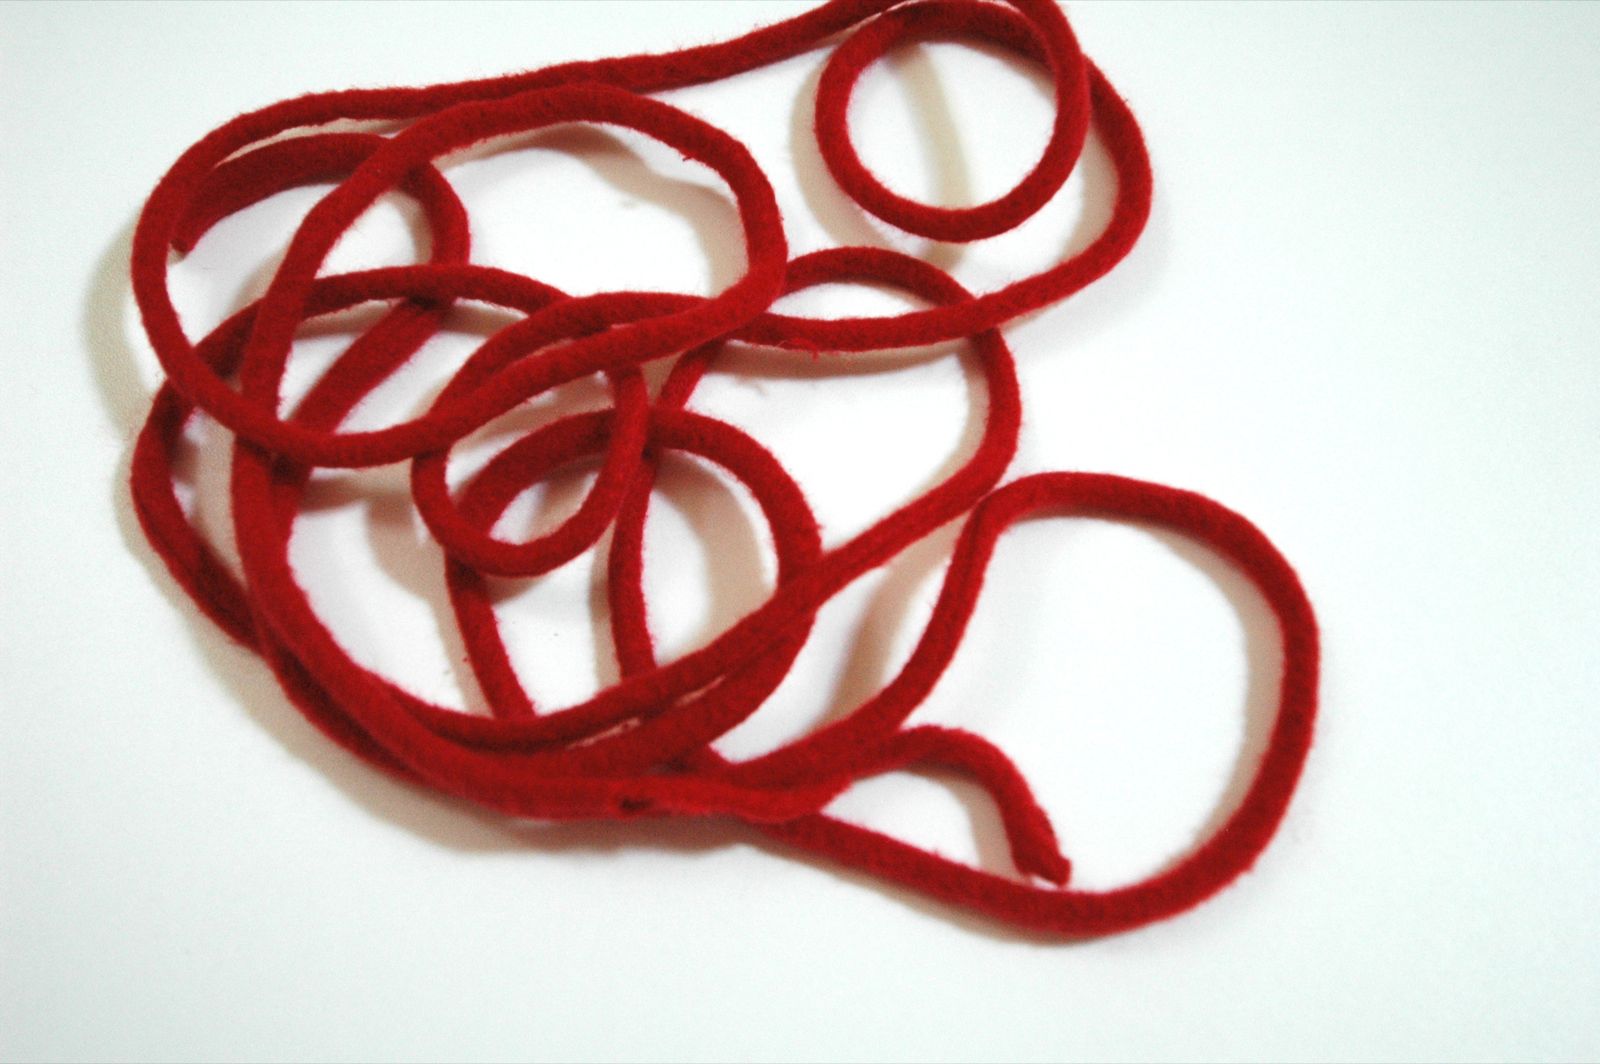
And that gave me this. The turning stretches the fleece, so it’ll end up a bit longer than it was before turning.
Okay, put that aside for a moment and let’s return to the bag. Pin the right side of the fleece to the right side of the bag and stitch all the way around.
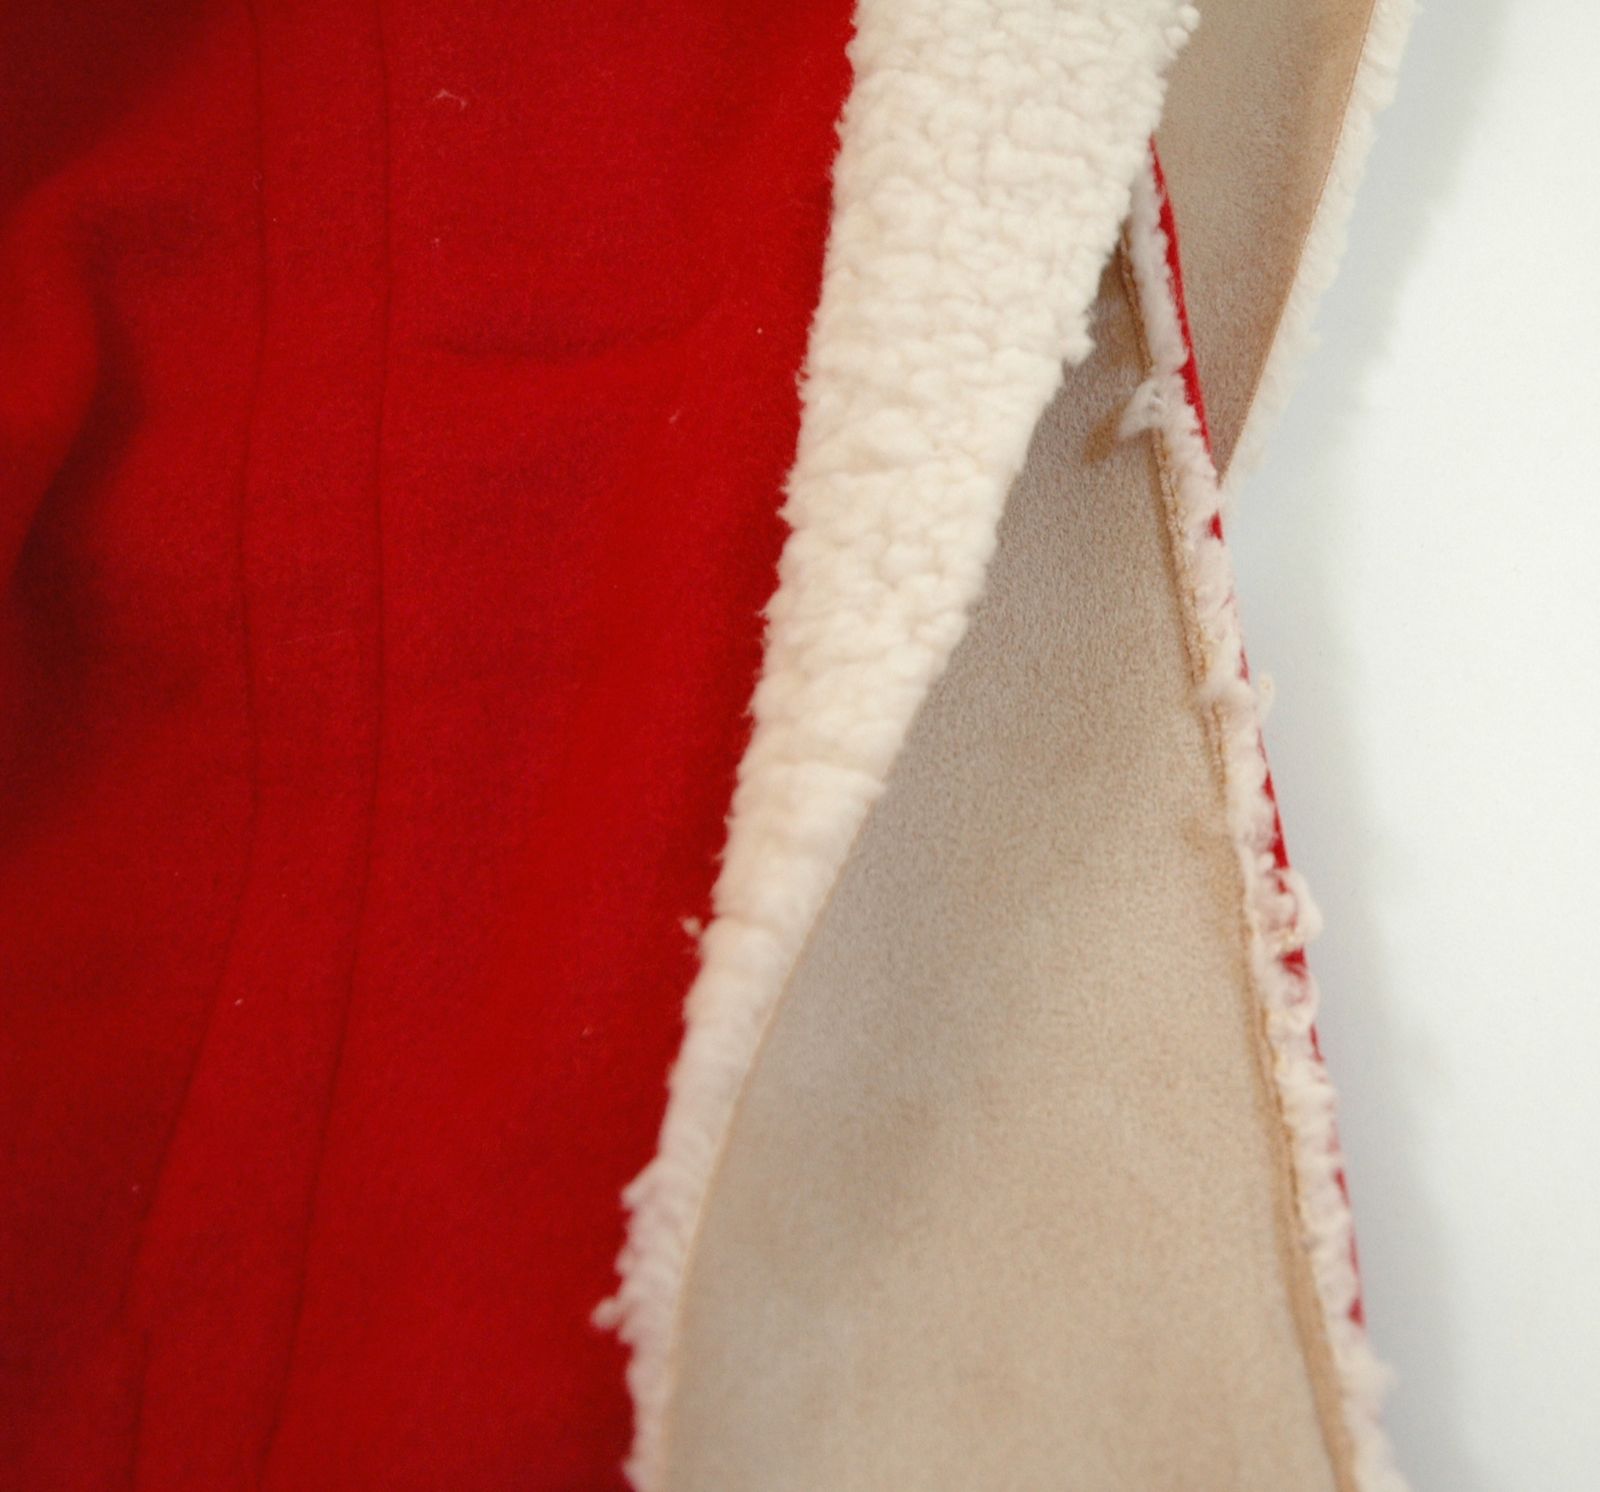
Then flip the fleece into the bag so that you can barely see it from the outside. Pin it.
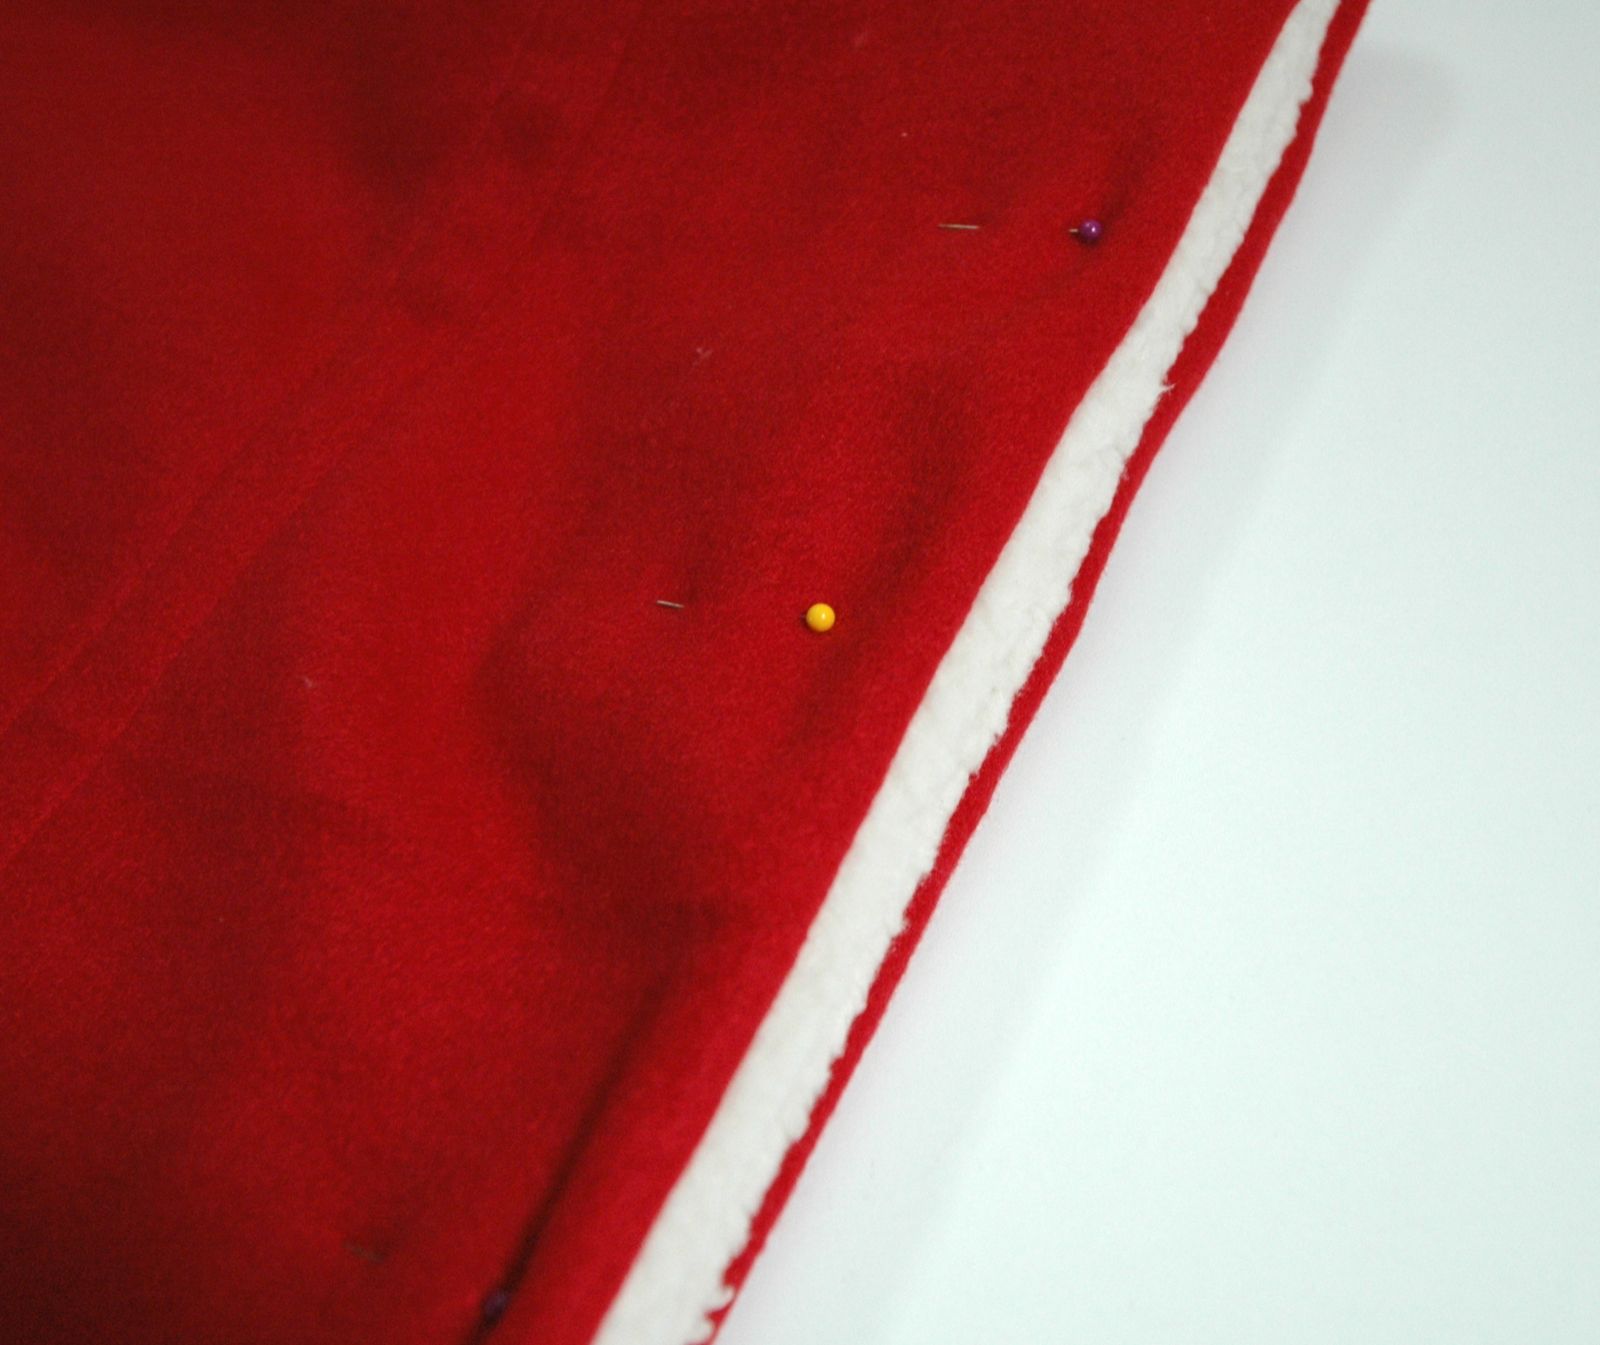
Stitch the bottom edge of the fleece to the bag all the way around.
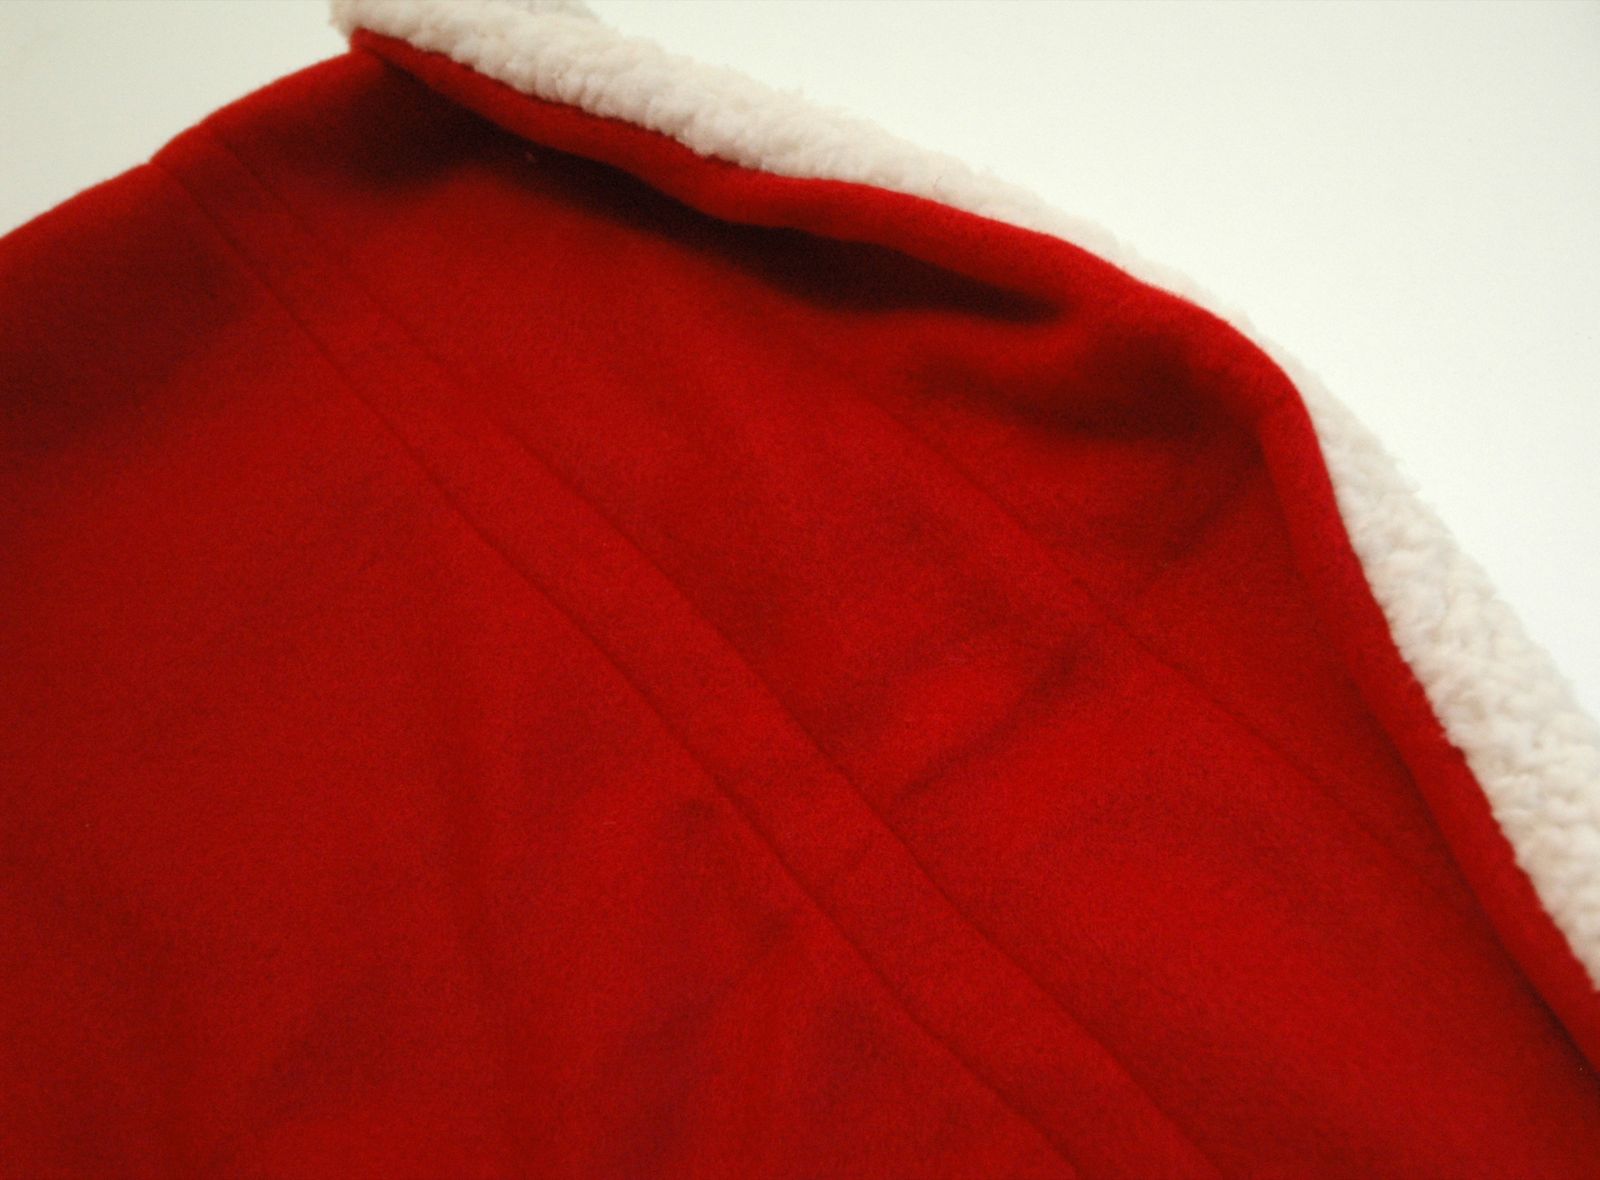
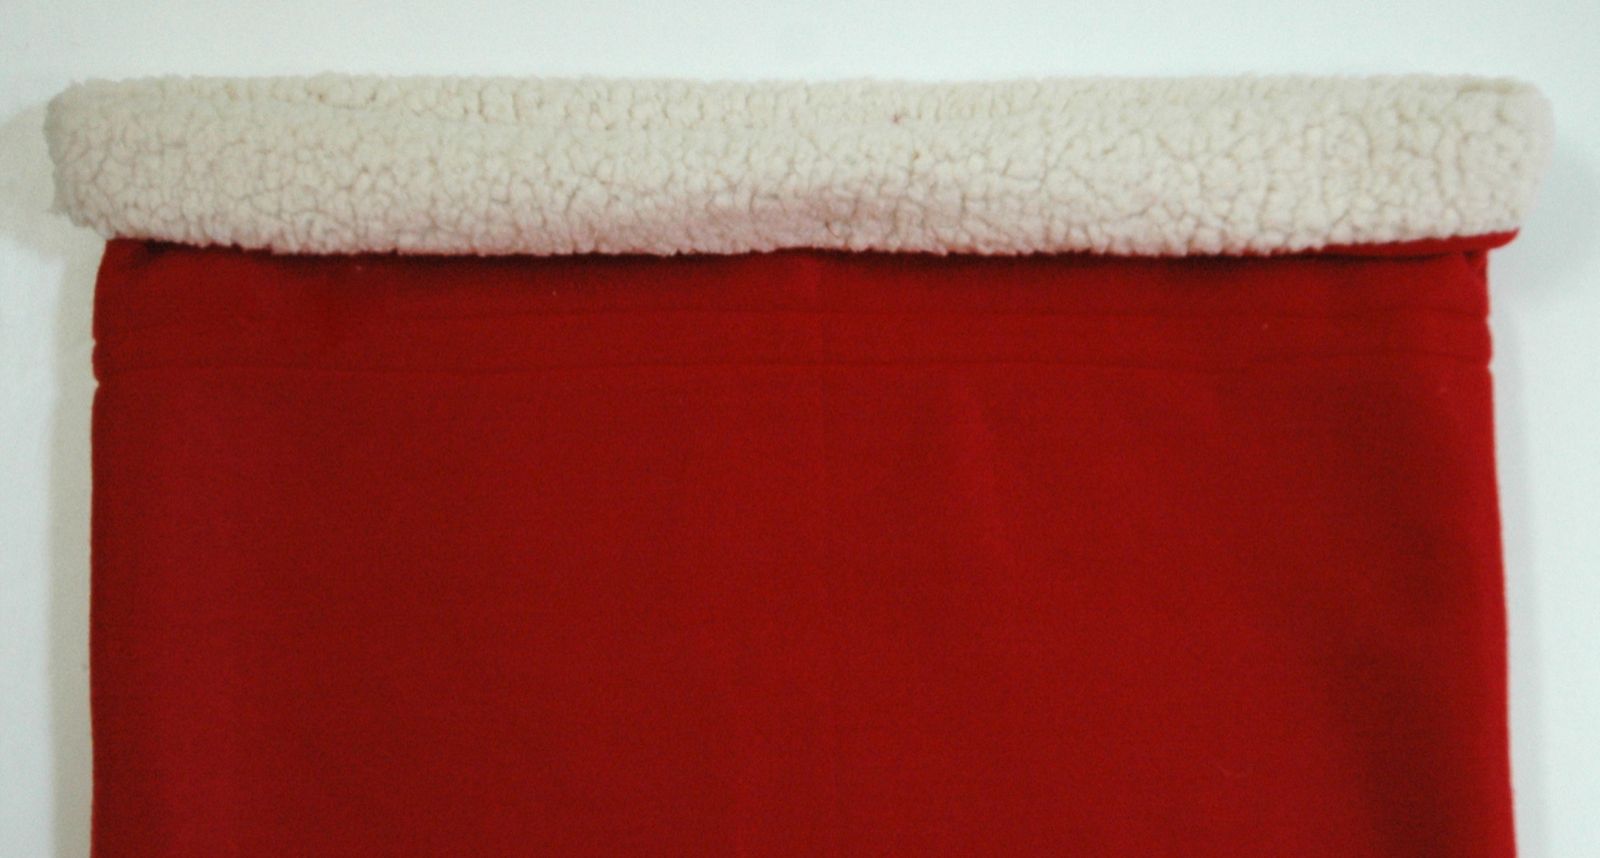
Now fold the fleece portion in half. Half in, half out. Use a few stitches on each side and a few stitches in the center of each side to tack it down so that it doesn’t fold in. Make a nice, chunky, fuzzy edge.
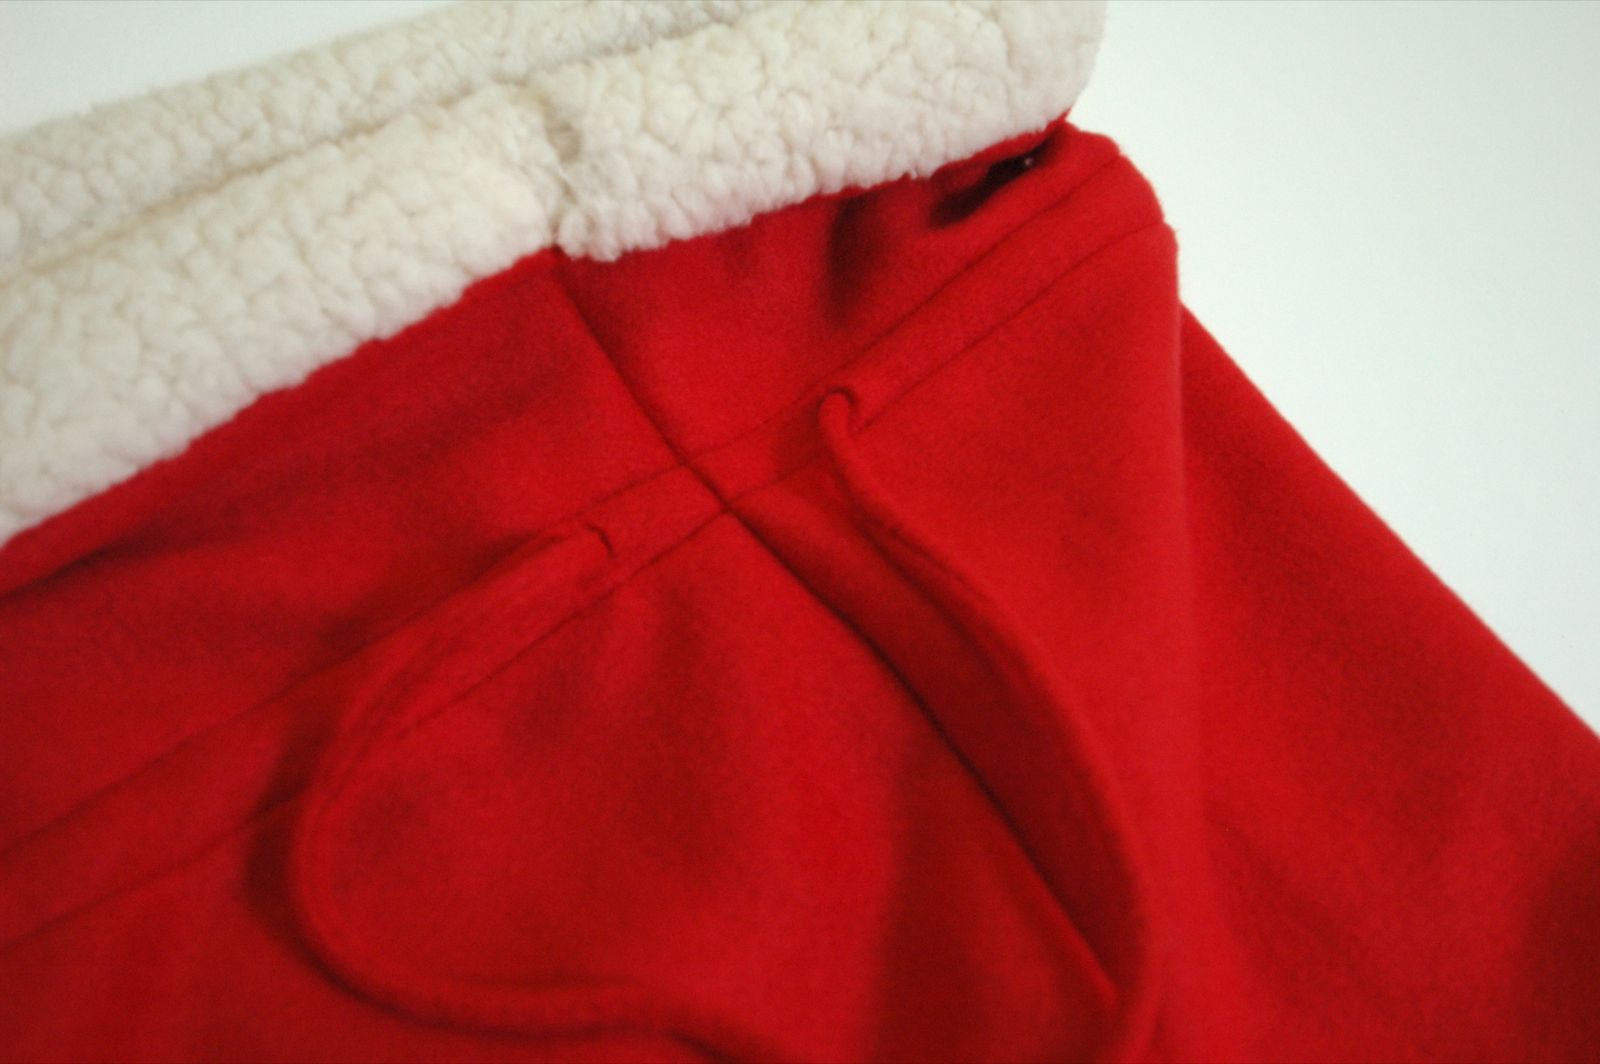
Snip tiny holes in the outside of the bag on one side. One on each side of the side seam, within the lines where you created a casing. Thread the drawstring through.
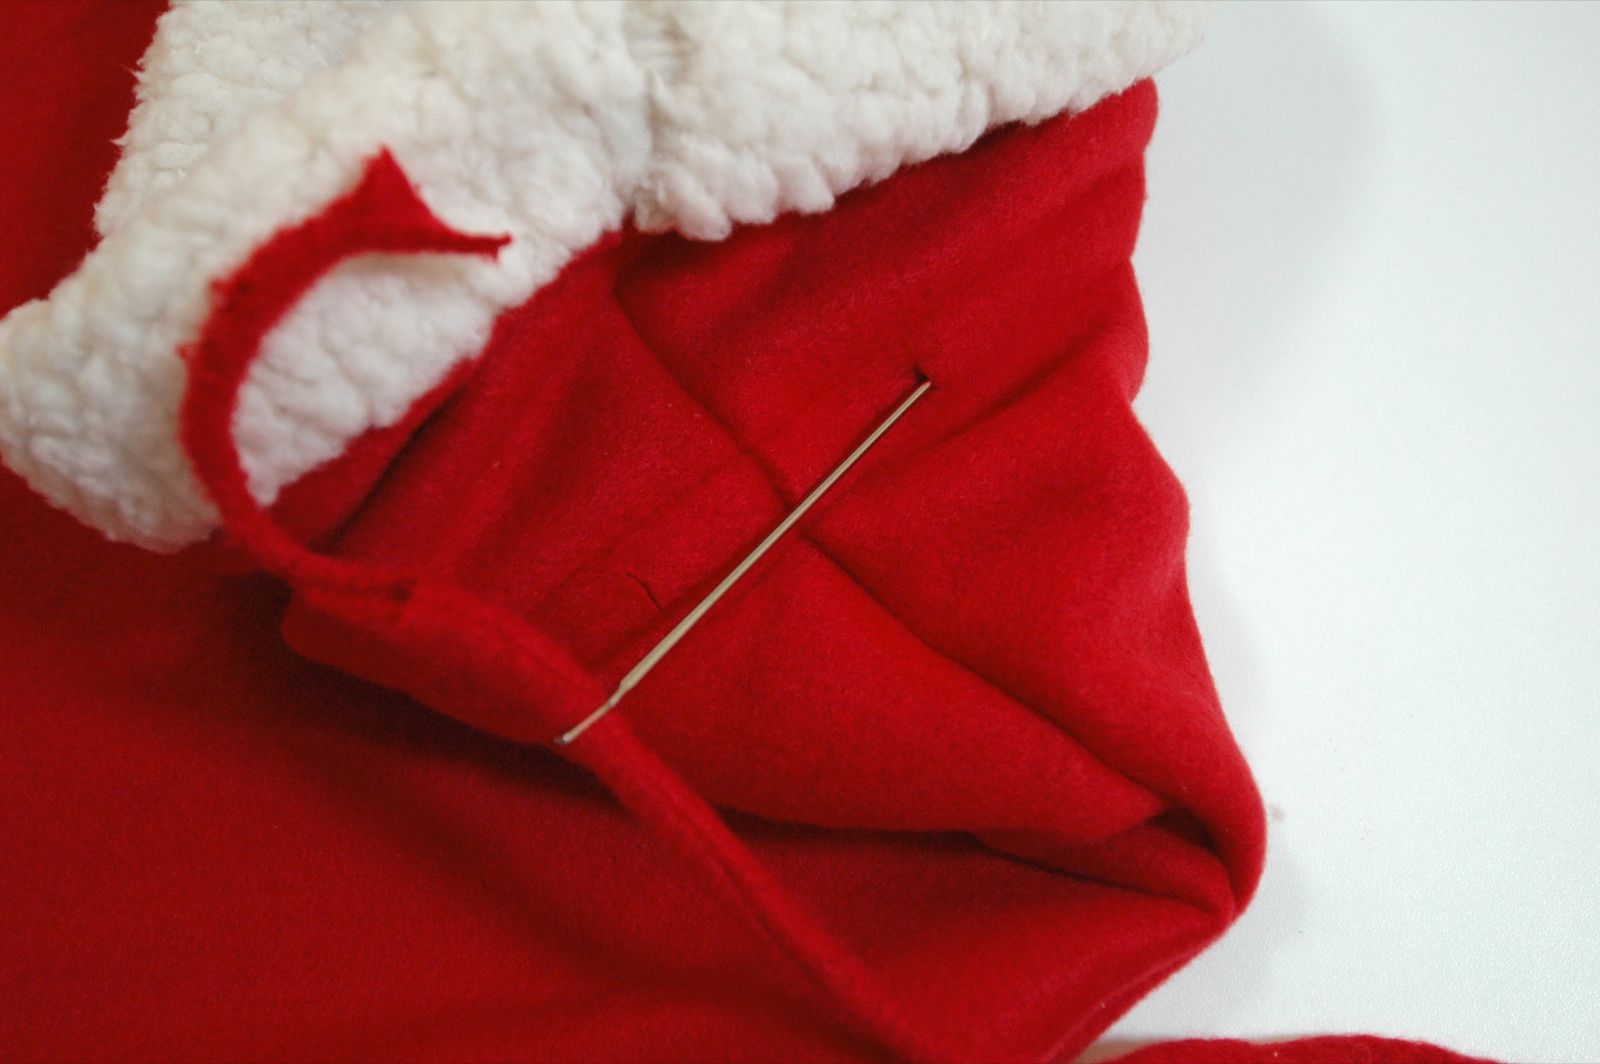
Once it’s threaded, it’ll look like this.
Now it’s time to make those fuzzy balls that hang on each end of the drawstring. We’ve cut 6 marquis shapes, and we’re going to use 3 for each ball. Start by pinning two fleece shapes together, right sides facing.

Stitch down one side.
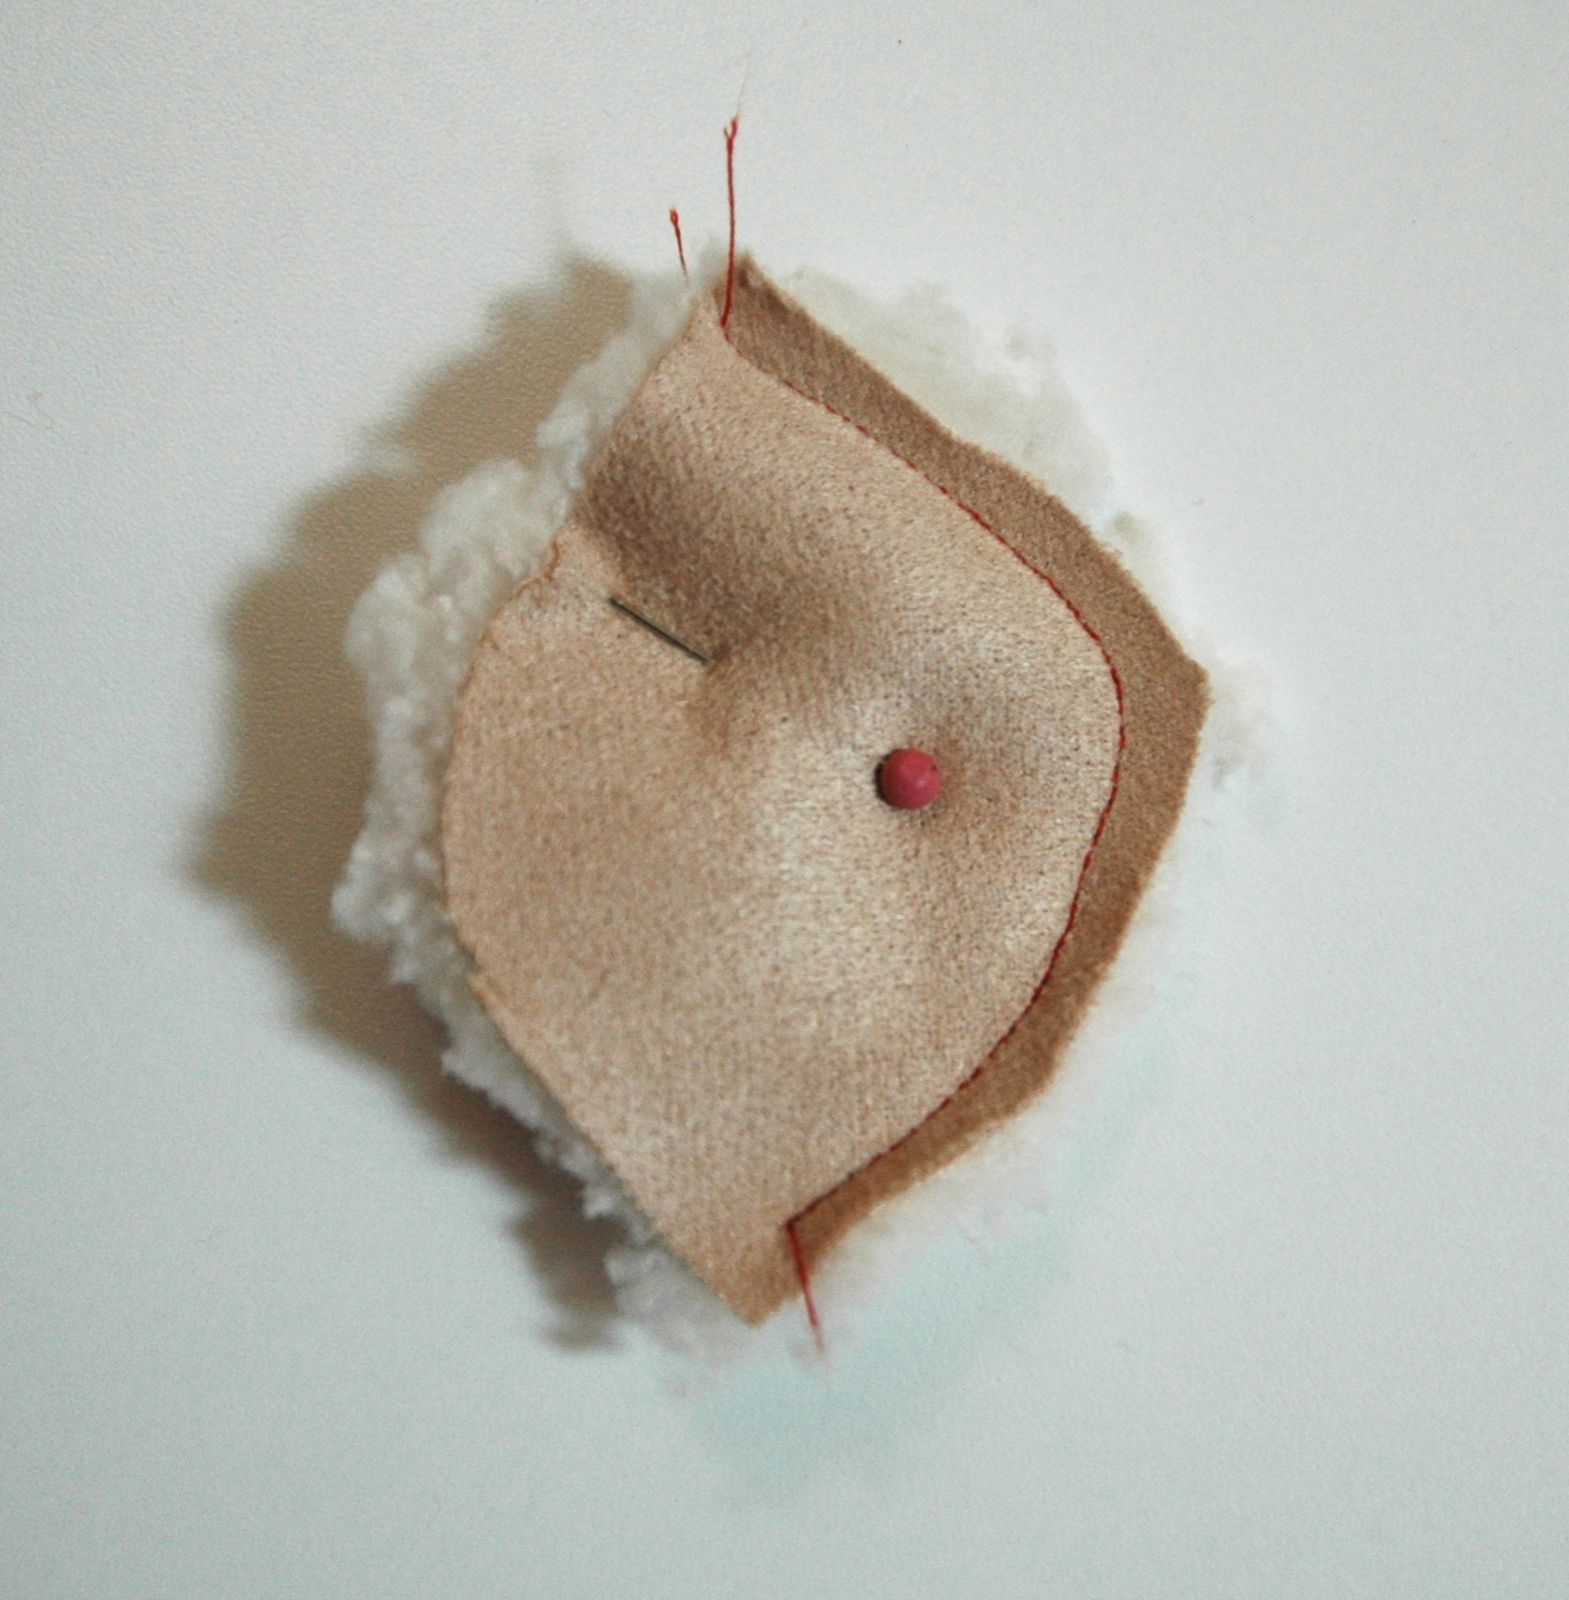
Fold one of the shapes to the side to make room to attach the third piece the same way.
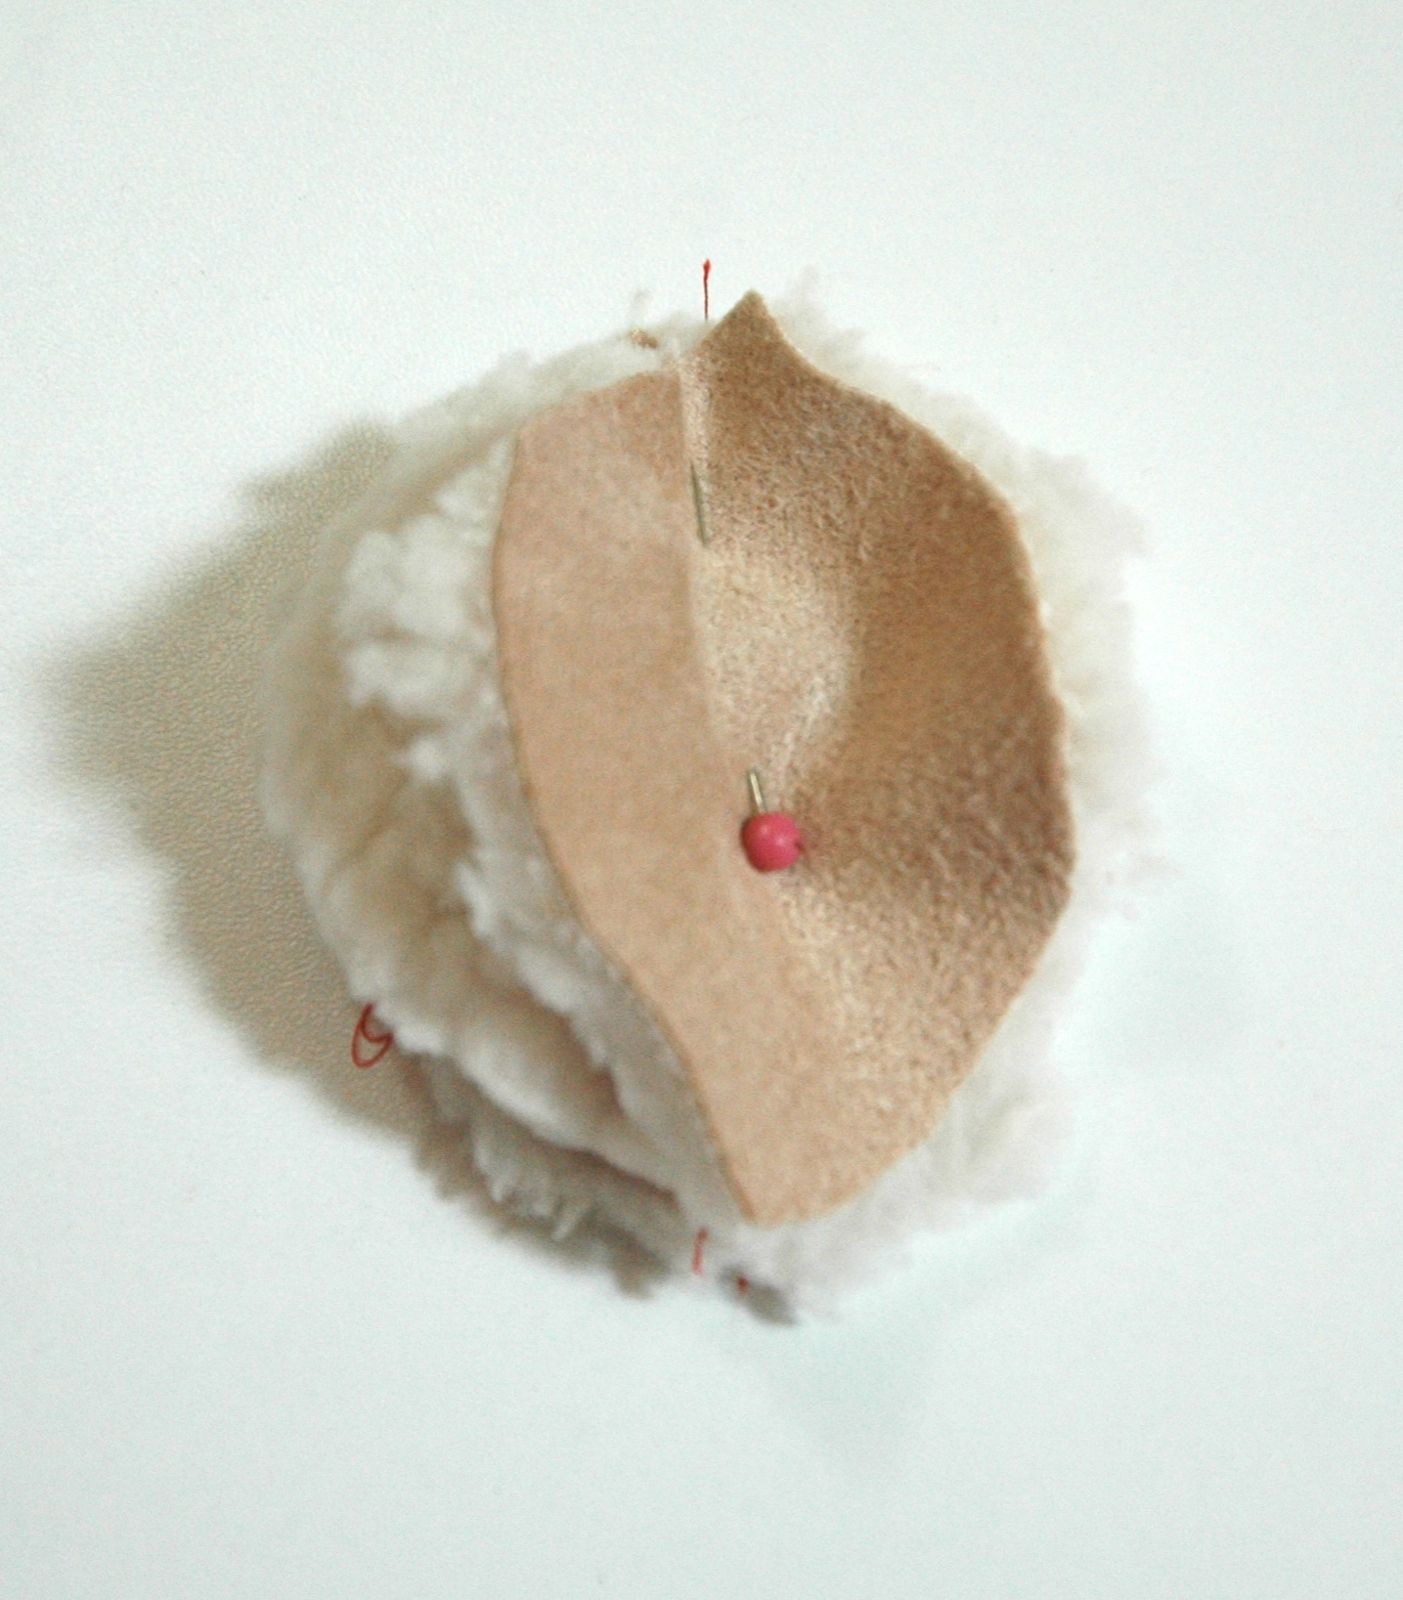
Now you’ve got one side left to close up. Sew this one half way.
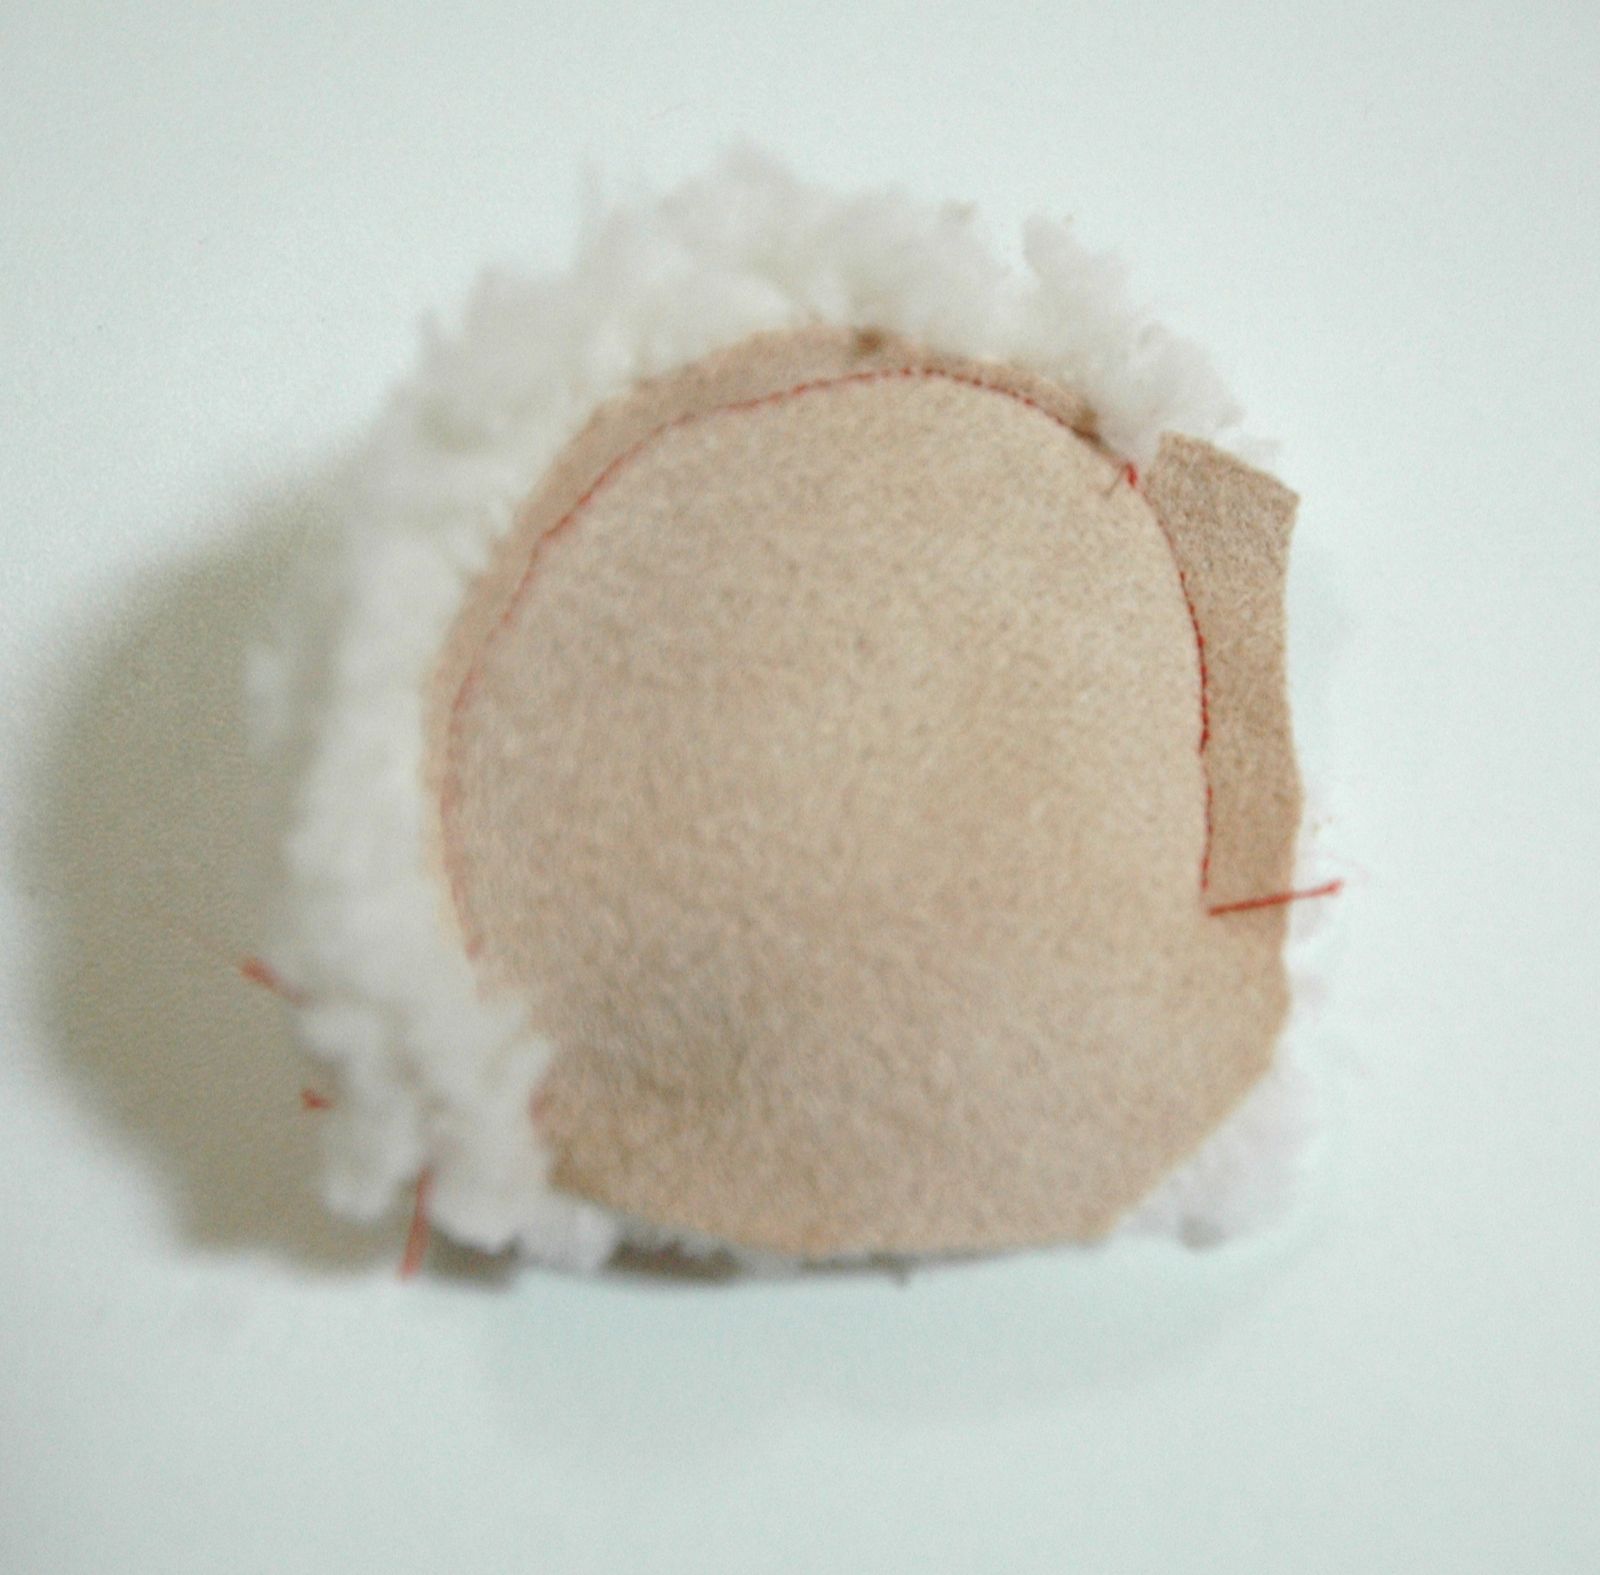
Now you can turn it fuzzy side out and fill it with scraps or fluffy filler stuff. After stuffing, tack the end of the drawstring to the edge, then turn the edges of the fleece in and hand stitch it closed. No stress– the fleecy texture is very helpful in hiding stitches. Make ’em sturdy stitches to avoid Santa bag castration later on. (I’ve waited a long time to have a reason to reference castration on a crafty blog. What an exciting day!)

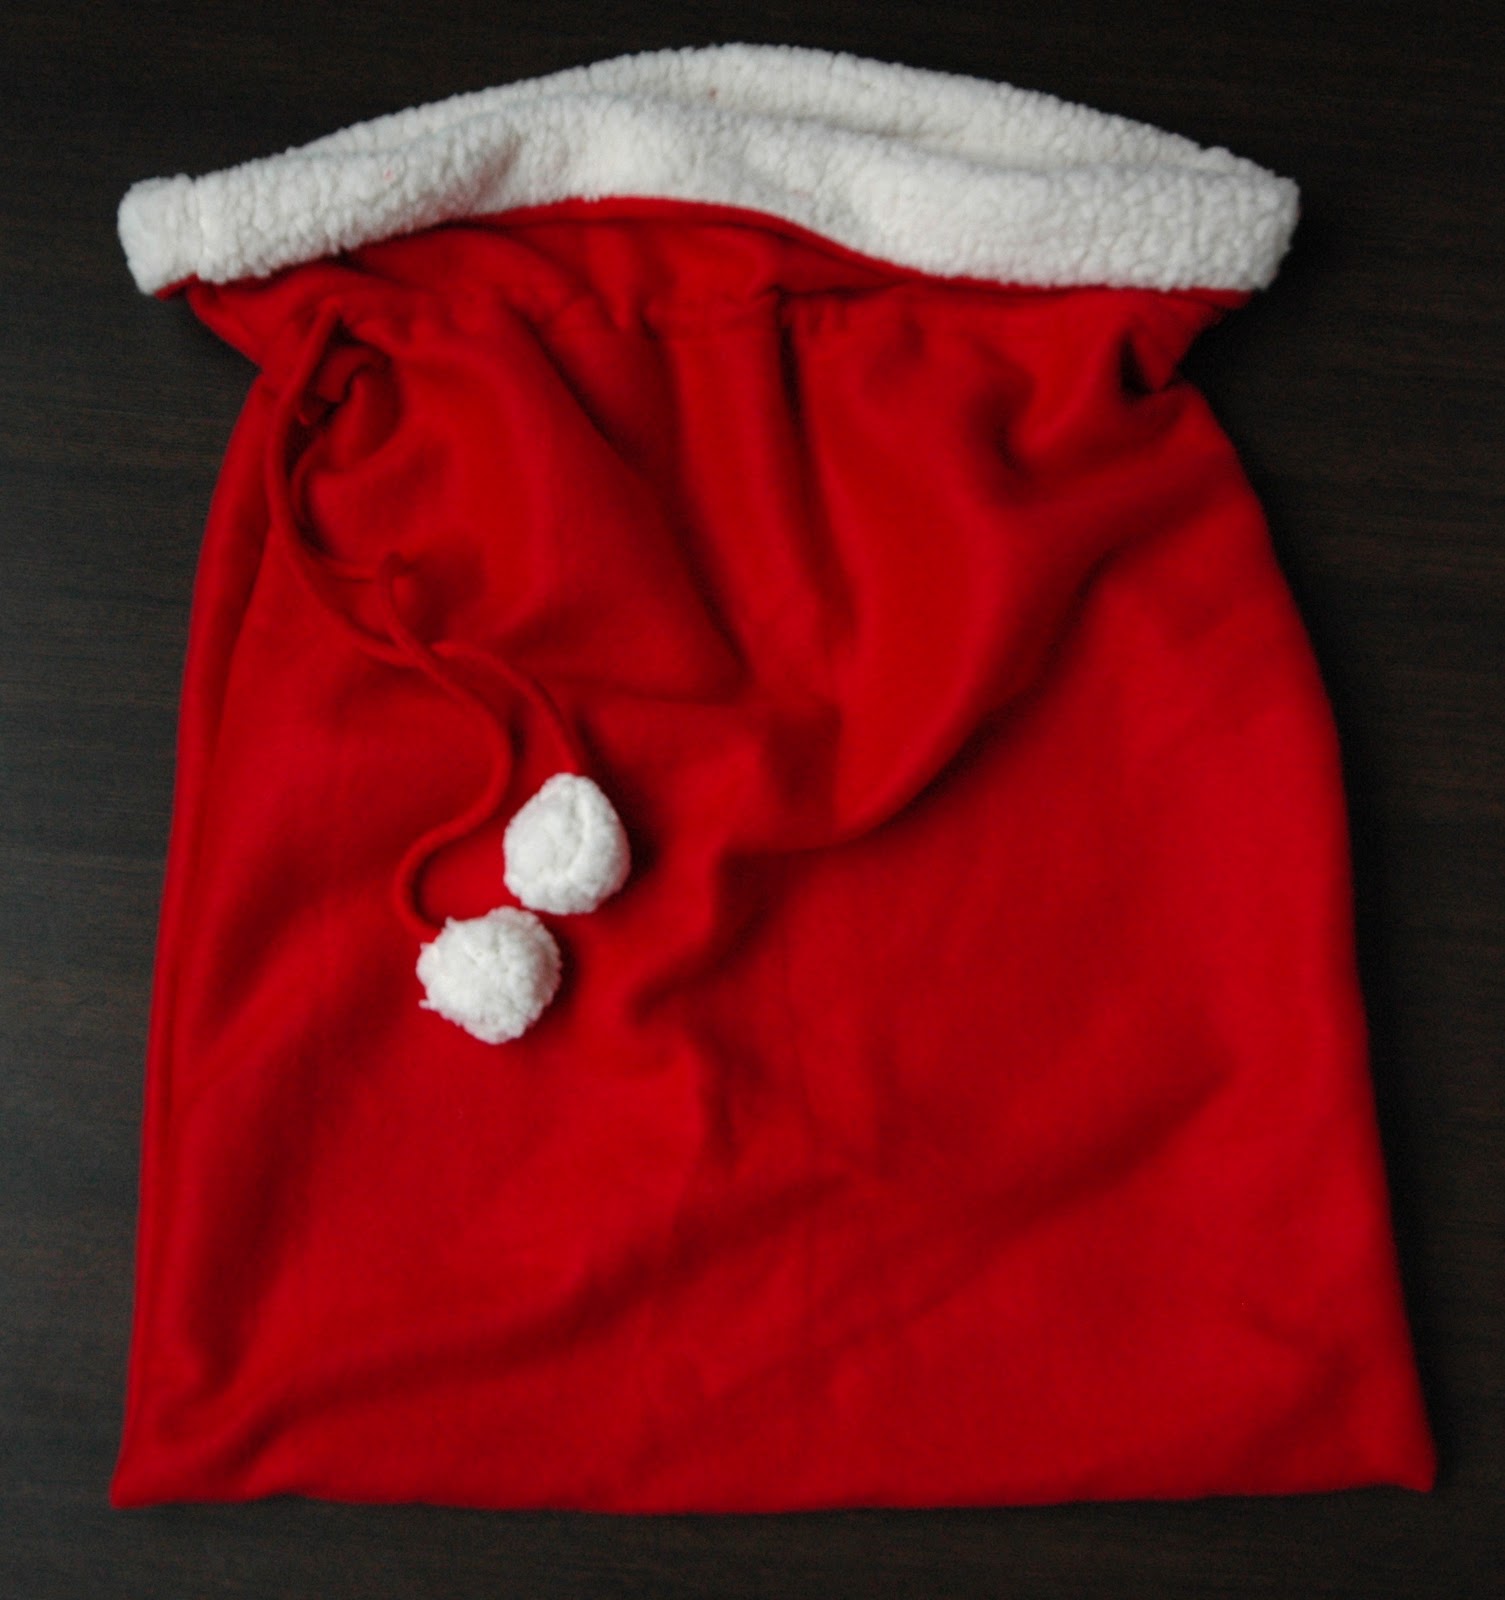
And you’re done!

Enjoy!

I meant to say a huge thanks for this Tutorial i downloaded from the Holiday Bake craft series. I have made them for the family, and it is a great pattern and nice size sack. Will email you a photo.
Awesome project. I can just picture my kids playing Santa all month long.
I’m still snickering over the oddly appropriate use of the word castration. ;)
Thanks so much for this! I had seen the PB bags and was trying to figure out how to do this myself but I’m not quite as good as you are at this yet. Thanks again!
I just finished making one for my Dad. He is difficult to buy for because he never wants anything. But this year he said he wanted a santa bag, so I jumped on it. I cheated and used purchased red cord for the drawstring and two white tassels for the ends of the drawstring. It made it that much easier. Thank you!
This is so cute! I was looking for a Stocking Tutorial cause I want to make a mini stocking bunting. First I have to get a new sewing machine. My birthday is next month so I’m thinking of getting this for myself as a gift to myself (or with birthday money?). The tutorial is great! Very easy to follow. I have been wondering how to make a draw string bag for decades. lol
Thanks for sharing
Your tutorial is really awesome one to came across really…you really made very easy for us to make the Santa bag for our own…I am planning to make it on this coming Christmas and I am really very excited now…really never thought that it would have become so easy for me…Great..!!!
Why It Must be Panama for Dental Surgery? The factors for obtaining your dental surgical procedure accomplished in Panama are numerous, like: Most of your training dental surgeons in Panama speak English Panama has exceptional arrangements for diagnosing, screening and providers. There is no shortage of USA-trained doctors It costs far less to have your surgery carried out in Panama than in US or any other Western nation US dollar can be utilized And above all, your postoperative care is complimented by a visit on the pure beaches and pure forests of Panama.