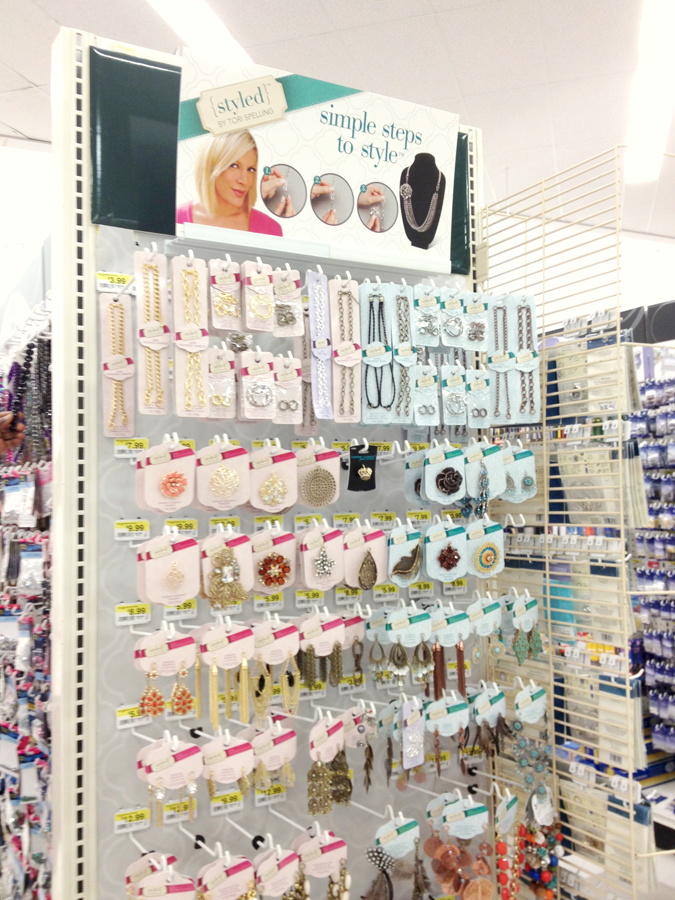
And another for “Glitz” and “Noir”. What’s cool about these is that there are friendly connector pieces for everything. You don’t have to have pliers or snips to attach any pieces together. Just clip them. And then when you change your mind, unclip them and mix them a different way. For the people who read our blog that are more sew-y than crafty, here’s your chance to get your crafty feet wet without stress. And price-wise, they’re reasonable, as you’d expect from these two craft stores. (If you look closely you can see a few prices in these photos.)

Before we look at a project that uses the connectors, let’s look at one that’s just as easy and adds fun to a purse.
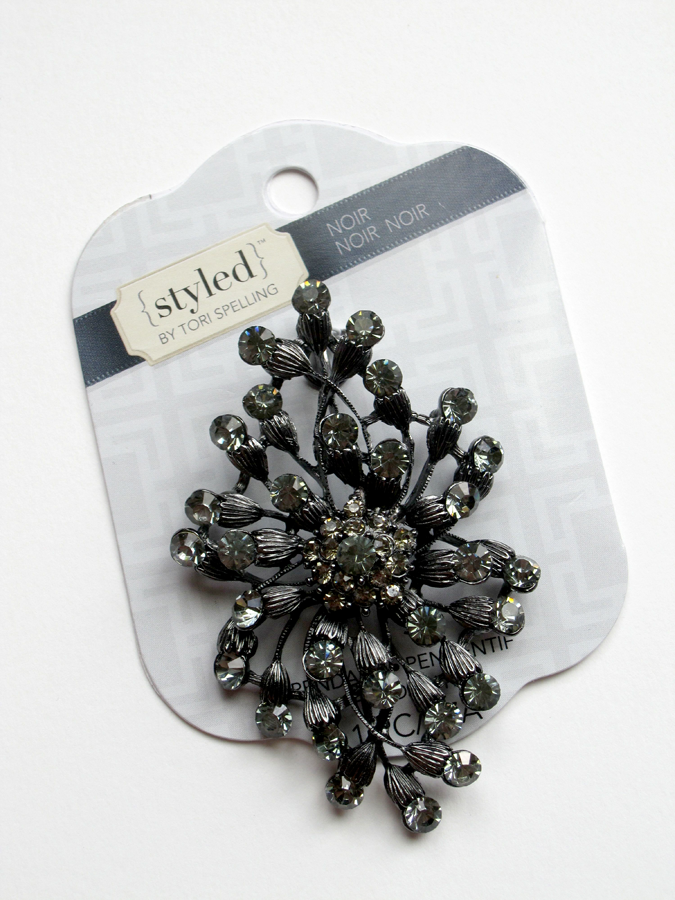
Out of all of the pieces, and there are a LOT to choose from, this one is my favorite for two reasons. First, it reminds me of my super-stylish grandmother, Grammy. She used to let me play with her fancy handbags and they had glitzy pieces like this attached. (I haven’t asked recently, but I bet she’d still let me.) Second, I love digging through other bloggers’ posts with vintage jewelry they’ve found and repurposed, but *I* don’t seem to ever find any worth using. Maybe it’s the people that get there way earlier in the morning than I do? I don’t know, but I know I love this piece and I knew exactly what I wanted to do with it.
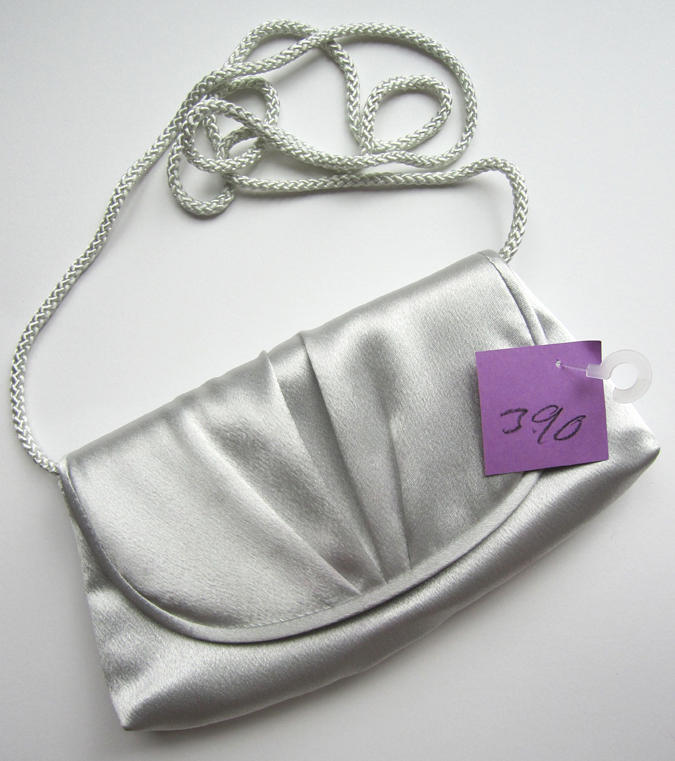
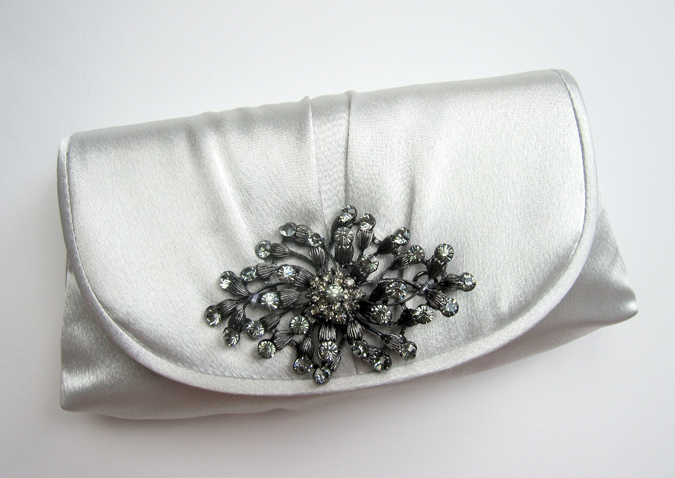
My thrift adventures turned this up. A sweet, simple little silver satin bag. These are a lot easier to find than vintage baubles. It might’ve even been half-price day for the purple tags, I can’t remember. I love the clean lines of this. (Not so much the strap, we’re just gonna tuck that inside and pretend it’s not there.)
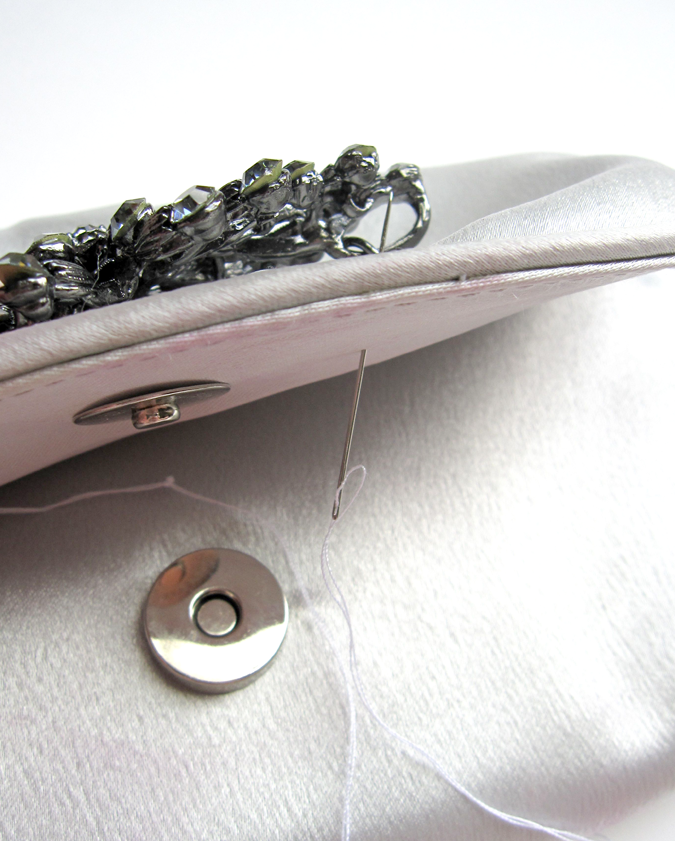
All this requires is the bag, the pendant from the Noir line and a needle and thread.

These clutch bags usually have a fairly thin cardboard inside that shape the flap. Easy peasy to stitch right through.
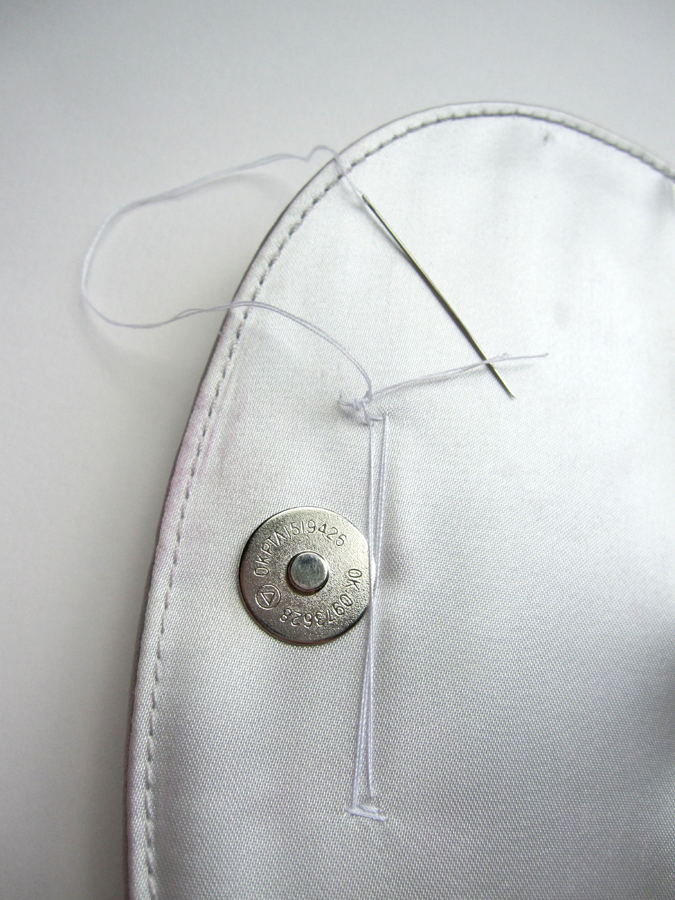
A few stitches to tack the pendant down on either side and some sturdy knots and it’s ready to go.
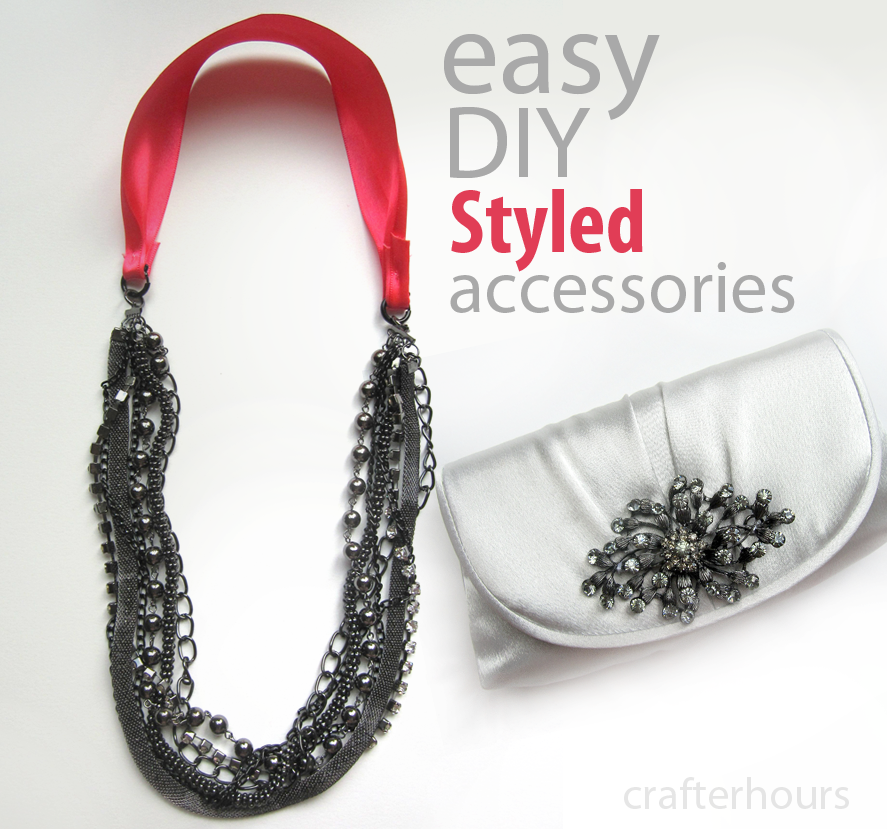
Ta da! Ready for date night. A really fancy one. Which should really happen more often than it does. Making a note to work on that.
Now, for a coordinating accessory. This coral ribbon is slightly neon in real life, and this is about the extent of my commitment to the current neon trend. These connectors make it so easy to pair, unpair, re-pair, that I can see this necklace bottom paired with a jewel-toned ribbon for the holidays or another springy color next year when the new age of neon has passed.

To use a wide satin ribbon, just pinch a pleat together and stitch through.
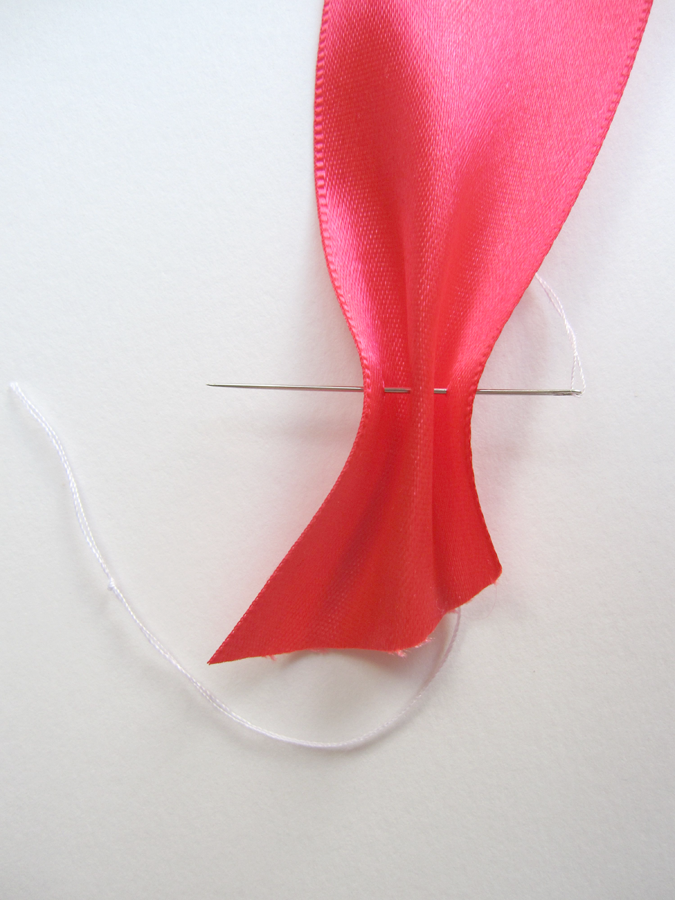
Tuck the tail around and tack it…

Hiding your start and finish threads in the middle.

So easy it should be considered cheating, right?
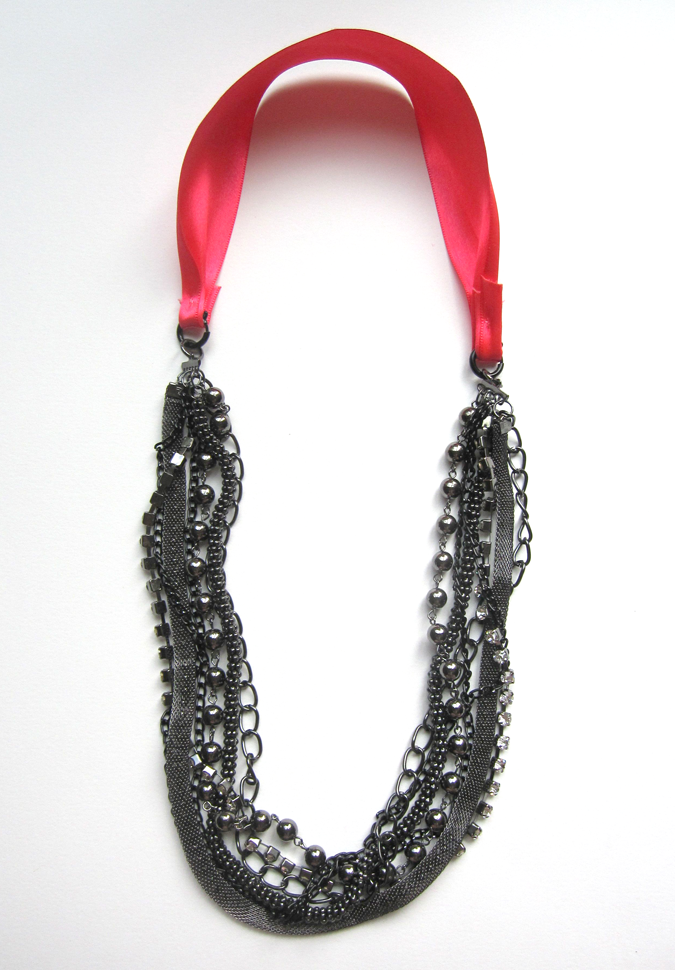
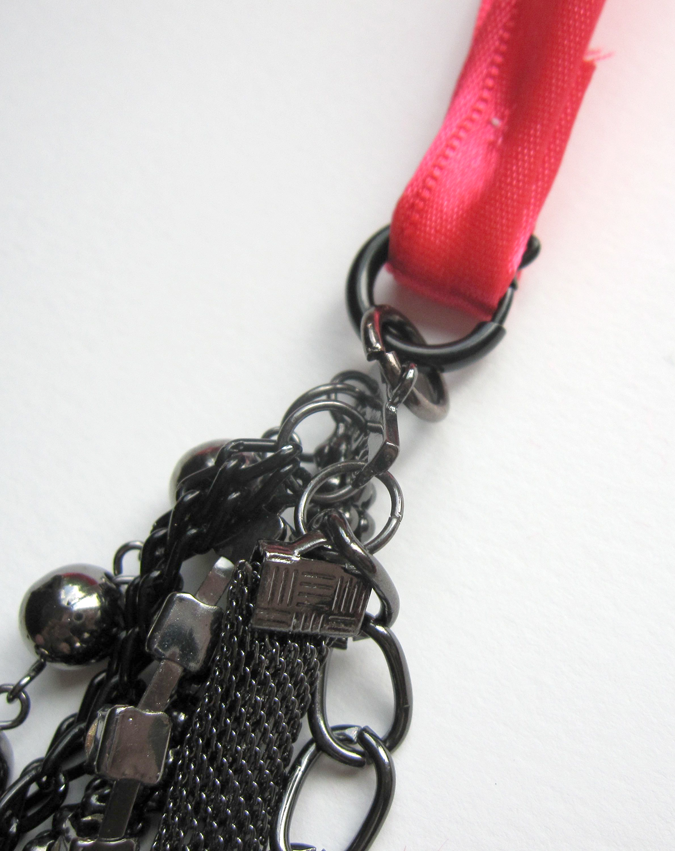
These connectors are generously sized so that you could use necklace tops or bracelets from the Styled collection, all sorts of ribbon and fabric straps, necklaces or bracelets you already have, embroidery floss, twine, the telephone cables nobody uses anymore… you get the idea.
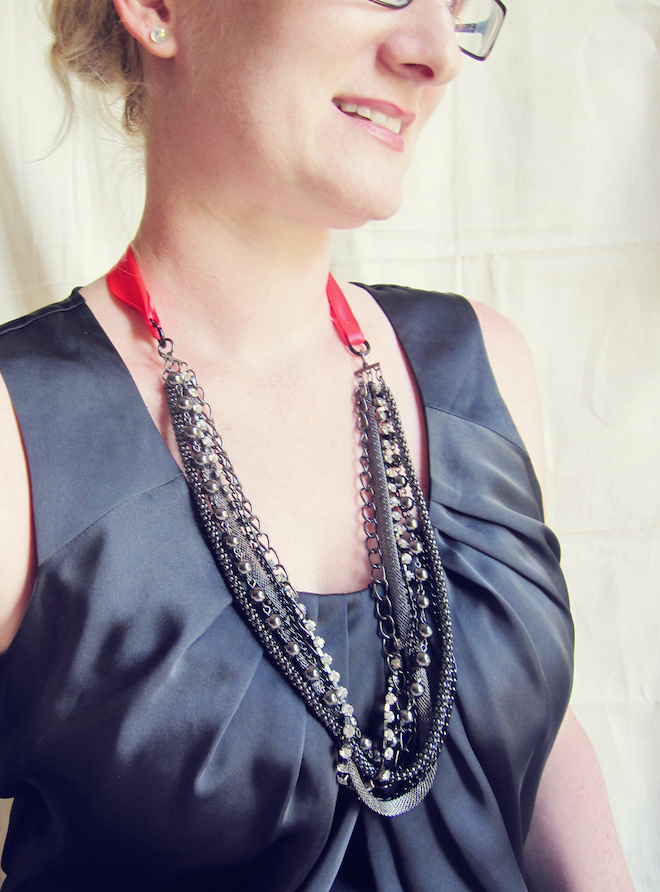
Because it’s Tori and we’re so close and all, I set aside my aversion to self-portraits for blogging and will share this.

Love this line! I have already bought several pieces from the line, and they are so easy to use! You can also add them to your own creations very easily using the connectors! I really love how versatile it all is!
Oh my gosh, yes, please! That looks like fun weekend project for me. :)
Love the way you jazzed up that purse.
Oooh! How lovely. That clutch is totally awesome.
Coral plus Noir is a winning combination! Stunning! I love the clutch!
Your clutch is amazeballs. You turned a nice clutch into something very expensive looking, with very little work. Now that’s MY kind of project!! :)
Just awesome! These fun DIY jewelry ideas are the perfect craft for me. It’s my next weekend project.