crafterhours

sleeping babes. crafting moms.

  • Tutorials
  • Patterns
  • Shop
  • Contact
  • Follow

Wall of Shame No More

June 25, 2012 By crafterhours 19 Comments

You probably know that you can upload an image and have it printed on canvas. Did you know that you can choose to print on canvas that isn’t then stretched on a frame and it’s considerably less expensive? I’ll show you how I used rolled Uprinting canvas prints to put an end to my wall of shame.
What’s a wall of shame? Well, there are a number of neglected corners in our home. We moved over the summer of 2010 and in addition to sorting and unpacking, we replaced 75% of the flooring, the entire kitchen, the bulk of two bathrooms and created a backyard where there wasn’t one. A combination of contractor cooperation and DIY all while my husband was away for a year knocked me out. Know what’s sadder than a neglected corner? A neglected MIDDLE. In the middle of my kitchen these two Ikea frames have been hanging for over a year. I knew I wanted this size and this style… and could not make up my mind about what to put in them. So there they’ve sat. That’s my version of a wall of shame. Or was. (First-world drama here, obviously.)
My Dad came for a visit and actually laughed out loud. “Nice art, BZ.” Employing my childhood nickname did not soften the blow. Hmph. He who no longer has small Curious Georges running around has forgotten that these frames are far safer on the wall than sitting somewhere waiting to be hung.
Before Christmas I decided to tape K’s holiday artwork to the front. ‘Cause I could. So much fancier, right?

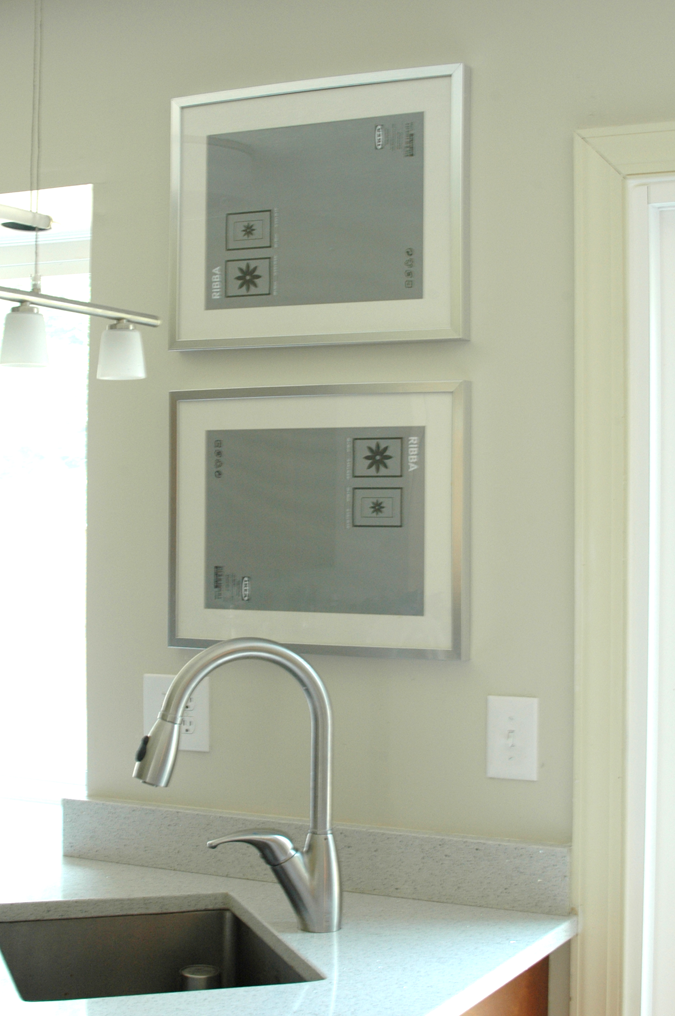
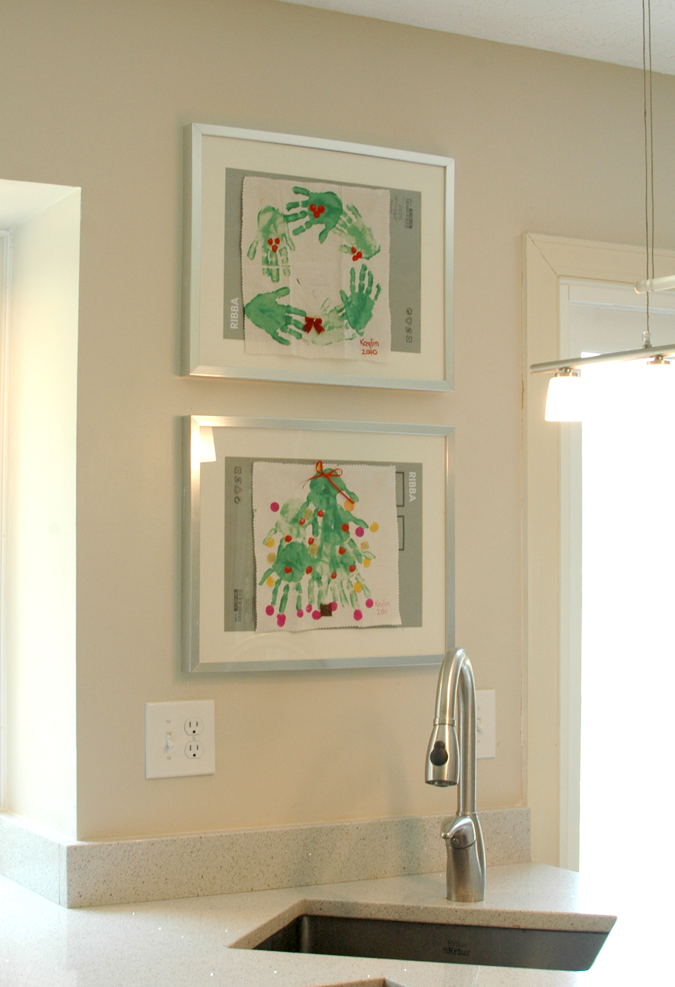
And now that it’s summer… maybe it’s time for the holiday art to be put away? You think?

Just as I had decided I really needed to deal with this problem, I got an e-mail asking whether I’d like to try UPrinting. The timing could not have been better. I had decided that I’d need to do some sort of large-format print myself, since I needed horizontal art and nearly everything I’d found online that I liked was vertical.

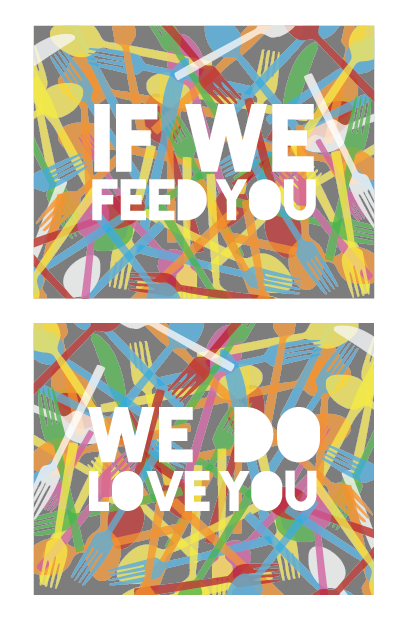
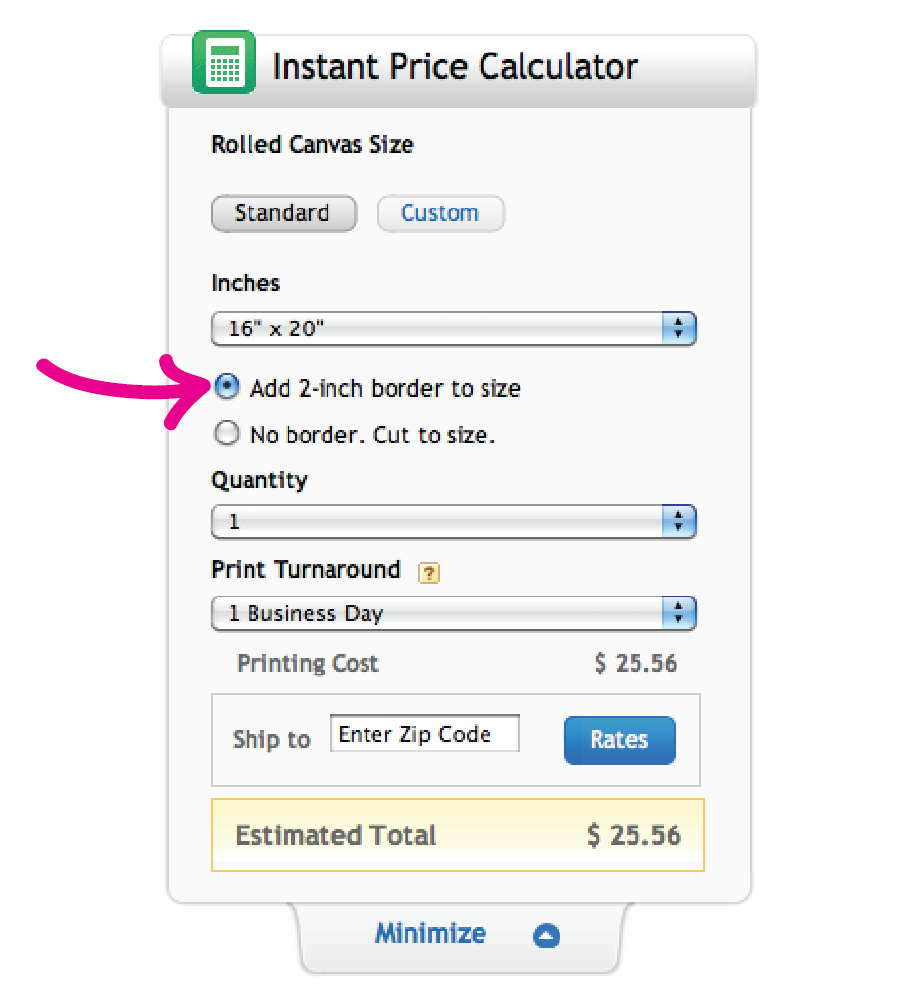
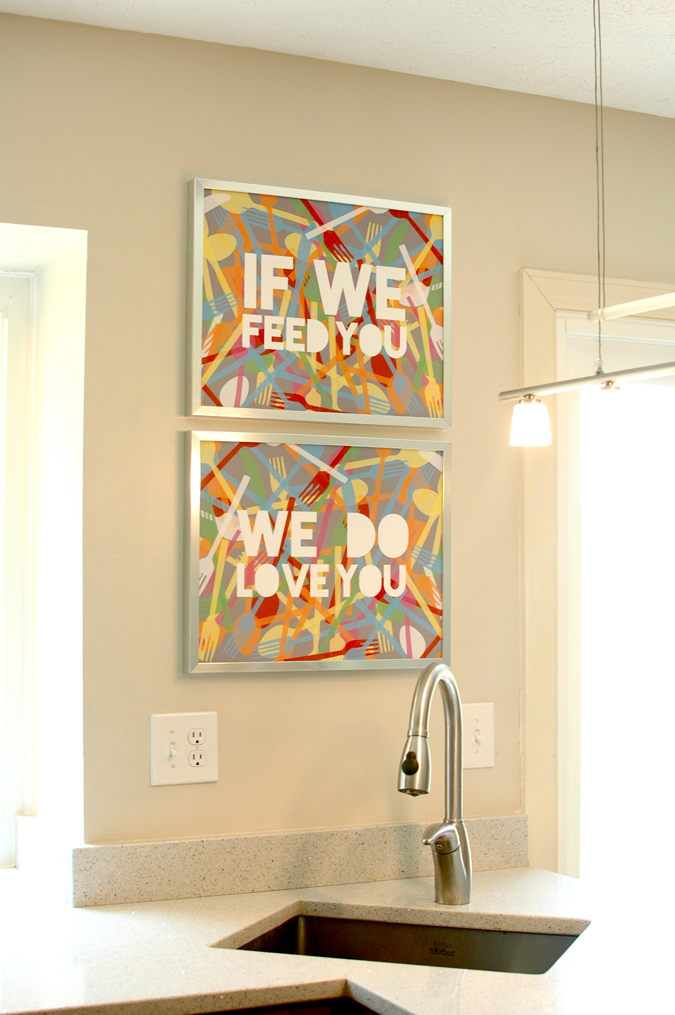
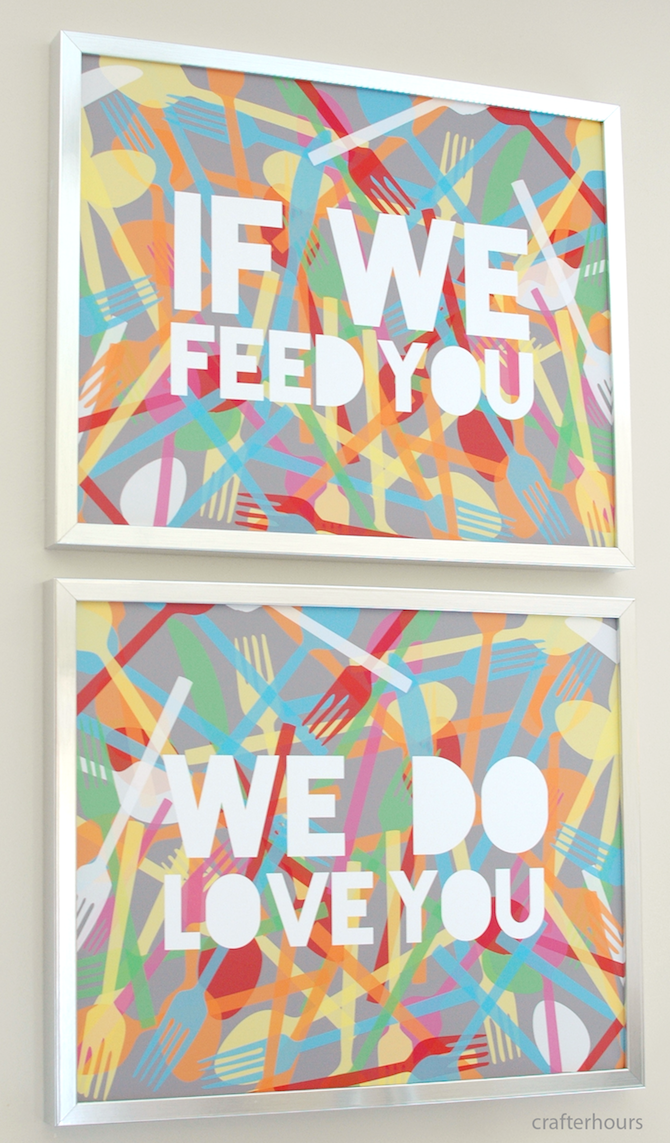
I got to work creating my 16 x 20 files. I used Illustrator, but you could create images a million different ways. I made simple overlapping silhouettes of flatware, and a sentiment I loved. “If we feed you – we do love you.” It applies to our children, our dogs, and our visitors. I chose Blackout for the font and did my arranging, saved the files as PDFs and hopped over to UPrinting to upload my files and create my rolled canvases. You’ll find them under “Canvas Prints” in the left-hand menu.

UPrinting provided one for me to review and I bought the second (and paid for the shipping) with my fingers crossed that I’d be happy with the results. So glad I did.

Here’s what I uploaded.

Because I knew I’d be wrapping these around a board to drop into my frames, I chose to add a 2″ border all the way around the print. There’s no extra charge to add it. If you wanted to take advantage of the fact that the rolled canvas is less than half the cost of a wrapped canvas and DIY the wrap yourself on a craft store canvas using a staple gun, you’d also need this 2″ of room to do that.
After I uploaded my PDFs, the colors that appeared on screen changed a bit, and I was a little nervous that the print colors might be way different. Turned out my worrying was for nothing, because the colors in the finished product were perfect. Here’re my canvases fresh out of the mailing tube.

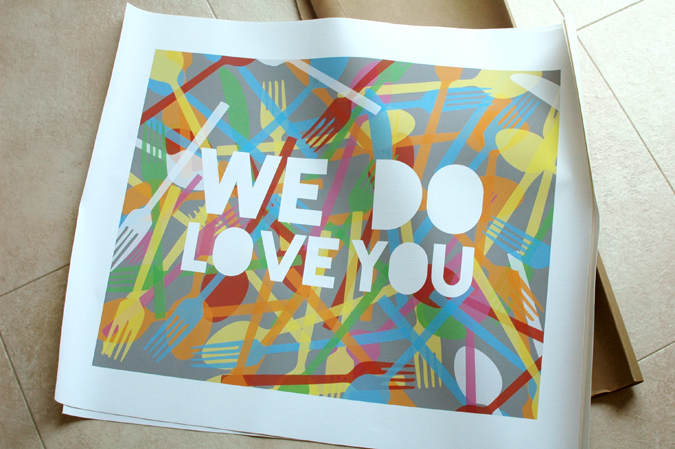
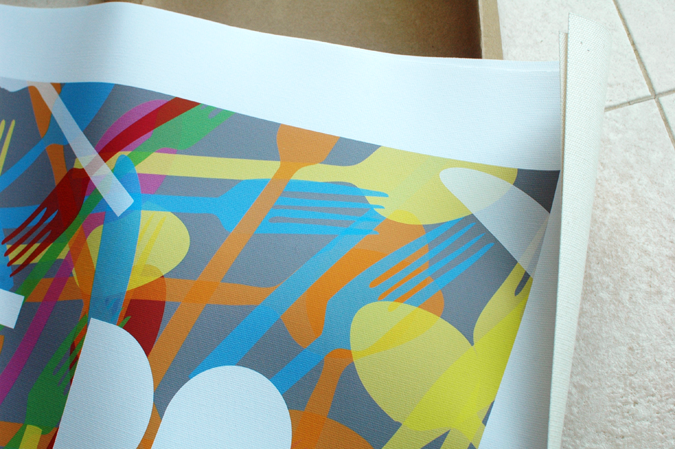
I was/am really impressed with the quality of the canvas and the print. The colors are bright, clear and smooth. Nothing about them, even with close inspection, says “a digital printer printed me”.

So to put my canvases to use, I took my frames apart. I put the original mat and glass aside and used the sturdy backing board from the frame to wrap my canvas around.

If you’re using an open-back frame that doesn’t come with a backing board you can use, I’d suggest these canvas boards. You can get them at most craft/art supply stores for a few dollars a piece.

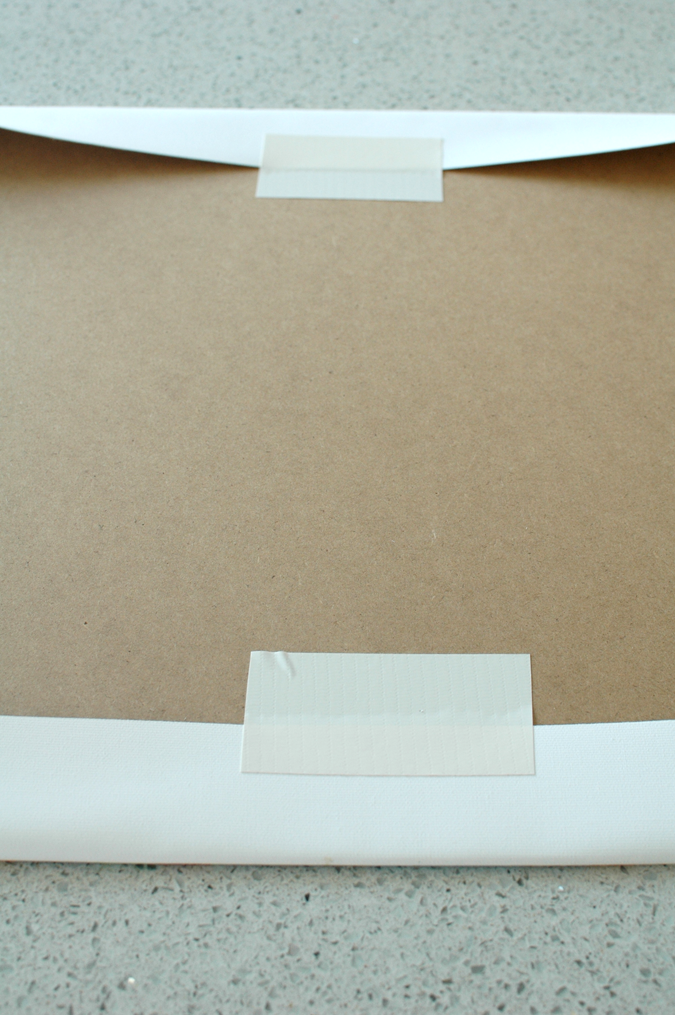
I laid my canvas print down on my cleaned-just-for-this-special-occasion kitchen countertop and lined my backing board up on the center. To get your canvas nice and smooth on the front, start by carefully but firmly pulling it taut in the center in one direction and taping it with a sturdy tape like duck tape. Then do the center in the other direction. You’ve got to use strong tape. Masking or gift wrap tape will give up faster than a four year old trying to tie shoelaces. Start in the center and work out to the corners. Starting with the corners will lead to wrinkles.

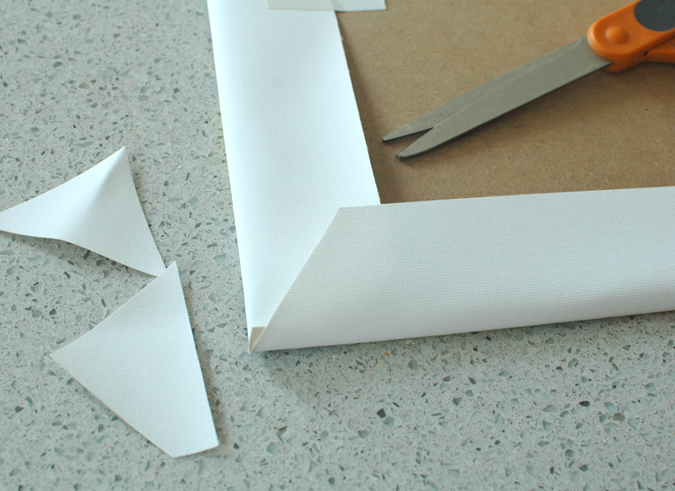
Trim the bulky corners a bit.

And that’s all there is to it. Slide them into the frames and hang them on the wall.

I’m sooooo happy that this wall is finally bright and happy. And now you know that if I feed you… I love you!
 
Questions? Shoot. Thoughts? Share ’em.
I wrote this post as part of a paid campaign with Uprinting and Blueprint Social. The opinions in this post are my own.
 

? Uprinting on Facebook: http://www.facebook.com/Uprinting
? Uprinting on Twitter: http://twitter.com/Uprinting
? Uprinting on Pinterest: http://pinterest.com/Uprinting


Related

Filed Under: tutorial Tagged With: canvas, decor, PDF, print, review, rolled, tutorial

« Another Trip to NYC
Reunion 2012 »

Comments

  1. Molly @ Me and Madeline says

    June 25, 2012 at 7:55 am

    Great idea! Now maybe I can actually spring for canvas!

    And the prints are adorable. :)

    Reply
  2. rachael says

    June 25, 2012 at 8:14 am

    awesome!! love them :)

    Reply
  3. KimR says

    June 25, 2012 at 8:58 am

    I love it Susan!

    Reply
  4. Lauren M says

    June 25, 2012 at 9:45 am

    Love these Susan!

    Reply
  5. Emily says

    June 25, 2012 at 11:25 am

    Those look great!!!

    Reply
  6. Rose D. Frenchtown, NJ says

    June 25, 2012 at 1:36 pm

    They look fantastic!! I have “walls” of shame at my house!! Work at home mama of toddlers who takes more photos than I print or frame. Thank you for the great idea.

    Reply
  7. Jess@craftiness is not optional says

    June 25, 2012 at 4:22 pm

    adorable! love them! I still have a picture frame (in my entryway no less!) with some random people in it that I don’t know…gotta change that sooN!

    Reply
  8. anniemac says

    June 26, 2012 at 6:53 am

    Very cool!

    Reply
  9. Stacey says

    June 26, 2012 at 9:02 am

    Ha! I have to laugh about the Dad comment. I ordered a very cool vintage frame from an Etsy dealer around Christmas and have yet to put anything in it because a. I can’t decide what to put in it and b. I’m mulling over painting over the gold paint. When my parents were visiting last month, I looked up one day and found a picture of my dad’s famous monkey drawing in the frame.

    Reply
  10. Randi~Dukes and Duchesses says

    June 26, 2012 at 9:38 am

    That looks great … those are really fun prints and I love the vibrant colors! Your Dad’s comment made me laugh!

    Reply
  11. Beverly {Flamingo Toes} says

    June 26, 2012 at 11:55 am

    These are so great Susan!! I love how colorful they are! Great job!!

    Reply
  12. Kelly Rowe says

    June 26, 2012 at 12:47 pm

    Love it! Super cute design too :)

    Reply
  13. j.k.lanier says

    July 12, 2012 at 5:12 am

    Susan, those prints look fantastic! I love the colors, and how it fits in the space you choose.

    xoxo,
    Johnnie
    Saved By Love Creations

    Reply
  14. East Coast Creative says

    July 12, 2012 at 7:45 am

    Susan, I love what you did for the campaign! They look awesome! Will you make your printable available for purchase? I love the pop of color and I too have some walls of shame (we moved in 2010 too!)
    Thanks!

    Monica (and Jess)

    Reply
    • crafterhours says

      July 12, 2012 at 8:08 am

      Thanks, Monica! I just added them to our shop. :) The campaign came at just the right time!

      Reply
  15. Taryn says

    September 10, 2012 at 9:29 pm

    Beautiful! Love the look!!

    Reply
  16. Hayley @ Welcome to the Mouse House says

    November 10, 2014 at 10:16 pm

    I love this and you know I love your counters!!!

    Reply
  17. Melissa Zimmerman says

    December 9, 2014 at 9:44 pm

    Hi Susan! I am an interior designer outside of Philly. My client found your blog and fell in love with the pictures you created. I don’t know how you would go about this and/or charge for it, but would you be willing to sell a copy of the .pdfs you created? We will probably not print on canvas, but rather on some type of paper and then use frames from wexelart.com (check them out – pretty cool stuff for future art hanging projects!), but she loves the colors and the saying. Please let me know!

    Thanks,

    Melissa

    Reply
    • Susan says

      December 9, 2014 at 10:13 pm

      Oh yay, thanks! Sure, I’ll e-mail you.

      Reply

Leave a ReplyCancel reply

Search This Blog

Archives

Popular posts

  • A Note on Sewing Skirts for Girls
  • FREE Pattern: Monkey Bar Skirt
  • T-Shirt to Tank: A Tutorial by Jen from Upcycled Education
  • Side Panel Shirt Refashion: A Tutorial
  • Racerback Dress: A Tutorial + PDF Pattern
Visit Susan Yates's profile on Pinterest.

Want our posts in your inbox?

Enter your email address to subscribe to crafterhours and receive notifications of new posts by email!

Our Privacy Policy

Copyright © 2025 ·Foodie Child Theme · Genesis Framework by StudioPress · WordPress · Log in


Creative Commons License
This work is licensed under a Creative Commons Attribution-NonCommercial-ShareAlike 3.0 United States License.
»
«