Step 6:
Press open the seam allowances, continuing to press the bottom of the skirt up half an inch as well on the inside.
Now back to our regularly scheduled tutorial…
Step 7:
Cut into the corners and curves in the seam allowance at the top of the slit, being careful to avoid the stitch line. This will make turning and pressing easier. Turn the skirt right side out, press, and top stitch along the hem. You can come down from the top of the skirt, all the way down the side seam, or you can start above the slit at the side seam, angling out and down as shown by the orange stitch line below. Just make sure you catch your turned edge on the back.
Step 9:
Thanks for following along!
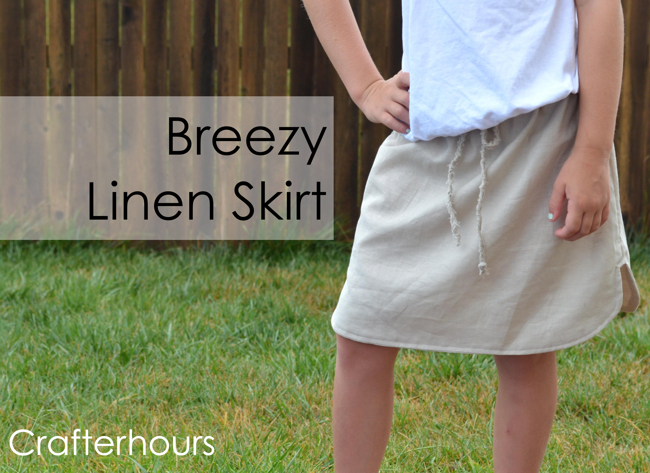
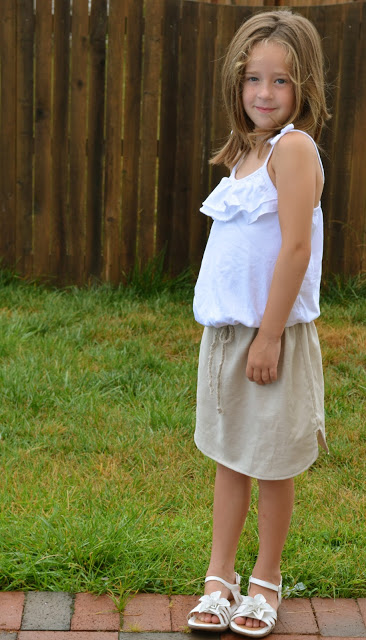
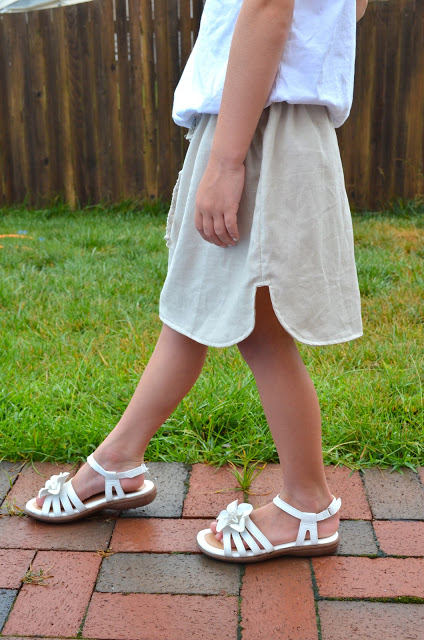


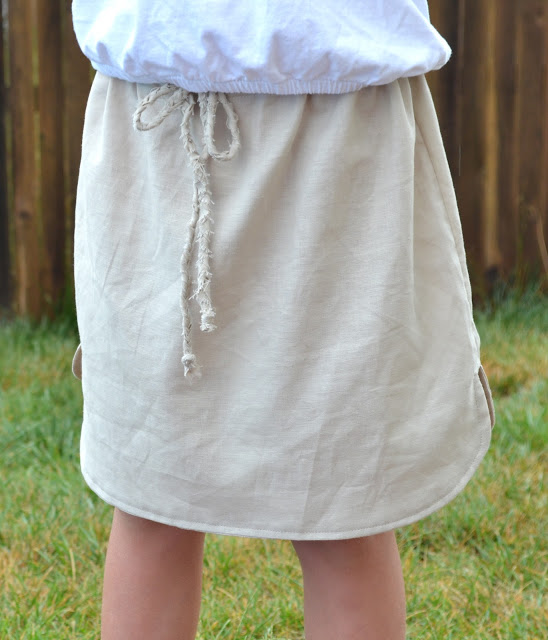
this is lovely Adrianna. I love the side curved hem, perfect for Summer!
So cute and different! I’ve already bookmarked it for my to-do list! Thanks.
So cute! Very nice tutorial!
awesome! Even I can do this… thank u for sharing!
Perfect skirt for this hot, hot summer! Can you please just clarify for newbie sewers like me, is the facing a whole second layer (i.e. lining/slip) or just a strip of same fabric sewn along inside bottom edge to give it more body? Any help, hints would be most appreciated! Fabric and machine are standing by! Thanks, and congrats on great project.
Hi ardmore! Yes it’s just a one inch strip in the same shape as the bottom of the skirt like the illustration on step 5. You could also do a full lining and make it reversible fairly easily. I made up one sample that way but liked the drape of a single layer of fabric better. Good luck!