Last year we worked with Jen from Upcycled Education to post about the original tee to tank. The project is the perfect storm for crafting – it’s quick, uses materials most of us have on-hand, and it’s simple to get great results. We’ve gotten a lot of comments and questions, I thought I’d cover some of them in a new post. First and foremost, you don’t have to have a sewing machine. You can use a dime store sewing kit and hand sew, or you can go this route:

To make a no sew version, cut your shirt the same way we did in the original. Trim the arms off first just inside the seams, and then straight across just under the neckband. (Or a curved cut, if you prefer.)

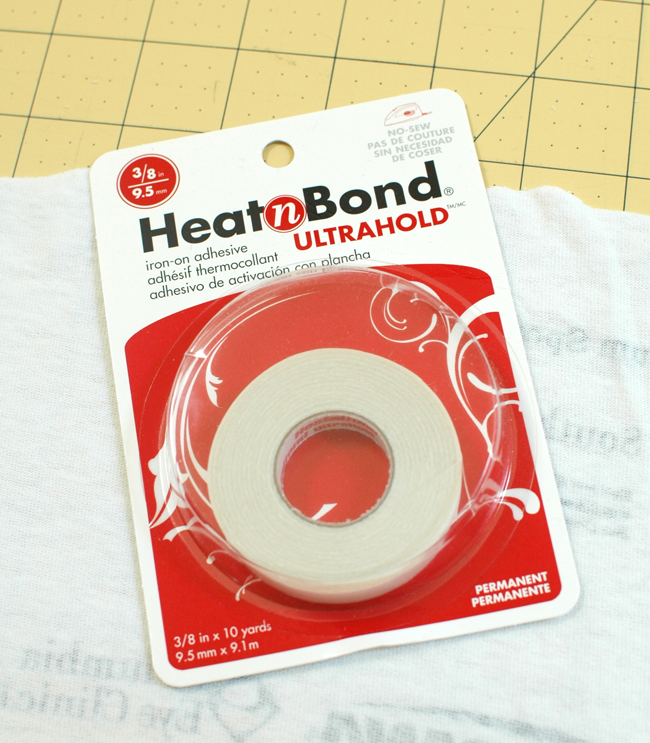
The key to making this a no-sew project is a fusible adhesive. You’ll need an iron to do the hard part. (Which isn’t that hard.) My best guess is that the standard version of this won’t hold for long, so I chose an “Ultrahold” type. You can find this at most sewing stores and also on Amazon here in a ribbon and here on a roll that you could cut thinner strips from. It’s the same stuff.
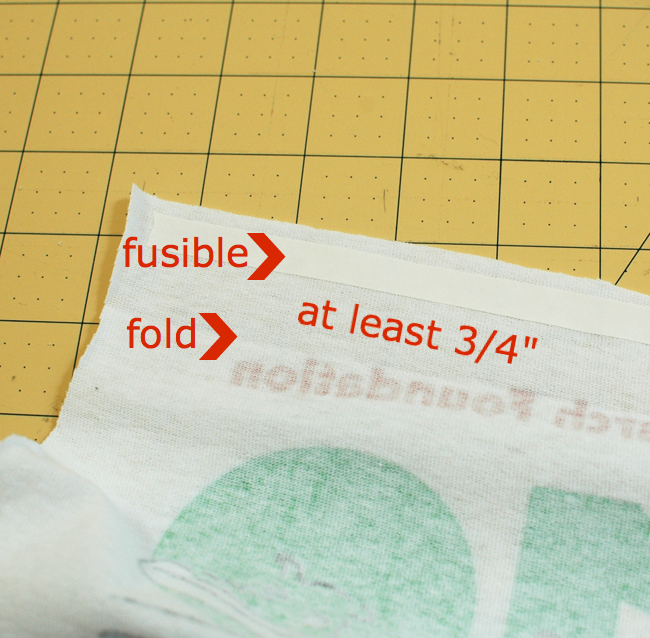
Apply a strip of the fusible. Give yourself at least 3/4″ of wiggle room for threading your straps. Iron that on.
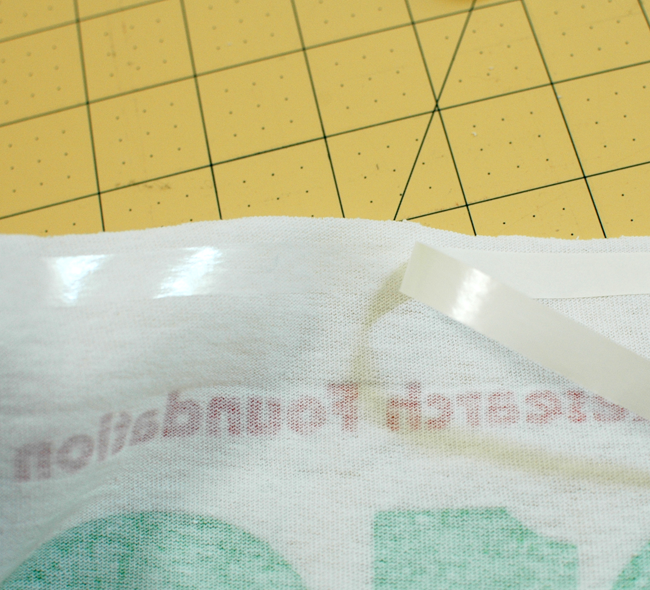
Once your fabric is folded over and ironed together, you can thread your straps through the casing you’ve created. The straps? In the original tutorial we used a strip cut from the bottom edge of the t-shirt. You can do that, or you can cut strips from another shirt. Or use ribbon. Or cording. Or twill tape. Or elastic. Or braid strips of knit together. Or braid strips of woven fabric together. You get the idea. Some asked about a version that would better hide bra straps. I’d suggest using wider strips of ribbon or knit and then adjusting the gathering so that the straps match the width at the shoulders to fall on top of the bra straps.
Here I used strips of knit. Attach a safety pin at one end to help thread it through. I cut a v shape at the ends.

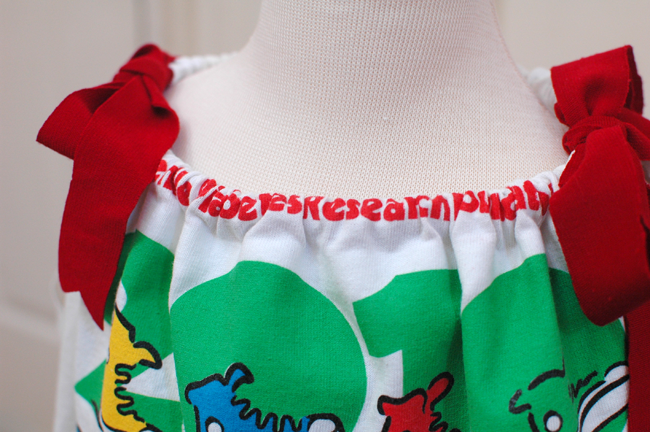
And that’s all there is to it. The fusible gives the gathering at the top a bit more body. I’d keep it out of the dryer on high heat, but if you’ve really pressed those edges together and used a strong fusible, it should hold well. Fabric glue may work too, I’ve not tried it yet. One reader suggested folding the fabric over and making a series of small slits and weaving the straps through– that’d make it even simpler.
After a year of tee to tanks, I love this project as much as ever. So fun, so simple, so dang useful for making boxy tees cute and wearable. Folks have told us that this makes a great beginning sewing projects, and it’d be a fantastic activity for youth groups. Umm, okay, the girl contingent of youth groups, most likely.
Have you made one? We love to pin Inspired by Crafterhours projects. Send ’em our way!

You’ve done it again. What a great idea to make this no-sew. Even though, I keep schlepping my sewing machine with me everywhere.
:)
Jen
PS – Is that another new blog header I see? Looks fantastic.
Great tutorial!
This looks awesome! Can’t wait to try it with my daughter’s camp t-shirt.
Just wondering, could you put the strap in beside the fusible backing and fold over the strap? Or does that make it too difficult to iron? Just thinking that it would save you the guesswork of how much room to leave and having to thread’ it through the hole.
Sure, as long as your strap doesn’t get fused to the casing, it’s worth a try!
Can I tell you that what I like the most about this (since I don’t have girls) is that you used a JDRF shirt? My oldest is diabetic (he’s 3, almost 4, and was diagnosed at 15 months). My middle (who’s 3) has ketotic hypoglycemia and they are watching him to see if he either develops diabetes or outgrows the condition. And my baby (he’s 1) is now being watched for diabetes as well because he is showing some of the early signs. So, JDRF is a very important foundation in our lives. Even though that is not what this tutorial is about, THANK you for walking for a cure (if you did indeed walk) and for using this shirt. It may not be real advertisement but for me, it is huge. :)