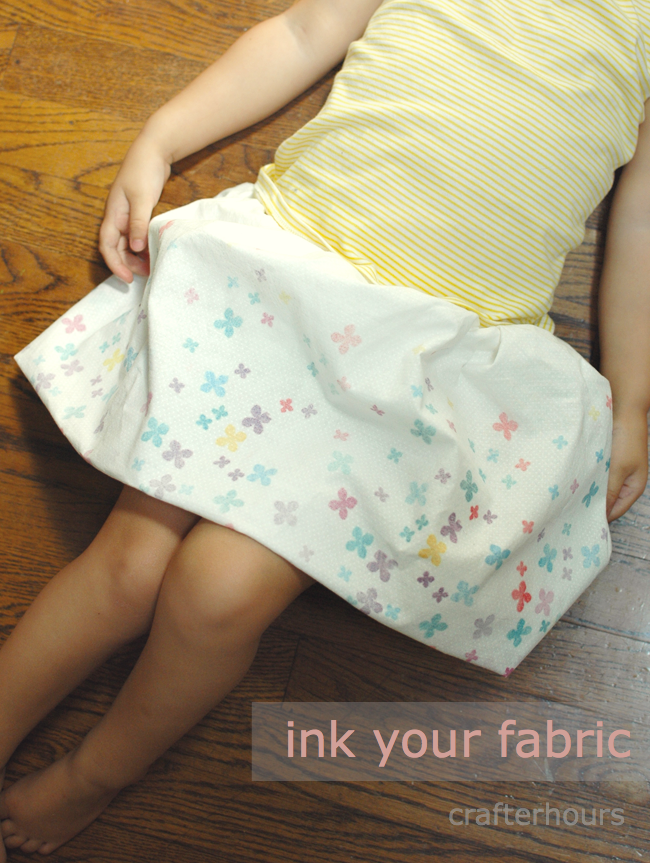
I looooove playing with a new craft supply. In this case, it’s not only new to me but also new to the market. It’s called Ink Effects by DecoArt, and it’s one of those supplies that you can find endless uses for. I used it to create my own inked fabric design.
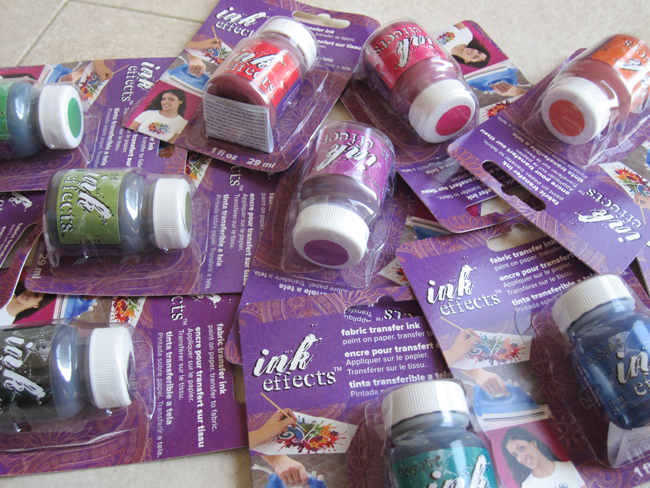
To do it, I got a whole box full of colors to try.
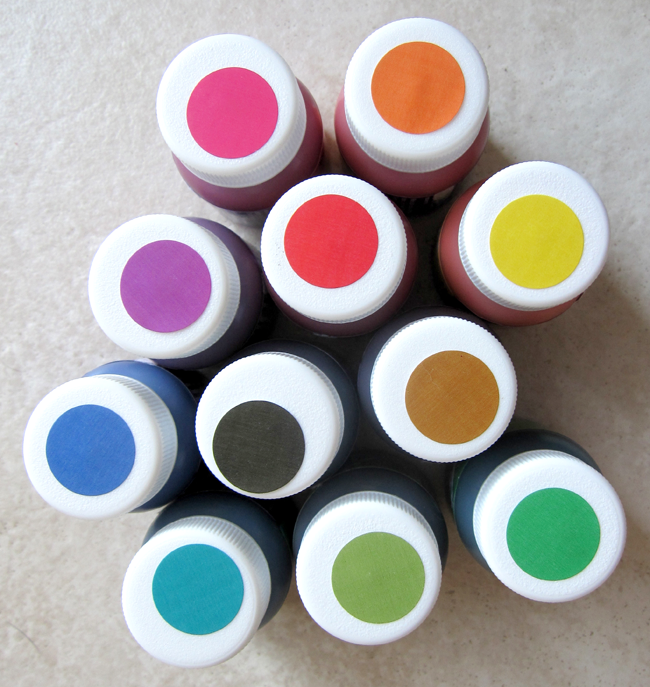
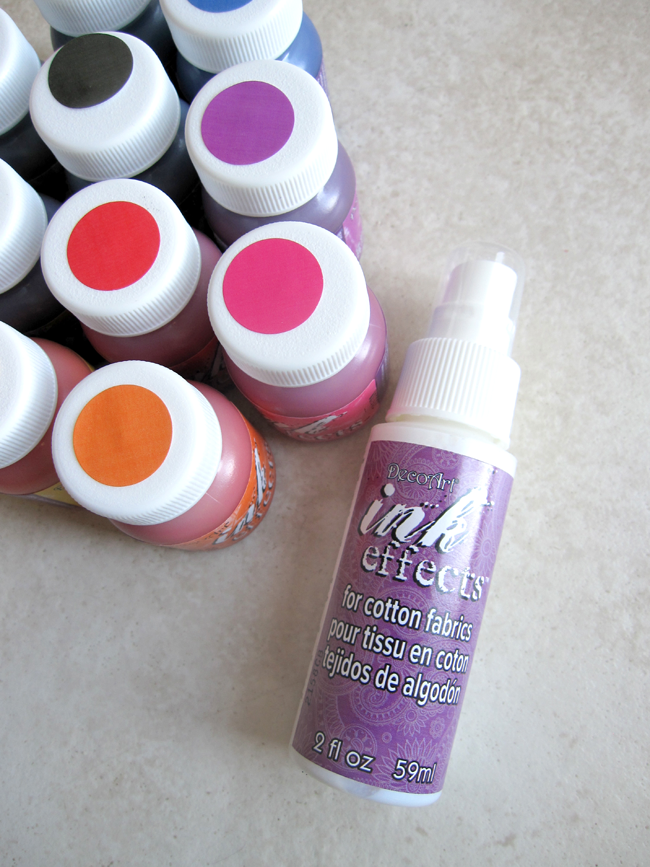
The dots on the top of each bottle better match the finished print color– since the ink in the bottle looks a lot darker. They also look like googley eyes. Bonus!
The directions say that it works best on fabrics that are no more than 30% cotton, so for fabrics that are primarily cotton, there’s a base coat that makes those useable too.
Why would you use ink instead of paint? Because paint can leave your fabric crunchy or scratchy and can crack, and this feels like there’s nothing there at all. In the case of cottons, using the base coat adds a bit of body, but it’s even, and nothing like the feel of paint.
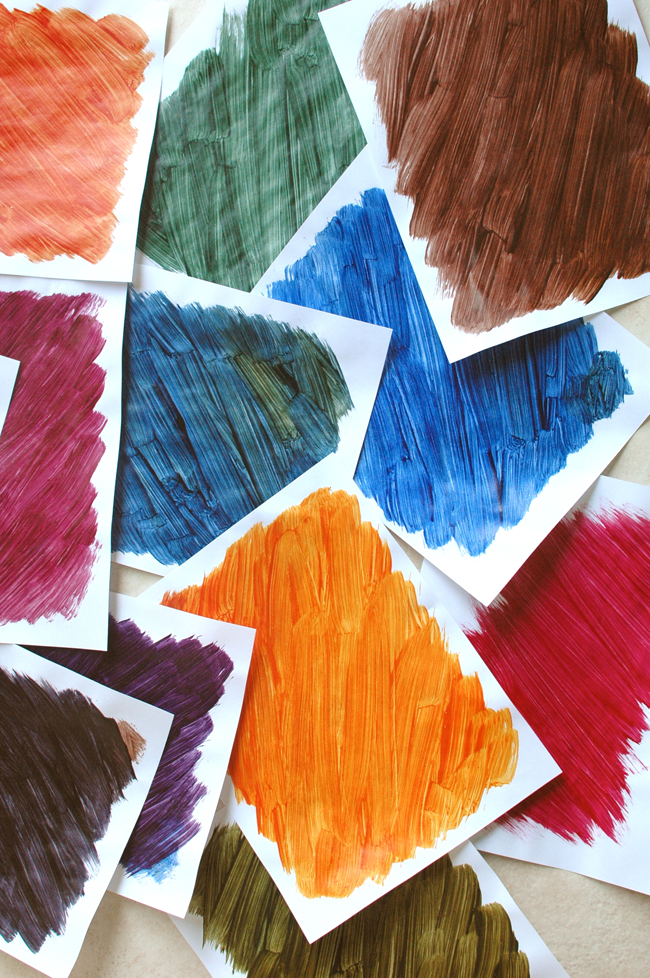
Also, this can be used to make multiple imprints. Just like the repeats in fabric you’d purchase. With that as my goal, I chose to start by brushing the color onto sheets of paper. You can just use plain old copy paper! Or notebook paper. Or coloring book pages. All of those work. The ink looks much darker on the page, and is lighter when it’s transferred.
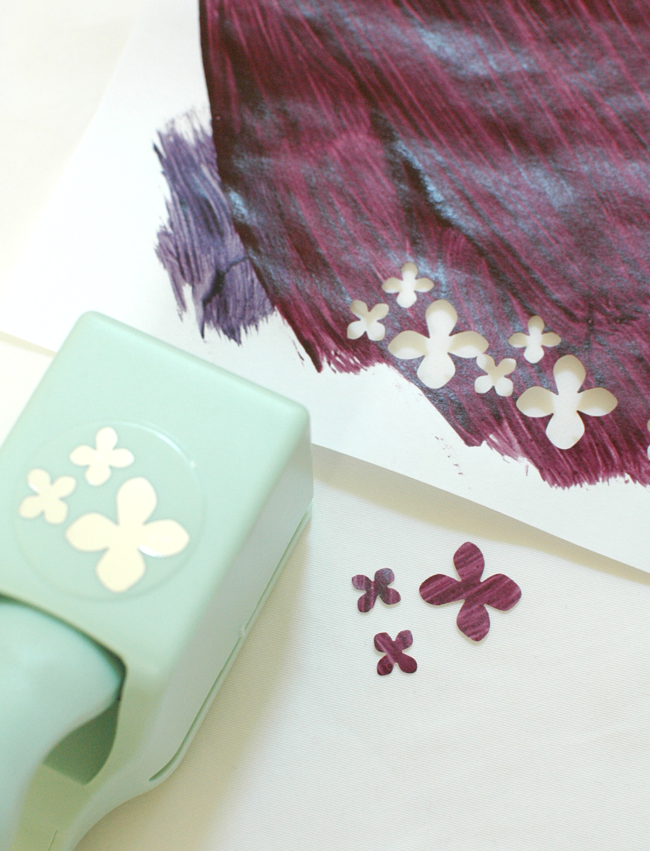
Once the pages were dry, I used a punch to cut flowers. Because the ink is dry and the bottles can be put away, at this point it would become a reasonable project to share with kids. Any other time ink and kids don’t mix well.

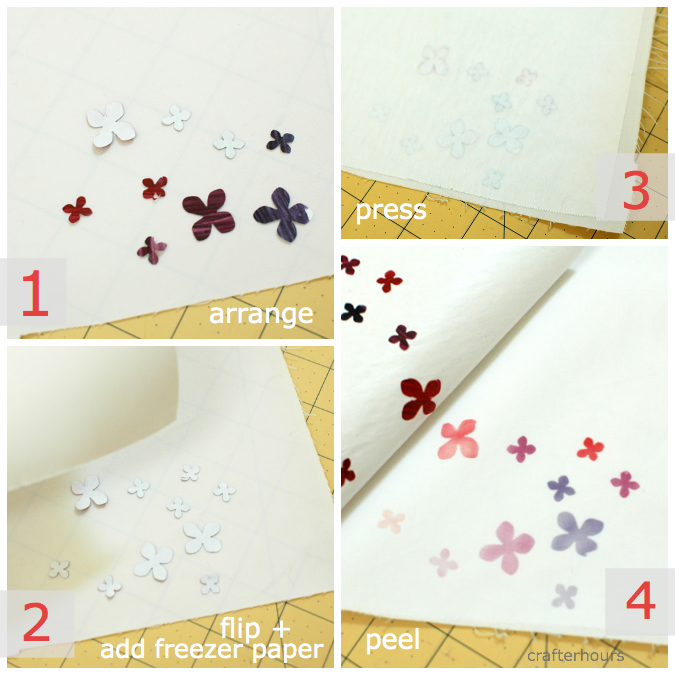
Once I had a pile of shapes to work with, I started arranging them on my fabric. Once I had them where I wanted them, I flipped them and laid a piece of freezer paper on top. Once it’s ironed once, the tiny cut-out shapes stick to the freezer paper so that when you pick it up, you can place them all again the same way. Or move a few around, if you like.
The ironing, I’d say, is the trickiest part. You want to keep the iron on your fabric with no steam, moving it around, for about 60 seconds. Or more. The longer you press the more intense the color. It feels strange to hold the iron over fabric for so long, but it directly affects the outcome.
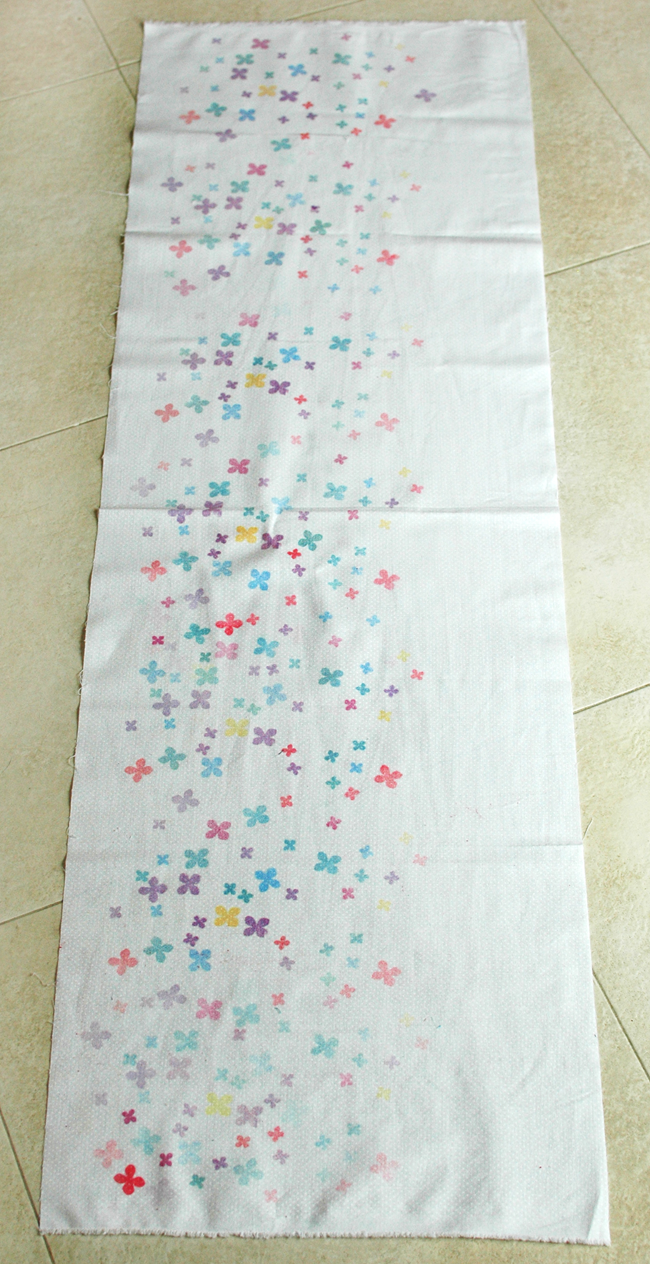
I kept the size of my area small enough to keep moving my iron over the area — about 7″ x 10″. I also made a smaller fill-in piece to add here and there to break up the repeat a bit. They look very Eric Carle-ish here.

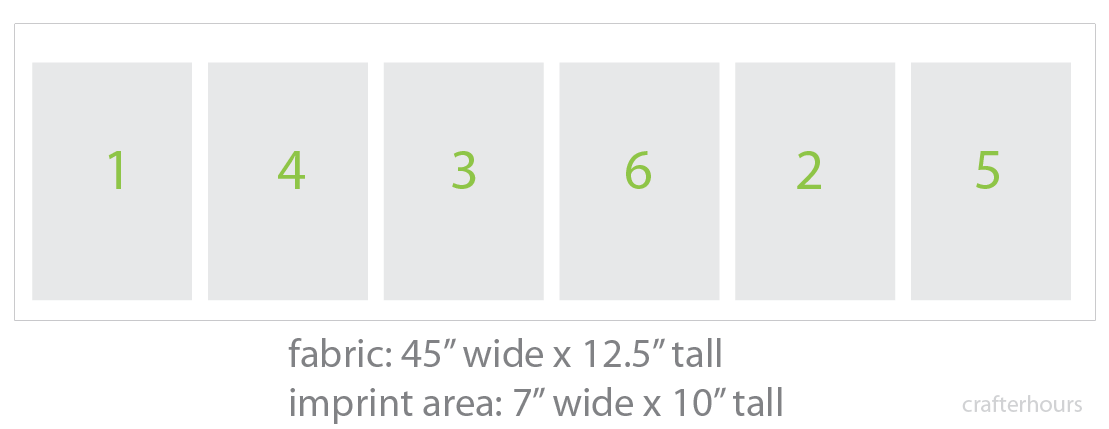
Here’s a long view of the prints:
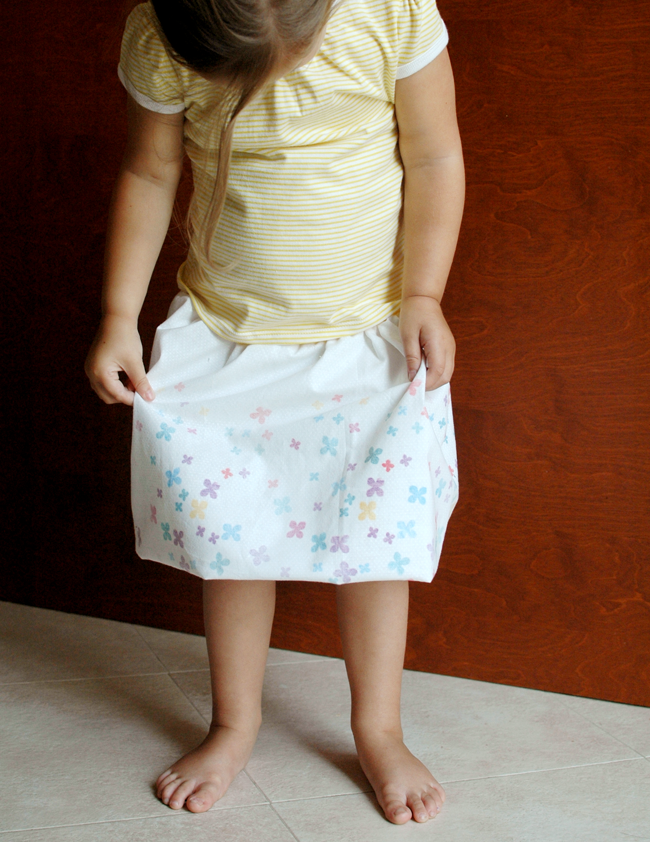
Once my fabric was printed, I turned it into a simple bubble skirt.
– Fabric selection. Synthetic fabrics more readily accept the ink.
– Saturation of ink. You can achieve brighter transfers by painting more than one coat on the page.
– Amount of time under heat. 60 seconds or more.

- Facebook: https://www.facebook.com/DecoArtAcrylicPaints
- Pinterest: http://pinterest.com/decoart/
- YouTube: http://www.youtube.com/user/DecoArtPainter
This is absolutely fabulous! What a great idea to use a punch and freezer paper to transfer your design! Thanks for the inspiration :)
Amy*
I LOVE it!!! I have tons of Stampin’ Up Stamps that would be so cute for something like this! I need to add this to my to-do list!
Adorable! I love that you used a punch to cut flowers from painted sheets … I wouldn’t have thought of that. It looks so cute!
I love it!!! So much fun :)
What a fun idea. There are so many uses to think of with ink like this. Awesome!
I love how you used the paper punches. What a creative idea!
How clever are you Susan?? I love the look of the little flowers all over the fabric, that is so fun!! What a great use of the paints!
That is really cute! I love the muted colors, so sweet and girly. Using the punches and the freezer paper is so clever!
My favorite thing is the brushstroke effect you got from the paper transfer. Great tutorial!
I love the technique you used for this project. Painting and paper punching to make wearable art – It’s mixed media we can wear – brilliant!
I was wondering how you created the little flower designs – using the paper punch was brilliant! Will tuck that idea away for later use!
Bet I can use the cameo to cut words in mirror ! Gotta try that one
Yes, you totally can! But if your page is wrinkly from being painted, give it a quick flattening hit with the iron. The Cameo will skip sections if the page isn’t completely flat.