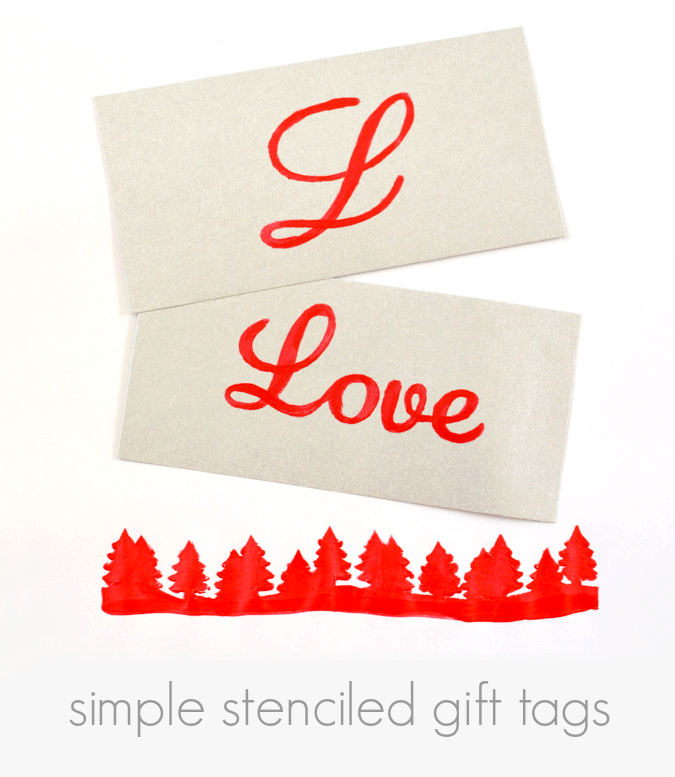
Yesterday I shed some light on stencil abuse and how you can help end it. Today I’m putting stencil skills to good use in a simple stenciled gift tag project with supplies from Martha Stewart Crafts.
I love a handmade touch on gift wrap. Nothing crazy, just a little something. A handmade gift is even better, of course, but there’s not always time, and even if there is, aren’t there some people on your list who’d rather you NOT give them something handmade? The same people who’d ask for video games– at least the ones on my list. So to start making a pile of gift tags I started with this assortment of options, all of which are available in-store at Michael’s or online via Plaid. 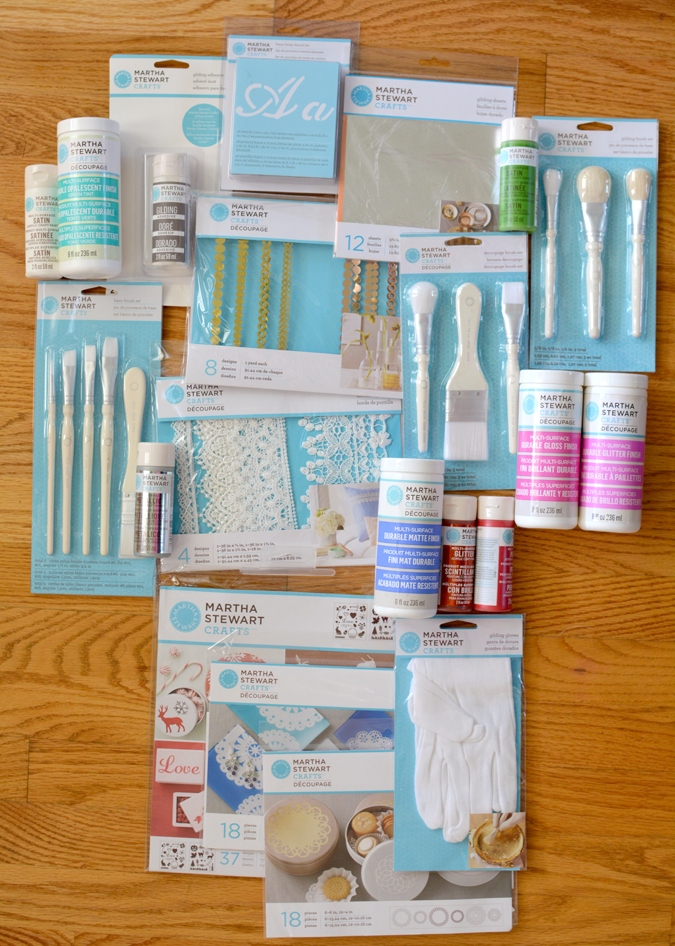 I have two favorites here – the brushes, which have rubberized handles that are sooooo nice to use, and the paint, which is multi-surface. Paper, glass, ceramic, metal, plastic, fabric… I don’t know how they made it work on everything, but I’m so glad they did. And it covers smoothly and evenly. I’m a total nerd about paint and now this is the only craft paint I buy because it works so well on everything. I’m also a packaging nerd and I love the clean simplicity of the whole line. I’m a bunch of other kinds of craft nerdy but I think that’s sufficiently demonstrated throughout my blog posts. For this project, my supply list includes:
- stencils
- card stock
- brushes
- paint
- tape
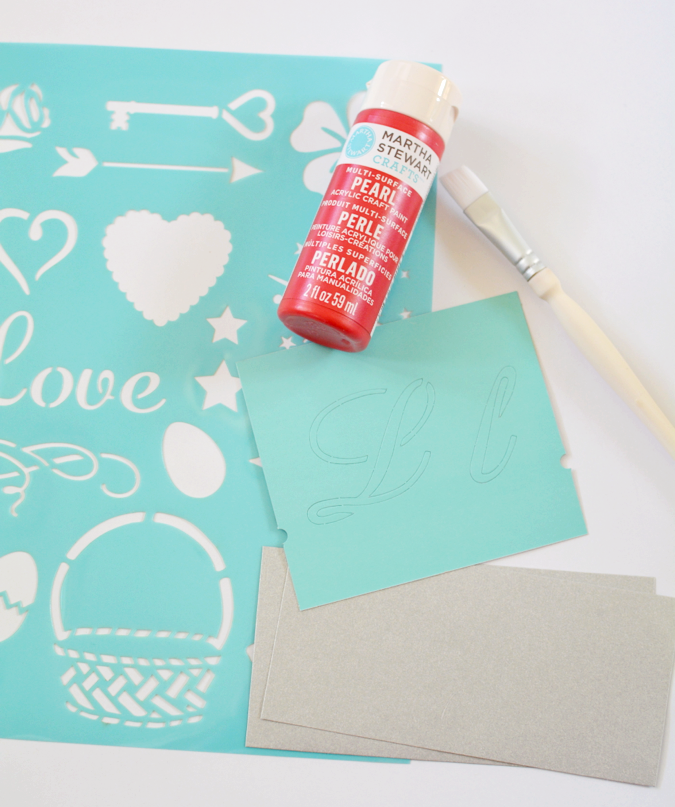 Taped your stencil to sturdy card stock and use a light coat of paint with a wide brush.
 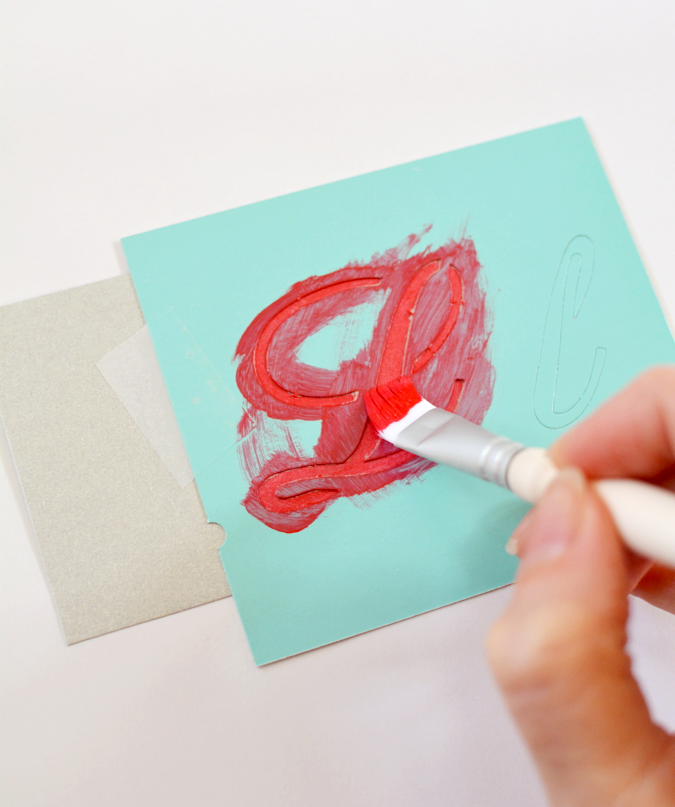 Here’s the critical step: remove the stencil and use a detail brush to clean up edges and fill in the “bridges”.
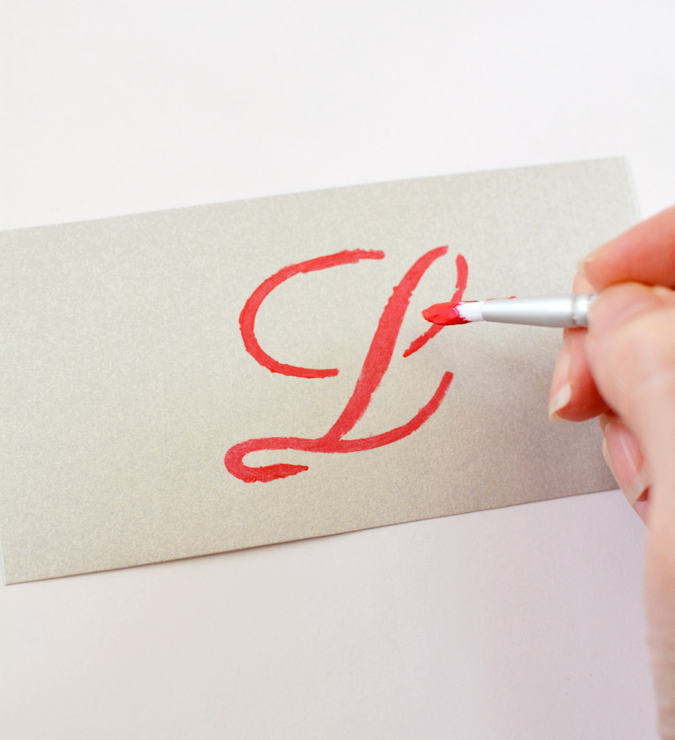 When you’re finished, nice smooth lines and curves. Ready to dress up a package.
 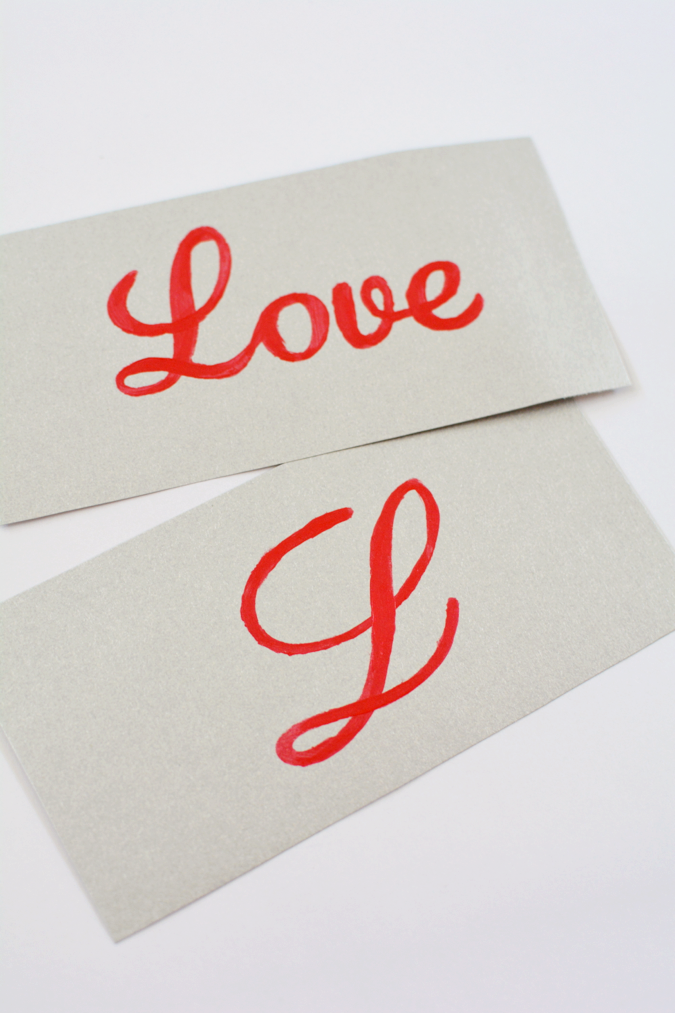 To sturdy-up a gift tag on card stock, lightly coat both sides with decoupage medium. You’re adding a thin coat of plastic, in effect. Martha’s decoupage is even safe for the dishwasher!
 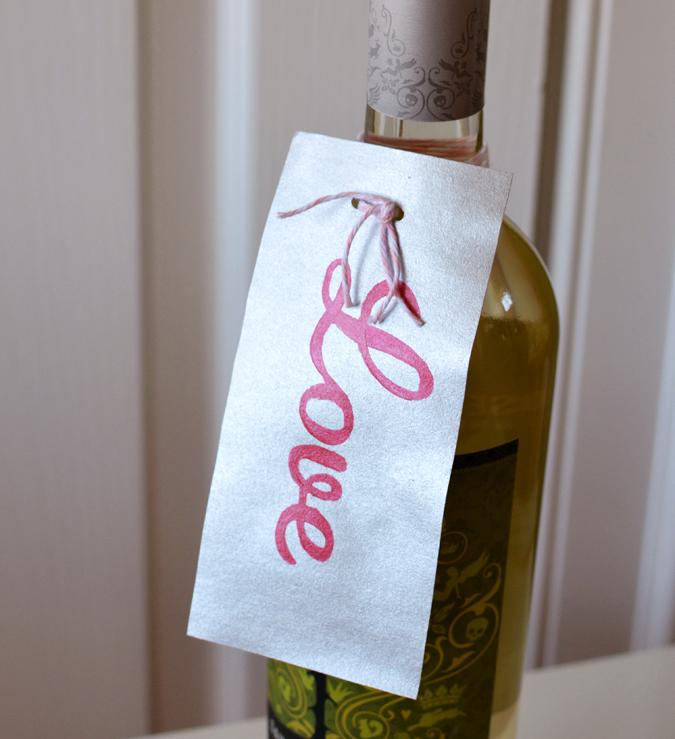 For more about Martha’s product lines, find them on Facebook, sign up for the newsletter or check out Plaid’s Martha Stewart Crafts Pinterest board. I wrote this post as part of a sponsored campaign with Plaid and The Blueprint Social, but all opinions are my own. Though the sponsors would probably agree that I’m a paint and packaging nerd.
Since we’re on the subj of stencils…when do you use a brush w/ a painting technique (like you did) vs. the ‘pouncing’ technique I’ve seen used before w/ a flat brush? or is it just a personal preference?
Thanks!
Anita! I love this question! Pouncing can give you a lighter application of paint and save a little blur around the edges – BUT- you’d still have to go in and burn the bridges with a detail brush, and the finish of the pouncing created by foam or stipple would look different from the finish of your detail brush strokes. So I prefer to do the whole thing with a brush carefully so that the brush stroke finish is consistent. The combination of surface + paint + paint applicator can come out a lot of different ways- the smoother the surface the more your brush stroke or foam application will matter, so it comes down to a little trial and error and a choice made to suit your personal preference.
Great post. I’m inspired! I went to Michaels and bought some muslin bags to stencil like this to hold gift cards. Thanks for the tip about detail versus stipple brushes!
I love using stencils, great idea to use them for gift tags too!! xo
Looks great! I want to try using stencils more.