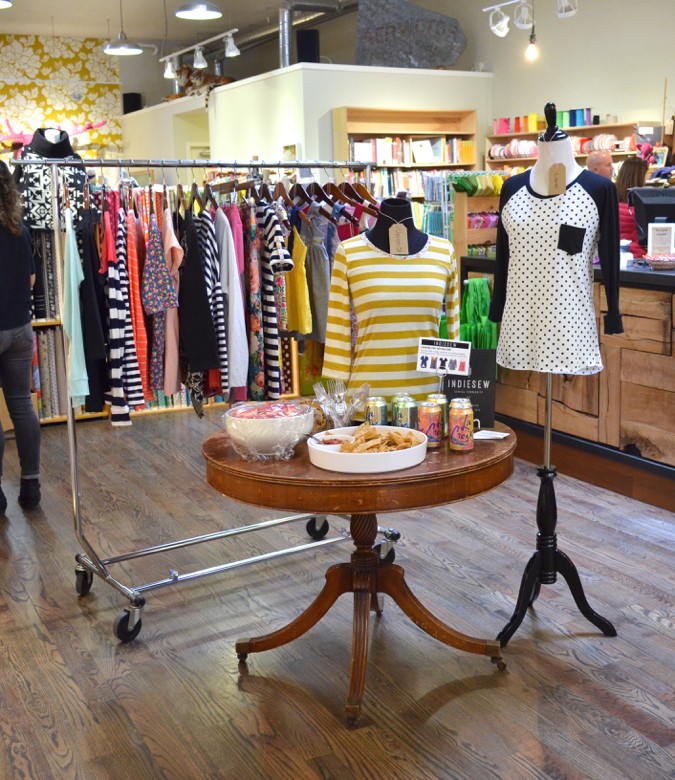
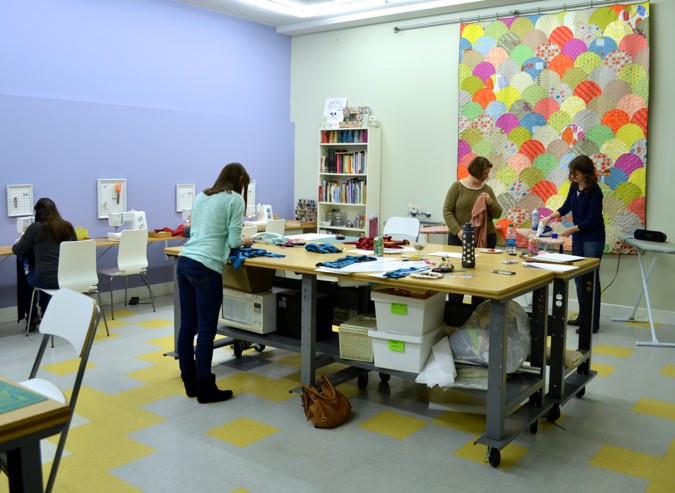
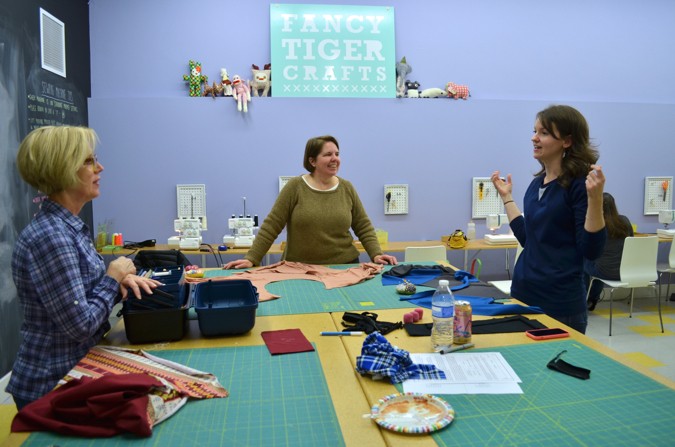
Last weekend I had the great privilege of having a little trunk show and co-teaching a Lane Raglan class over at Fancy Tiger Crafts! Allie, the co-owner of IndieSew was my co-teacher, but really she did all the heavy lifting. It was my first time teaching a class and I was ridiculously nervous. But I’m happy to report that it all went fairly smoothly and I did not even once pee my pants. I don’t think I could’ve done it without Allie though, she’s such a pro and has dozens of classes under her belt.
I love this pattern and I really enjoyed teaching it because it is such a blank slate. There are almost infinite ways to change up this shirt. I’ve seen people crop the sleeves, change the hem, layer lace, use leather and rayon for the body, hack it for maternity use, and lengthen it or add a skirt to make a dress! Really, because this is just a nicely fitted raglan top, you’re only limited by your imagination. 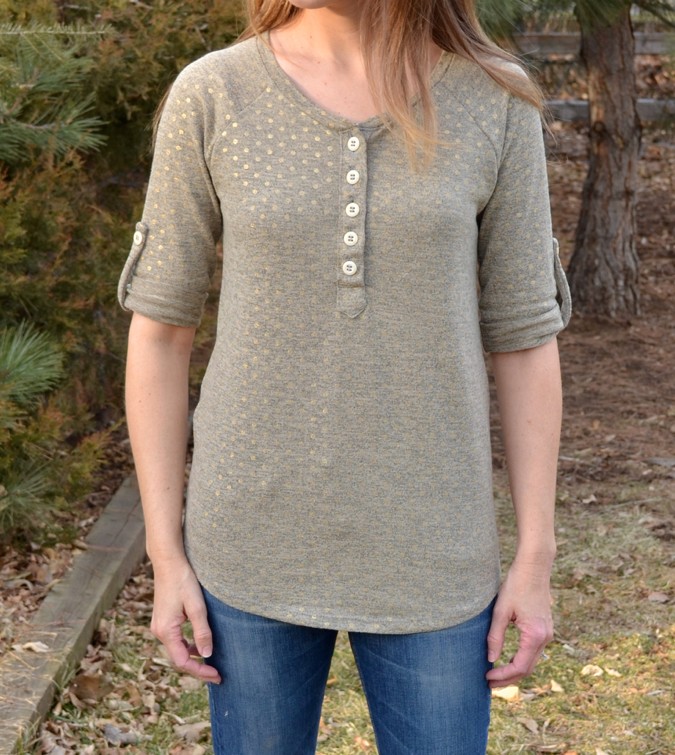
I made a couple new versions for the class too. First up, this polka dot number. I’ve been wanting to use the Lane to make a henley-style shirt for way too long and finally did it. My only regret for this top was that the fabric is a little too thick for this design. I thought it was a jersey, but once I started sewing with it, I realized it was a lot closer to a sweater knit. It’s pretty thick and squishy and didn’t lend itself very well to the precision required for a placket. But I made it work!
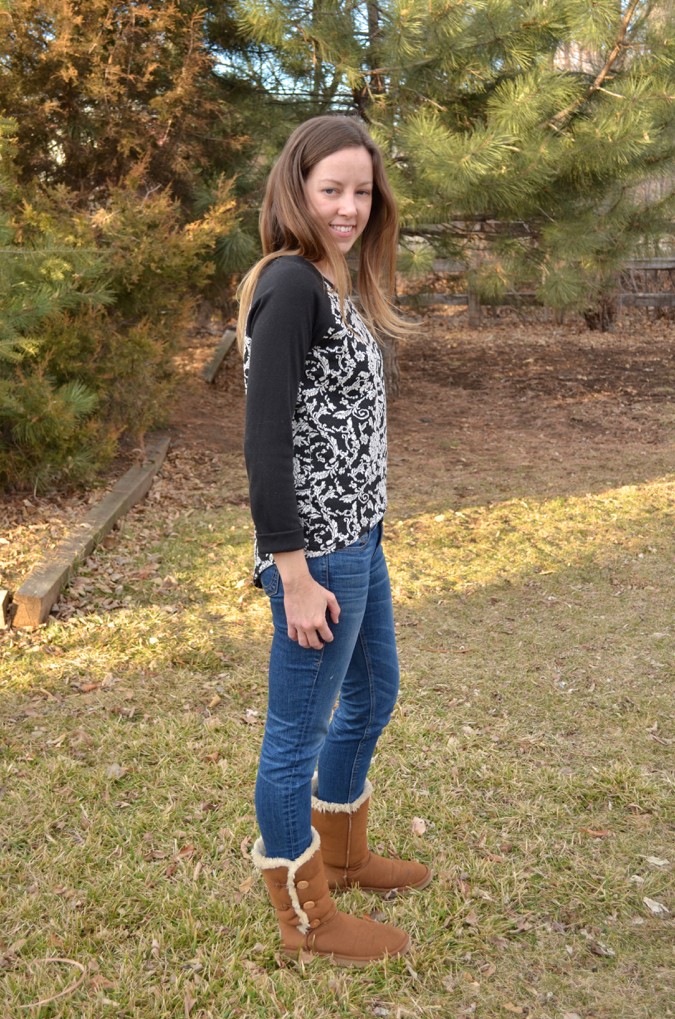
(can we talk about Uggs for a second? When I see them I cringe, they are so bulky and, well, Ugg-ly. When I wear them, I feel like they’re God’s gift to feet. I haven’t found a solution except that I rarely wear them outside the house, but in the meantime I remain powerless against the Ugg.)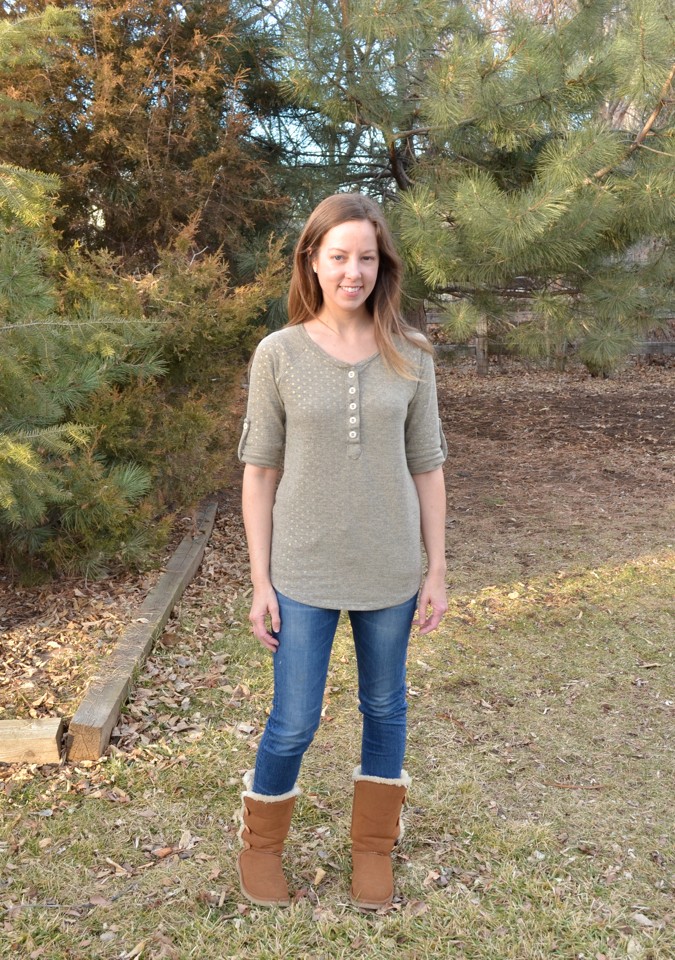
I used the largest size pattern piece from my Kensington Dress and Tee to make the placket, and extended it 2 inches. Placket length is totally a design feature though, so you can use any placket pattern you happen to have and adjust it accordingly. 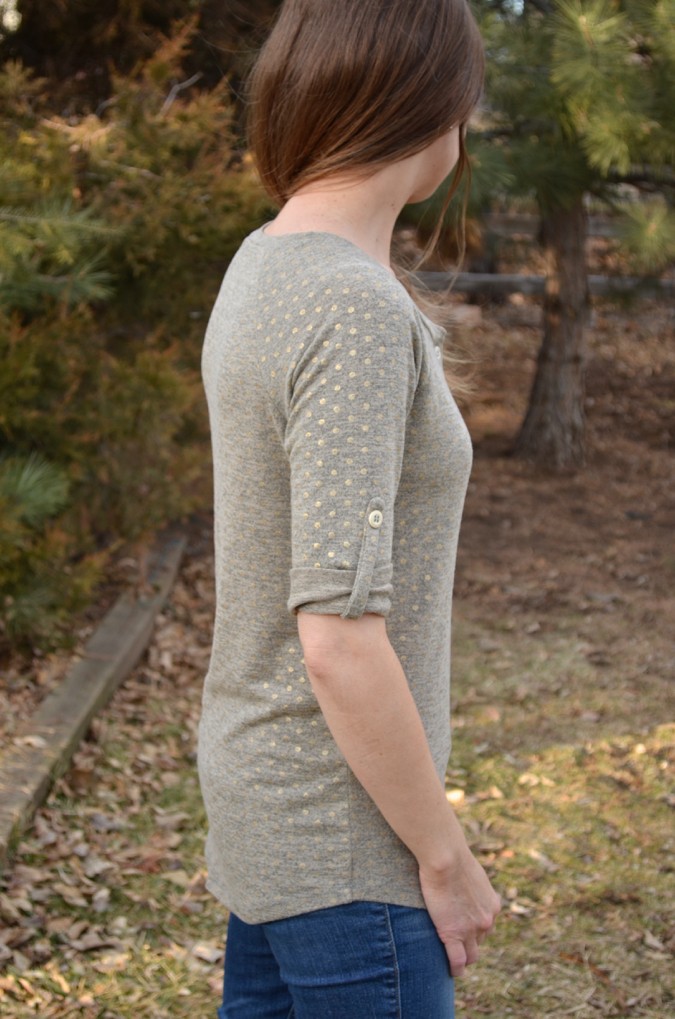
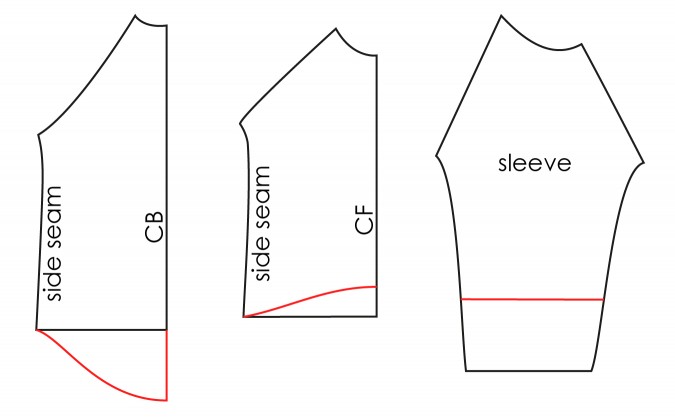
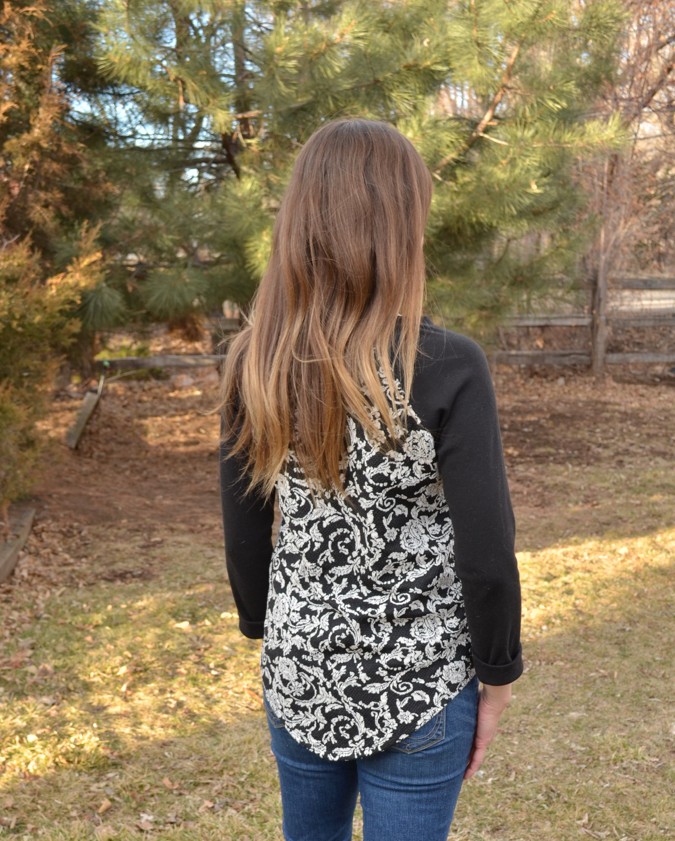
I also took another page out of the Kensington and added sleeve tabs. I constructed these sleeves so they’re cropped and permanently rolled. I left off the hem band and instead lengthened the bodice and shaped it to give it a shirt hem. Here’s a little line drawing to show you how I altered each piece for this top. The black lines represent the original pattern, the red line shows the changes I made.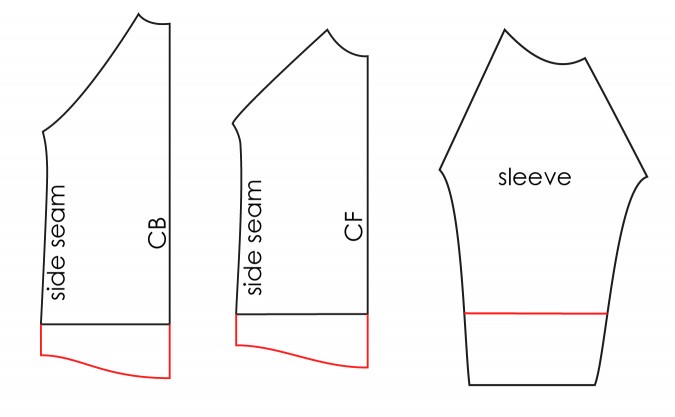 My second Lane features a longer cropped and rolled sleeve, contrast sleeves, and an exaggerated hi-low hem.
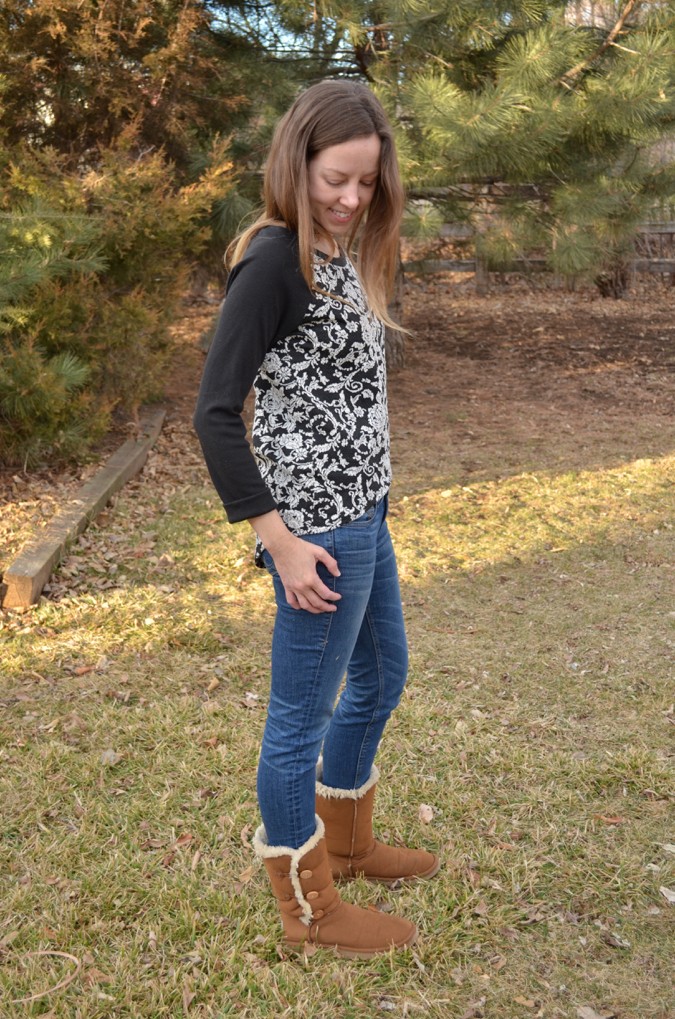
I found this fantastic brocade textured knit at Joanns and knew it had to be a Lane Raglan bodice. Both of these fabrics are super soft and thick and this shirt feels like the equivalent of comfort food when it’s cold outside.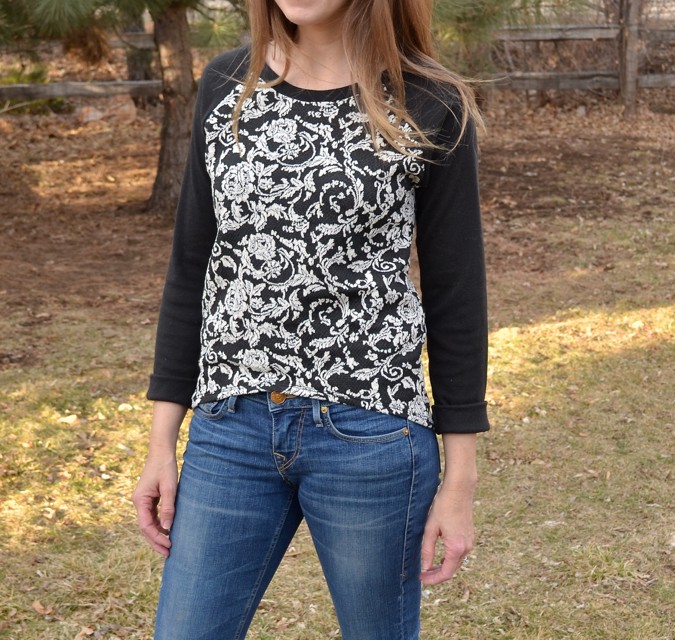
If you’re ready to alter your own Lane Raglan pattern, I suggest beginning with a few minor changes like these, just changing up the sleeve and hem lengths. You’ll be surprised how easy it is and how many different tops you can make with just a few minor hacks.
 So there you have it, a couple new hacks to try out! If you don’t have the Lane Raglan yet, you can purchase it over at my shop – Hey June. Thanks so much Allie and Fancy Tiger!
Maybe my favorite pattern ever. Love these!
I love every version of the Lane!
LOVE!!! Not sure I can make these changes but I DO have the pattern & AM willing to give it a shot!!! Thanks
You can definitely do it!! Just email me if you have questions and I’ll walk you through it!
What is that wonderful polka dot metallic? You def made it work. It’s lovely.
Thanks Jen! I think I got that in the bargain bin at a local shop – sorry!!