Happy May Day, internet crafty blog world of friendly folk!
I’m trying to swallow my nervousness about writing a sewing tutorial, because there are about a bajillion people who know more about sewing than I do, so I’m putting this out into the universe with the caveat that I’m sure there are 47 ways to do this other ways. Here’s my way!
This tutorial was made as a size 4Tish. To make this in other sizes, remember that the ribcage measurement doesn’t change much and since this is gathered and elastic at the top, you won’t need to add or trim a lot there. The length is the variable that changes more in-between sizes. I’d measure from armpit to knee and add seam allowances.
If you’d like to make a similar Maypole Dress, you’ll need:
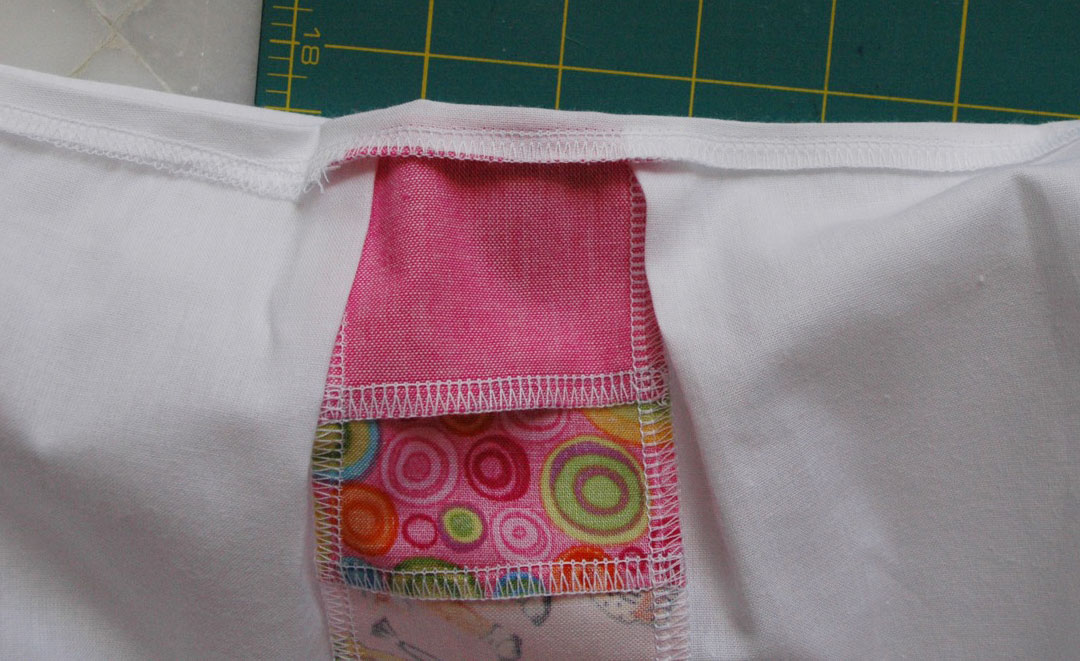
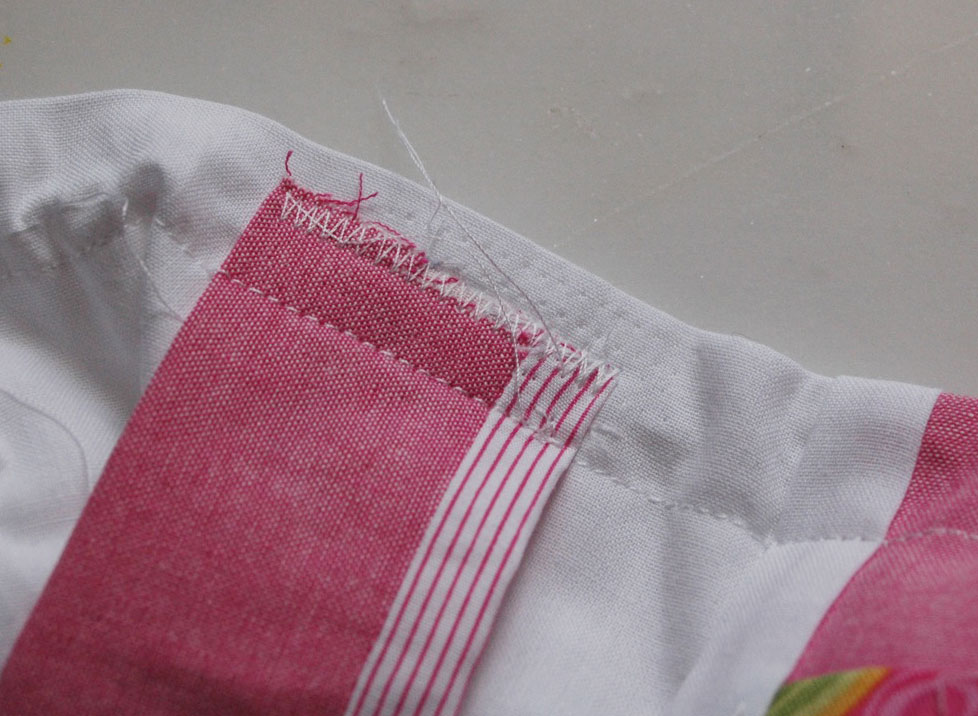
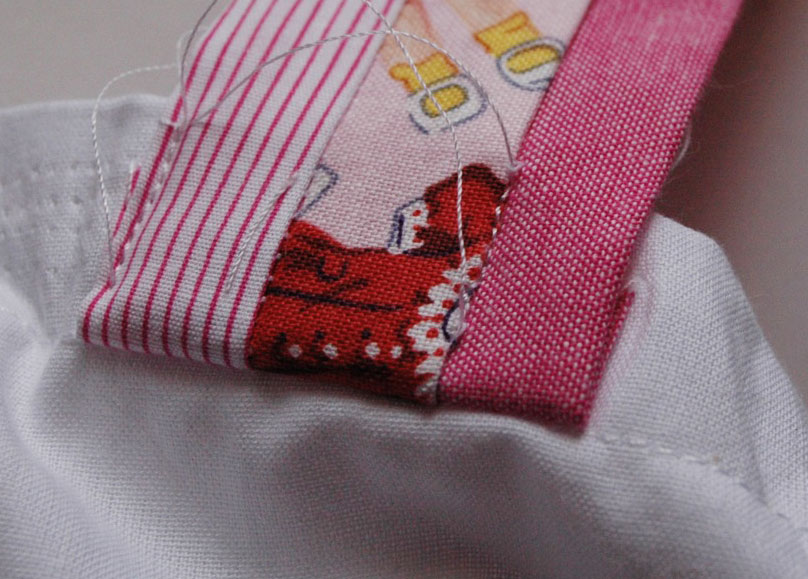
– two straps. Mine are 8″ long, width variable, mine are 1.5″ wide and tubular– made from three scraps
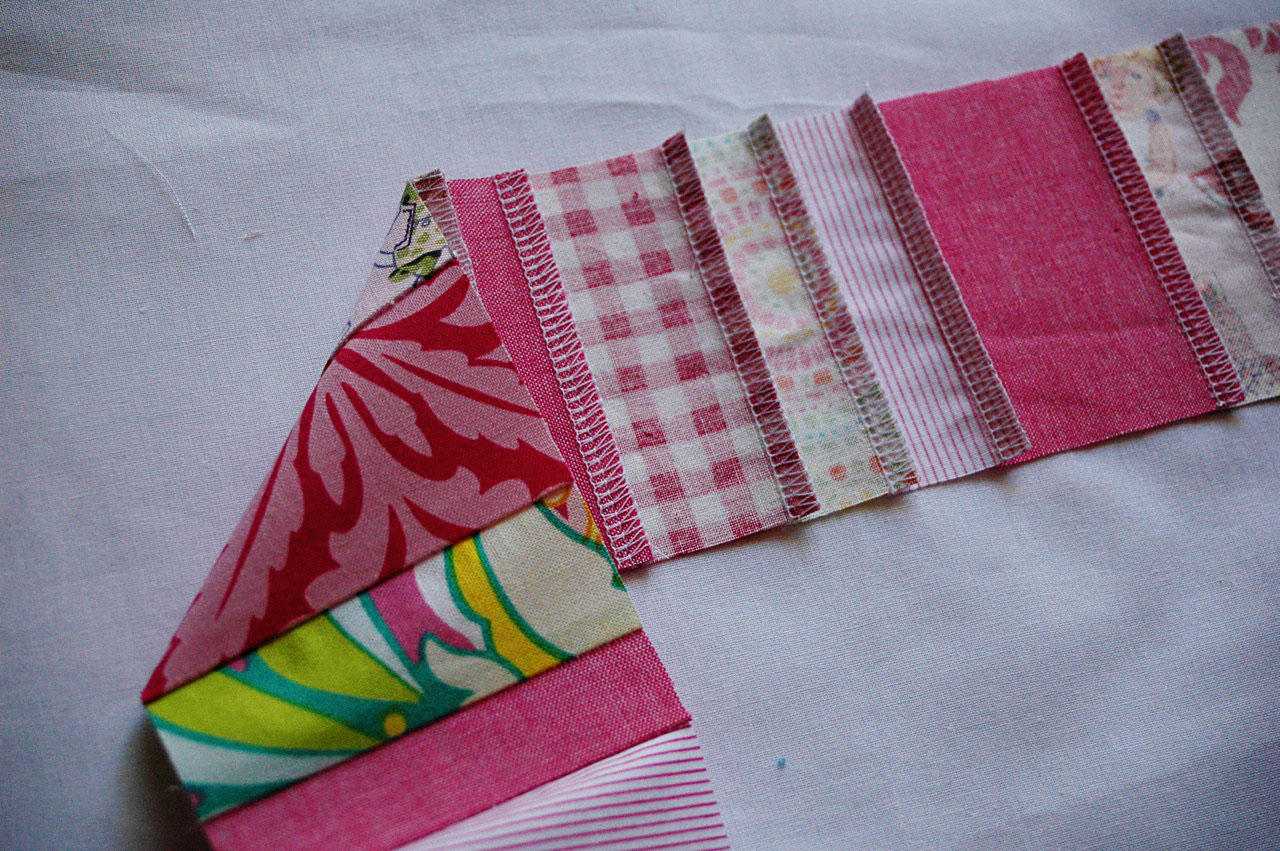
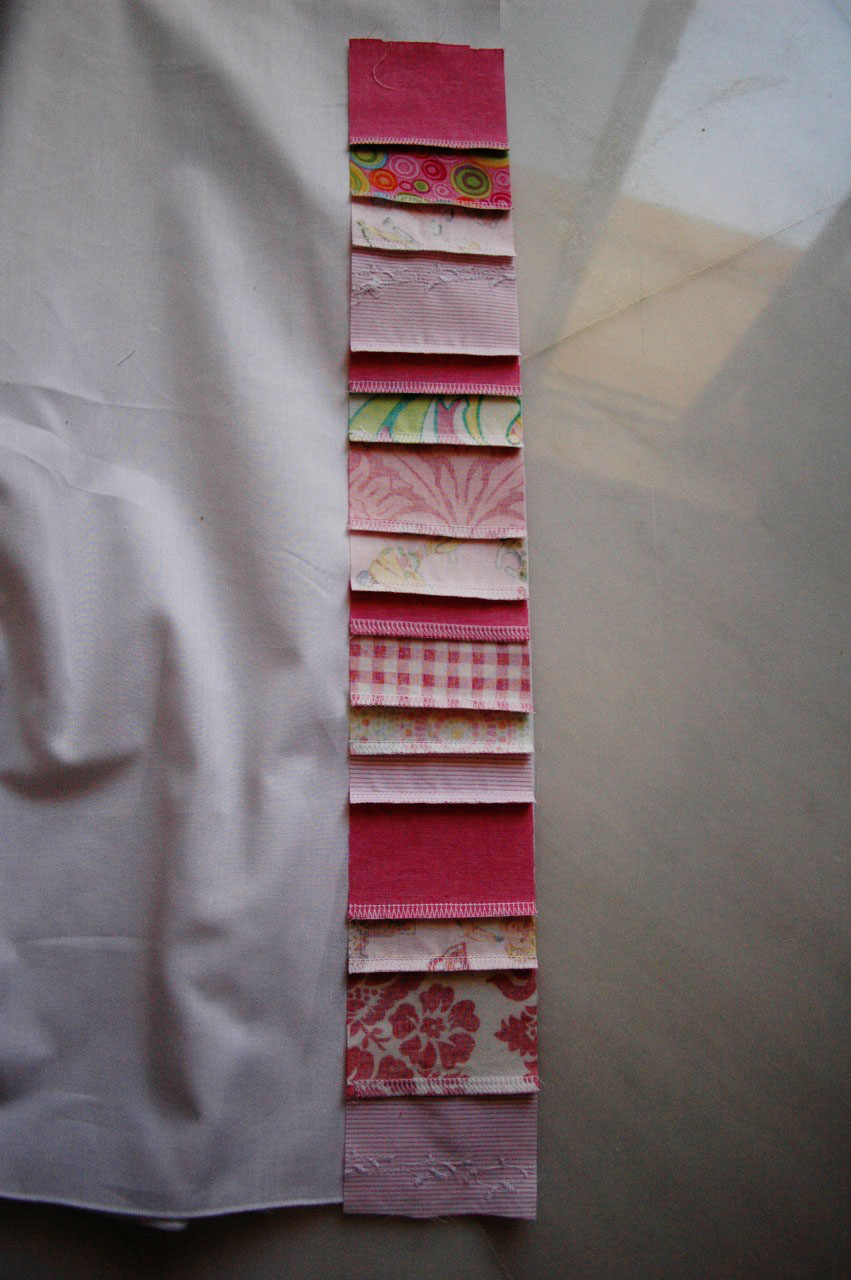
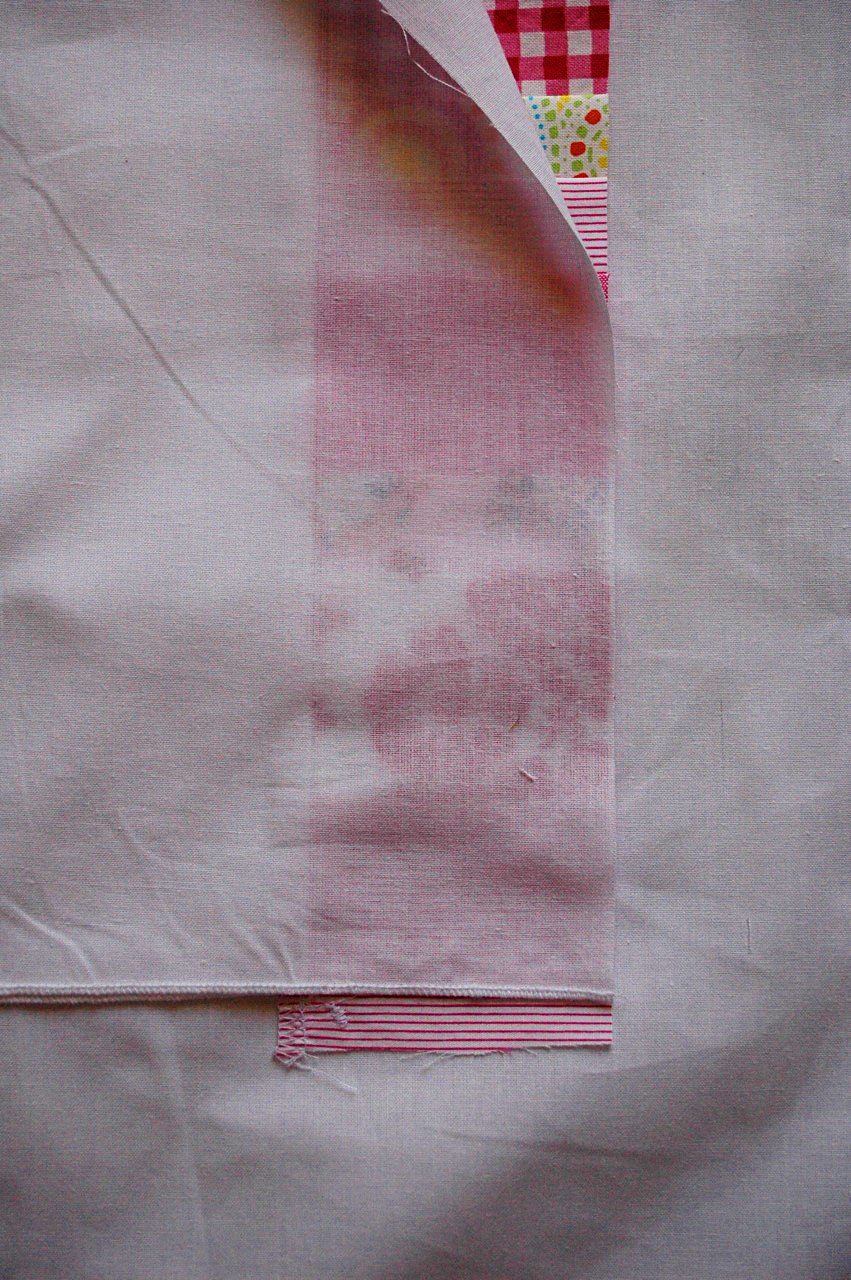
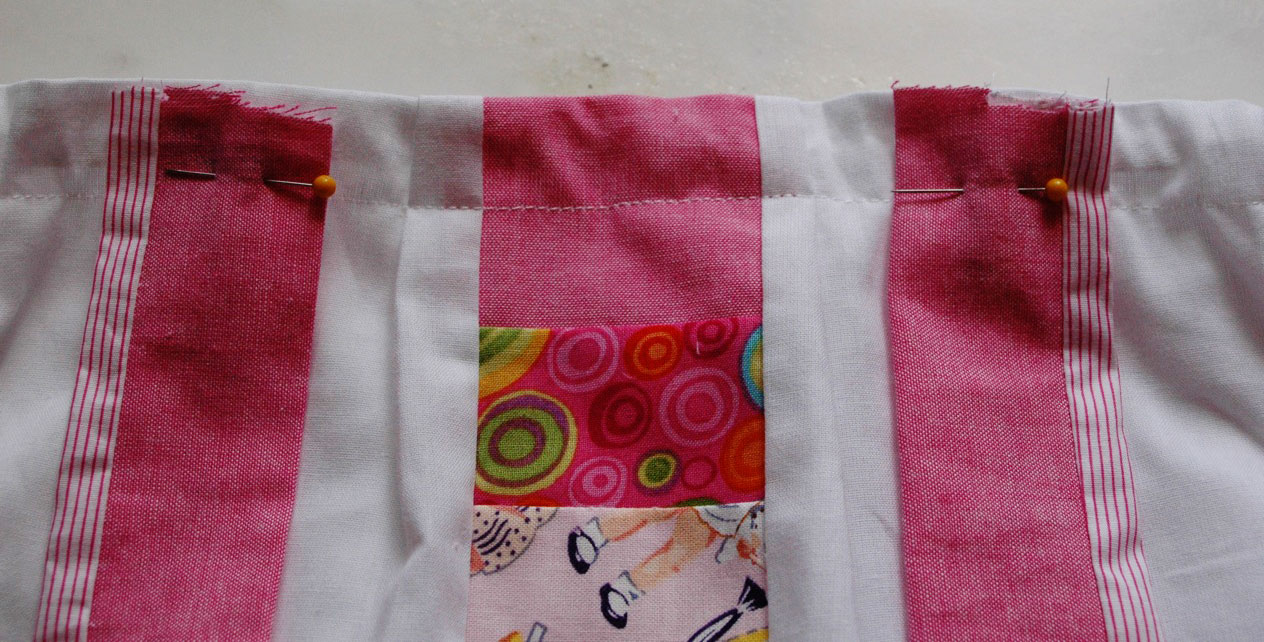
– scraps to make the Maypole section, as long as your dress sections. Width variable, mine is 2.5″
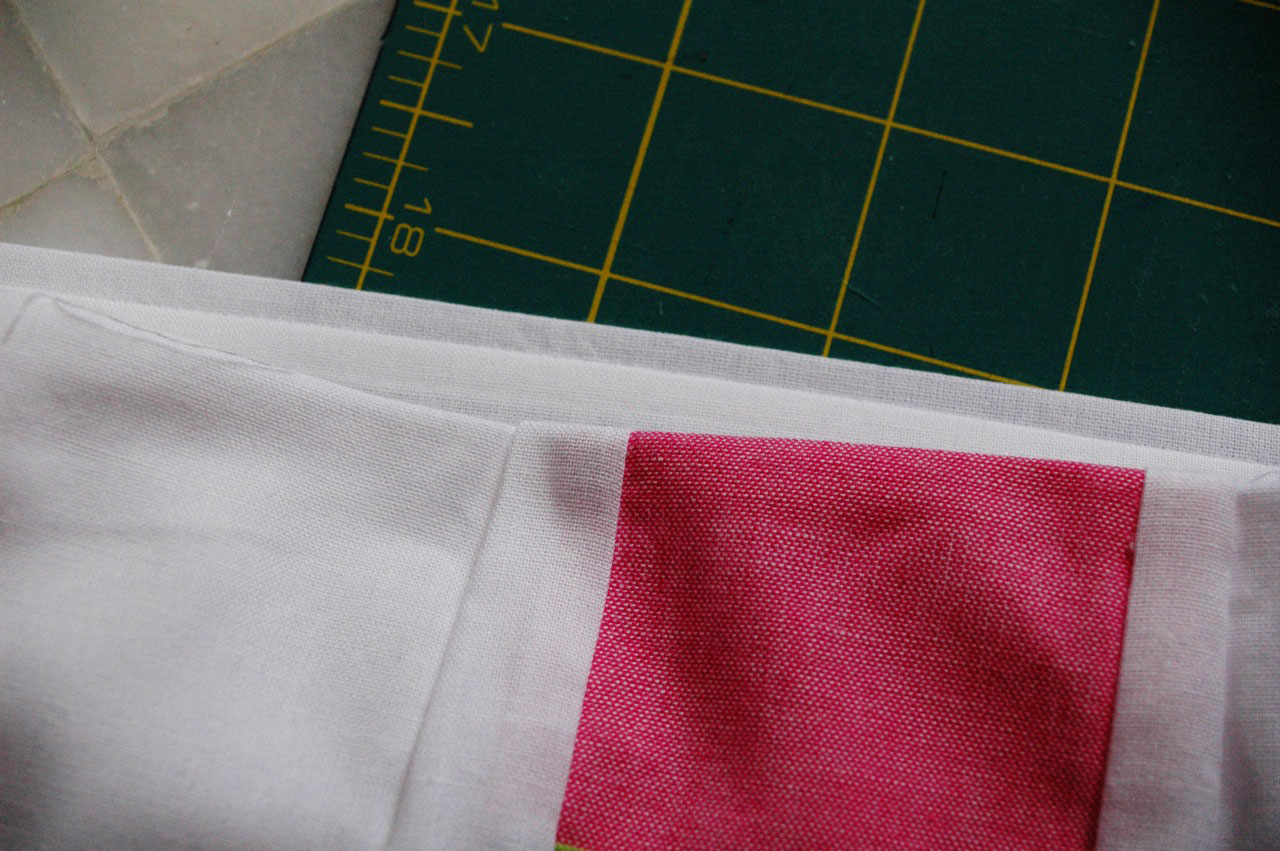
– one panel for the dress body. Mine is about 35″ x 20″
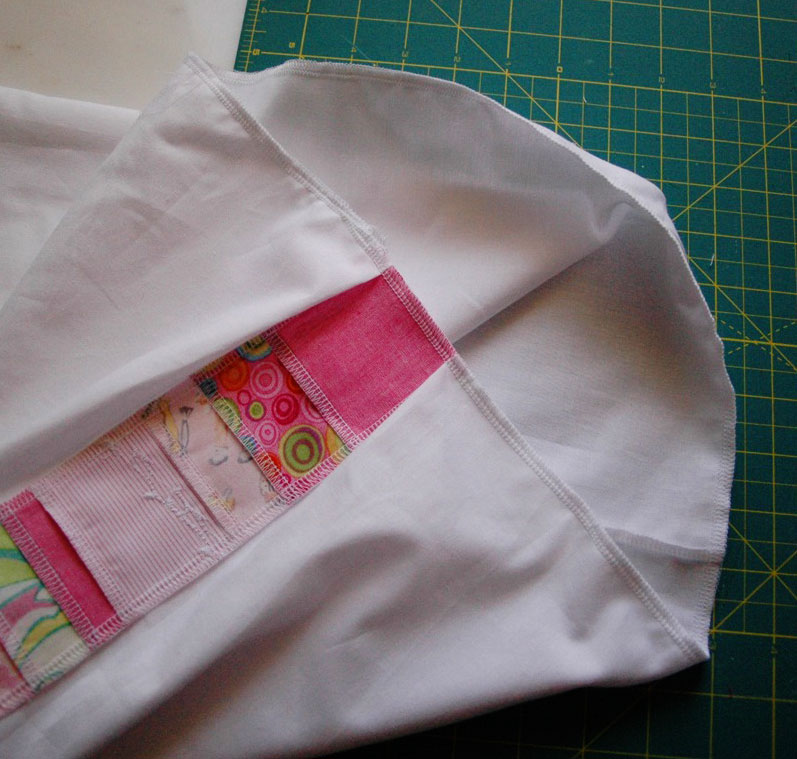
– optional lining panel, same size as dress body
– elastic, width of intended wearer’s ribcage, in this case about 23″
– sewing supplies, like an optional motivational partnering 3.5 year old to whom you can say repeatedly “DO NOT STEP ON MY PROJECT. Please.” And you move a little faster on the project just to get things out of their way.

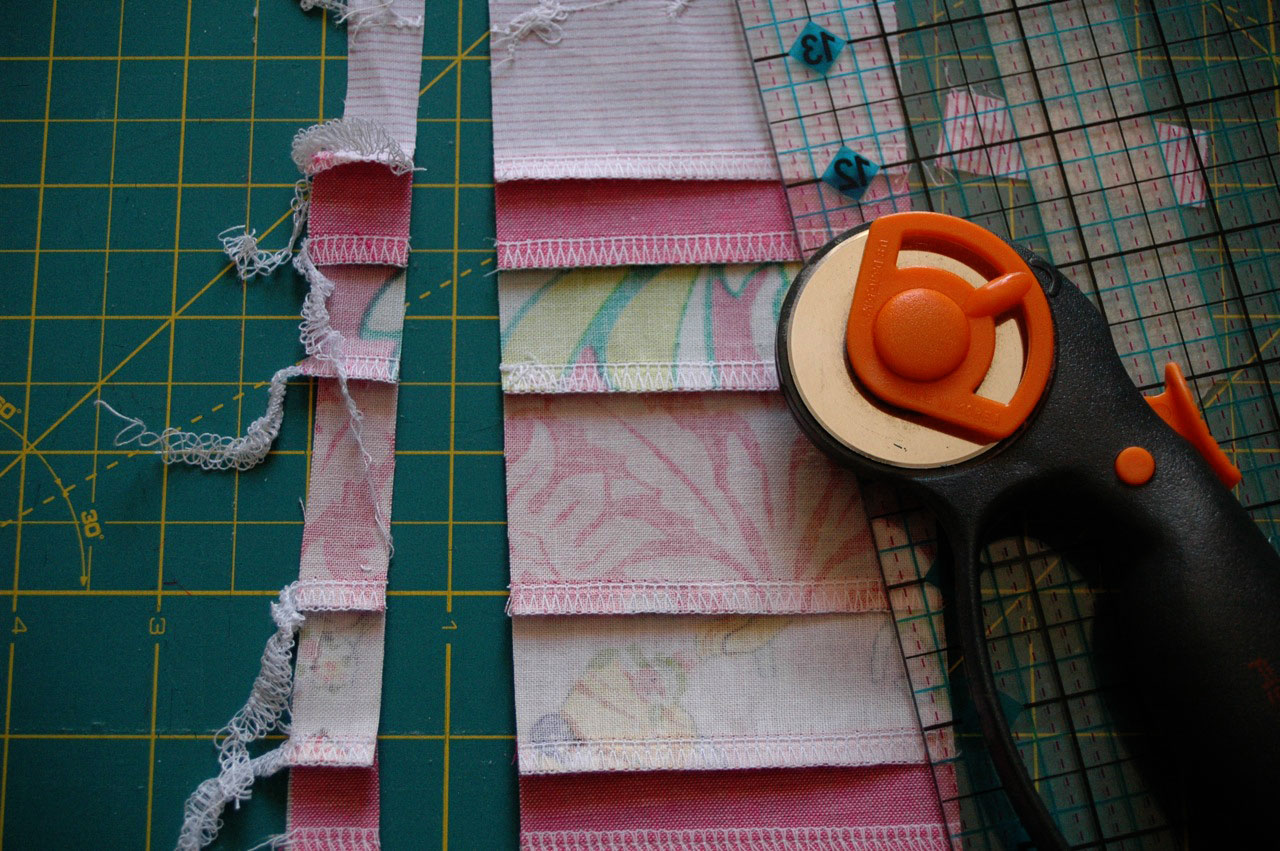


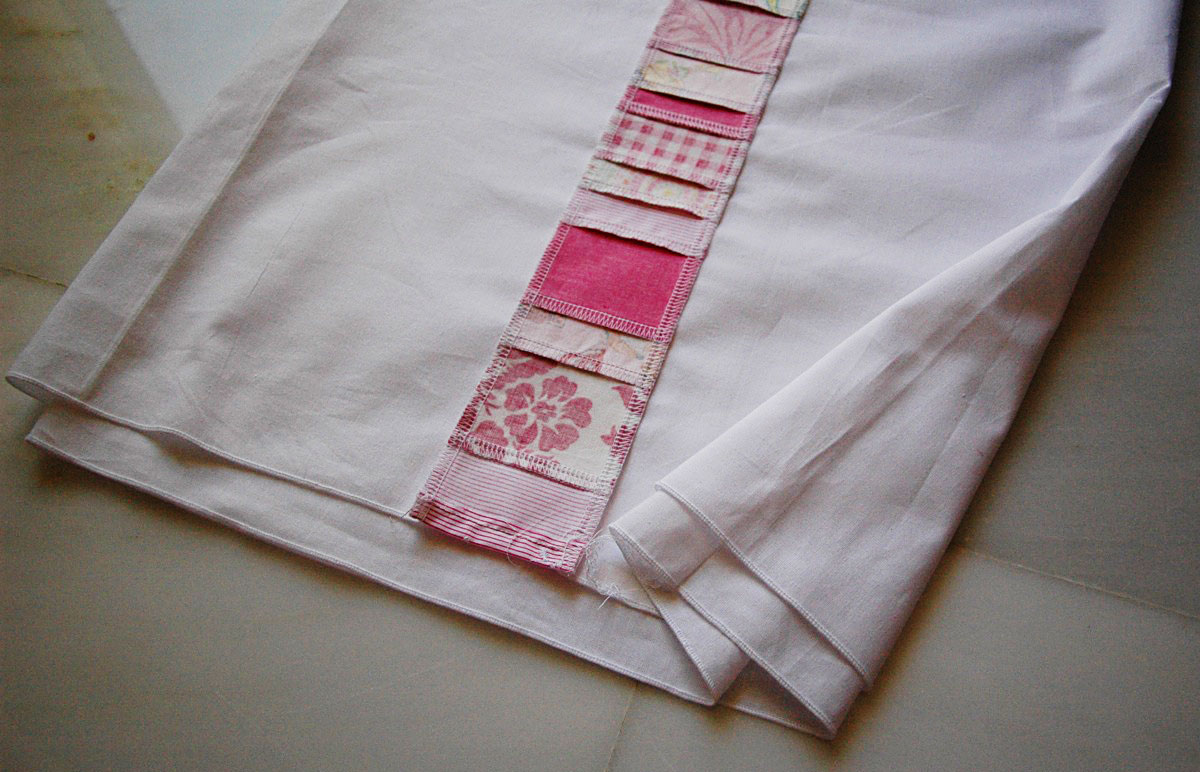


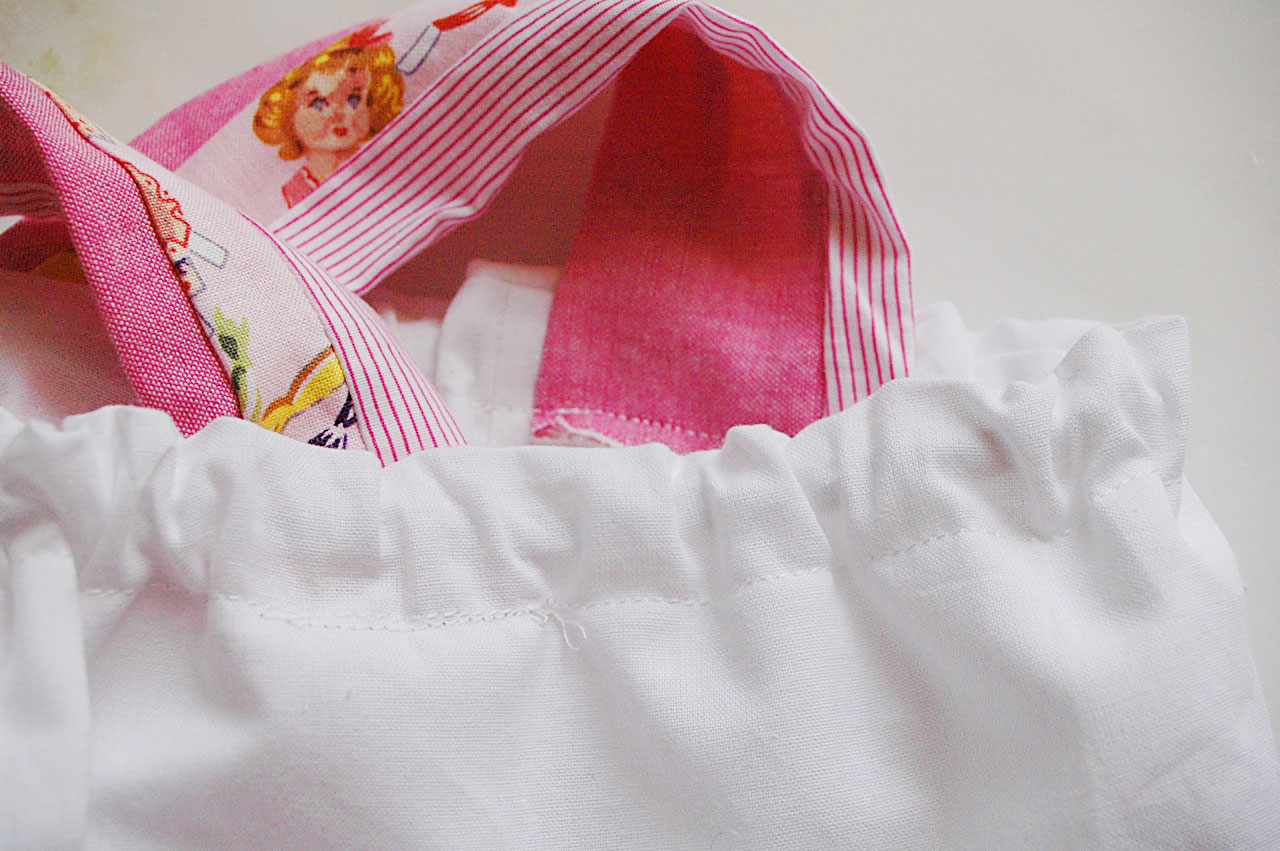
The top of your Maypole ends up getting topstitched in this scenario. If you’re anti-topstitch, you can skip over it as you make your casing and then handstitch from the back. If you care. I don’t. Clearly.


And a jumpy photo. In case you like it even MORE in mid-air.
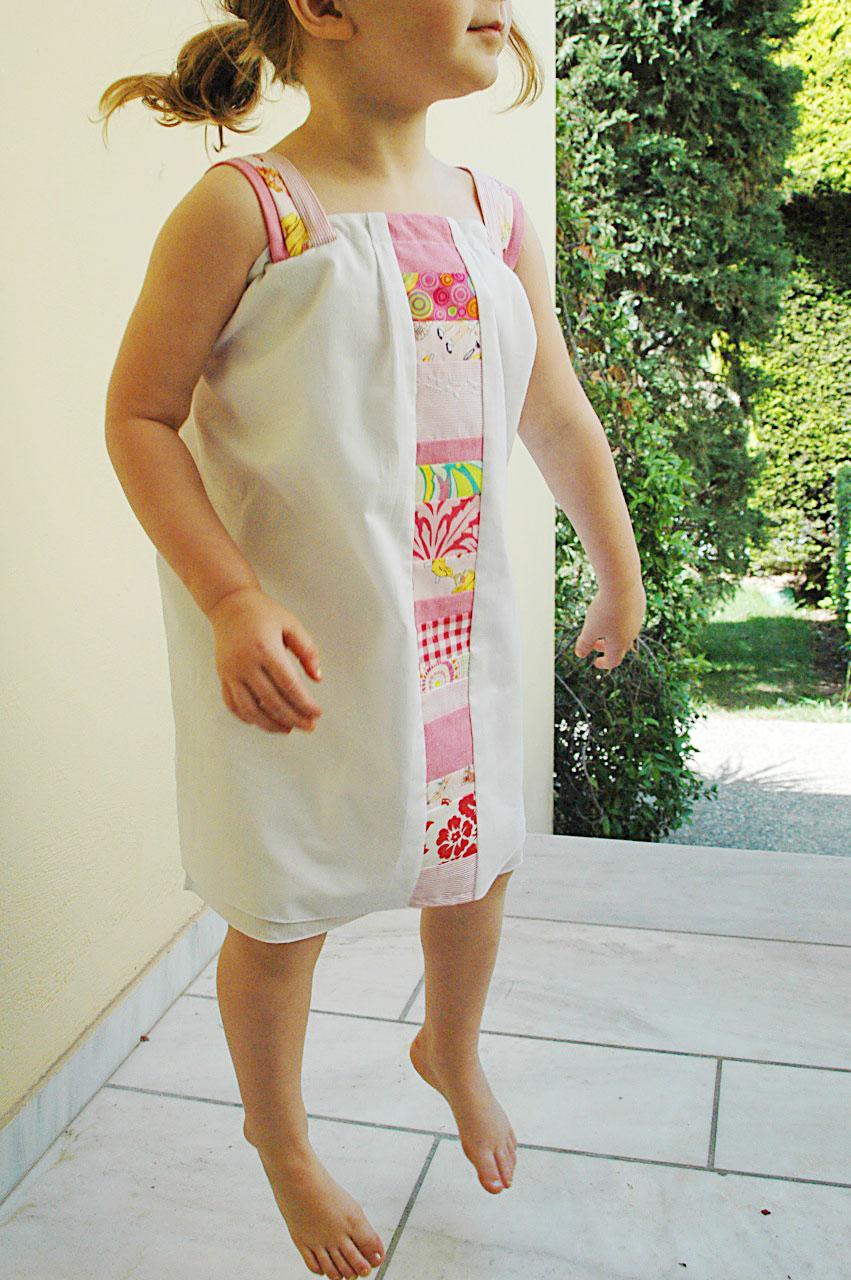
And there you have it. Kari’s brilliantly-named Maypole Dress. This one is on its way to her! Happy May Day, everyone!

Hey, I love that…adorable! You always have the neatest things on your blog. I wish I had time to try making a few of these goodies. :0)
Great idea! I sense some cute variations coming on this one!!
Love it! This might be the next dress I make for my girls =)
cute!!! can’t wait to try this!
I really like the lining peeking out. Sweet idea! Thanks.
sooooo cute and easy to make this dress! A real summer eye catcher!!!! Thanx for sharing!
Miranda
wish I had a little girl, i love this dress that much! thanks for the tutorial!
I admire the fact that you attempted pics with a non-napped 3 year old, now that’s dedication. By the way, the dress is beautiful!
Too too cute. I’ll definitely be trying this out before summer. Thanks so much for the tutorial!
You wrote a GREAT tutorial! And I love love love the jumping shot. Can’t wait to see the dress in person. Thank you so much.
I ♥ ! Thank you for posting!!!
I am digging this bigtime. I really like that you showed the lining. Definitely going to do that. Well done!
wow the last pik just confused me looked like she was floating
abby {age 2} is getting one of these — as soon as we land in our new hometown in september… :) :) i MUST set aside a whole week for just sewing!!!