De-Rainbow-fication. Yeah, it’s a word.
Yesterday I finished derainbowfying P’s dress. If you remember, the originals looked like this:
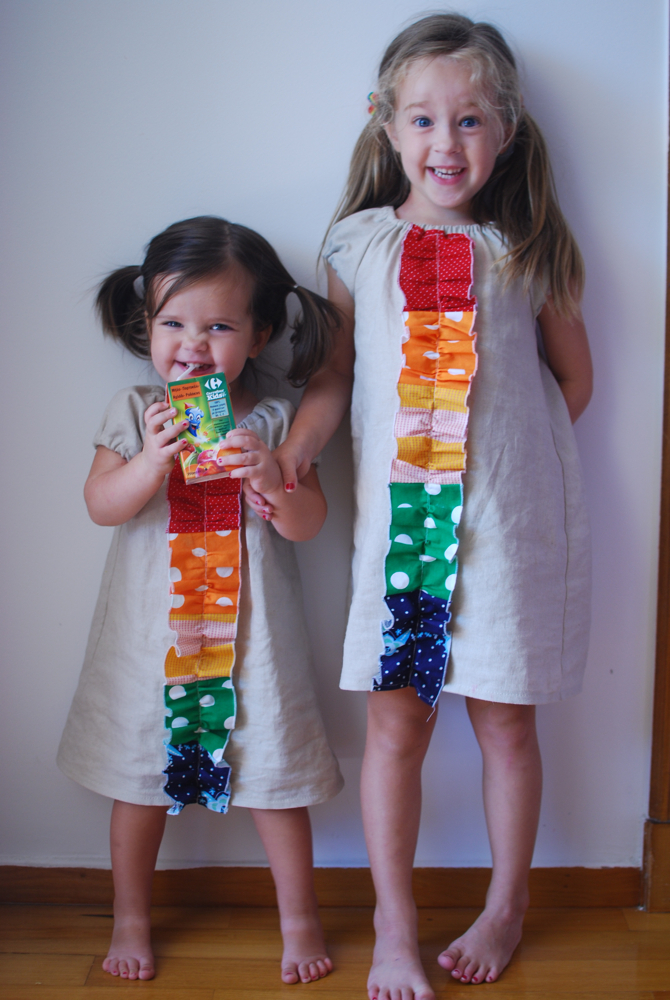
And now P’s looks like this:

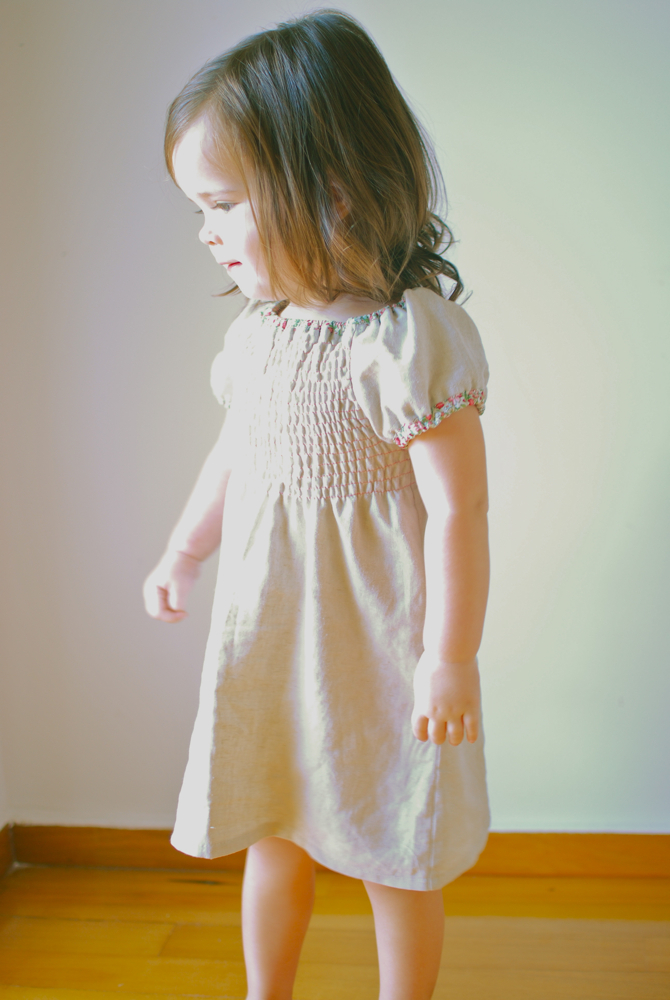
Unfortunately, I had a very uncooperative model, so I snapped these pictures really quickly before realizing I was in manual mode and hadn’t changed my camera settings. So they’re way overexposed (random photography tip: it’s much better to under-expose than over-. Shadows hold a lot more “information” from your picture than highlights.)
These will give you a better idea of the colors:
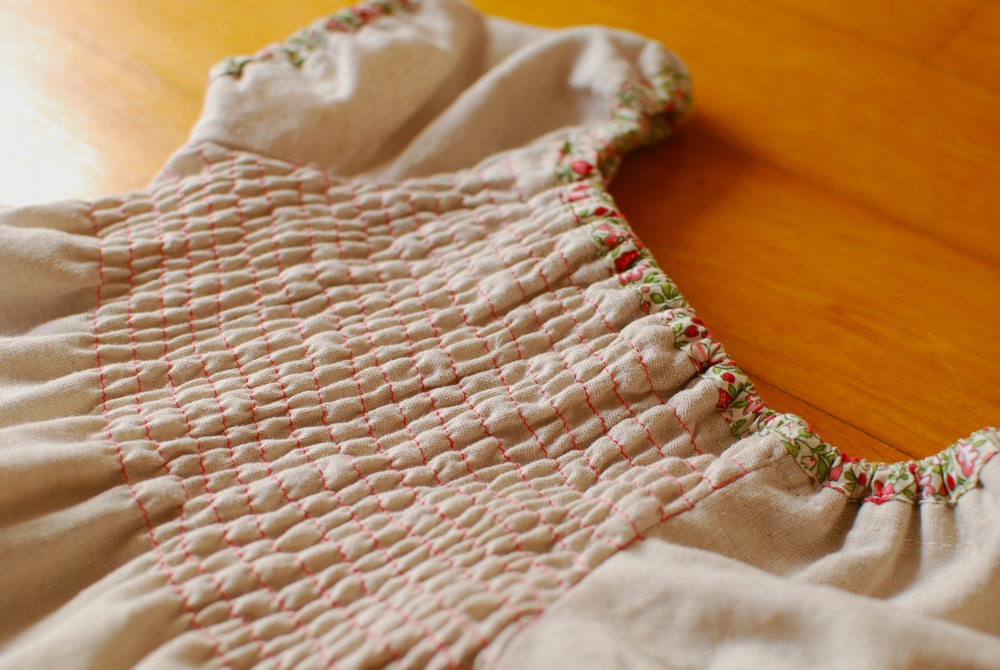

All I did was shirr the front and back bodice and add floral bias binding to the neck and arm hems. I really love this dress now. Today I’m working on Z’s dress, so I’ll show you the results tomorrow.
The derainbowfication turned out great! Your girls are too cute!
Wow I love that! So soft and pretty!
How cute! I love the originals and the new one.
I wish I could figure out shirring on my sewing machine. It hates shirring.
That dress is too cute! I liked it both ways, but I think I like the new way a little bit better. Your daughter is adorable!
I want one of those dresses for me! It is really really really adorable and now I’m gonna go make one for my daughter!!
I LOVE the little floral fabric on the sleeves and neckline! So very cute!
Way cute.. But I loved the rainbow dresses!
Love it! Too cute!
I am trying to shirr a skirt trying to make it into a top…i shirred and the fabric got too gathered or something…or the elastic thread was put on the bobbin wrong (wound by hand) or…or…or…
Anyway…this is cute and I WANT it to work…can you give a few tips on this?
Wow! It doesn’t even look like the same dress! Very cute!
This is out of control cute. I love the binding and the red threaded shirring!
I loved the rainbows but this turned out super cute and classy! Great job!
It turned out really nice. I love the floral neck and hems. Cute!
I like the rainbow dress, is there a pattern for it? Not the rainbows,, the brown dress.. ?
Thanks!
Although the rainbow dresses were cute – I LOVE the transformation. The shirring is beautiful.
that dress turned out so so sweet. I love it, the bias tape is the most adorable, I want to eat it. :)
Anonymous: I drafted that pattern using this tutorial: http://indietutes.blogspot.com/2007/07/peasant-blouse.html
But it is just a peasant dress. Virtually every pattern maker, commercial or independent, has one. You should try drafting it yourself before you pay upwards of $16 for a pattern though – it is only 2 pieces and probably the easiest thing you can make. Can you tell I have a small chip on my shoulder about the price of peasant dress patterns? :) Support your independent pattern makers, but give this one a shot yourself first!
erinlou80, I’d love to give you some pointers, but I can’t find a way to contact you. If you see this, send me an email. Otherwise, you can always google shirring tutorials for some troubleshooting tips.
i like it. i think that it came out great and i love the color combo.
love, LOVE the transformation! The floral bias tape just makes it. Having made a peasant-type dress before, I know that there is elastic in the neckline and arms. Did you apply the bias tape right over the elastic (while stretching it out) or remove the elastic before applying the bias tape? Can’t quite figure out how you did that one . . . :)
Good question Lucinda! For the sleeves, I just applied the bias tape directly over the elastic while holding it taut and was very VERY careful not to stitch on the elastic (doing so would lock it into it’s stretched-out state). I didn’t have good luck with the neckline, so I eventually just took out the elastic, stitched on the bias tape, then re-threaded the elastic into the bias tape.
Thanks so much for your response – it really helped me picture it, and now I might just have to try it myself!