Stacey requested a quick tutorial for designing your own labels. There are so so so many ways to do it, but no matter how you approach it can be completely intimidating to jump in. I have a degree in art… and I’m still often rendered useless by staring at a blank canvas. So let me start with this: take some deep breaths. Don’t overthink it. Let it be fun. You’re not labeling yourself and your work for the rest of your life. You’re just finding a place to start. It’s okay to change your mind later. It’s a process. And since I’m not trying to turn our crafty blog into a therapy blog, let’s get to it.
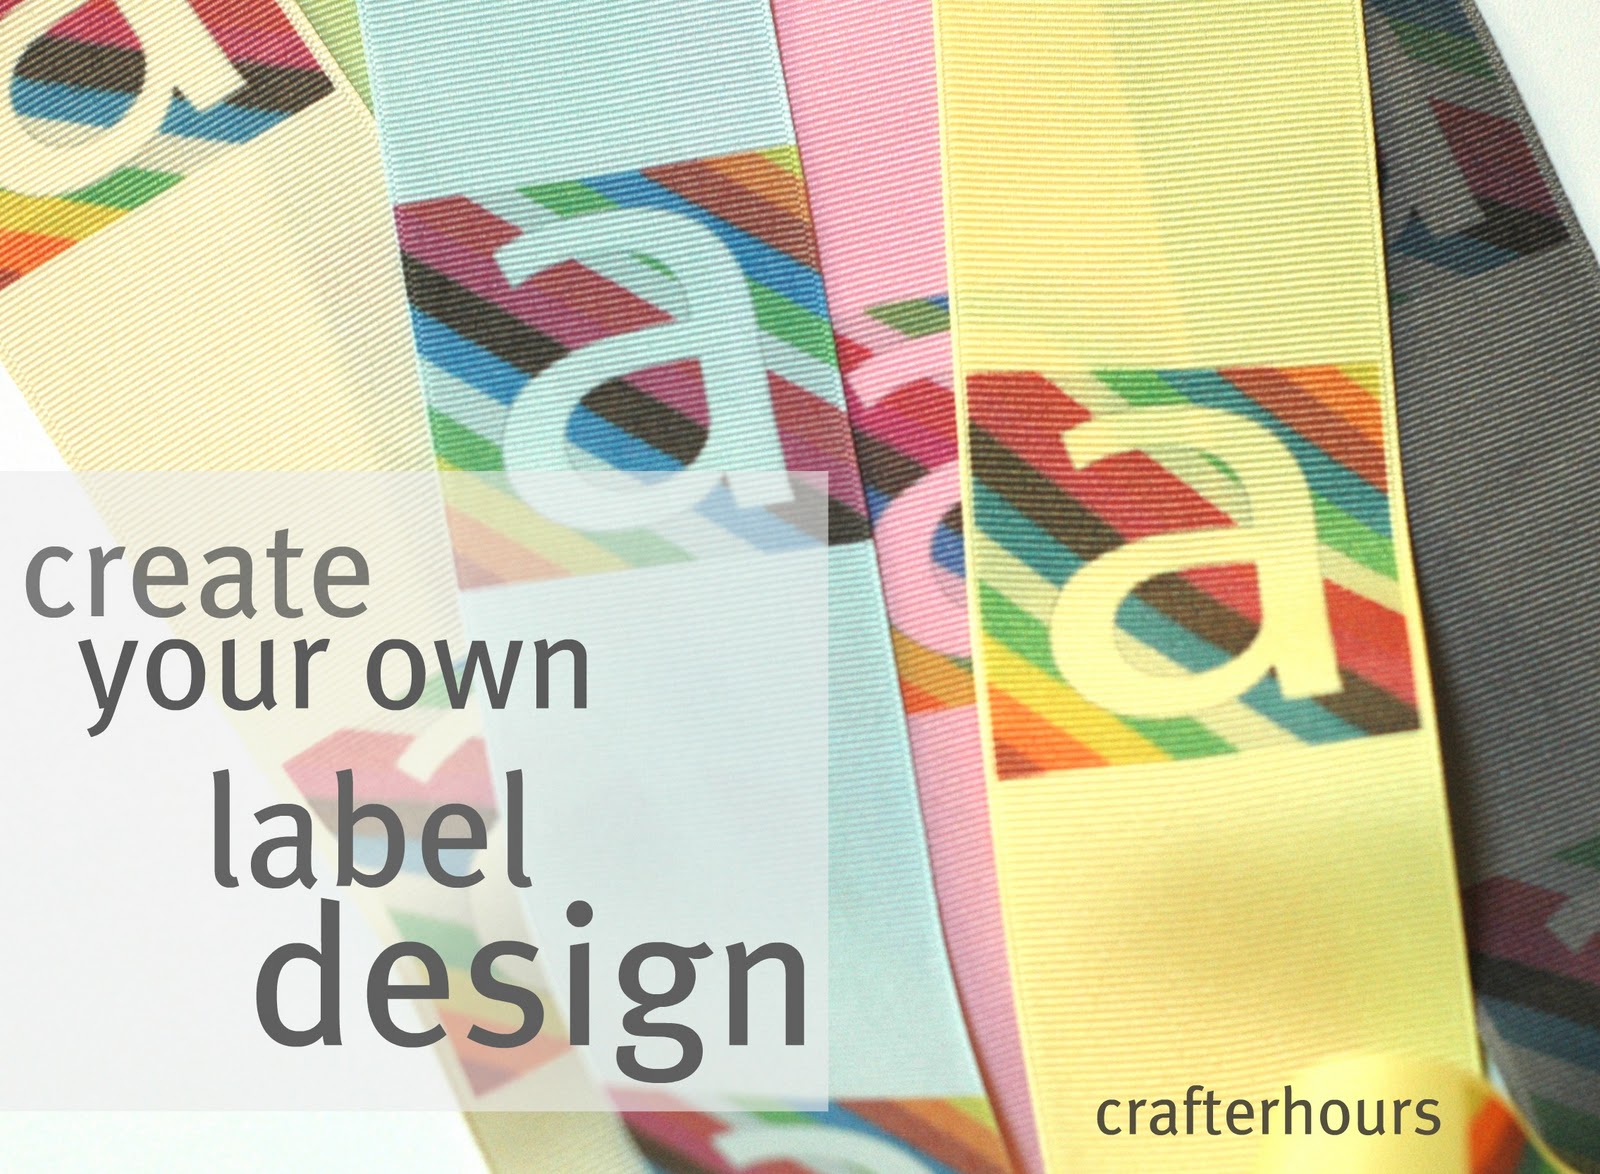
I’ll show you how I made the rainbow label using flickr to find a background image and Picnik to edit it. Then I’ll give you a few links to other tutorials with more options. There are so many ways to do this sort of thing, and I love learning from others how they do it.
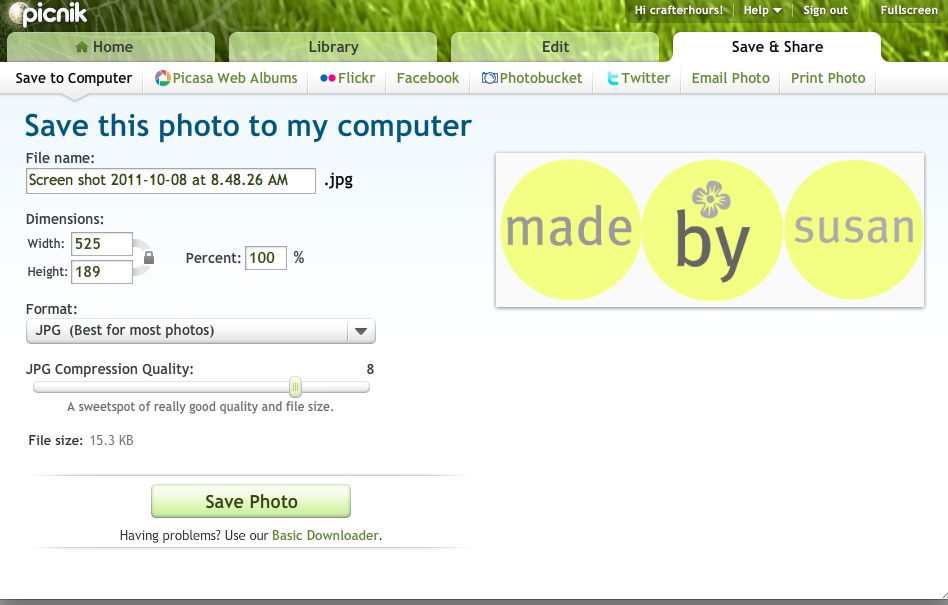
One of the reasons I like Picnik for image editing is that it’s entirely web-based. Nothing to install and my files are stored on their site. As I move from computer to computer I can still use the site and access my files. If I’m working on something complicated I use Photoshop and/or Illustrator, but I only have those installed on one machine, and I don’t always have it with me.
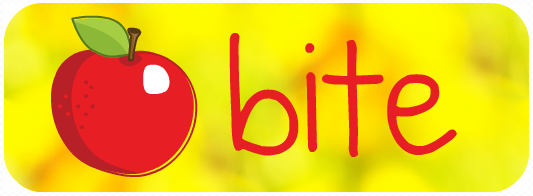
In order to use Picnik you’ve got to start with an image file, like a jpeg. That doesn’t mean that the end result has to include the image. It’s just the place you’ve got to start since Picnik is, first and foremost, for photos. But you can completely cover any image with other stuff. I’ll get to that later on.
Because I wanted to start with an image I’d include, I started by searching flickr for “background”. Lots of fabulous photographer folks post their photos on flickr and indicate that they’re free for non-commercial use. If you use the Advanced Search you’re able to limit your search to images that you can modify– here’s the section of the search where you can do that:

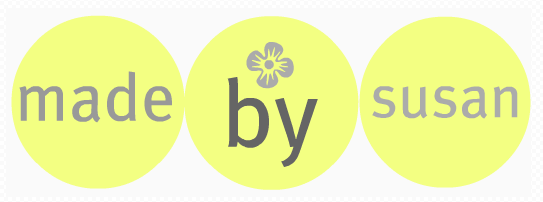
From my search I chose this photo:


- Gimp is a free downloadable program. I haven’t used it myself but Adrianna swears by it. It’s similar to Photoshop. The site has lists of tutorials sorted by difficulty. (Adrianna’s edit: I must’ve misled Susan in the past, because actually I swear AT it. Gimp doesn’t work for me, because I learned on photoshop. If you can figure it out, more power to you. I swear by PowerPoint.)
- Microsoft Word works well for Dana.
- PowerPoint works too. Here’s a presentations guy who makes it simple.
- If you’re already familiar with the free software that comes with a Silhouette machine, it’s fun to use for design. The cool part is that even if you don’t have a Silhouette machine, you can still download and use the software for free.
- This tutorial is REALLY simple, not program-specific… and kind of funny.

Mmmm, I love Gimp & Inkscape (for vector illustrations)! They can take getting used to if you’ve used other programs (Photoshop, Illustrator…) but they’re free & open source so a good option if you don’t own any editing software already :)
Thanks for the wonderful tutorial. I’m gonna have to try that sometime soon.
Thanks, lady. I’ve been using Picnik for the photos but never really thought about the fact that you could upload something and then totally not use it. I’m ready to give it a go now.
i love picnik…best site. i am going to have to try making the labels for sure!
how many pixels should the label be?
My best guess is at least 300 pixels. TTG says he’s had some fairly small files work better than he’d thought as long as the design is simple. When in doubt, make the file larger. Susan
This comment has been removed by the author.
Errr… I didn’t realize deleting my comment was going to look so serious! I just wanted to add something without commenting 4000 times!
ANYWAY, thanks a ton! I used a combo of Picnik and Word (so I’d have more font choices) to make new headers for my blogs! They’re still pretty basic, but I love them! :)
wow. You are the most helpful person in blogland fo rme so far! ;)
~Monika
How did you print them on to ribbon? Or at least that’s what it looks like in the top photo.
Yep, that’s ribbon. More on that here: http://www.crafterhoursblog.com/2011/10/grosgrain-labels-in-full-color.html