- Card stock
- Mod Podge
- Paint
- Earring wires
- Jump rings
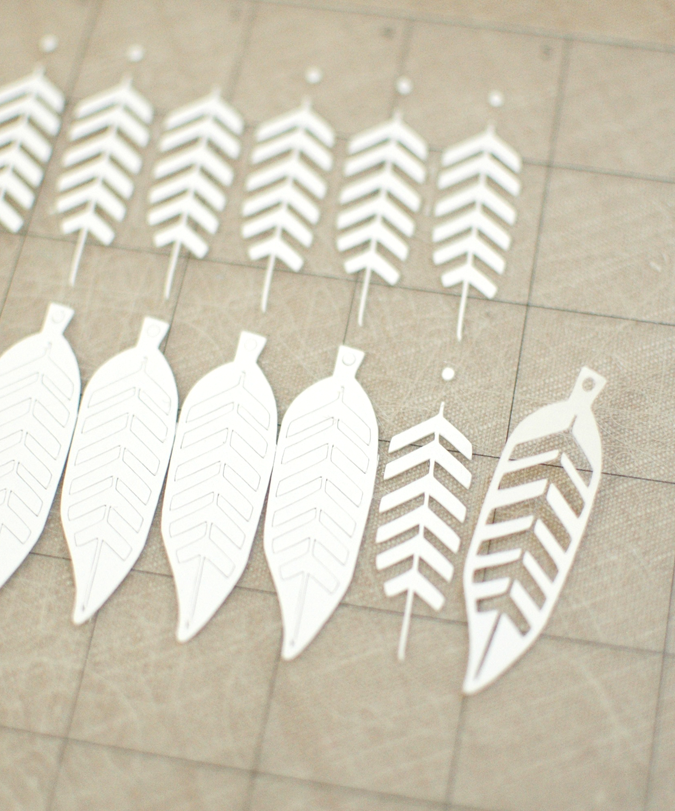
- Silhouette

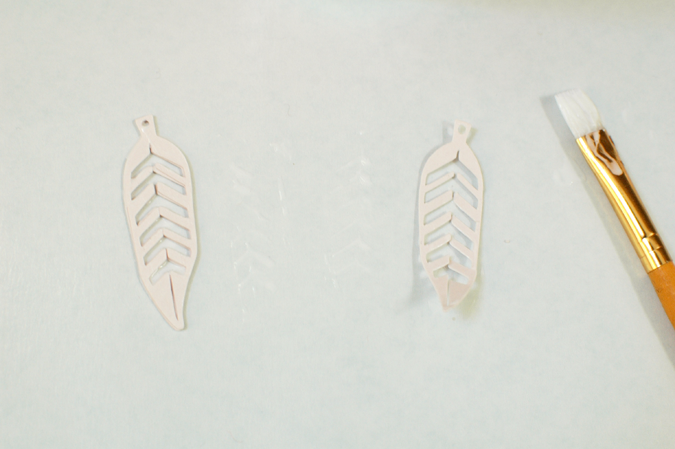
I like to work with Mod Podge on a clean sheet of freezer paper with the shiny side up. The Mod Podge doesn’t stick to it easily.
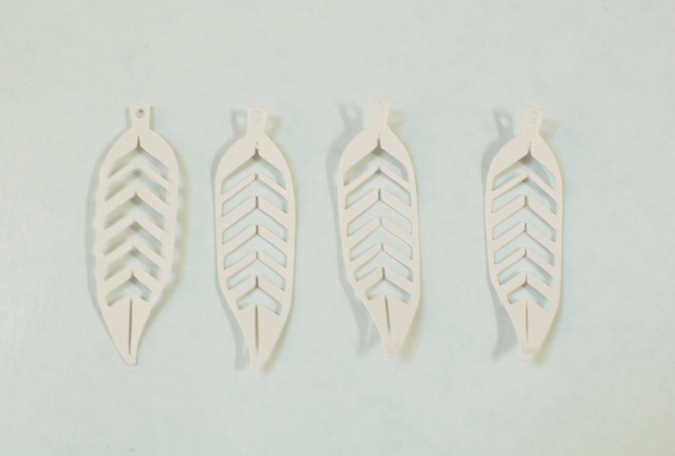
Paper absorbs the Mod Podge, so you’ll need to lay out your pieces and work with some speedy enthusiasm. Here you can see that one feather’s tail is pointing right and the others are pointed left. We’re going to give all four a quick coat of Mod Podge–
And then flip them one by one, adding a coat of Mod Podge before flipping the next.

Coating both sides before sticking them together gives them a solid finish when it dries, but also the tiniest bit of wiggle to adjust them and line up the sides evenly.
When you’re finished with the assembly, pick up the feather and smooth the edges, seal the underside and all the way around and brush away any excess.

You may need to use a needle or pin to clear Mod Podge out of the hole that you’ll use for the jump ring if any has gathered there. You can also adjust the shape with your fingers– you may want it to dry flat or you may want it to have a bit or curl or curve to it. However you shape it up, gently plop it on a clean and dry spot on your freezer paper or non-stick surface to dry. Which won’t take long at all.
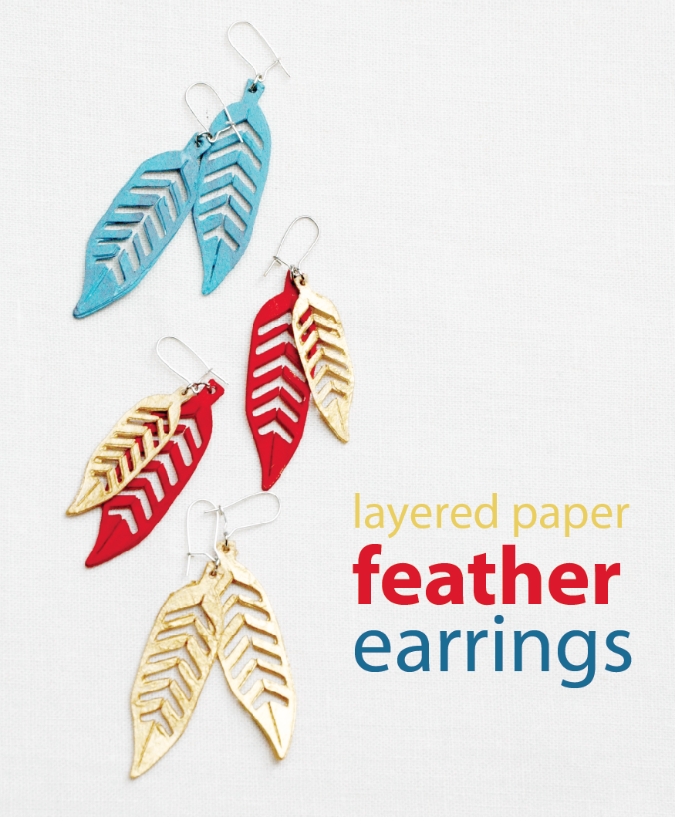
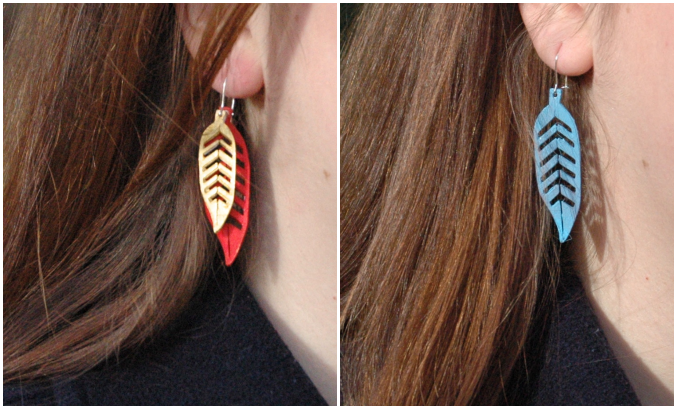
And the jump rings and the ear wires, and you’re good to go! And then there are 57 million options. Paint them any color you like.
And that’s it. So simple, right?

Very, very cute! I also find Ms. Jones inspiring. How fun that you actually did something about it. I just look and sigh…..
So, so cute! I have neither a Silhouette nor moonshine, so I’m going to skip the feathers. I wonder if I have a tiny paper punch that would work? Hmmm.
Would totally work!
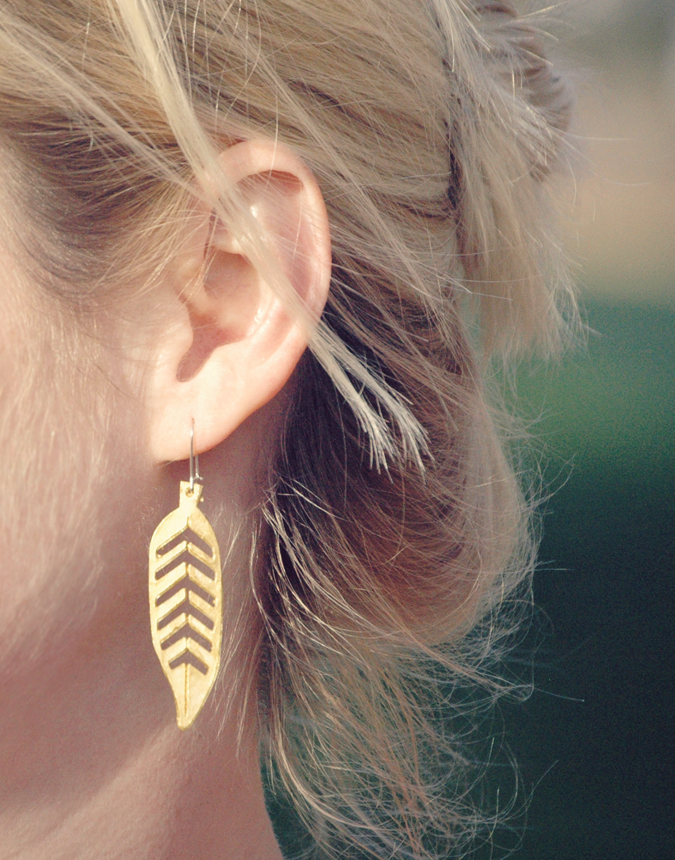
I love these, especially the gold. Really wishing my silly Silhouette mat was working better these days. And that I had a handy supply of jewelry supplies. A couple on a nice leather chain would look great too!
I love them! Hooray!
What type of cardstock do you recommend?? So cute have only made a few projects with my silhouette so this would be fun to get it out and make a few!
Heavier card stock for scrapbooking is easier to assemble than the type of card stock you can run through a printer, but any will work. You may have to play with the Silhouette cut depth settings a bit.
These are adorable! So creative and beautiful! :)
Have a fabulous new year full of lots of creative time.
~Kim
FABulous…but I don’t have a Silhouette so I am going to have to play with a puncher but not which…lol…I love to paint and make jewelry as well as use Mod Podge…I have all kinds including the glitter ….hm…hmmmmm…gonna have to play now…thanks for sharing…
The template for the feathers does not work, you might want to work on that so anyone can download it.
Looks like fun…Thank you for Teaching and sharing your ideas , I enjoy DIYS crafts, and my Mother Now owns Lots of earing that I have tried and made LOL and she wears them all everywhere ..I made paper Beads out of boxes from cereal or other things and added a pearl bead and she loved them..So Thank you so much Jo