When a family you love expands by one, and the new family member is a baby girl preceded by two girls, it’s quite possible that said loved family doesn’t need a whole lot.
I suggest laying the question before the Mama. What do you need?
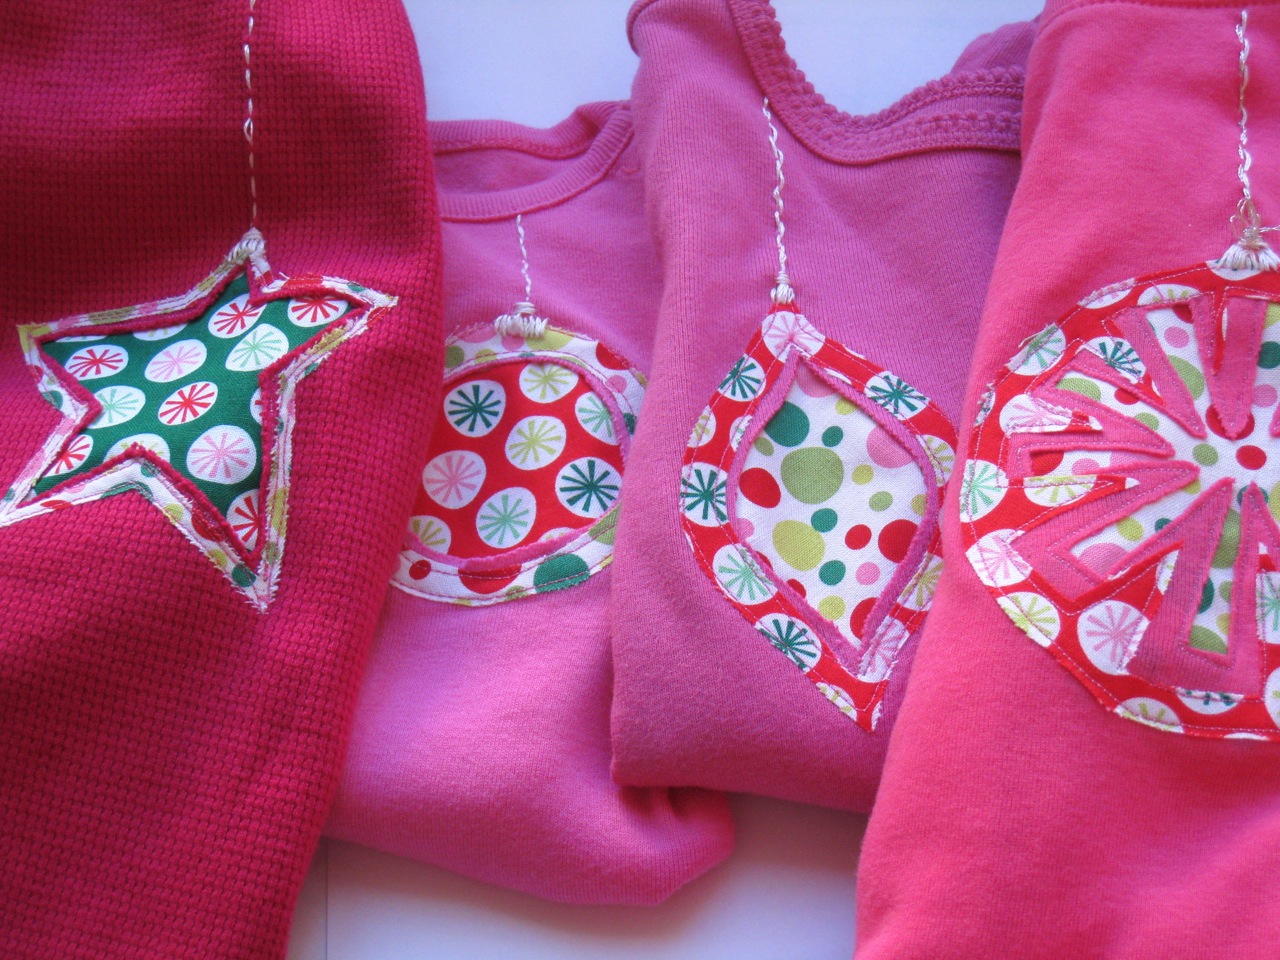
After discussion, we decided on some family matchy-matchy. Well, I think Mama was just thinking of the girls, but I decided to include Mom and Dad as well. Sort of.
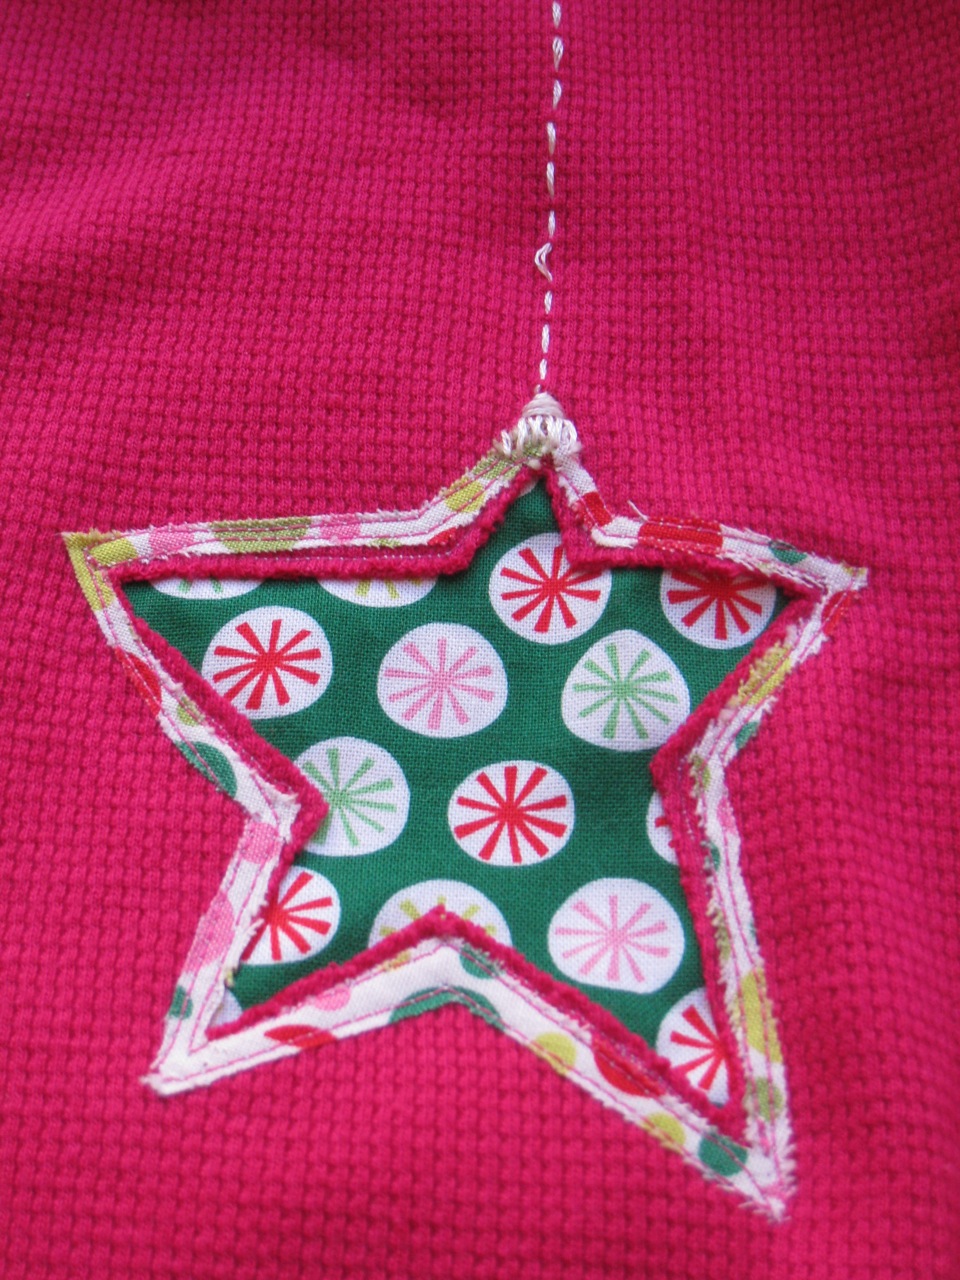
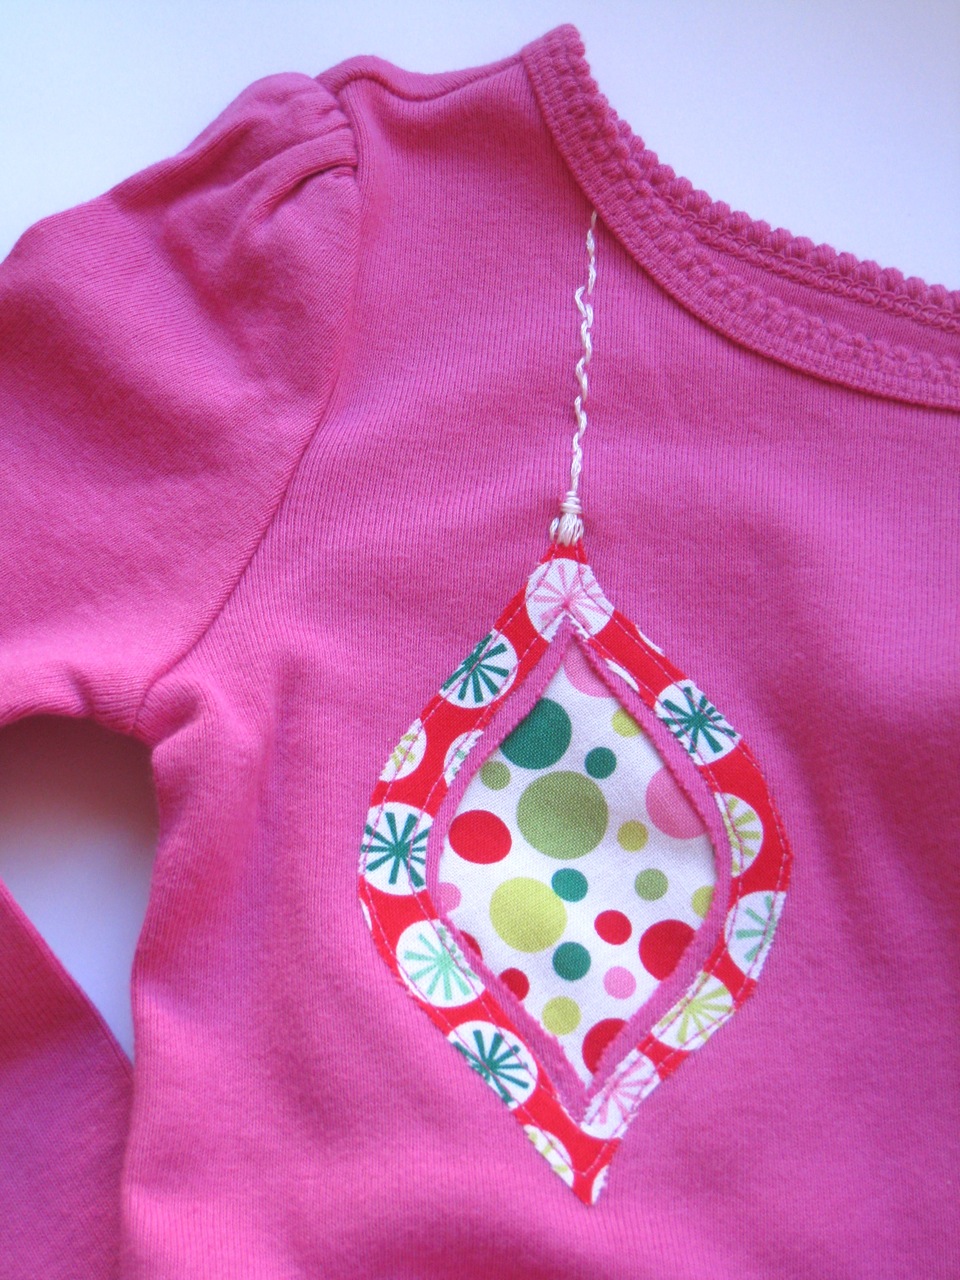
Each shirt has a reverse applique surrounded by a border of plain ole’ applique normalness and a bit of stitching and accent embroidery on top.
You’ll need:
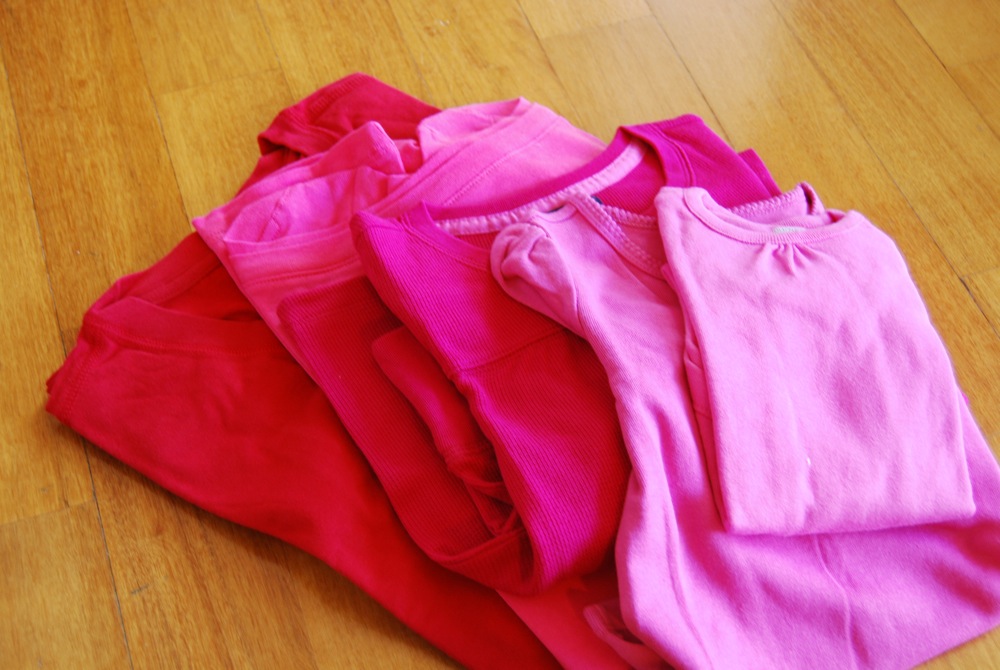
shirts for each member of the family (can be all the same, for this I chose coordinating colors)
coordinating fabric (I used three prints, scrap sizes)
fusible interfacing
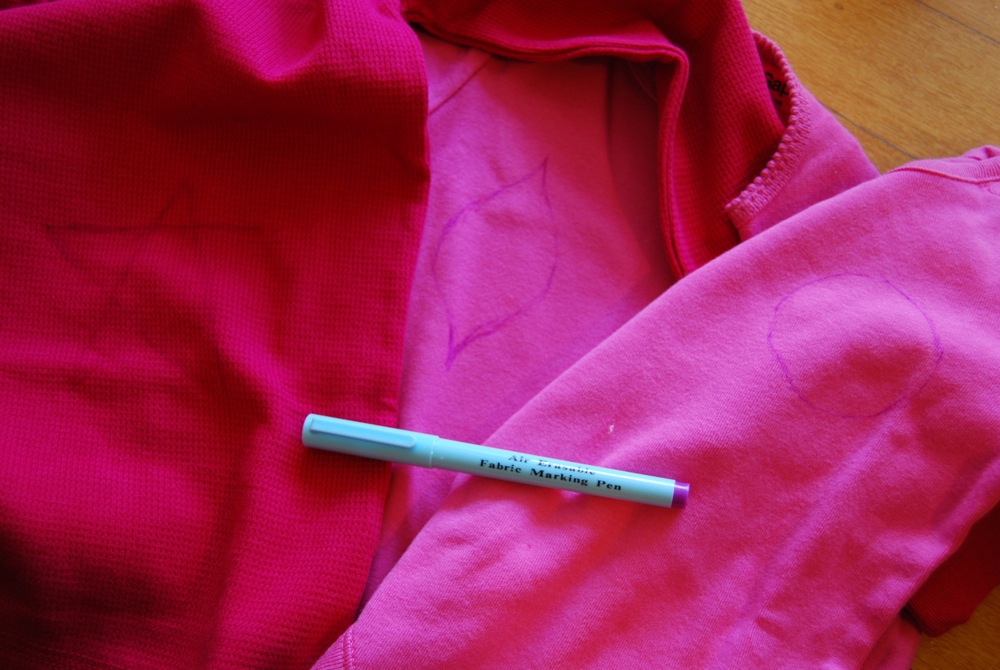
an air- or water-soluble marker
embroidery thread
your regular sewing gear
Start with your fresh pile of knit blank canvas.
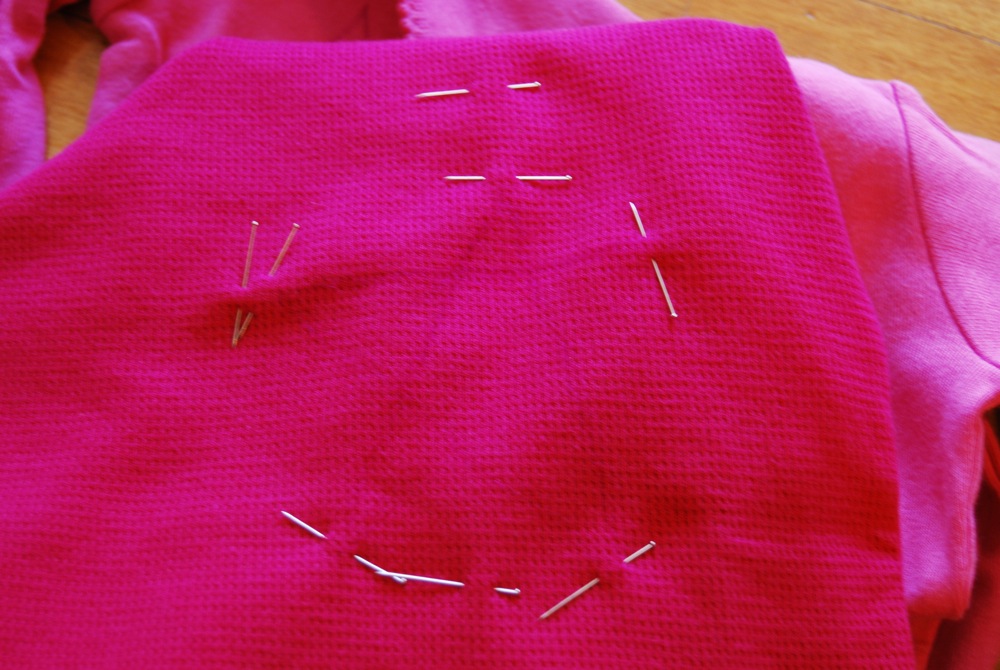

Now place a piece of coordinating fabric face-down. Place the “negative shape” you just cut out on top of it, also face down. Iron a piece of fusible interfacing on top of this. A little sammich you have now. Yummy.
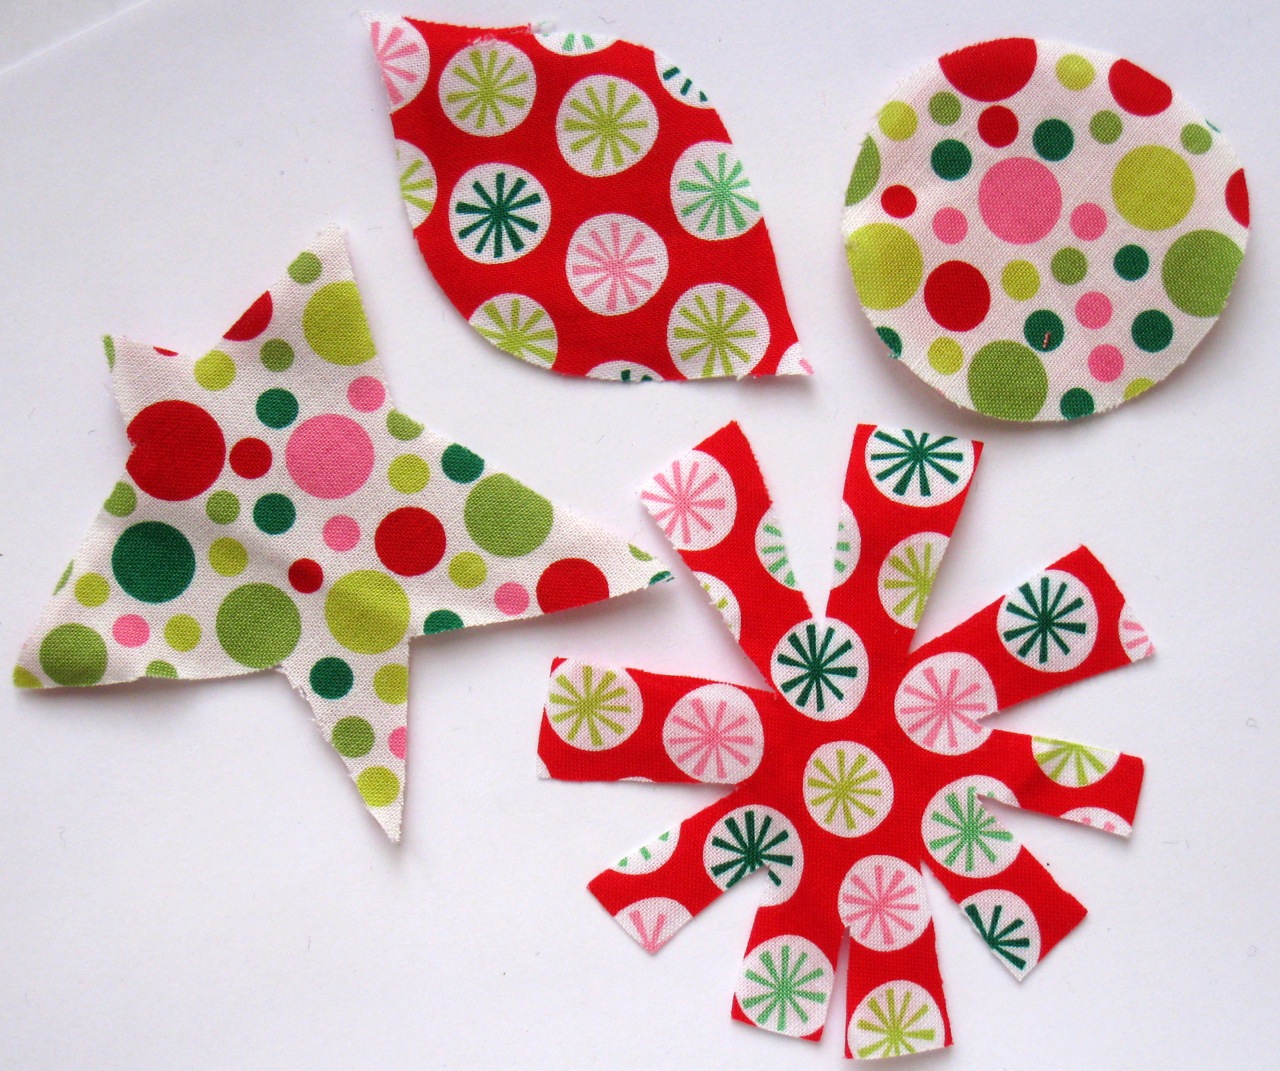
Again with careful snips, cut through the sandwich around the shape, leaving a consistent border. Well, you could make it artfully inconsistent as well. Up to you.
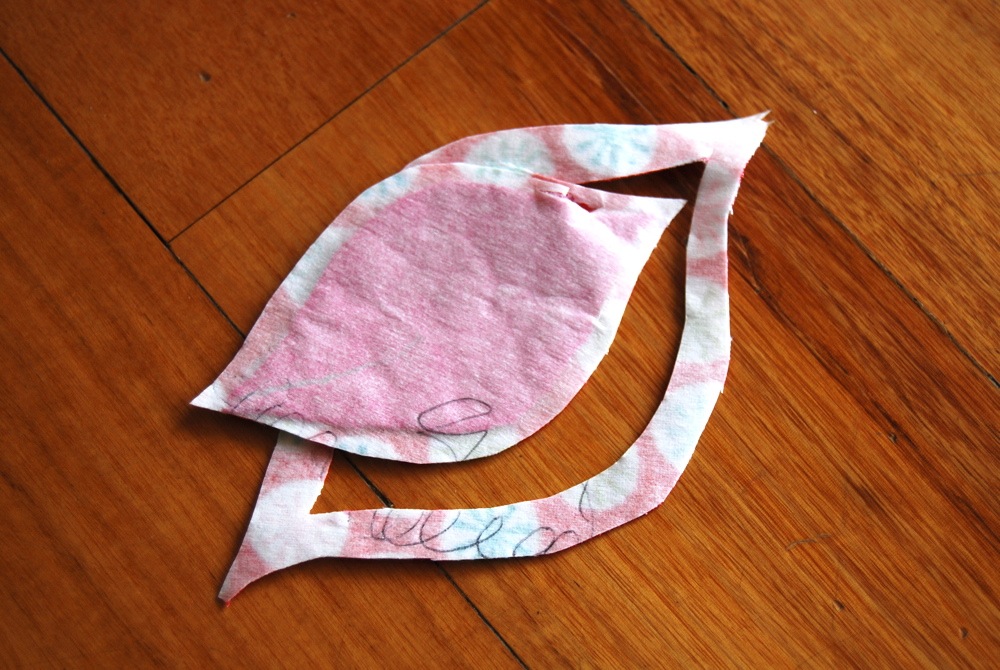
Then trim out the original negative shape with a bit of a border inside. Like so: (ignore kid scribble)

Now embroider a little ornament top and string coming down from the neckline. Or whatever bit of embroidery makes sense for your design, if you’re not going the Christmas ornament route.


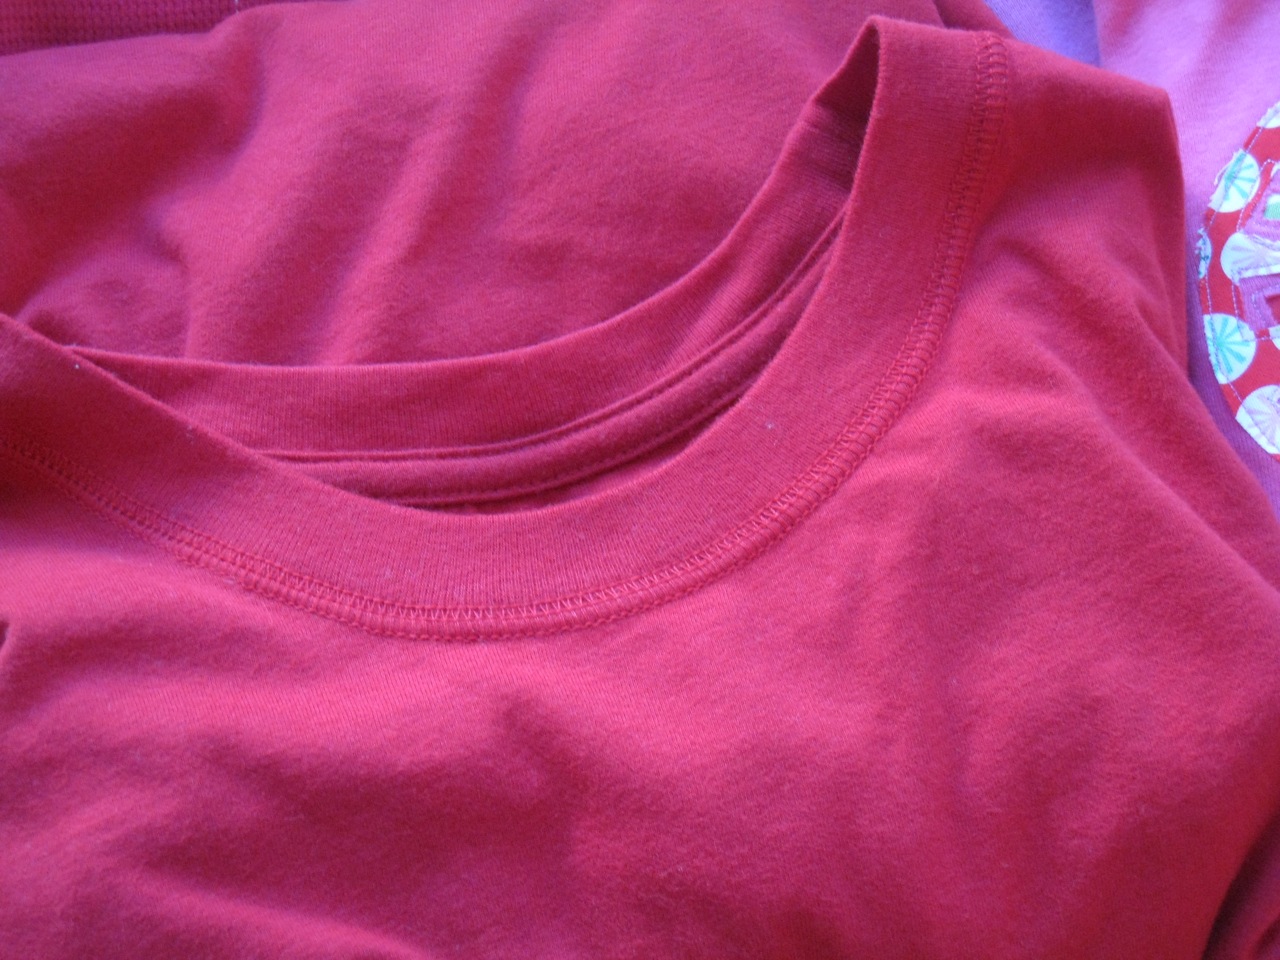
And the Dad shirt that started out plain, unadorned red? Sigh. Here it is:

I love this– it’s really graphic and retro Christmas-y instead of being cutesy and character-oriented. I think it would be adorable on my toddler!
I’m really, really new to sewing. Just to check– you can just do a straight stitch when stitching over your outline and over the applique? No zigzag needed? Thanks!
I just did straight stitching. You could use zig zag. The edges just outside the stitching might fray a bit, but the fusible interfacing will help keep that under control, and I don’t mind that as part of the look anyway. It’s an artsy choice. If you like the ziggity zaggity, go for it! I’d love to see what you make! -Susan
Thanks for this! I love it. I think I was going to make a dress for Christmas for my oldest daughter, but she really loves t-shirts. So this might be the answer!
Your site is lovely, I really loved this project and plan to have a baby girl now.
Thanks
Anna
looks simple enough… you made it very clear :) THANKS… i’ll be trying this soon!!
well, i thought i posted a comment – anyway
thanks for the tute! you made it look very simple.. i’ve never tried this, but i think i will SOON!!
I love both uses of applique. It looks really cute! Fantastic idea.
super cool idea..:) thanx a lot!
I posted about your tutorial on my blog and linked back. Great idea, very original! Thank you!
I love them! I’m planning on making some shirts to go with the christmas p.j. pants I’m working for my kids and these will be perfect. Thanks for sharing!
I love it, too, but I think I’m a little biased!
I am so going to make these as well! Thanks for the tute!
Oh, and you could make hubby a little Christmas bow tie or pocket square for fun. Or your last initial.
I think I’m going to make this with a bow tie cut out for the boys (maybe a full tie cut out). I have four girls and two boys, so I have to be cute matchy matchy somehow! Thanks!