So remember yesterday when we cut the pillow cover in half like this?:

Well, now we’re going to use that upper half to make something else. My pillow cover was a nice heavy weight twill that was just calling out to be used as bottoms. I initially thought a cute a-line skirt with slashed pockets, but “skirt” is always the first thing that I think of, so I decided to step outside the box. Yes friends, we’re making shorts! What? That’s different!
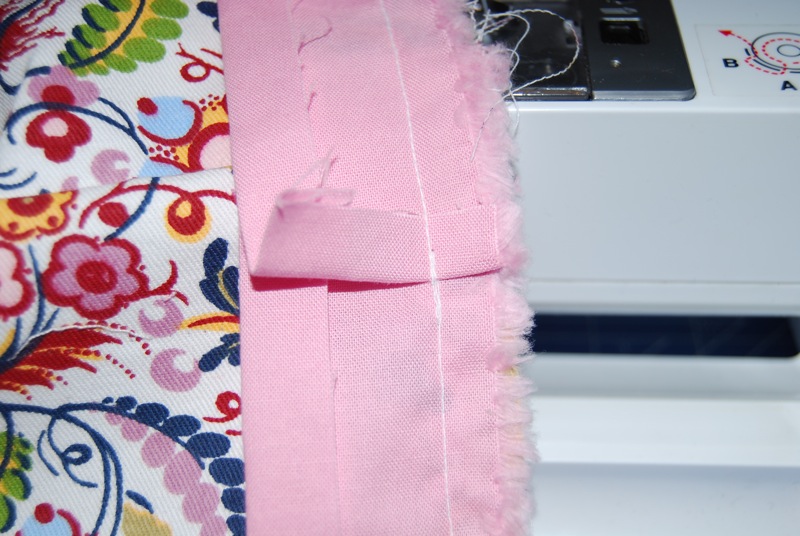
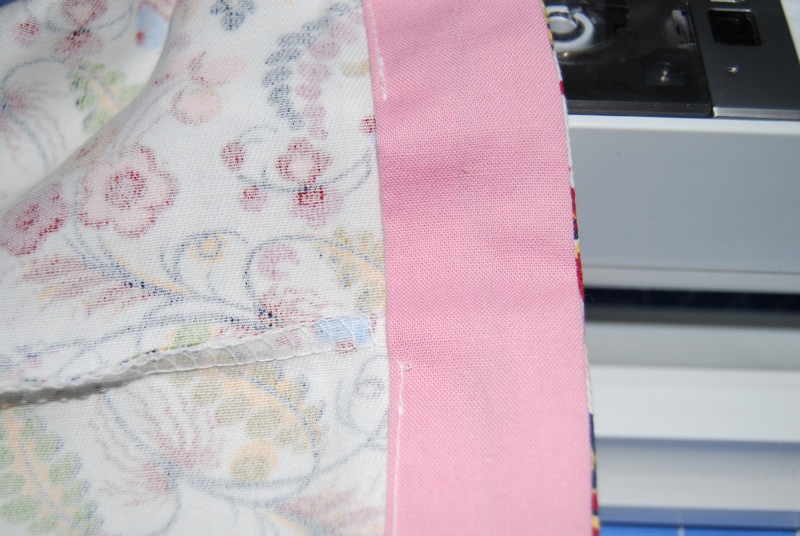
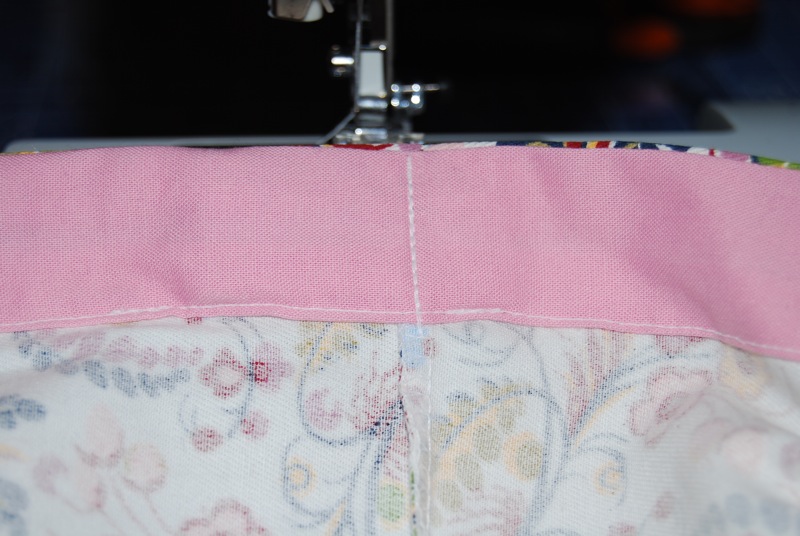
Now, if you have a pattern for kids’ shorts, you’re halfway done. If not, grab a pair that fits your kid (or will fit your kid when this tute is more weather-appropriate) and trace around them. Add seam & hem allowances and make sure you account for the stretch in the back of the waistband. Oh yeah, did I mention we’re making shorts with elastic in the back? That’s probably important information. No zip-flys here. Also, we’re making a waistband facing, so the top part of the pattern only needs a half inch seam allowance.
You’ll end up with a front piece and a back piece. The back piece should have a deeper…unngghh…crotch. There, I said it. I’m going to have to say it again, so brace yourselves. The best pointers I have for making a child’s shorts pattern are:
1. make sure the distance from the tip of the crotch curve to the waist is the same on both front and back pieces.
2. make sure the distance from the tip of the crotch curve to the hem is the same on both front and back pieces.
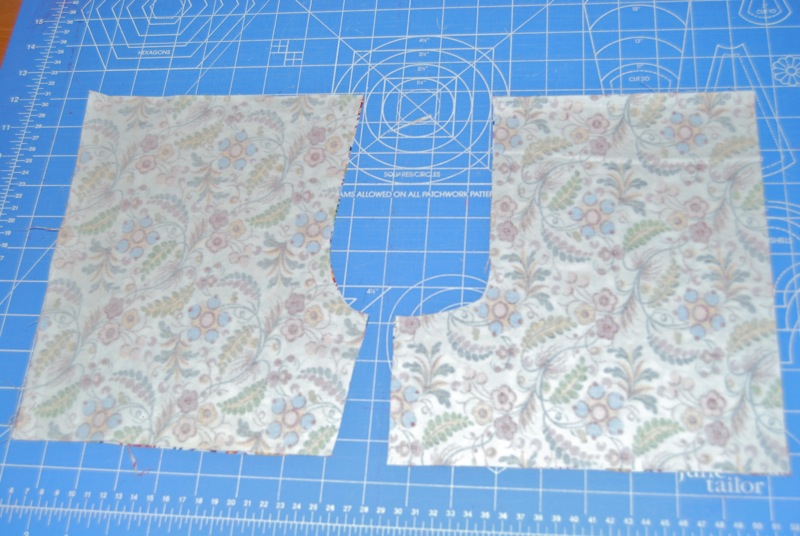
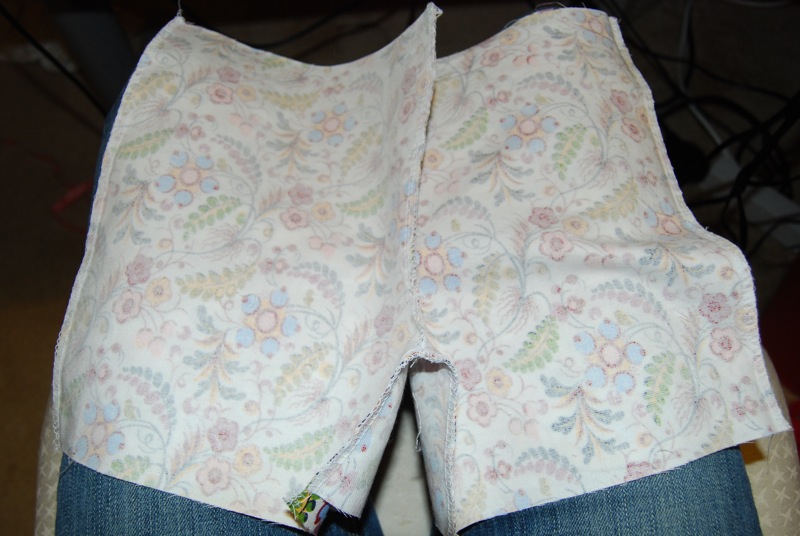
Here are my pattern pieces already cut out. The one on the left is the front. Cut one front piece, then flip the pattern over and cut another front piece. Do the same for the back pattern piece.

I personally love the Adrianna method of sewing. Mostly because I’m to lazy to do things the right way. Just wish I was on the Adrianna sewing talent side so it didn’t produce so many oops moments.
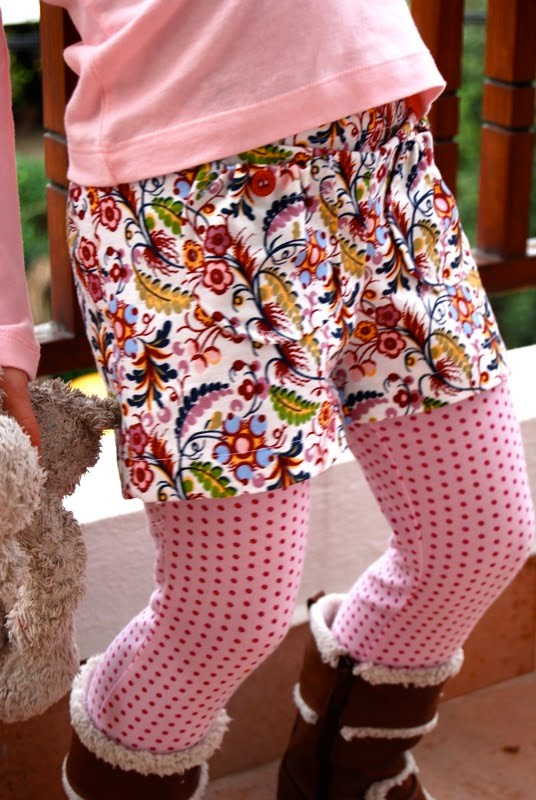
I love the shorts. Especially paired with polka dot leggings and furry boots!
OMHeavens! Cutest tute ever and I picked up some good sewing tips. Love your blog!