I’ve been thinking about it foreeeever. Screen printing. I’ve done the real deal before, and I’m not interested in gearing up with all of the real stuff. I’ve already got supplies all over my house. I might try something like a Gocco printer eventually, or one of the variants like a Yudu, but for now, it was time to try…. the Mod Podge way.
I started by reading this, and then I changed it up just a little to suit my OCDs. Bear with me.
You’ll need:
– an image to print
– paintbrushes, likely one small round for detail and one medium other for big areas
– sheer polyester fabric, the cheap curtain stuff, even 1/4 yard goes a long way
– duct tape
– masking tape
– acrylic paint or fabric paint
– a squeegee
– Mod Podge, I used the Matte version
– a frame, and here you have options. Choose one of the following:
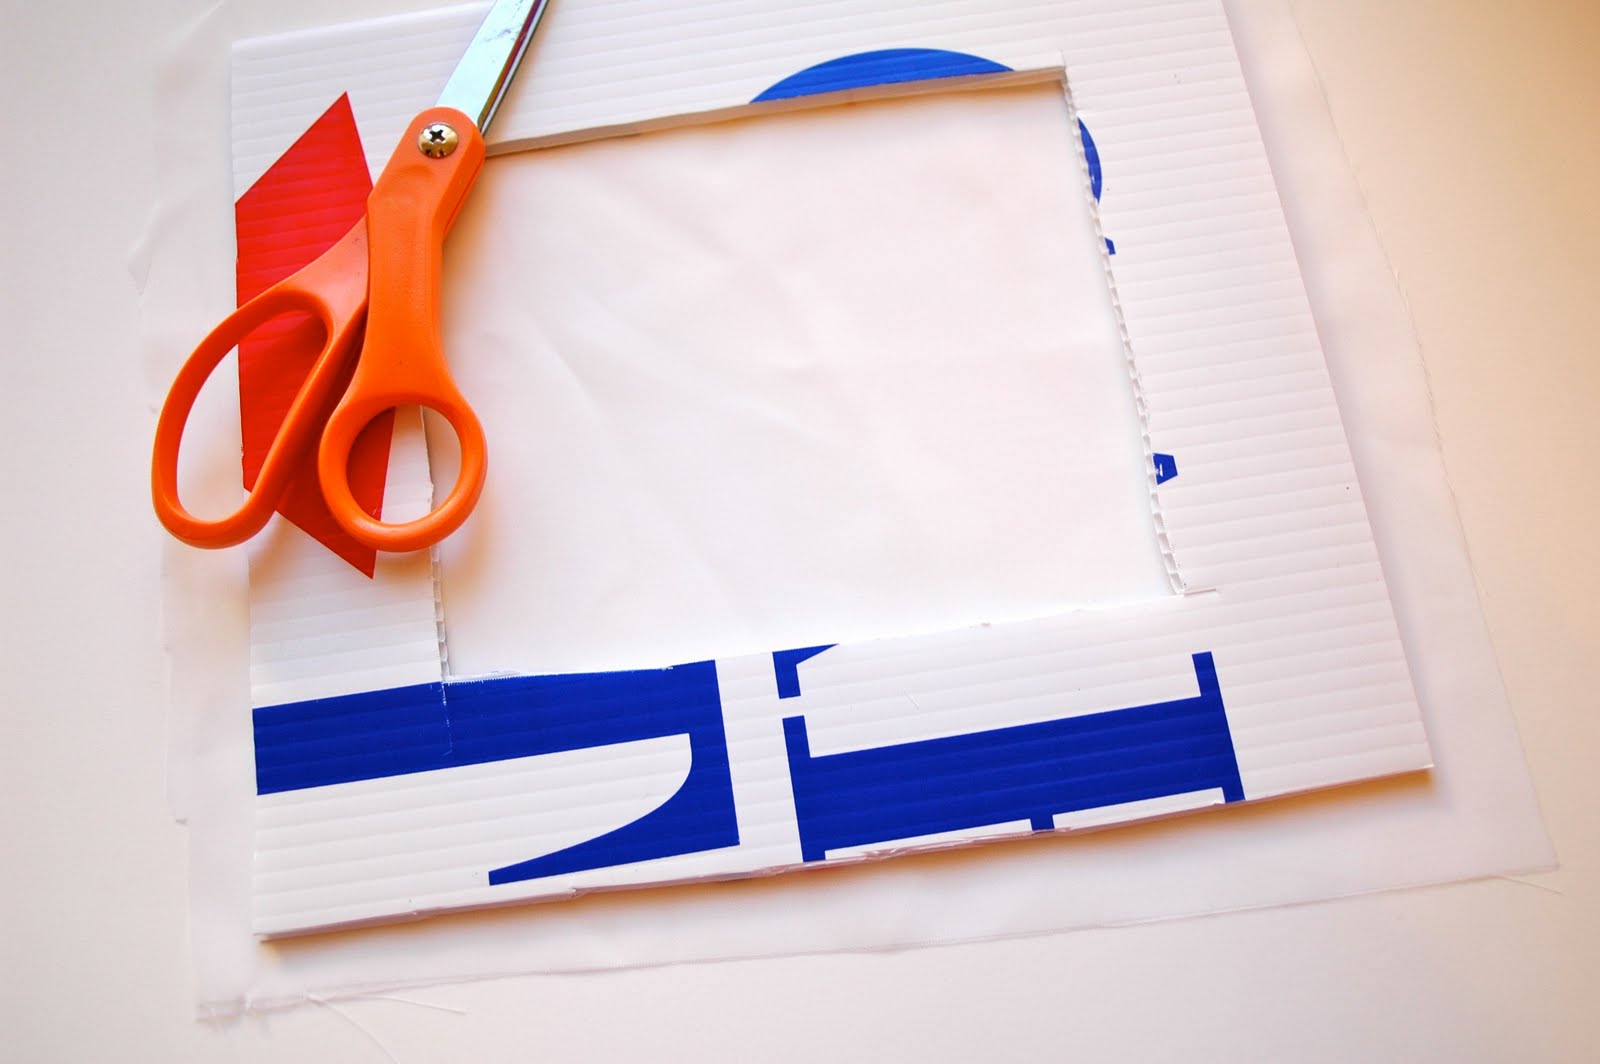
Option 1) Coroplast (the plastic corrugated stuff yard sale, political and realtor signs are often printed on)
Option 2) A nearly rigid plastic plate, I tried Vanity Fair Everyday
Option 3) 2 pieces of scrap chipboard, aka cereal box
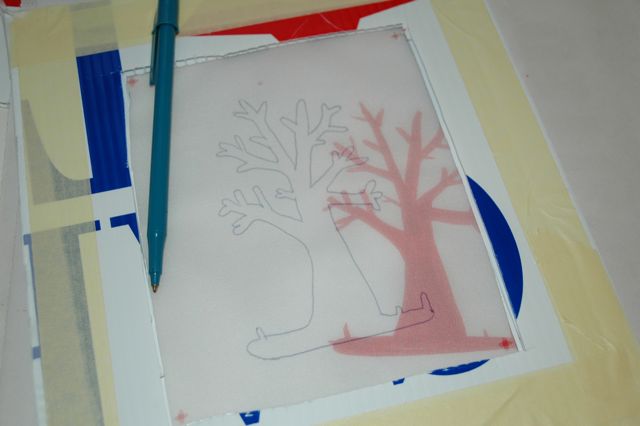
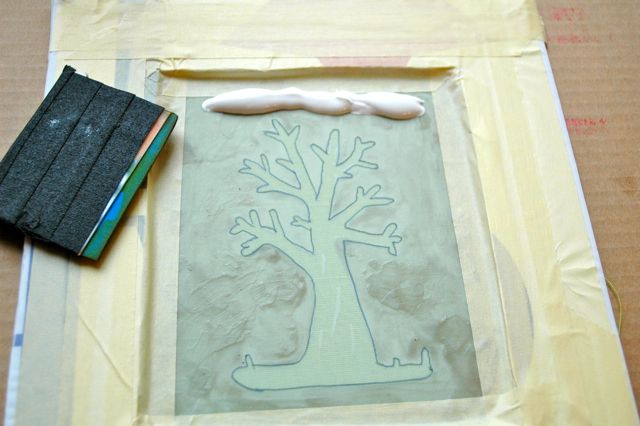
Select your image.
Make a frame. The coroplast option is the quickest and easiest, but the plate and chipboard options use stuff you’re more likely to have on-hand.
Make a hole in the coroplast large enough for your image plus some working room and enough material to maintain rigidity, at least an inch on each side. A plate works the same way, just… round.

If you don’t have coroplast or an appropriate plastic plate and you’re going the scrap chipboard route, place your image on top of two pieces of chipboard. Eyeball it to make a hole in the center of two pieces large enough for your image + a 1″ border all the way around. Cut the hole in both pieces. Using two pieces gives you the rigidity you need for a frame. Wrap it smoothly all the way around with duct tape. Both sides. You want the frame to be as waterproof as possible. Essentially you’re making a waterproof frame that costs pennies… and is custom-sized for your project.

Let it dry.
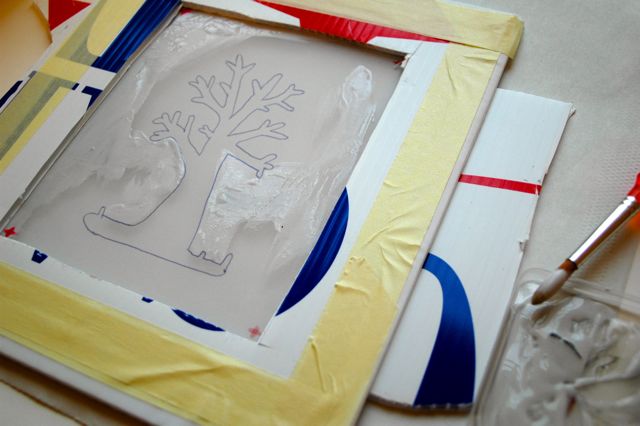
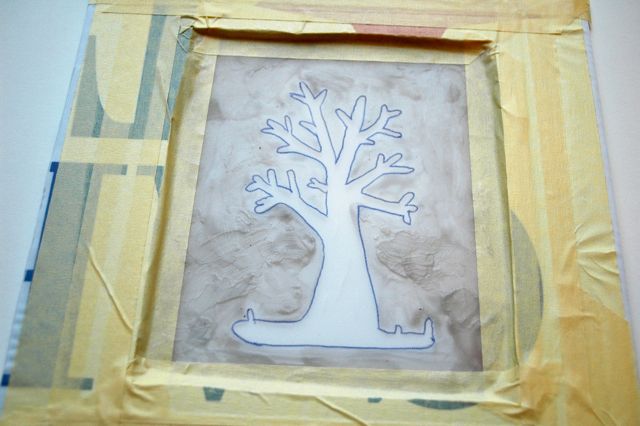
Seal the edges with masking tape. Makes nice clean edges so there’s no paint squishing out in a random corner.
Check for any bubbles that might have left holes and touch those up if needed.
Place a piece of cardboard under the piece of test fabric you’re printing on. Otherwise you’ll likely print through to whatever is behind your top layer. Have a stack of backing scraps and pieces to print on at the ready– if you like it and you want to keep printing, you don’t want your screen to sit long with paint on it.
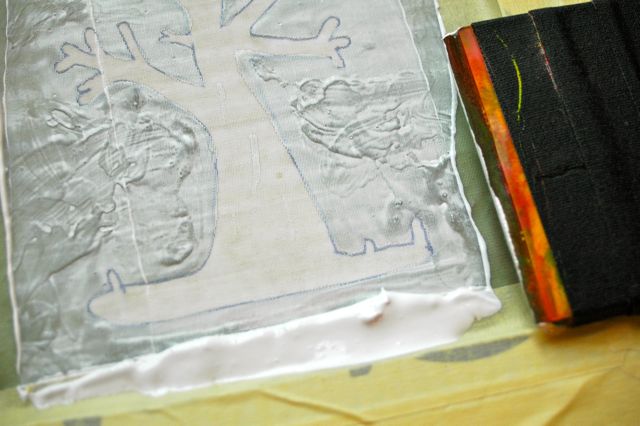
Pick up the frame and see how it looks! If there are any big gaps you can experiment with setting the screen back down. If it’s a little off, it could give you a distressy sort of look.

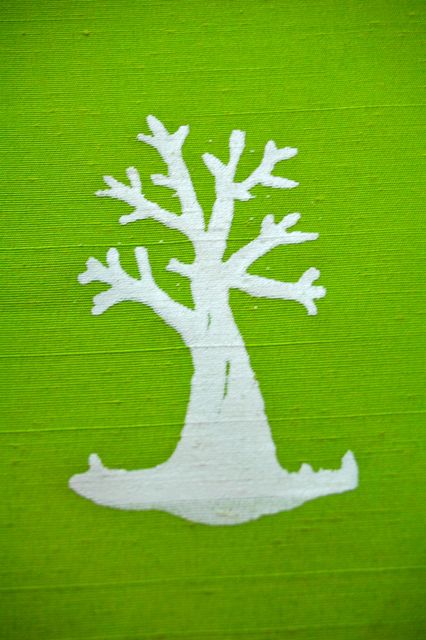
Let the print dry. Do lots more. DO NOT let your screen dry with paint on it. Unless you’re sure you never want to use it again. ‘Cause that’ll kill it dead.
The MINUTE you’re done printing, go directly to the sink and gently rinse your screen, rubbing carefully with a paintbrush or your fingertip where needed. Dry. Press between heavy books if it starts to warp. Reuse forever and ever. Swap prints with friends. Upload photos to our flickr group. We’d love to feature our favorites!
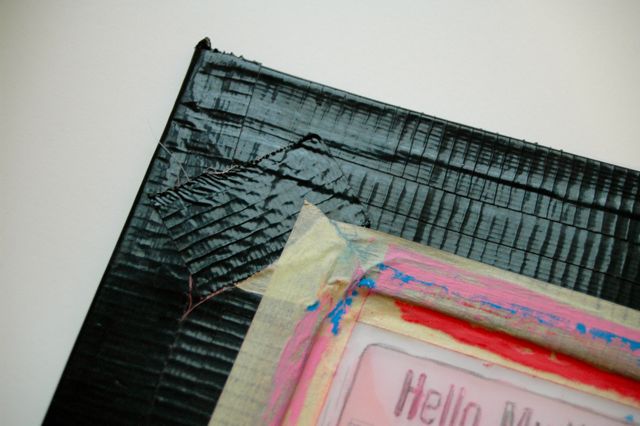
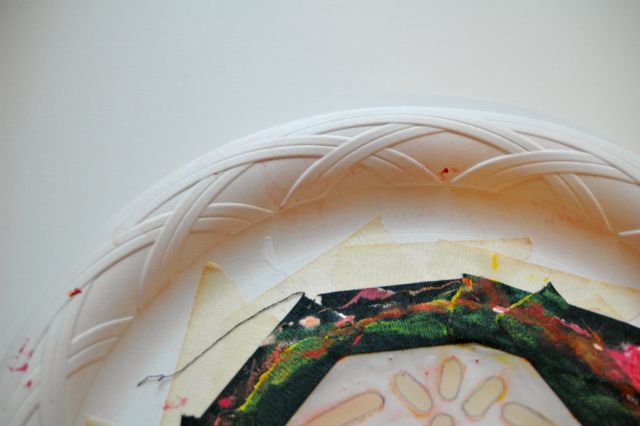
Oh! Here’s what the duct tape and plate versions look like:
And this, for me, is a jumping off point. More posts soon to show you what I’ve been doing with this– and… a GIVEAWAY! Warning: I’ve been working on this for a while now with no end in sight. You may get very, very tired of me and the screen print variations. So that’s why we’re working on a giveaway. A sparkly, shiny, fun distraction from my nerdiness.

AWESOME! I’ve seen a similar technique using screens and screen block paint, but I actually have the materials you used so I can try it without spending any money! Always a plus. Thanks for sharing, off to check out the squeegee post.
omgoodness, this is good stuff.
Wonderful! Love the yard sign screen! xo
thank you, thank you thank you! can’t wait to try :)
I just tried the screen printing. I used tulle which the holes were probably too big. But I think that it worked out pretty good. Thanks so much for the tutorial.
You can also use a wooden hoop. no random corners that way. :)
I use an embroidery hoop when I do it. I love this technique!
We are custom t-shirts great work…takes some time to do but great art.
Informative tutorial but i think use of video is better as to demonstrate a process video makes it easy…..