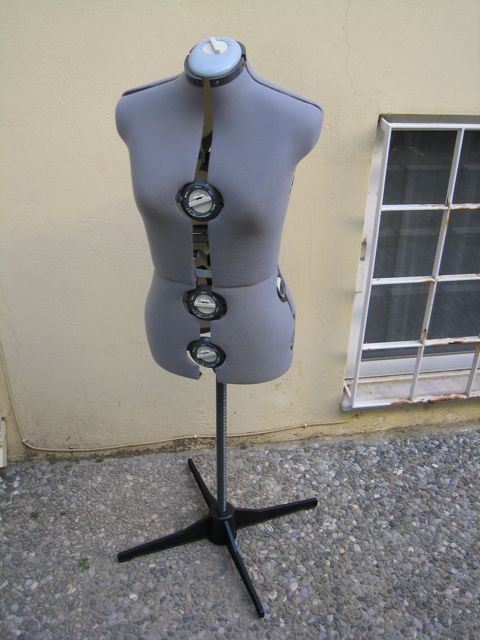
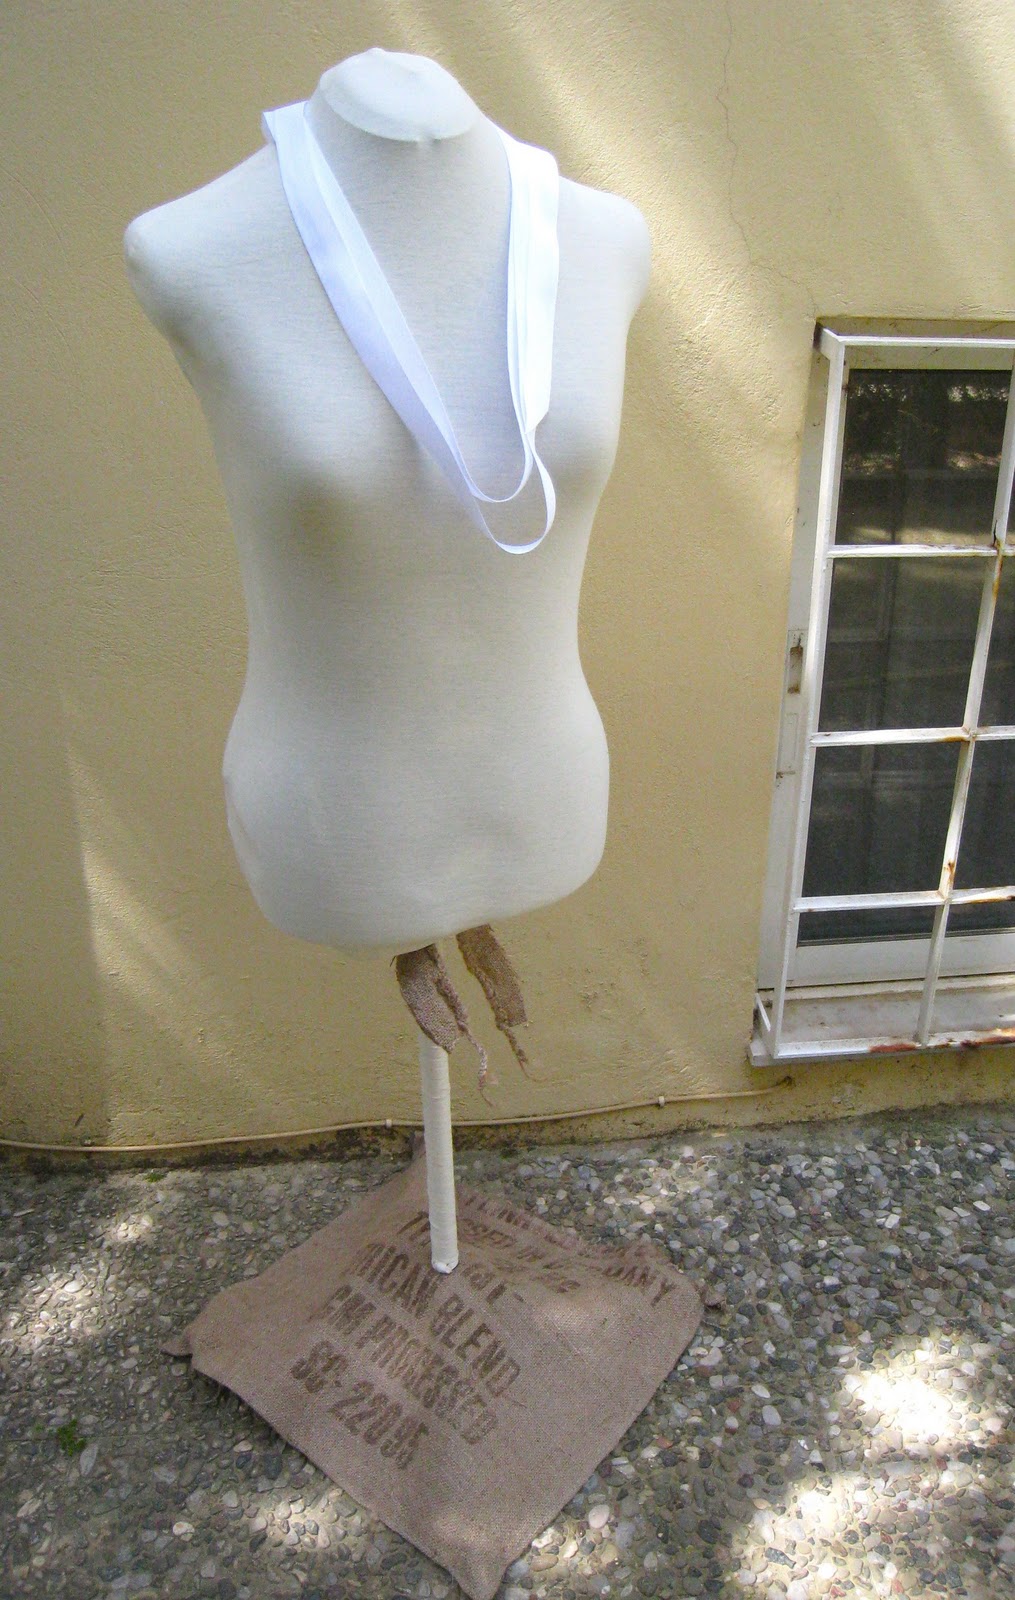
We’ve introduced Marjorie and Eloise to you before. Except they weren’t naked.
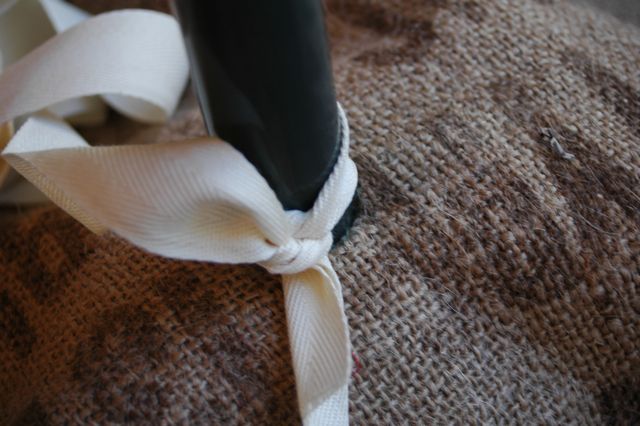
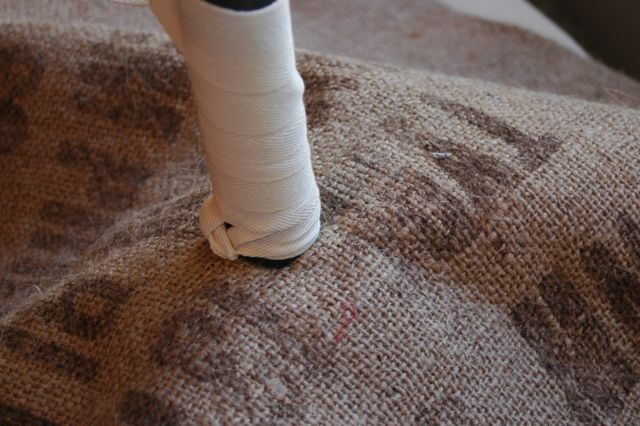
I started with the base by fusing a fat quarter of fabric to a like-sized scrap of burlap left over from Adrianna’s lamp shade. I just turned the burlap over on the edge and stitched them together to finish it. I added elastic loops on the corners and a hole in the middle so that the plastic base was covered. And it’s reversible.
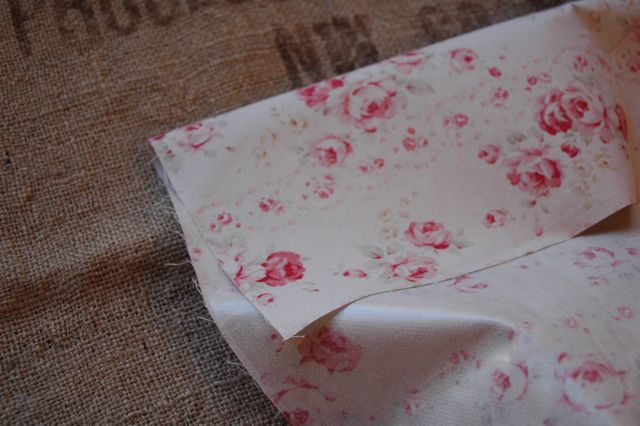
To make Marjorie’s new “skin”, I used some scrap knit and my serger. It took all of five minutes.
I cut two pieces of knit the same size. You want the knit to be pretty stretchy to hug the curves nicely, cutting it slightly smaller than the diameter of your form. Some spandex in the fiber content would be helpful. Here’s the shape you’re cutting, making sure the direction of the knit allows for stretching from side to side:

And here’s the shape you’re sewing. Place them right sides together and go all the way around the top and two sides. I used a serger, which made it super fast, but you can do it on a standard sewing machine using a stretch stitch. I left the bottom edge of mine unfinished, but you could easily add a casing for elastic or a drawstring if you like.


LOVE IT! I too am not brave enough to shell out the money for a professional dress form and would much prefer and adjustable one! In fact I saw one the other day on craigslist and didn’t jump on it because I thought it was kind of ugly….hmmm…I wonder if it sold…
Love and Hugs, Jess
theplannertheprocrastinator.blogspot.com
That’s awesome! I have the same problem of fluctuating body size (up and down), so a great solution to an annoying problem.
Oh. I ran and got a notepad and pen thinking this was about something else…
Haha–kidding of course. Great job–I hate the way the adjustable forms look too, but when I eventually buy one that’s the only kind I’d get.
Much better! What a great idea, I never thought of covering her up. But now I will definitely follow your example, thanks!
Love her new look! I’m getting dressform envy!!
I linked to your tutorial on Craft Gossip Sewing:
http://sewing.craftgossip.com/tutorial-dressform-cover/2010/10/15/
–Anne
This is fantastic! My “Marjorie” is even uglier – red with pink dials – and I’ve longed to come up with a simple way to make her fit into the decor a little better. You are marvelous! Thanks you for sharing!
love this idea mine is an old used one given used, If i covered her up I may be willing to leave her out where others can see. I will have to keep this in my todo list, perhaps in the new year.
http://www.ekoscraftylife.blogspot.com
EXACTLY what I was looking for! Thank you so much for posting!
This is great! I got a vintage cardboard form from a friend last summer, and padded her out (the form was built like a 14 year old girl–I am not), but now I’ve got all this ugly mummy wrapping to look at, and I was struggling to find a quick and easy way to cover her w/o spending money, and this is it, thank you for posting!
awesome! did a google search and found this… just what I needed! ; )
~Monika
Love it! My Mary needs a makeover and you provided me the right inspiration. Thanks!!
Thank you, thank you, thank you!! “Mrs. Beasley” was also looking too, well, industrial for me to imagine she and I had the same measurements. She is excited about her make-over and I am too. I think I’ll put a drawstring in the bottom so that if I (make that WHEN) I sew clothing for my niece, I can have one to cover “Mrs. Beasley” too. You are amazing!