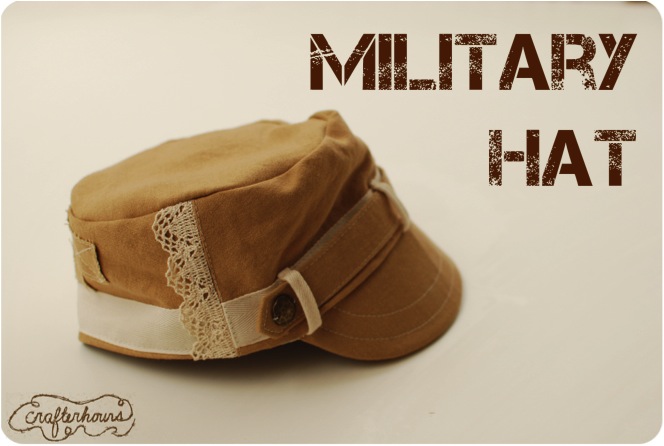
We’re almost done! A few more steps and you’ll have a fun military cap to astound all your friends with. For some reason, people just can’t get over the fact that you can make a hat. Just smile, nod, take a bow or two, and don’t tell them how easy it was.
First, sketch out a bill for your hat. The easiest way to do this is to lay your hat down on paper and eyeball how wide and deep you want your bill to be. Tracing the bill of another hat is a good option too. Once you have your width and depth marked, connect them with a curved line. If you’re drawing it from scratch, I recommend just drawing half and cutting on the fold so it ends up symmetrical. Tip: much like the rise of the hat, I found that the size of the bill doesn’t really change much from toddlers to adults.

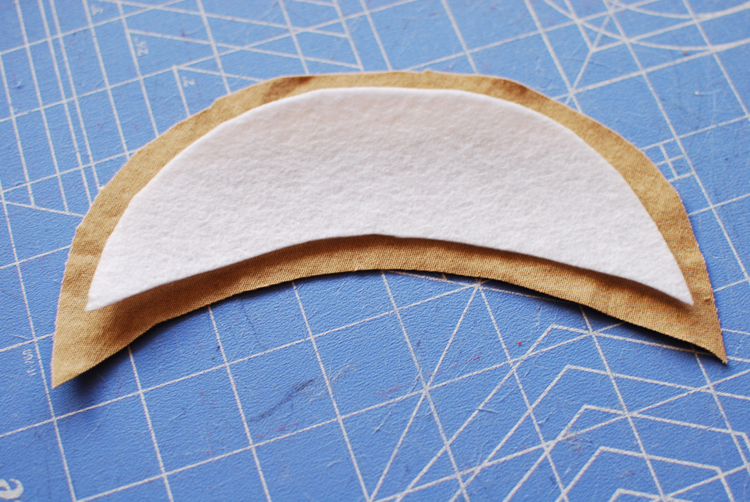
Once you have your bill pattern, cut out two pieces in your main fabric. Then cut out a piece of stabilizer .5″ shorter all around. In my first attempt, I used Peltex 70. Even though it’s an extra heavy weight stabilizer, I found the bill to be too floppy. For my final version, I used chipboard. Chipboard is found in lots of packaging. I used a piece that came with a stack of cardstock to keep it from bending in it’s plastic wrap. Basically you’re looking for something really firm (firmer than a cereal box) but still very thin and smooth. This is why you should never ever throw anything away. I bet those hoarders wouldn’t have a hard time finding chipboard. Oh, you could also try cutting out plastic from a margarine container or something like that. I bet that would work, and you would know that it’s 100% waterproof (though it would take a whole lot of submersion for chipboard to disintegrate.) Tell me if you use it and how it works.
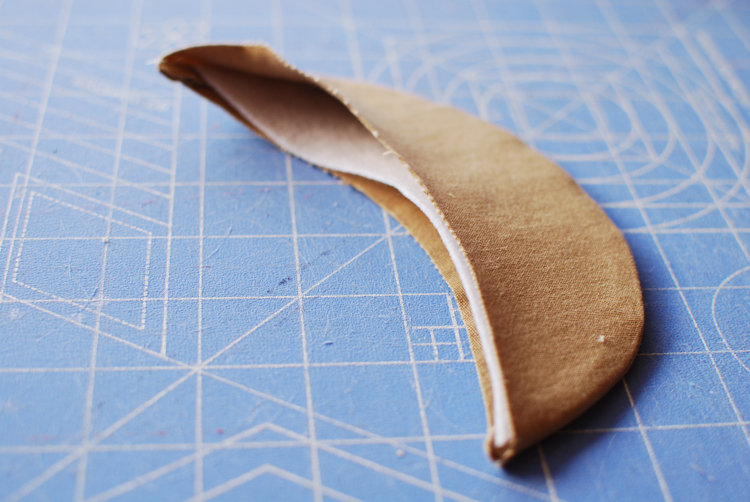
Sew your bill pieces right sides together, trim and clip seam allowances, and flip it right side out. Then stuff your stabilizer in there really well. Aw, it looks like a little pita pocket! I used to love when my mom made me those for lunch. Random factoid: the pitas here don’t have pockets :(
Now sew a line or two or seven of stitches around the brim of your hat to keep everything together and for some visual interest. Hm, I guess this is where you’d run into problems if you used plastic. Scratch that margarine idea. (yeah, I could’ve gone back and deleted that part, but now you’re seeing tutorial writing in action, edit-free, just the grisly raw material. It’s your lucky day.)
Pin your bill right sides together with the designated front of your cap.

Now, place your cap right side out and your lining inside-out. Pull your lining down over the top of your cap. Make sure the brim of the cap is tucked up between the two.
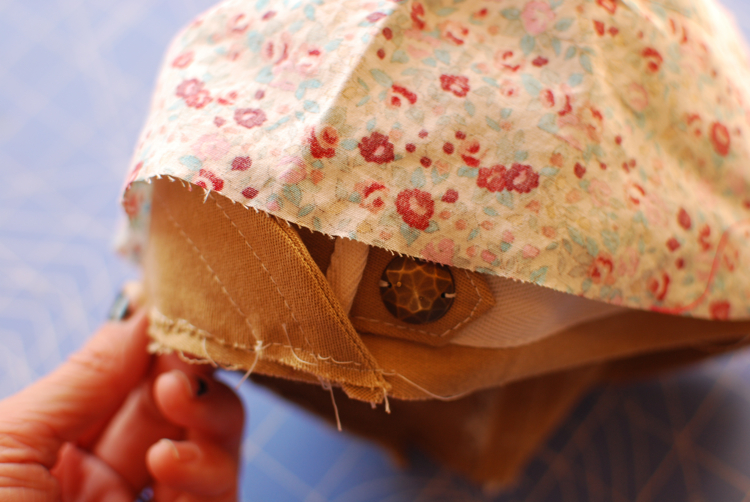
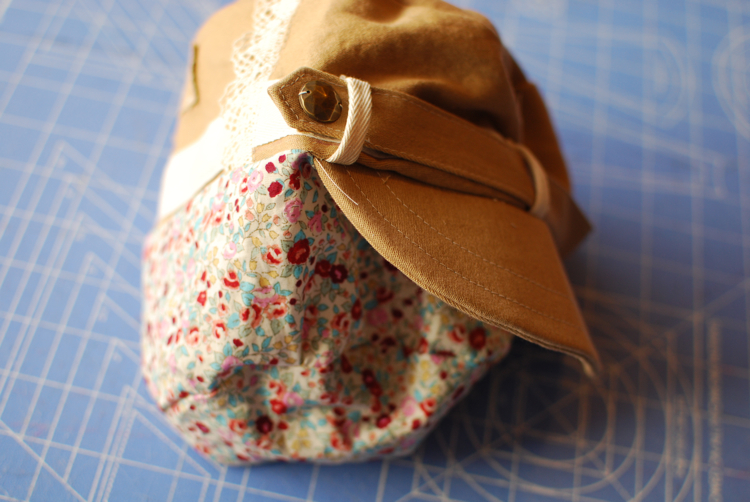
Using a .5″ seam allowance, stitch all around the bottom circumference of the hat, catching the base of the brim as you go. Now use that hole you left in your lining to pull the whole thing right side out. It’ll look like this:
Sew the hole in the lining shut either by hand (if you’re a perfectionist) or by machine (if you’re like me and know that nobody is ever going to see it so it doesn’t matter if there’s a couple inches of barely visible seam.) Then stuff the lining up into the hat, smooth it out nicely, and topstitch all around the lower circumference of the hat once again to keep everything in place. My stitches are camouflaged in my band of twill tape, but they’re there, I promise.

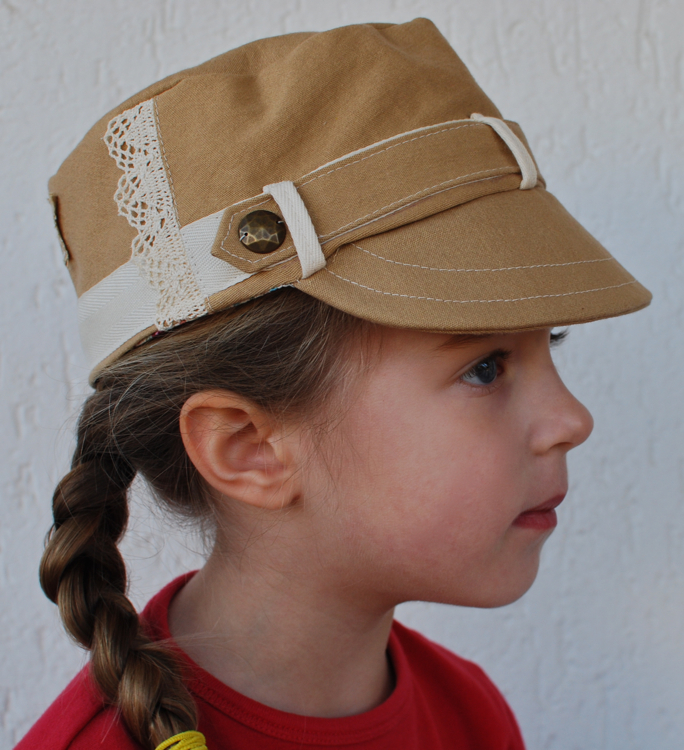
And guess what folks, you’re done! Wahoo, you made a super cute hat! Pat yourself on the back! Now stop patting and go add pictures of your creations to our flickr page so we can all give you a virtual pat on the back too!

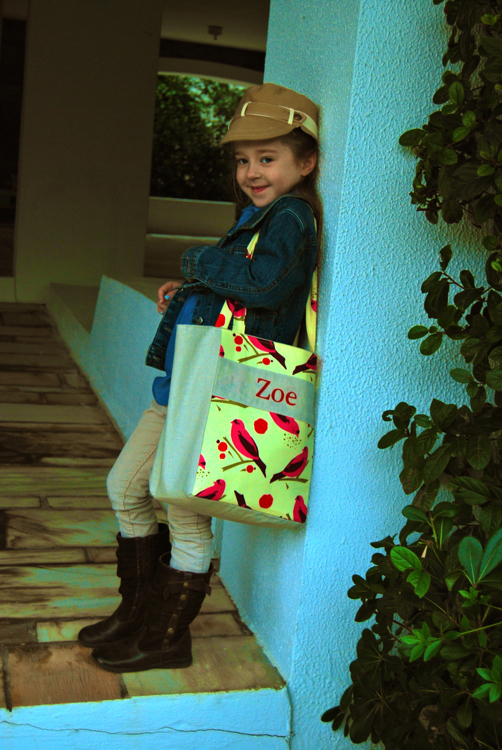
Here’s my girl, all ready for her first day of school with her mama-made hat and bag! (she’s totally going to resent me and buy everything from Forever21 and Claire’s when she’s 15, right?)

Such a great model! What do you pay her? She likes it or your bribe her with pizza or candy? With my three, whoever smiles the best often gets something first.
That hat it super cute, too. I love the flowers inside and the little lace detail. I bought fabric yesterday! I got such a high from it. I feel like just owning fabric and having my sewing machine in my procession, my soul is at peace.
It is SO flippin adorable! What a clever lady you are!
VERY cute and your model is awesome!
This is is one of the best tutorials! So Easy to follow. I have officially put this in the “must make” folder! ~ tai @ taidye original
Awesome! I can’t wait to start my own! Your model is a cutie! I bet she loves her new hat and bag!
Hooray you were featured today! I’d love if you stopped by and grabbed a button!
Amanda
http://www.todaystoptwenty.blogspot.com
This was such a great, detailed tutorial!! I love it – I can’t wait to make one!!
That is a very, very cute hat! Can’t wait to check out the rest of the tutorial!
This looks very similar to one Jonie at Just Between Friends did last week.
http://easyascutandpaste.blogspot.com/2011/01/skirt-to-hat.html
Love the lace!
Great project ~ have you checked out the free projects, tutorials, and other sewing stuff over at http://www.WeAllSew.com? I think you’d enjoy!
Adorable! Thank you for sharing.
I featured this on my blog today!!!
http://www.kimboscrafts.blogspot.com
This comment has been removed by a blog administrator.
Awesome tutorial! I’m totally gonna try making one to suit my baby boy. It’s so hard to find cute boy hats where I’m from apart from the usual baseball cap ones. THANK YOU for sharing!! :))