
I have nothing against kids getting bored. In theory. Bored people have created some seriously amazing things. But in practice, as a mom, it turns into a form of torture. As soon as I sit down to get something done* they’re asking for snacks, coloring pages, cardboard boxes, trips to the pool, trips to Paris,…
If you see a seam ripper… FREE PRINTABLE
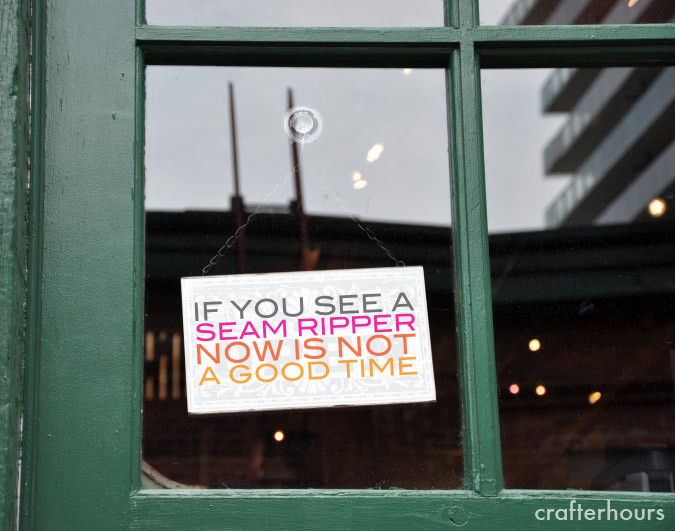
I posted this seam ripper warning sign this morning on Facebook and there were lots of replies along the lines of “I NEED THAT!” Come to think of it, I need it too. With 3 kids who all now have vocabularies, I’m regularly impressed with how they can all use their voices, directed at me, at the…
Bangkok Fabric Shopping
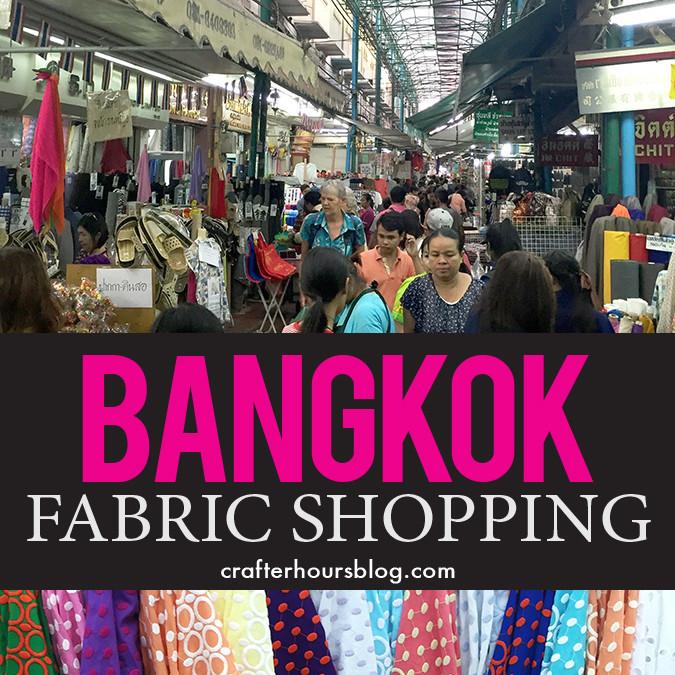
A few weeks ago I got to go check out what will be our new home – Bangkok, Thailand! We are headed over in June and especially now that I’ve gotten to visit – I really couldn’t be more excited. I’m going to jump into the fabric shopping now, but at the end I’ll talk a…
How to Make (a LOT of) Ribbon with a Serger!
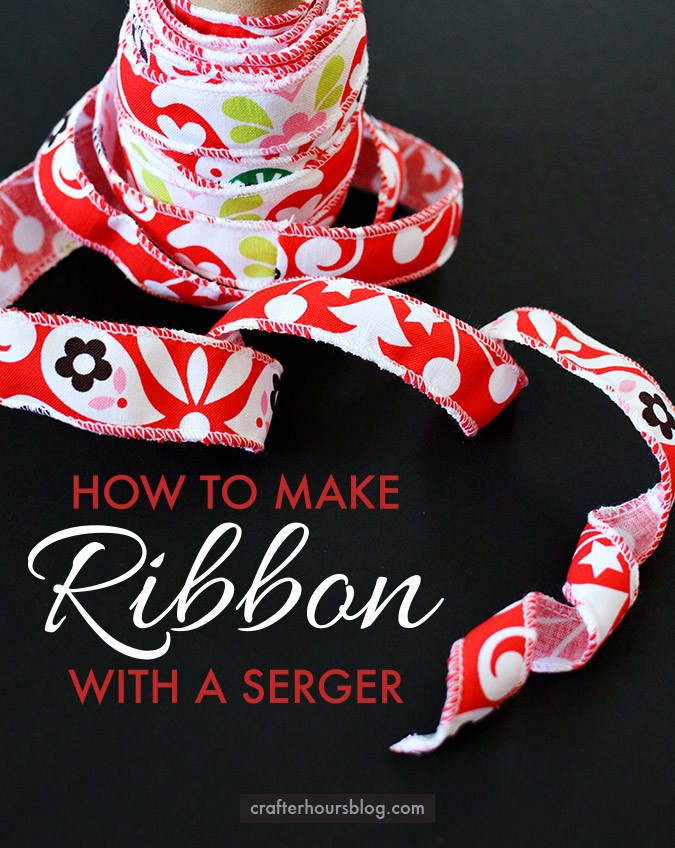
I’m willing to bet that there are a few people out here who, just like me, have cute holiday fabric in their scrap bins they aren’t sure what to do with. I realized that with just a 9″ by 44″ wide cut of fabric, you can make ELEVEN yards of 1″ wide ribbon in 10 minutes…
Merry Kissmas! Free Mistletoe Gift Tag Printable
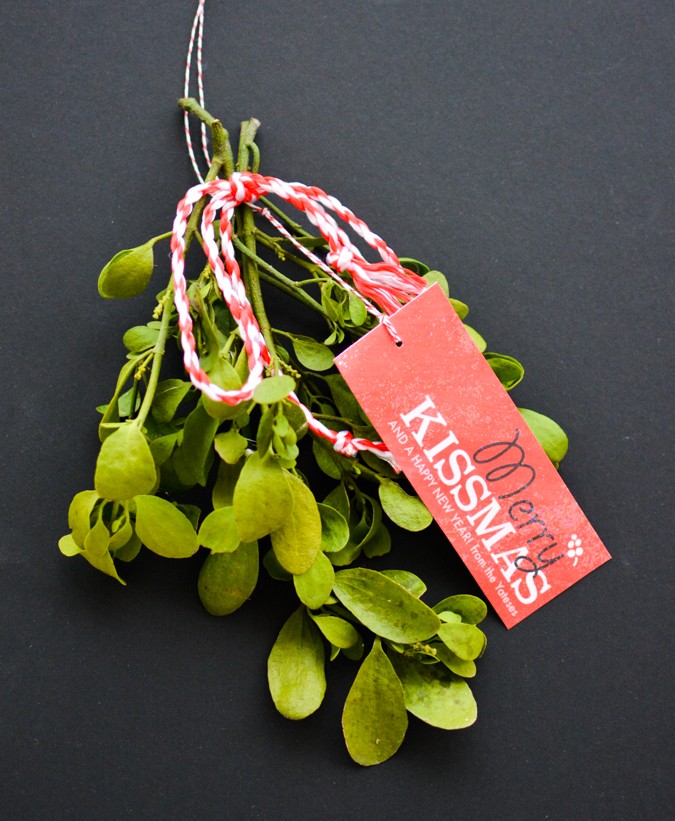
It’s the most wonderful time of the year – MISTLETOE TIME! We’re bundling it up for friends and neighbors this year and I’ve made a free printable tag so that you can give it too! My mom always pointed mistletoe out to me as a kid. And I was fascinated by it. What is this…