I’ve always liked the idea of french memo boards, but I’ve never gotten into the patterned, busy ones. I like solid and muted. I feel like the things you’re putting ON the memo board should get the attention, rather than the board itself. Like, if the background is all crazy then I’ll miss the DON’T FORGET SOCKS FOR THE PLAYPLACE note. Because, really, how embarrassing is it to show up at the playplace without socks? Not to mention gross. I mean… I’ve never forgotten socks, but I’ve heard stories.
So with my new wealth of twill tape I decided I wanted a memo board that was clean and simple. I’m also thinking about the fact that in just a few months I’ll be in a new house. And I have no idea what that house is going to look like. So let’s keep things clean and simple and then it’ll fit with almost anything. Yep, that’s what I’m thinking. But if you know exactly where this will go and what to match it to with colorful loveliness, then by all means, go crazy.
If you’d like to make one for yourself or for a housewarming gift or for, maybe, a significant other who needs a spot for honey-do lists, or sock reminders, you’ll need:
– A frame (this approach is good up to about 12″ x 12,” I’d say)
– fabric that’s at least an inch longer & wider than the backing for your frame
– bristol board, cardboard or posterboard (white if your fabric is at all sheer) that’s thin enough to sew through but not too floppy to stand up to all of the glorious things you’ll be memo-ing
I started by spray painting a frame white. Nothing too tricky about that. If yours is already a color you like, you’ve skipped a step. Two points for you.
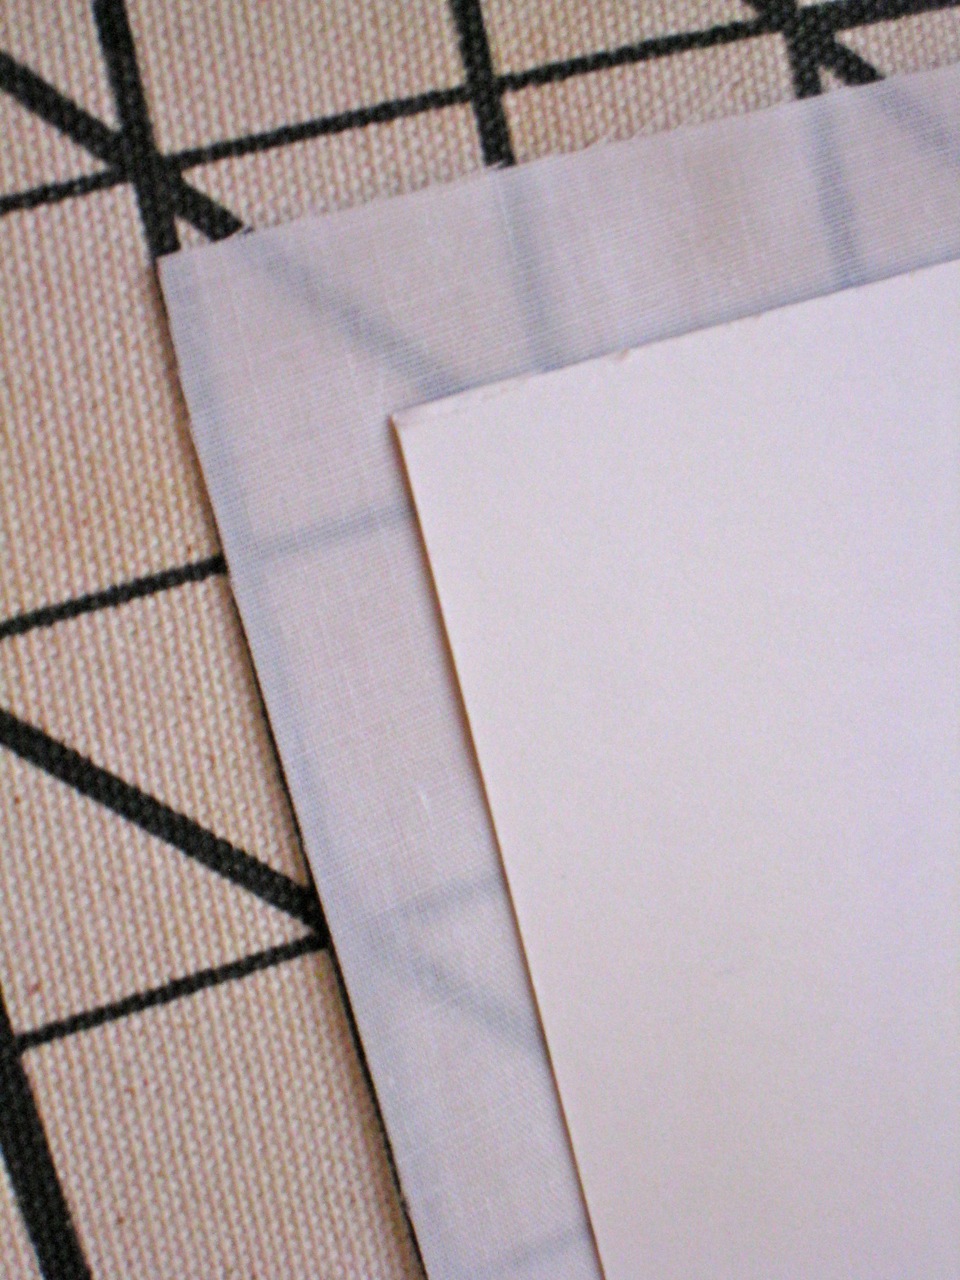
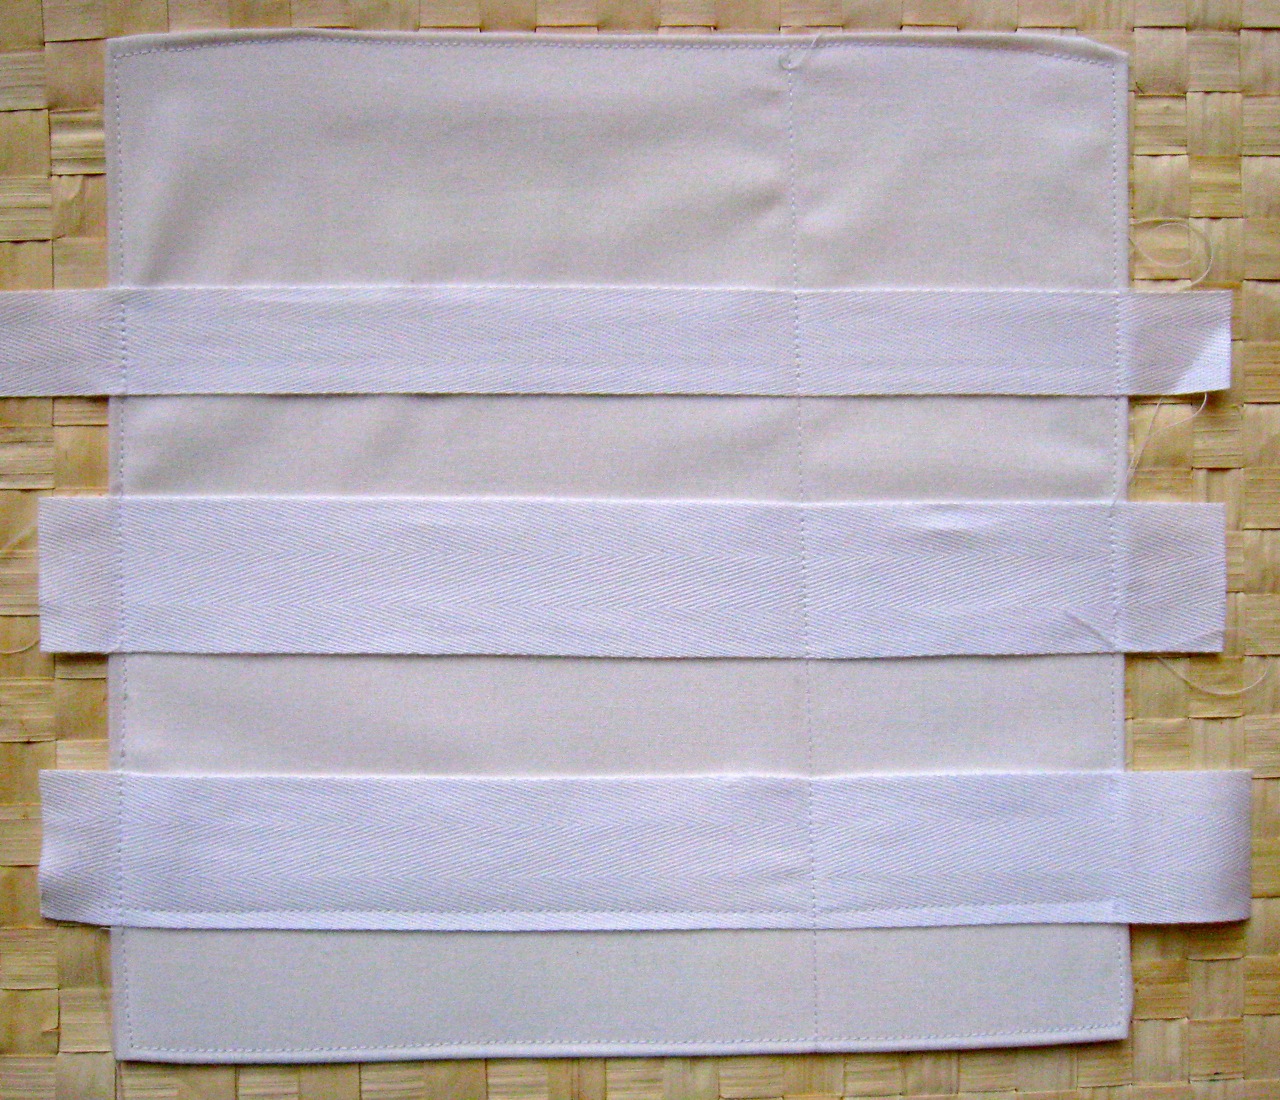
I trimmed a piece of bristol board to fit just inside the frame’s cardboard backing. I laid that down on my fabric, folded the edges over the bristol board and ironed the edges down. I like ironing things. I like nice and neat. You can wing it if you like. You can be all wild and crazy and iron-free. I won’t tell.
Stitch the fabric to the edge of the board all the way around.
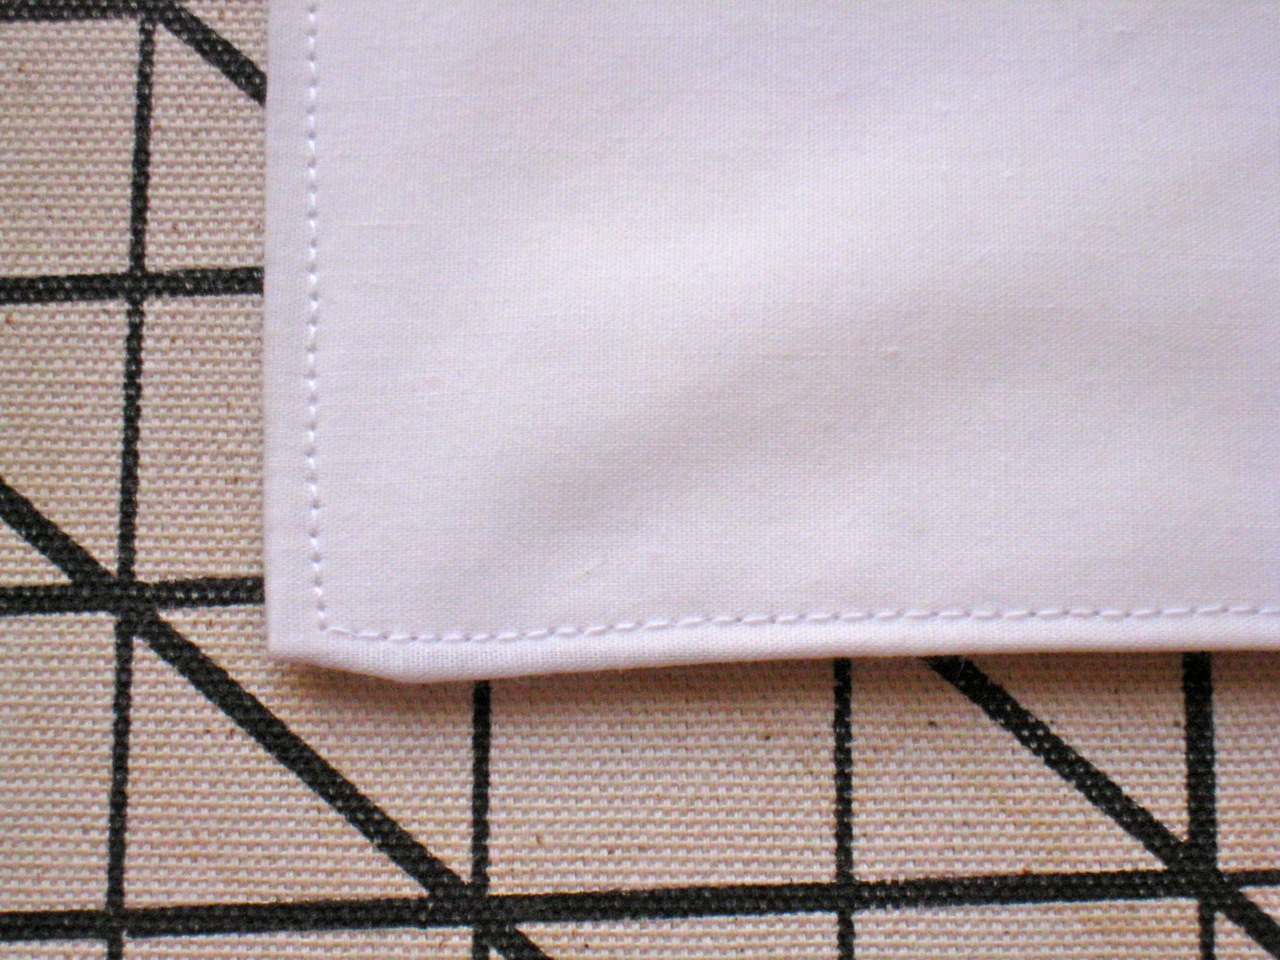
Yep, just like I said. All the way around.

And then I started placing my twill tape. Some strips I stitched across the bottom to make a little horizontal ledge.
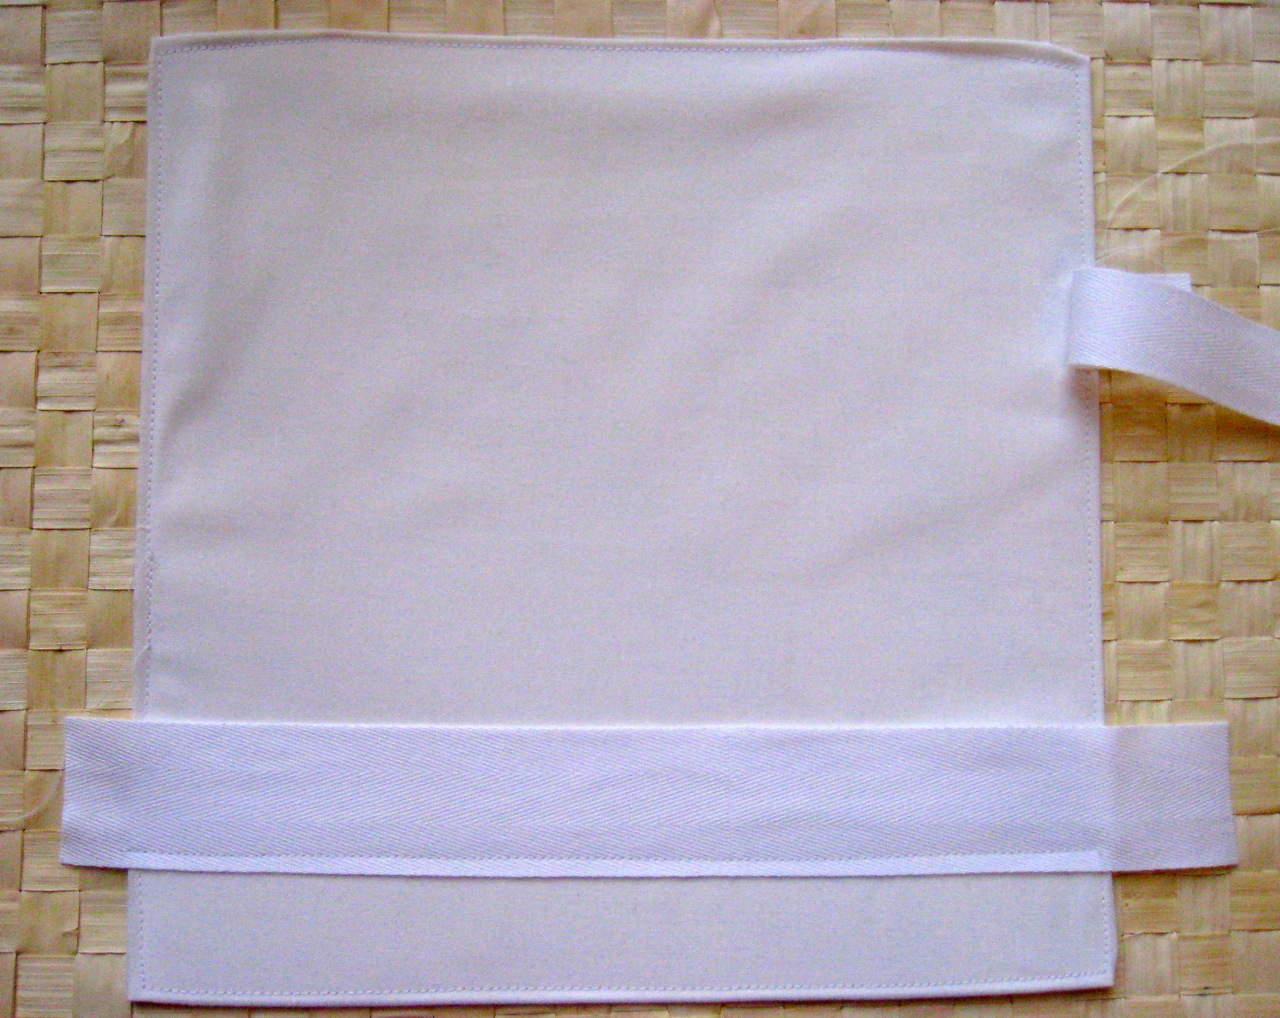
And others I stitched on the sides and then occasionally through with a vertical line.
And a pen loop at the top. Because any time I can put a pen where my kids can’t reach it, it’s a really really really good thing. And any time I can find a pen when I need to write a phone number down is a really good thing too. But the part where the kid can’t get it? Awesome. Until the kid figures out how to move an object to climb on. But that’s another blog topic entirely.

When I was satisfied with the number of ways I could stick and slide things in, I dropped the insert into the frame, folding the loose ends behind. I may or may not have taped them neatly. But I’m not saying you have to. Craftiness is all about making things to suit your own sensibilities. And OCDs.
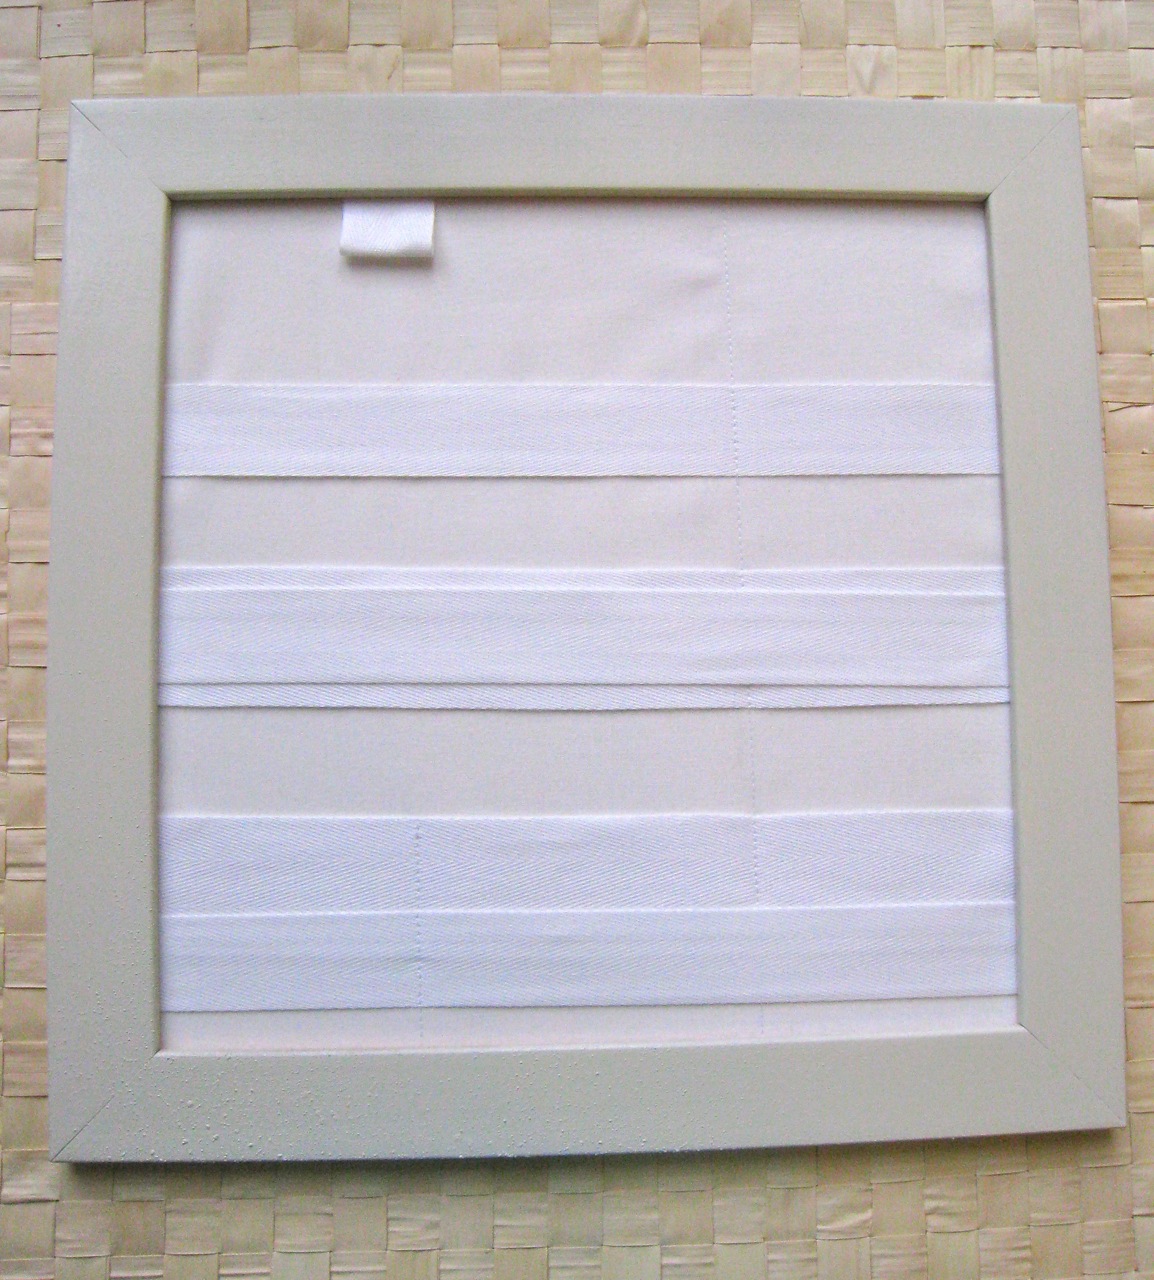
And speaking of suiting myself, here’s my finished product.
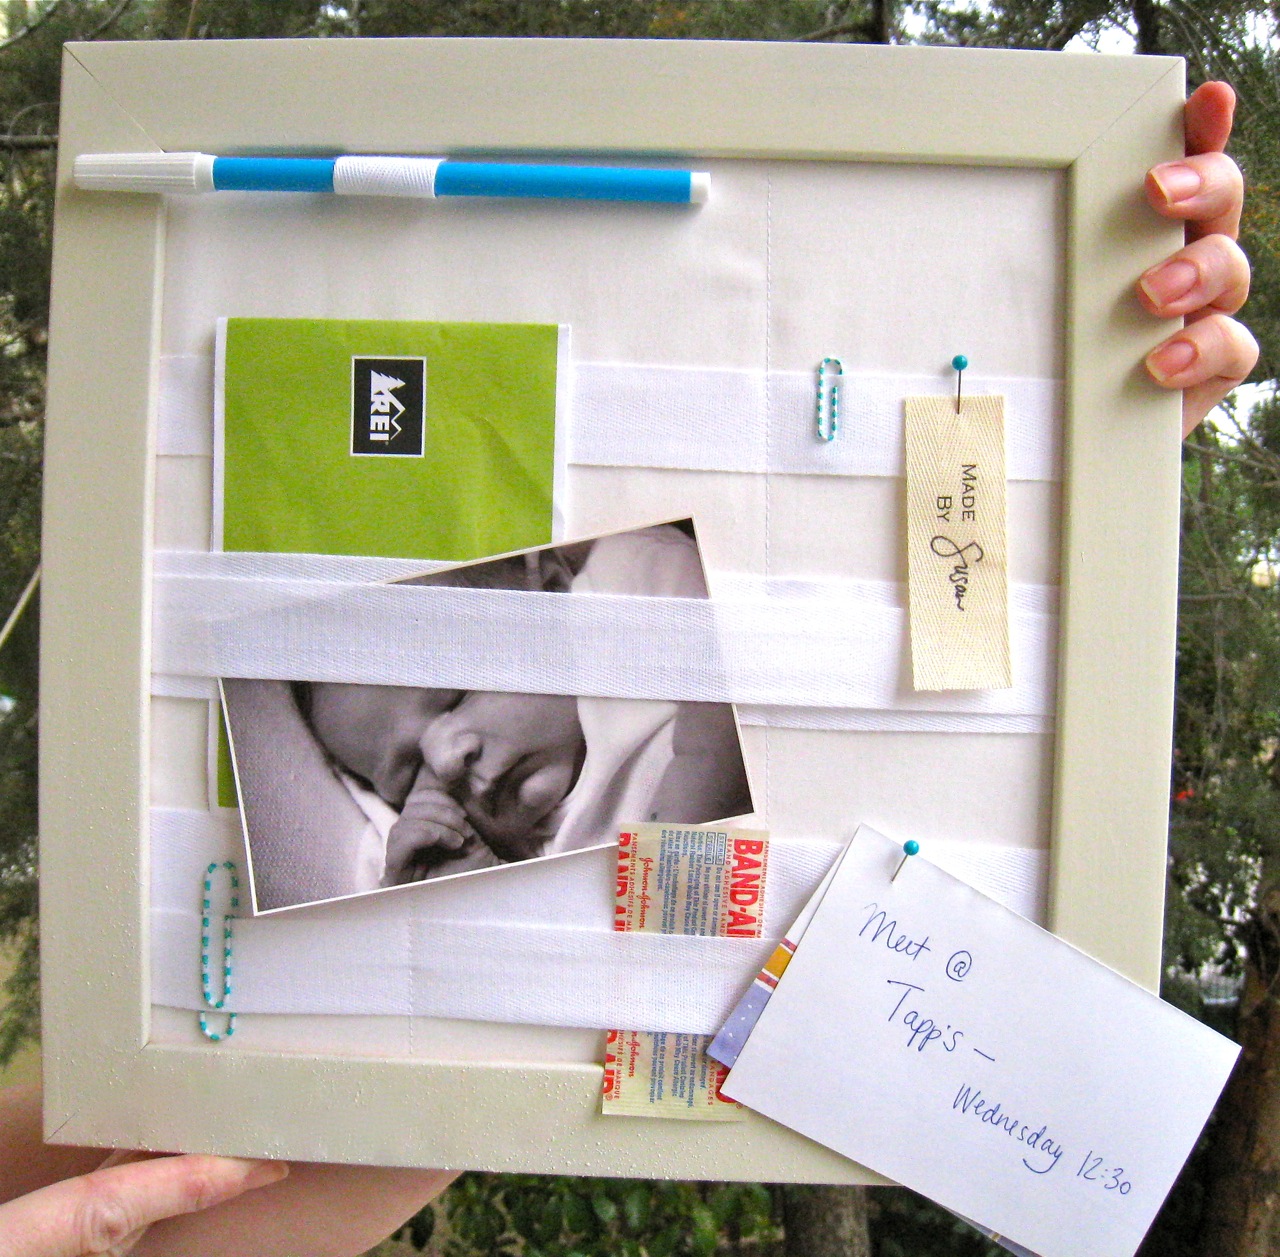
Clean and simple, yes? Costs next to nothing. I think I need several of them to hang in a grouping in my new kitchen. I’m just going to assume there will be room to hang them.

Perfect. I love the pen loop. I can never find one when I need it. I think the French Memo board would also work well in the sewing room, where I can never find anything.
This comment has been removed by the author.
The pen loop is brilliant!
alright, this is awesome! I must make myself one of these sometime