crafterhours

sleeping babes. crafting moms.

  • Tutorials
  • Patterns
  • Shop
  • Contact
  • Follow

Twill Tape Week: Organiz-a-trio

April 13, 2010 By crafterhours 2 Comments

What a fun word. Organiz-a-trio. You saw it here first, folks.

Three ideas for organizing your world with twill tape. Because, really, these three areas are things that needed some organizing at my house… maybe yours too? Um… sorry… these aren’t the most beautiful projects ever. More practical. More function than form. I hope you’re cool with that. So let’s check it out.

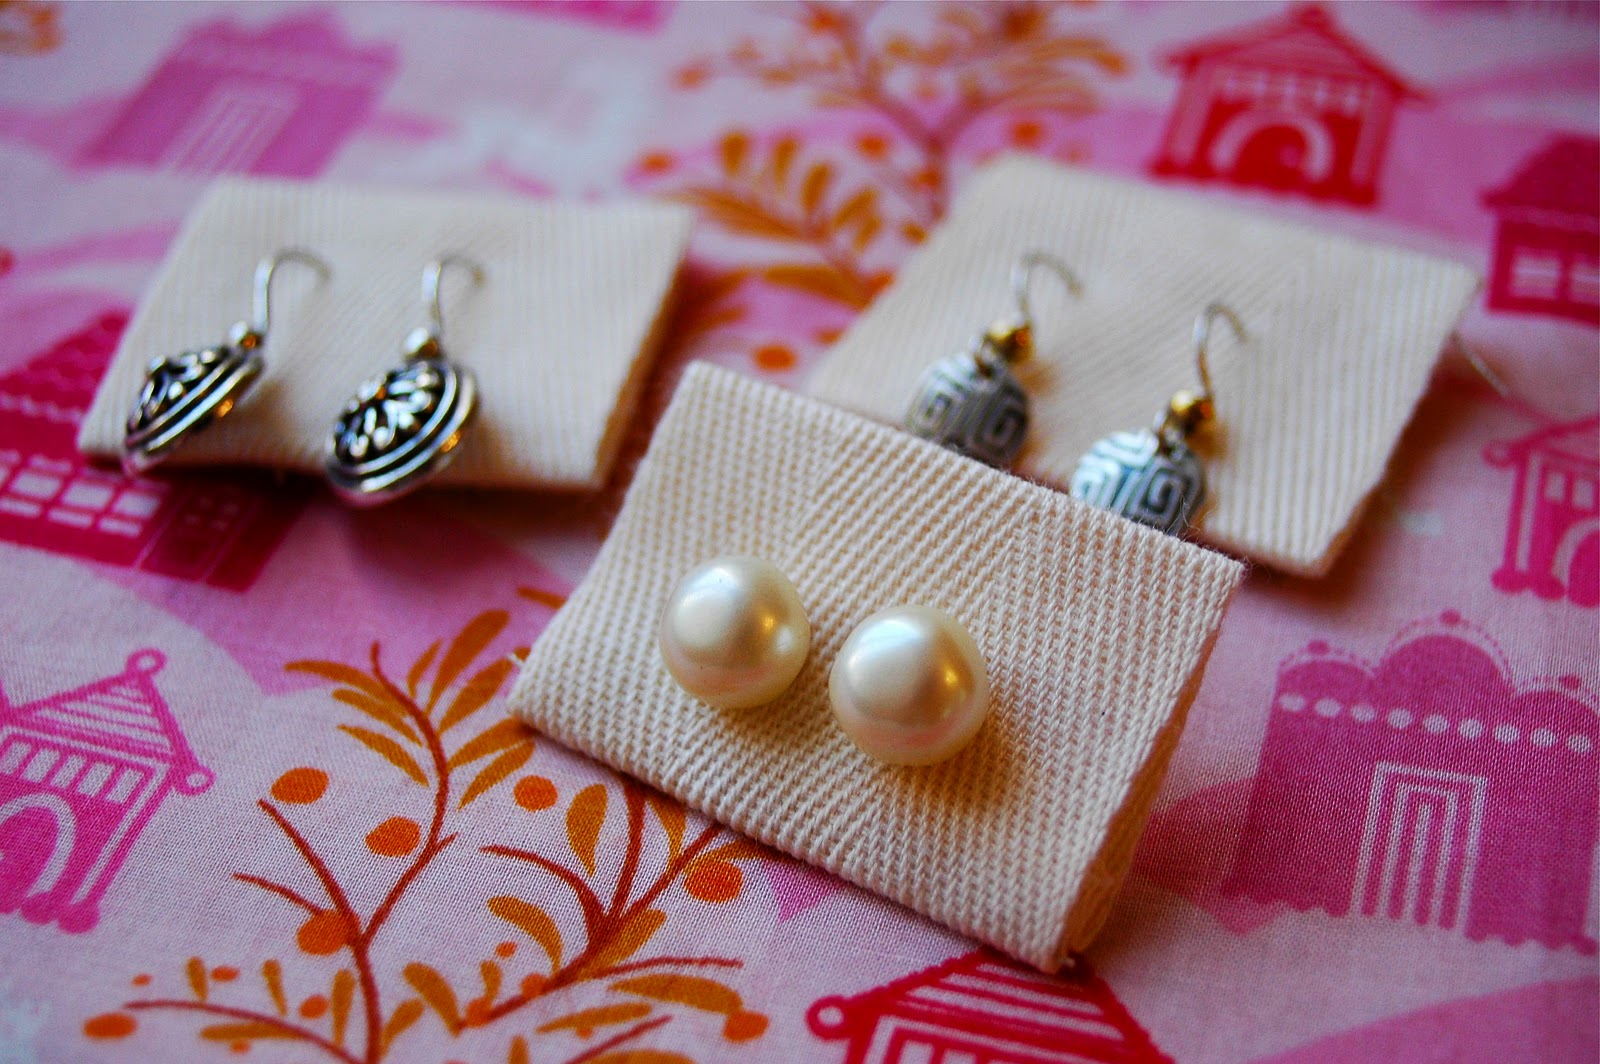
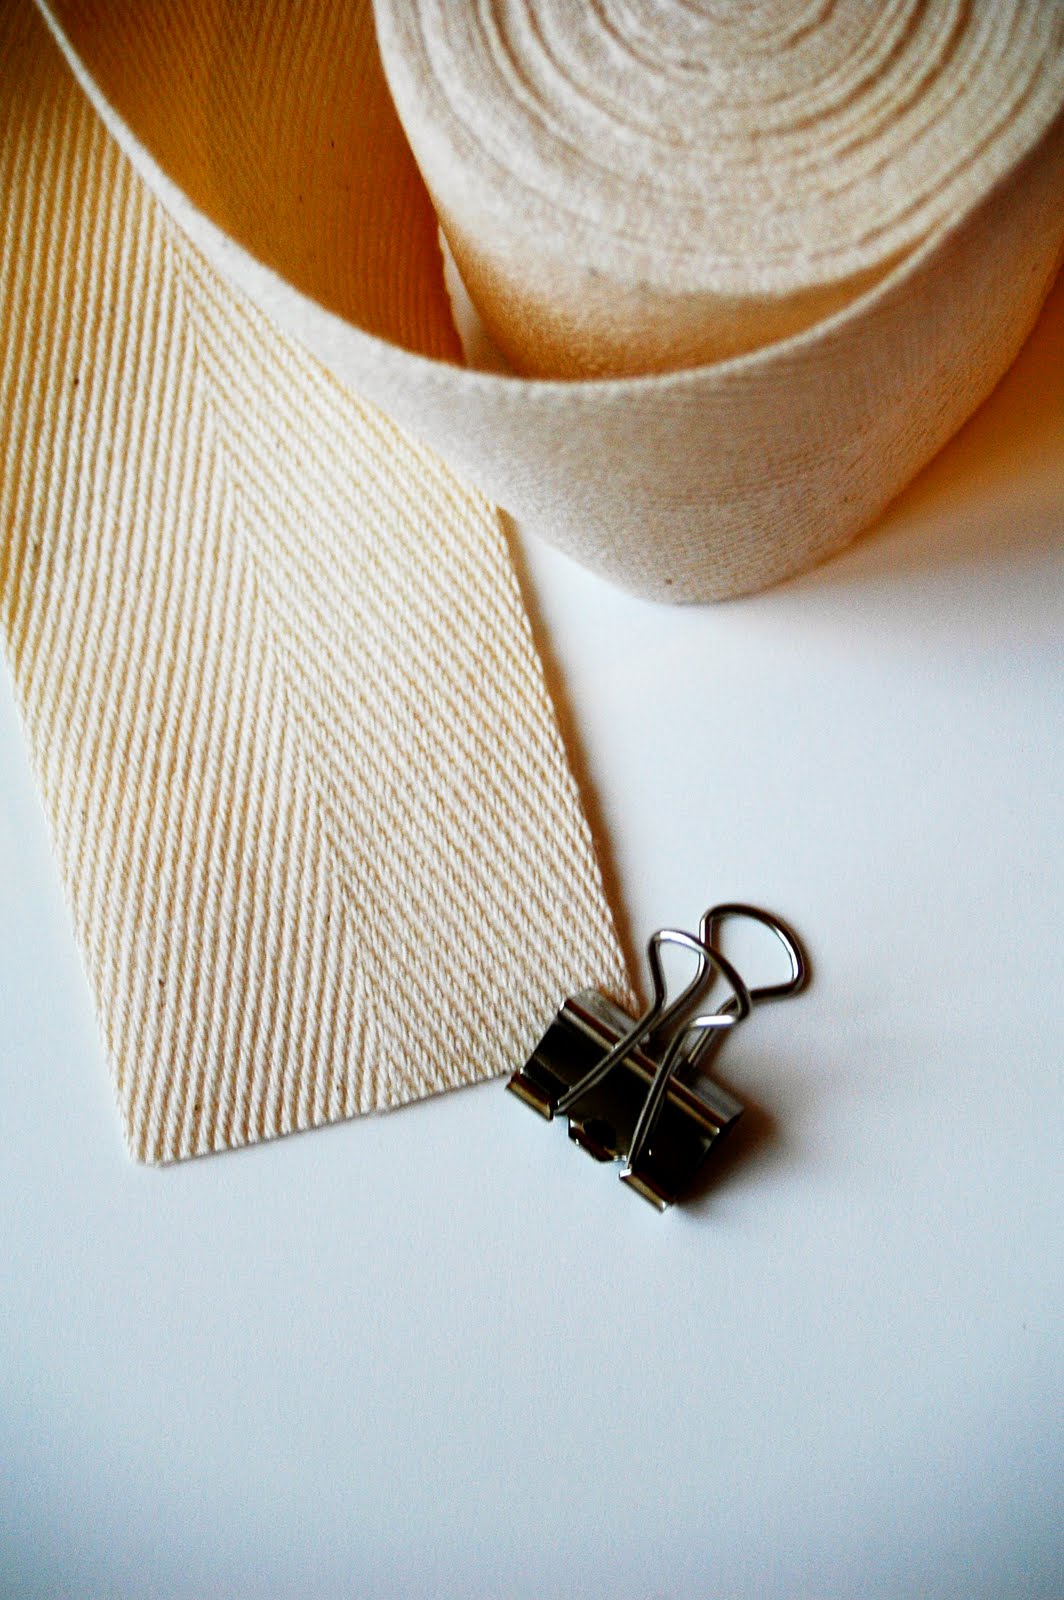
Up first. The easiest of three easies. Earrings. I hate when I can’t find the two that match that I want to wear. I also don’t enjoy them rolling around in a makeup bag or falling off of the counter where one of my little ones is perched waiting to grab them. For at least the last 10 years I’ve used small rectangles of craft foam to keep them together. Inexpensive, light, portable, slightly cushiony. But now? I’m using twill tape to accomplish the same thing with a bit more style.

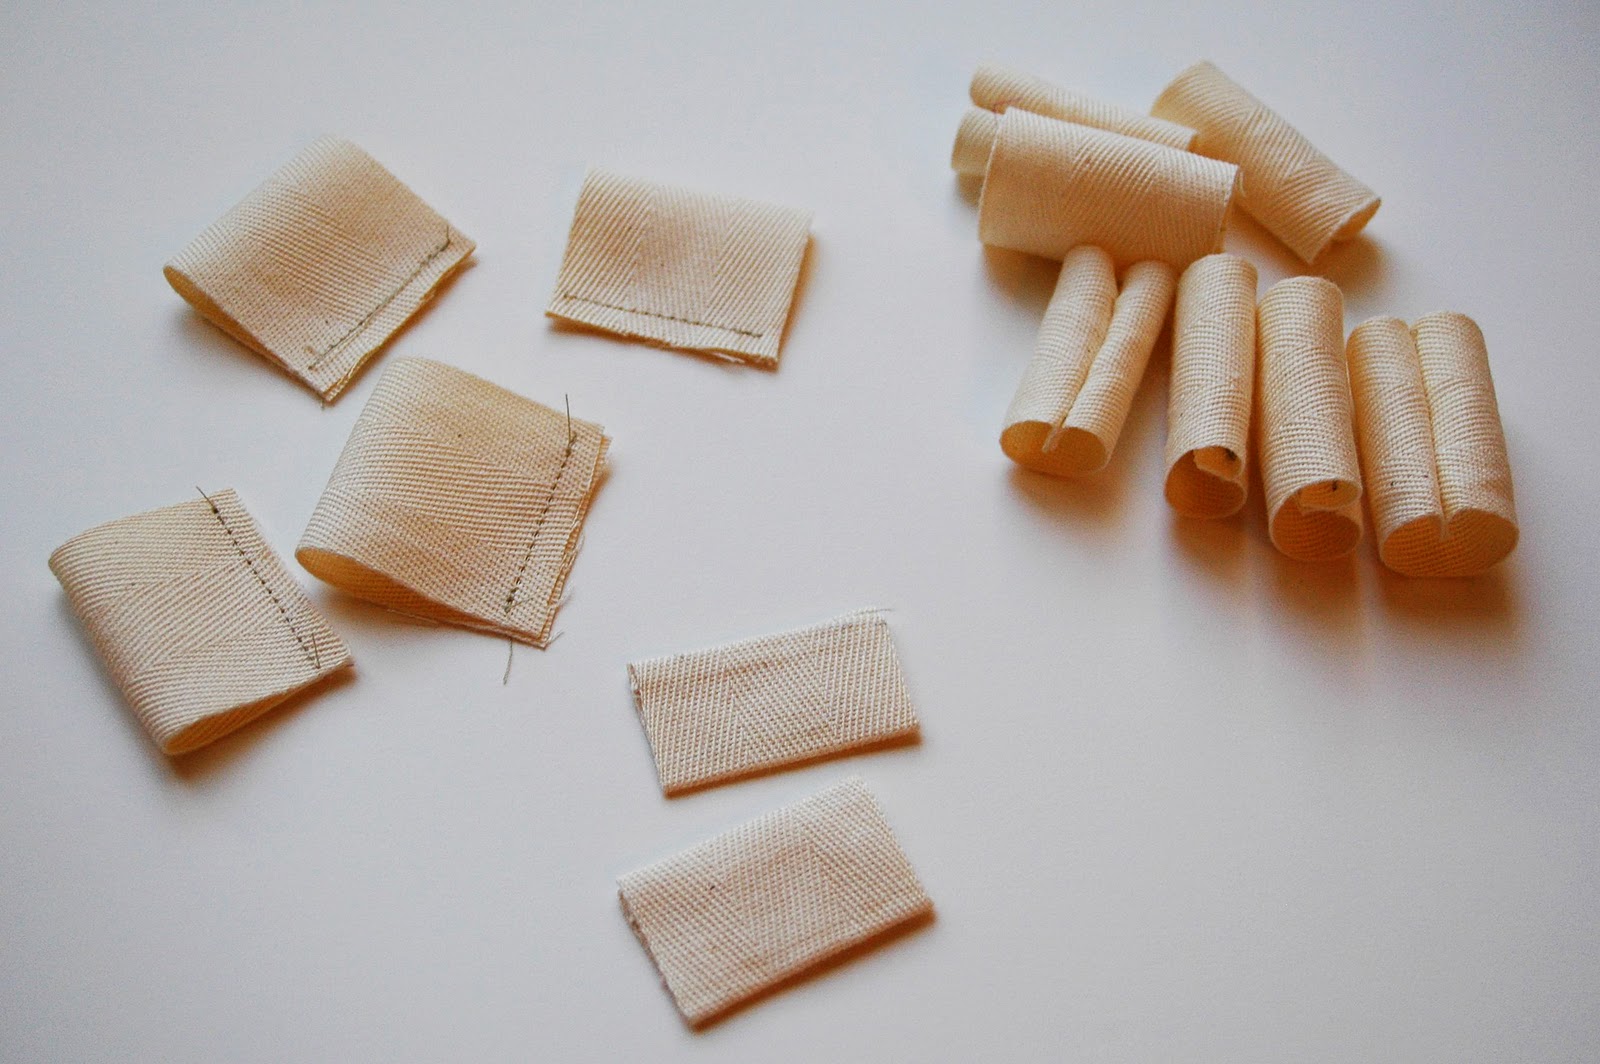
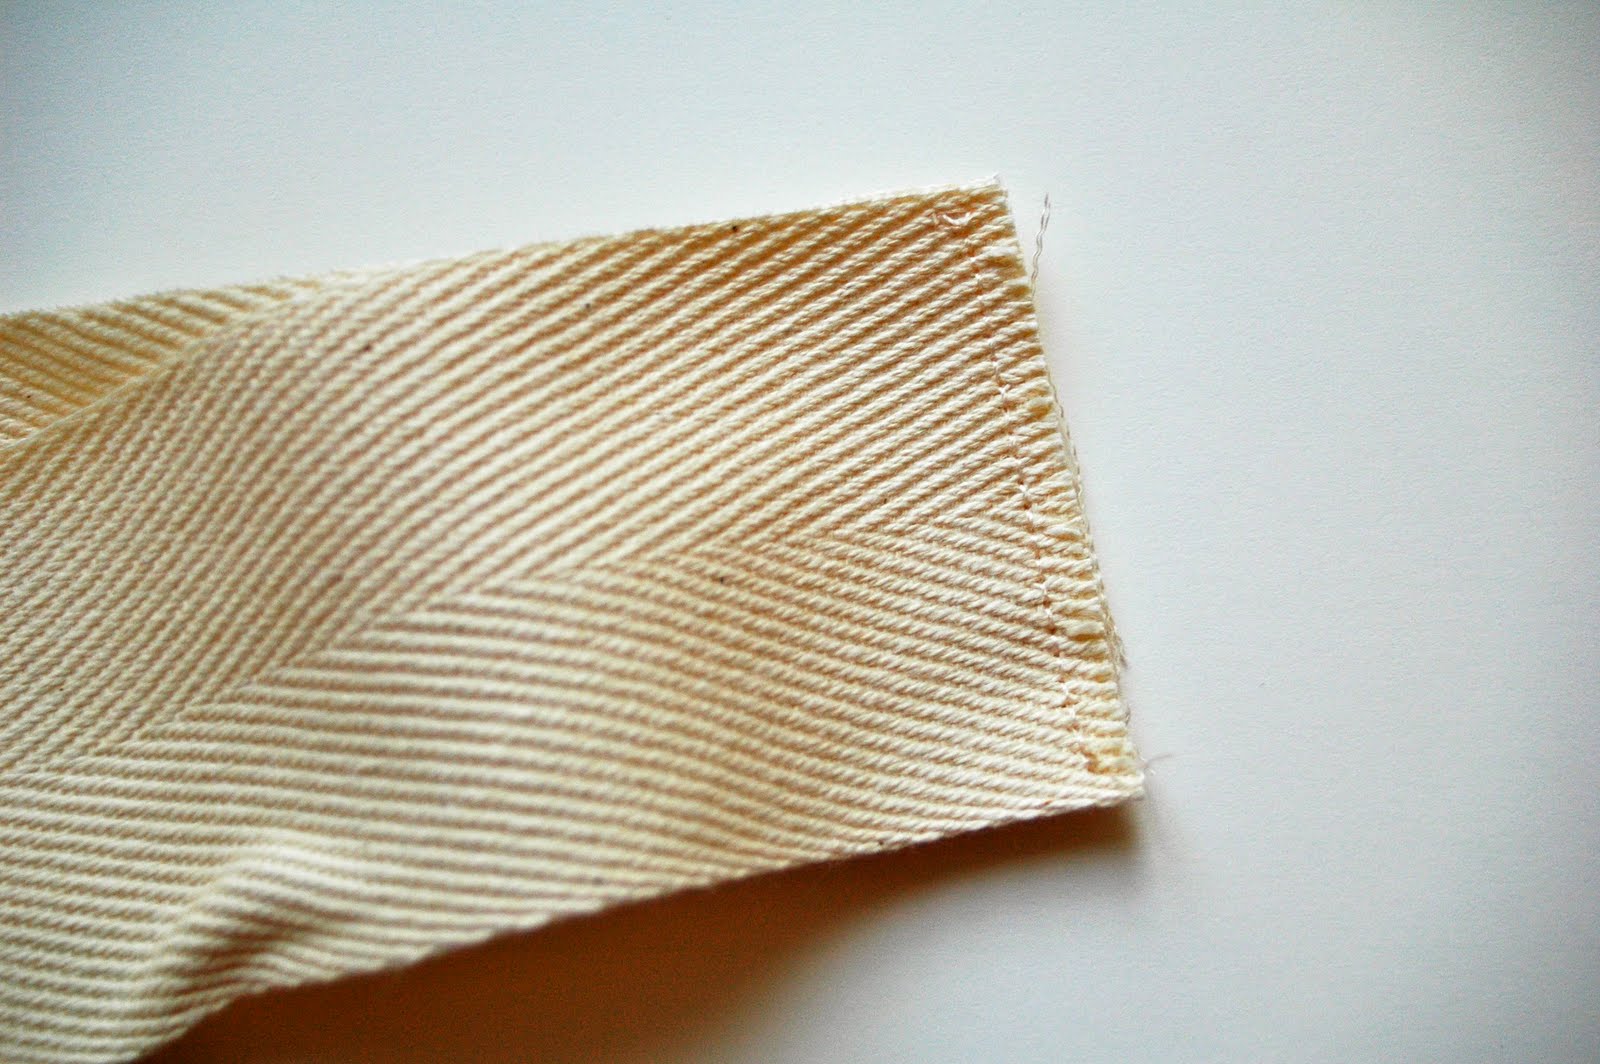
Step 1: Fold over twill tape and stitch.
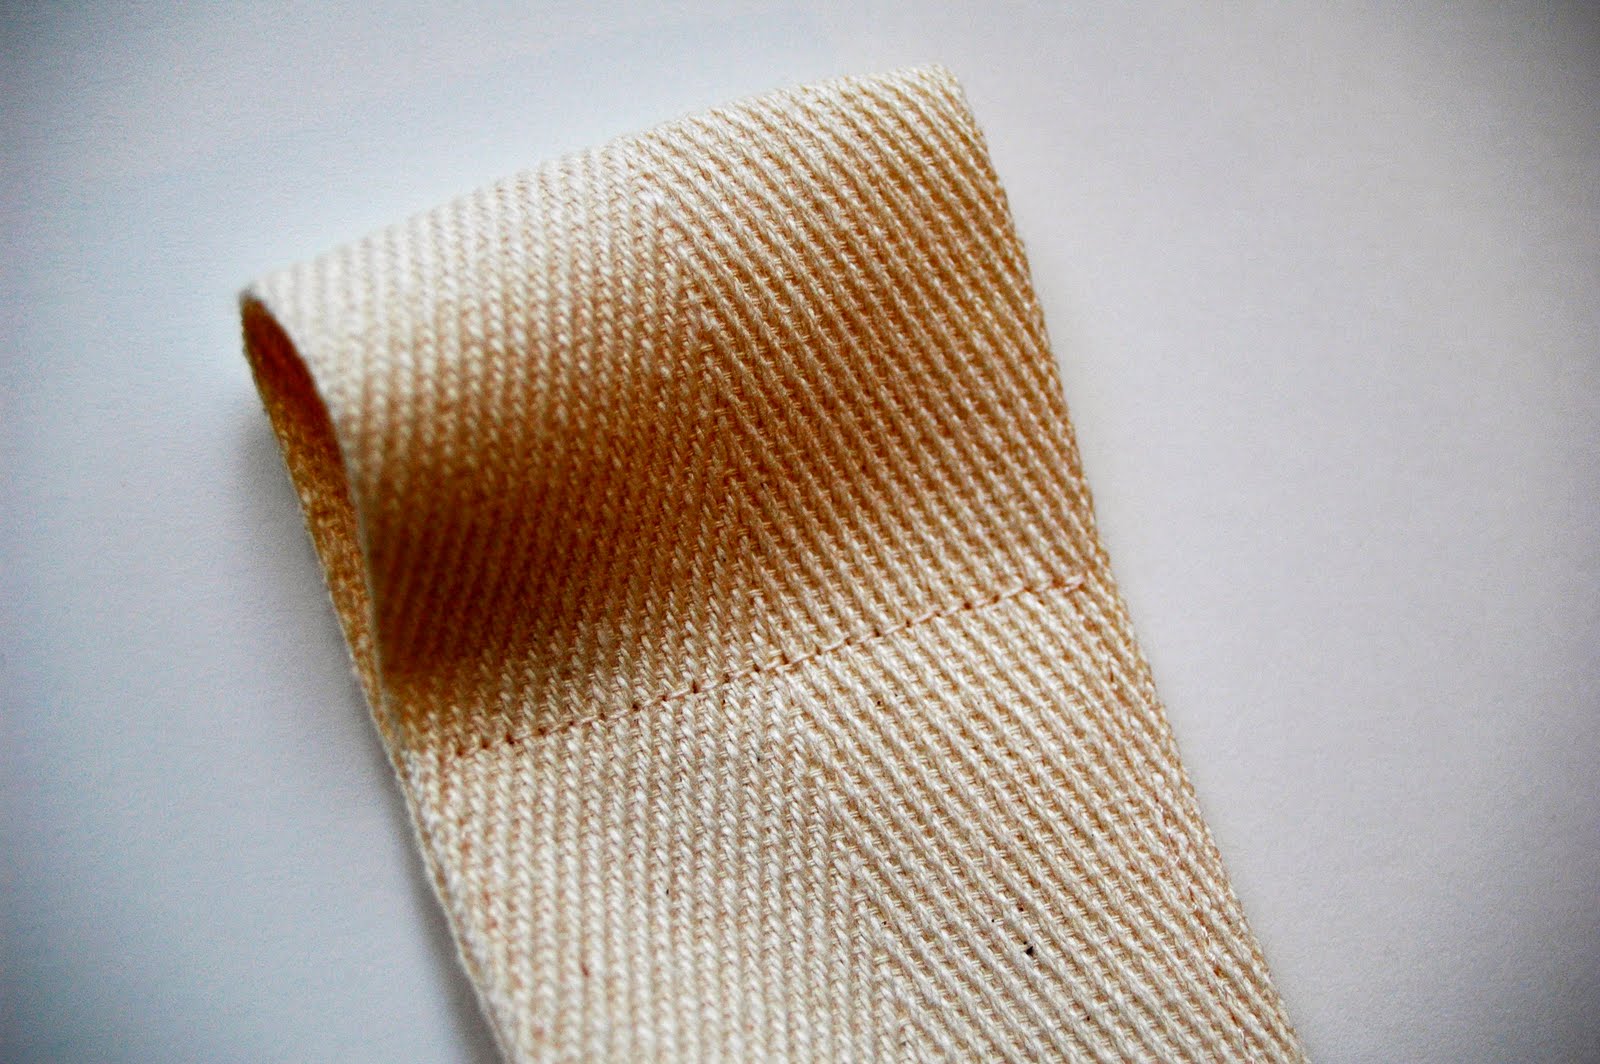
Step 2: Turn inside-out.
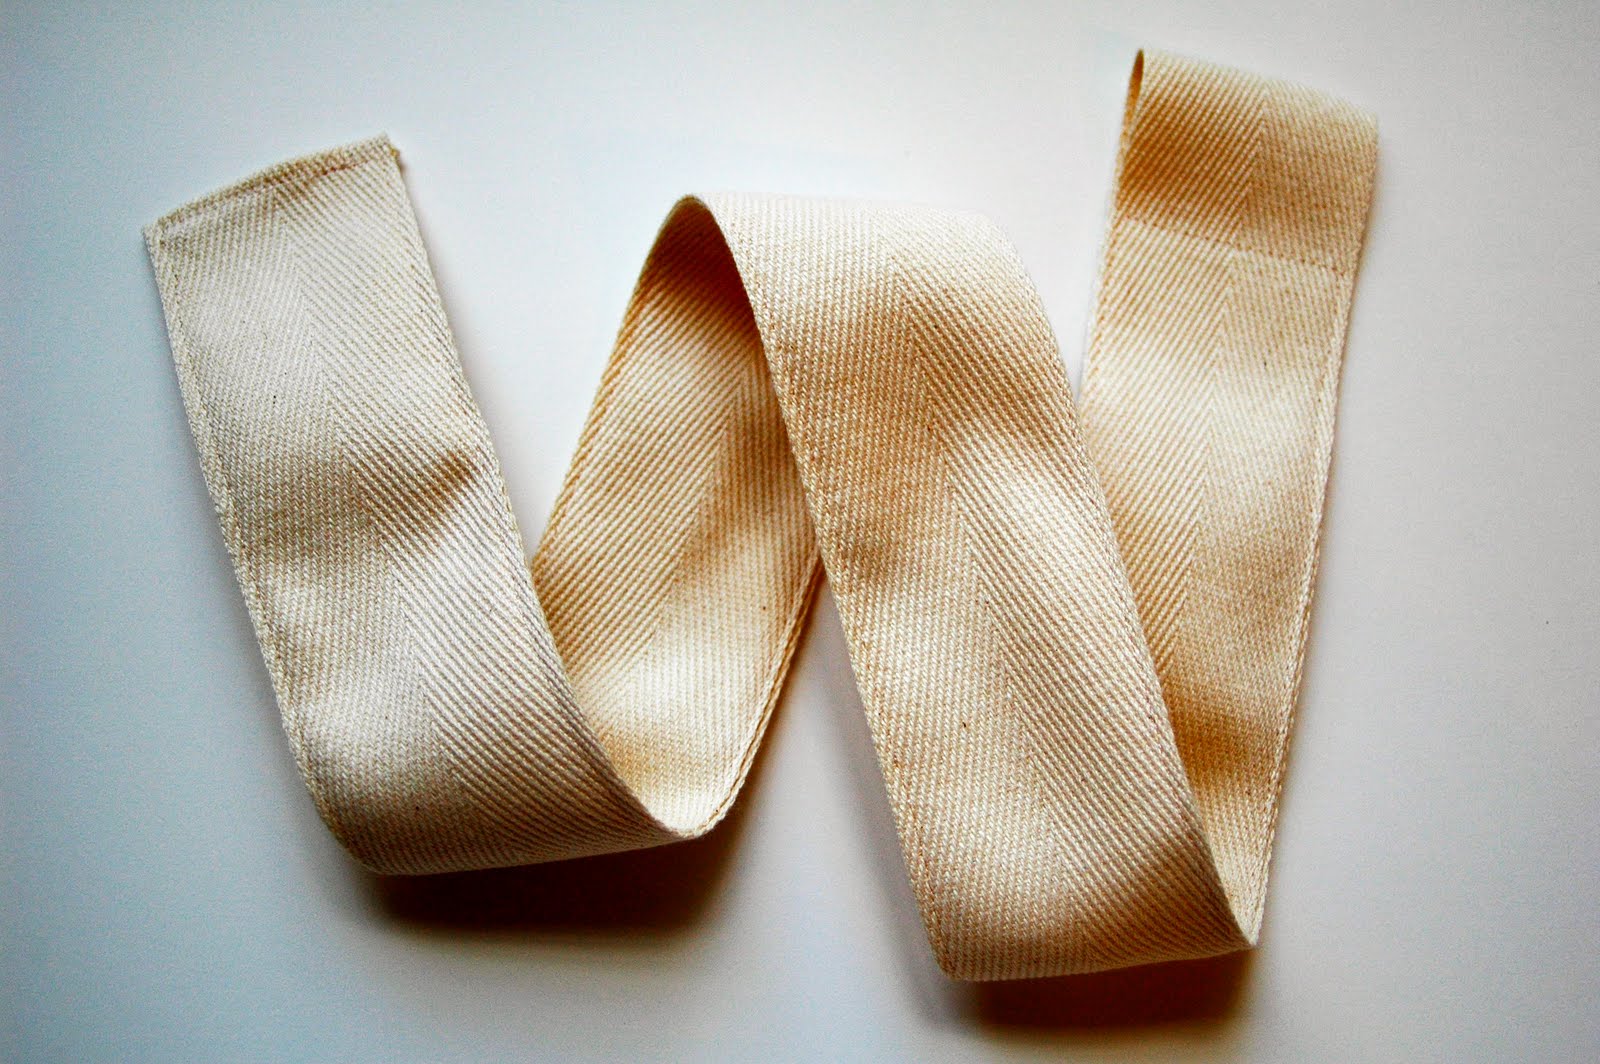
Step 3: Iron flat. Apply earrings.

Here’s an illustration of the three steps:
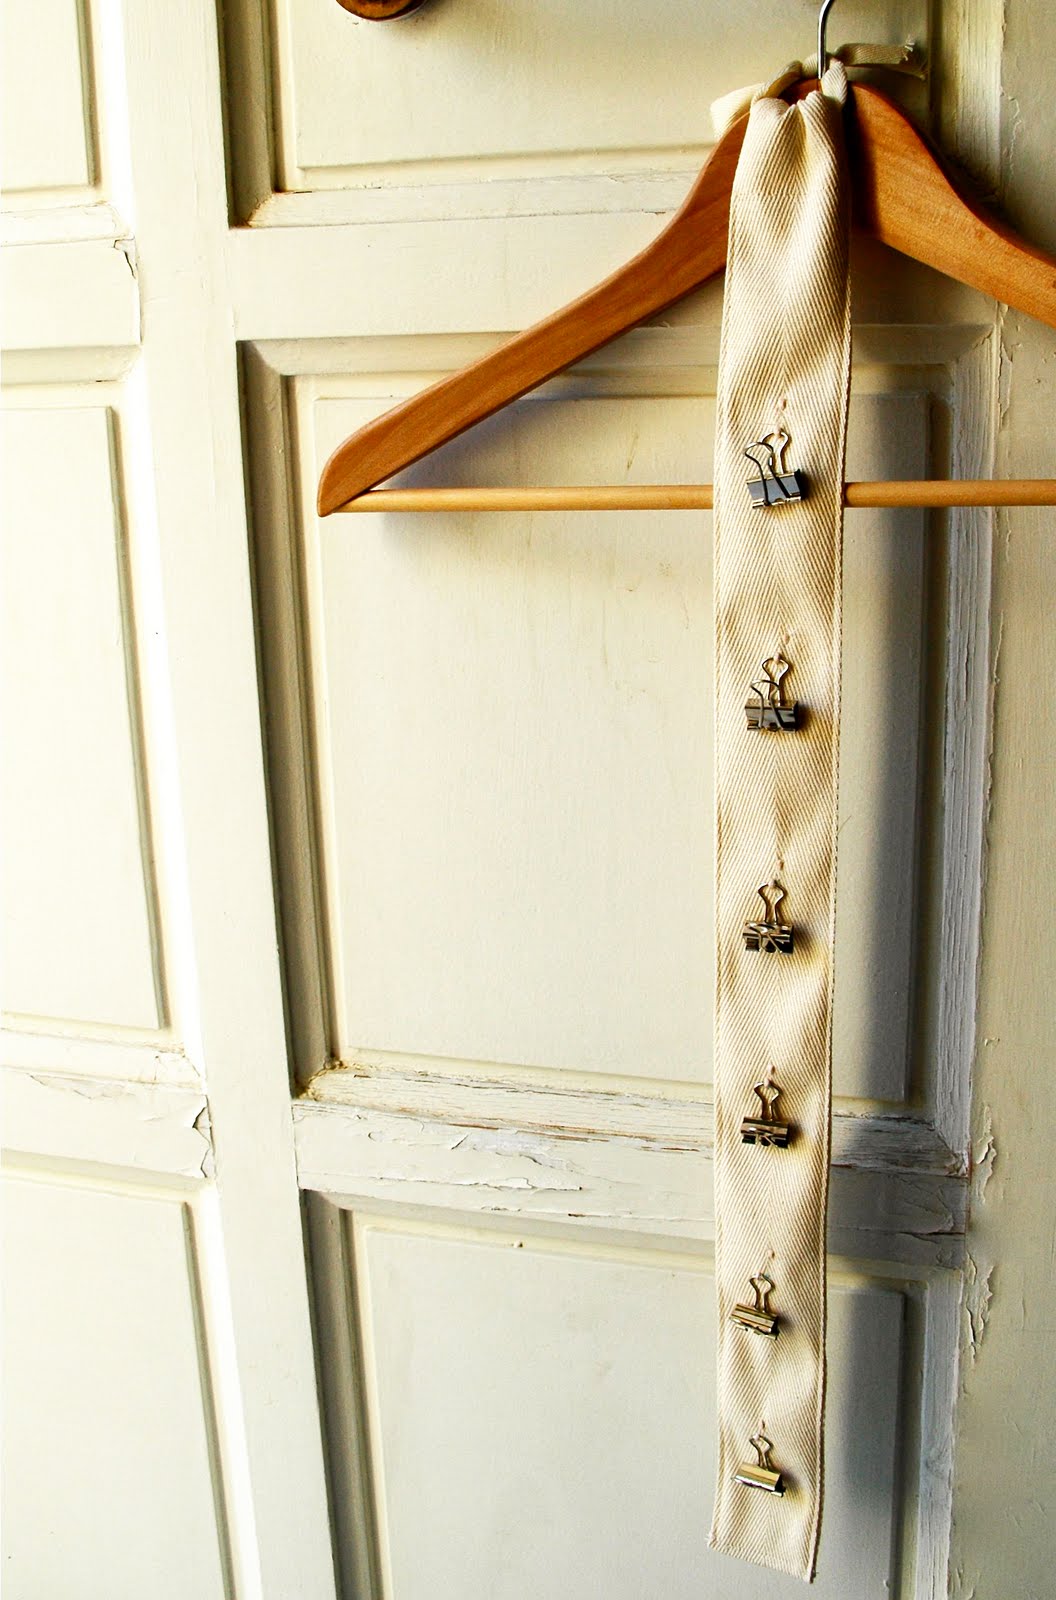
And in use:

Easy peasy, right? We’re going to do a quick post this week about printing on twill tape with a few pointers, and I can totally see an Etsy/craft fair artisan using these to display earrings after printing a shop name on them. (Twill Tape Guy could also handle the printing for you.)
Allrighty. Part two of Organiz-a-trio? Hair clips and headbands. Once again, I don’t need the organizing device to be flashy. Smooth, simple and functional makes me happy for lots of household tasks. The hair clips and headbands get everywhere, and when they’re all collected, they’re total visual chaos. When they’re in a basket, they’re easily dumped out all over the floor and THEN they get up and travel all over the house. On their own little legs my K would be happy to tell you. When she’s not busy putting them in her mouth. Aaaargh.
So here’s my solution without accessories:
And with some accessories on board:
Another easy one. A loop at the top makes it easy to add to a clothes hanger and put all that madness away in the closet when it’s not needed to make it a bit less tempting for little hands. 
And for the last of our trifecta, let’s deal with some hats and gloves. No, it’s not time to use them (in the Northern Hemisphere anyway) but it’s time to put them away so that you’re not stepping on and repeatedly dropping them throughout the summer and then can’t find them next fall. Over the winter I went on two different trips where I had to by gloves for some member of our family because I couldn’t find appropriate matches as we were running out the door. I finally solved that problem and hats and gloves aren’t falling off of the top shelf of our coat closet anymore. 
If you have hats and gloves that need corralling, gather:
– a 50″ length of heavyweight twill tape
– 12 medium binder clips
– some sort of marking device: pen, pencil, yummy smelling marker, whatev.
– ruler

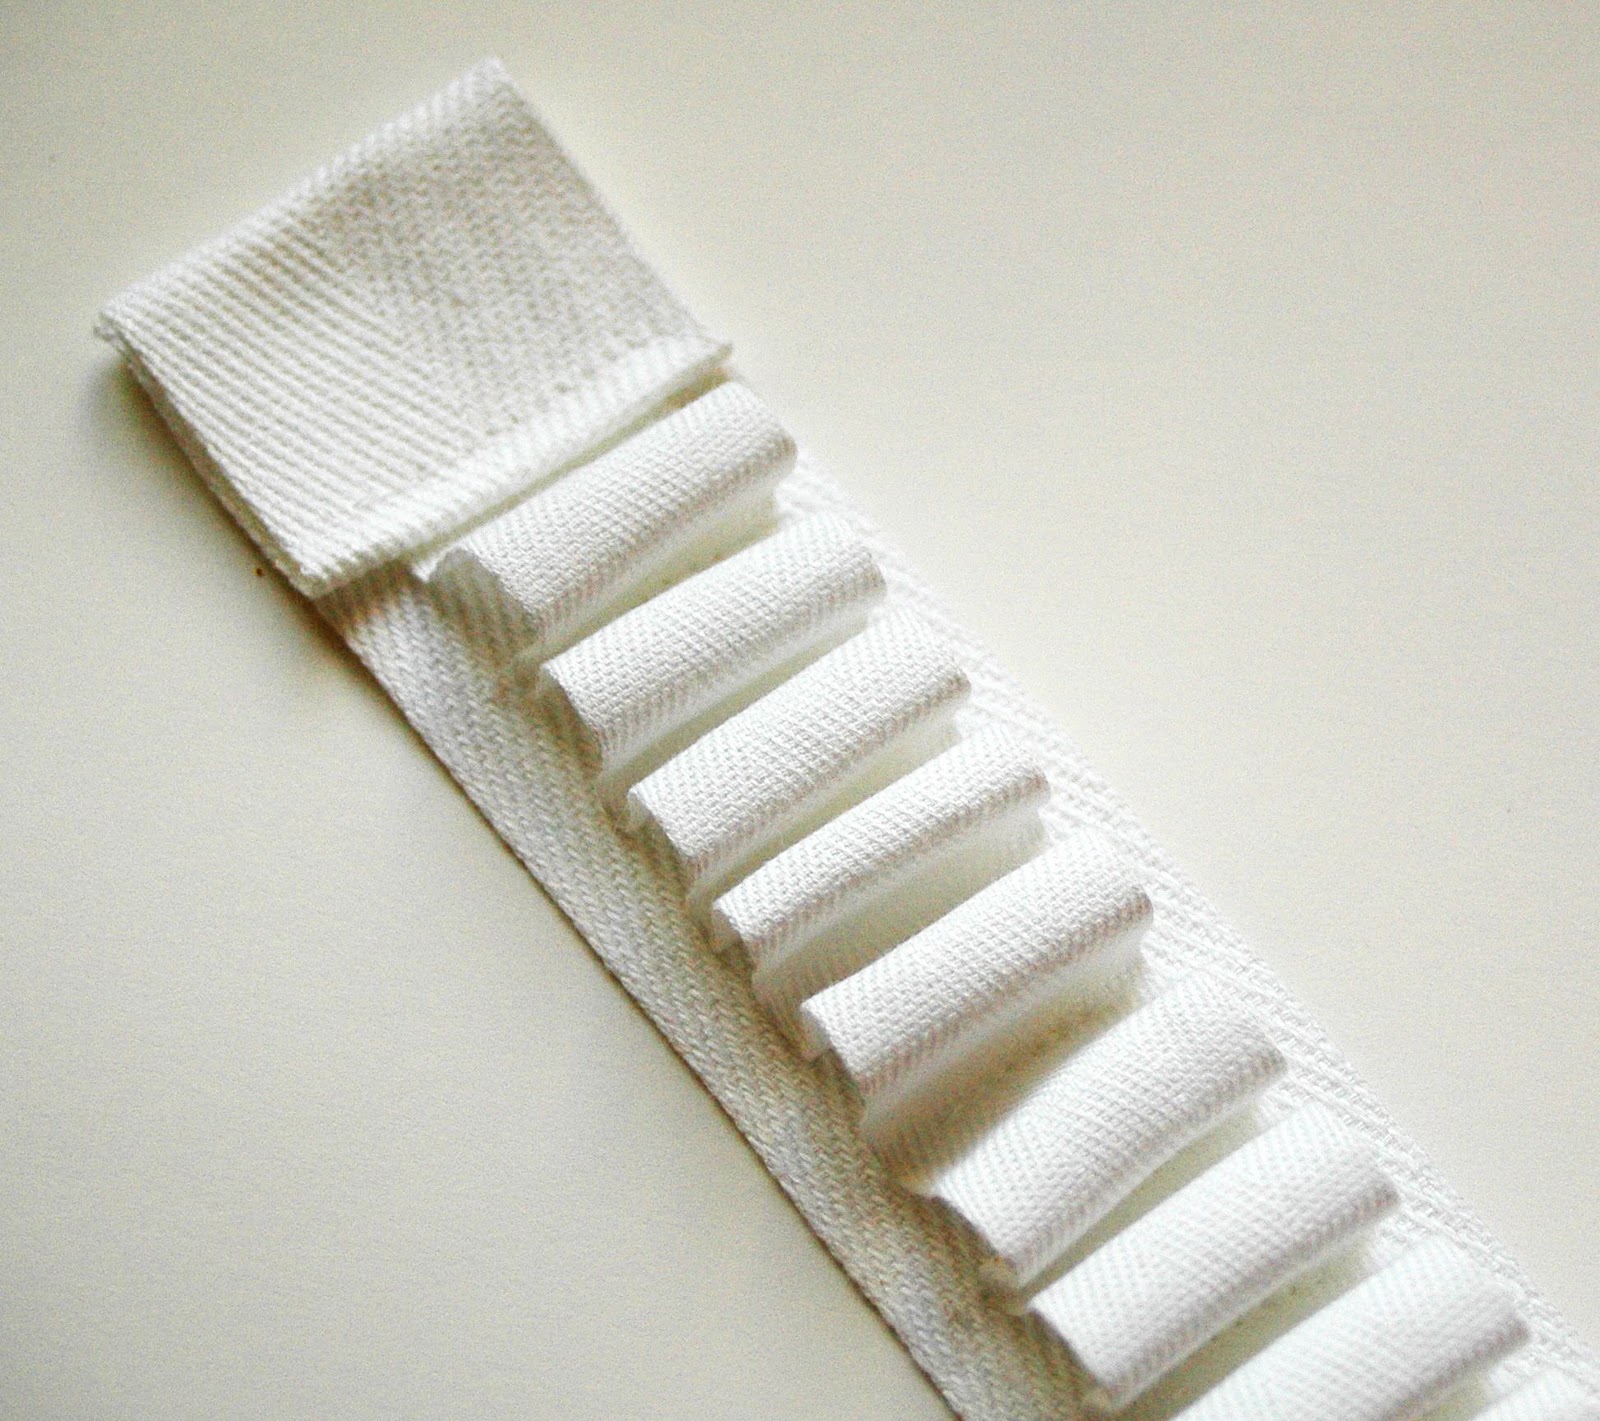
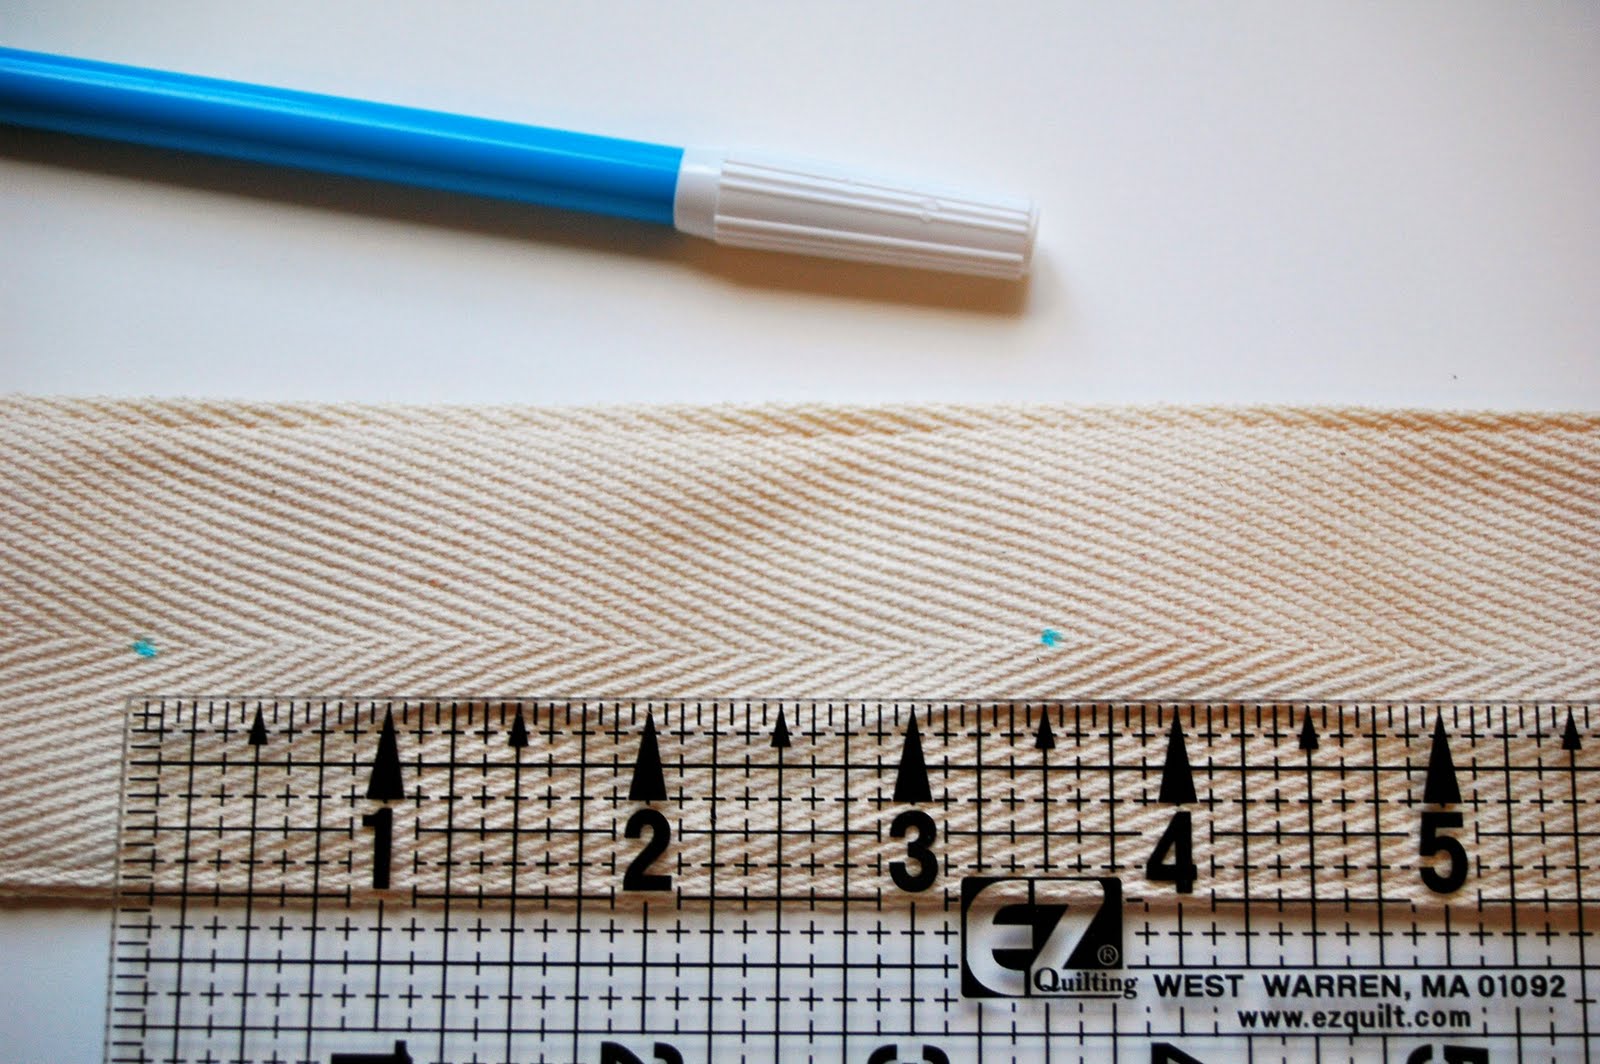
Fold your length of twill tape in half and stitch the ends together.

Flip that inside out and stitch all the way around, leaving a loop at the top.
And it’ll look like this-ish: 
Starting just below that loop at the top that you’ll use for hanging, mark six spots down one side every 3.5″ or so.
Grab your binder clips. Squeeze one side and remove the handle-y part.
Place the end on top of one of your spots. Stitch a zigzag stitch on top with your machine set to “0” for stitch length. If you’re the MacGyver of sewing machines, you can stitch the one on the opposite side on at the same time. If you’re not MacGyver, do this separately, okay? And, you know, goggles if you’re accident-prone. Crafterhours has a lawyer, but she’s busy with other things right now.
Repeat until you have 6 binder clips on each side. Loop over a hanger directly or tie it on with another piece of twill tape.
And add some hats and gloves. Function more than form here, but my closet is THANKING ME for this. 

The next post is much cuter. Much, much cuter. Pinky swear. But the title of the post might not be nearly as cool. No promises there. 
Speaking of cute, if you have twill tape excitement to add to our roundup, send it in!

Filed Under: tutorial Tagged With: organizing, tutorial, twill tape week

« Twill Tape Week: Things that make you go Hem…
Twill Tape Week: Memo…ry »

Comments

  1. Stacey says

    April 13, 2010 at 2:10 am

    Earring idea is awesome. I can’t tell you how bad I need to orgnize that area. Also, love, love, love that very thick twill tape.

    Reply
  2. Wendy says

    April 13, 2010 at 9:07 am

    OK I totally have to make the one with the headbands on it. I have been trying to figure out how to store those (my DD loves them) and that is perfect!!

    Reply

Leave a Reply Cancel reply

Your email address will not be published. Required fields are marked *

Search This Blog

Archives

Popular posts

  • FREE Pattern: Monkey Bar Skirt
  • A Note on Sewing Skirts for Girls
  • Side Panel Shirt Refashion: A Tutorial
  • T-Shirt to Tank: A Tutorial by Jen from Upcycled Education
  • Racerback Dress: A Tutorial + PDF Pattern
Visit Susan Yates's profile on Pinterest.

Our Privacy Policy

This Site is affiliated with Monumetric (dba for The Blogger Network, LLC) for the purposes of placing advertising on the Site, and Monumetric will collect and use certain data for advertising purposes. To learn more about Monumetric’s data usage, click here: http://www.monumetric.com/publisher-advertising-privacy

Copyright © 2026 ·Foodie Child Theme · Genesis Framework by StudioPress · WordPress · Log in


Creative Commons License
This work is licensed under a Creative Commons Attribution-NonCommercial-ShareAlike 3.0 United States License.
»
«