Hi there everyone. Hope you had a fun and safe Halloween! Thank you for all your well-wishes for a safe trip to America. The girls did great and I am in full possession of my sanity. Within our first 24 hours, we had eaten at 5 Guys, Dunkin Donuts, and went to a pumpkin patch. We’re living it up America-style!
Here’s a tutorial-ish for you. Nothing that involves too many brain cells on a day when everyone is coming down from a sugar high, I promise.
I love designer jeans. I love the way they’ve been engineered to fit perfectly. I don’t love the price.
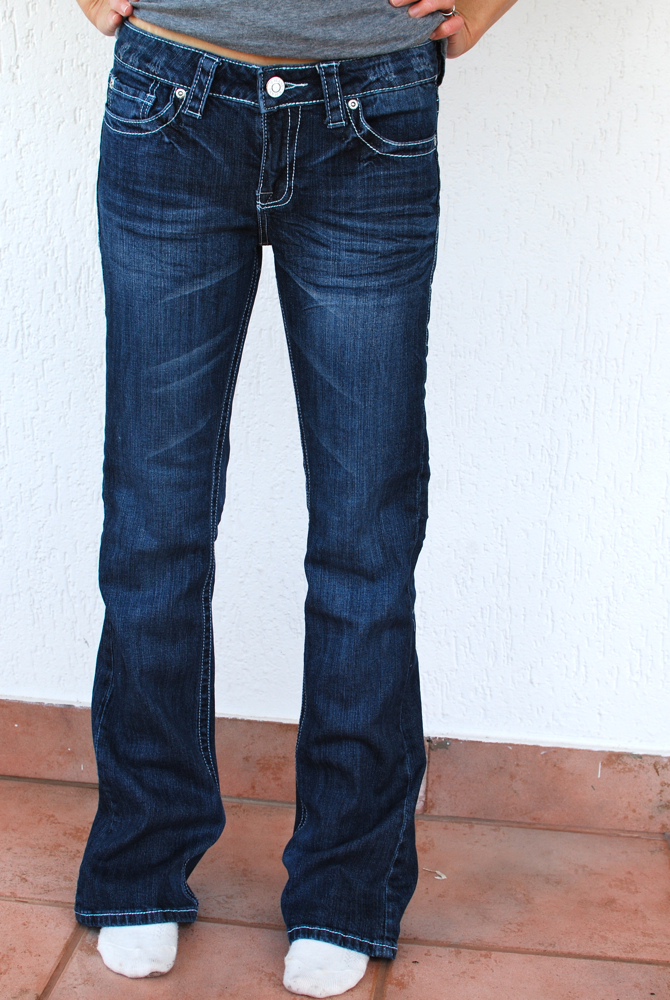
So, I got this pair of $35 jeans that had some cute accents and stitching. Unfortunately, they fit more like stovepipe jeans than bootcut. See the bagginess in the knees? Not that big of a deal, really, but they can be better.
All I did was put them on inside-out, then I pinched them together at the baggy parts and drew a line where the new seam should be. Then I simply stitched over the line I drew, making sure to ease away from the original stitch line gradually.
(this is the part where you have to imagine a picture of the aforementioned directions, since my mom’s computer totally wigged out and ate that picture and the original is back home on my computer 4000 miles away)
I also hemmed them a bit like I did here (it’s a method that allows you to keep your original hem stitching). After stitching down the line that I drew, I ended up with this. See the difference between the untouched right leg and the slightly redesigned left leg?
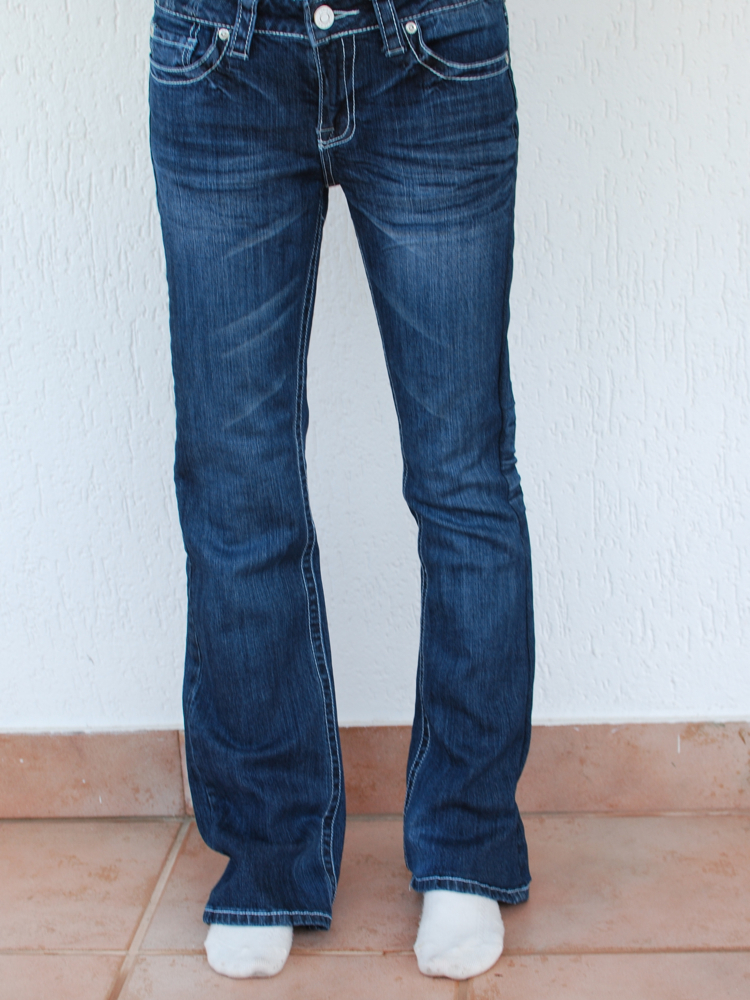
It’s not a huge difference, but they are definitely a bit more tailored for my body. If you use this method to alter your jeans, it doesn’t take much to go from generic made-for-everyone off the rack to a tailored-to-your-body fit.
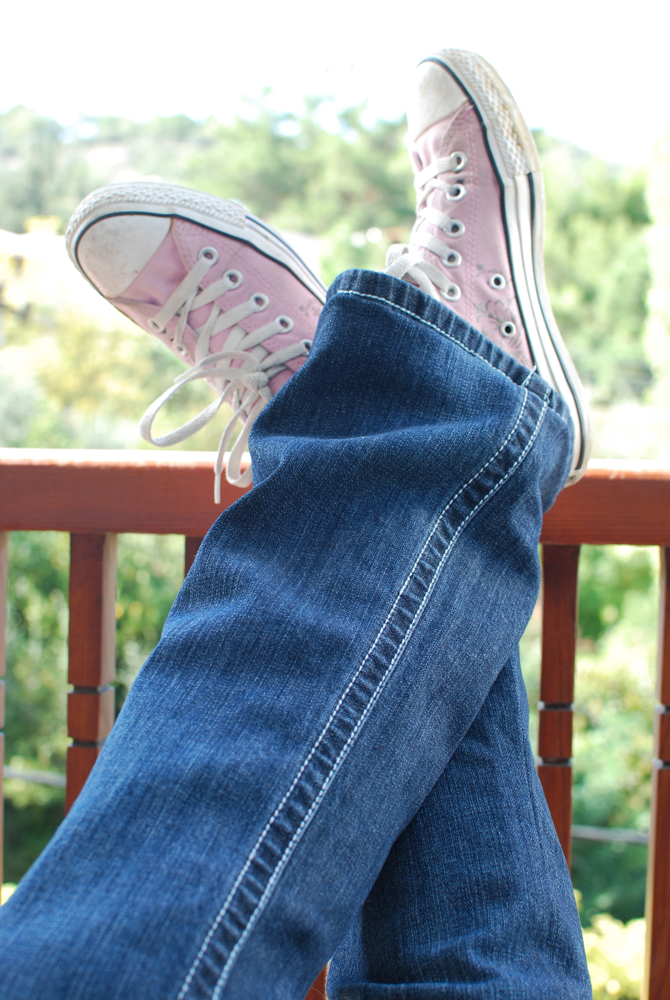
Here’s the finished result.
Now kick your feet up and enjoy that your sewing skills just saved you approximately $135.
If you’ve made it this far, here’s a little reward for you. The best sewing tip you’ll ever get: Sew your fabric, not your finger.
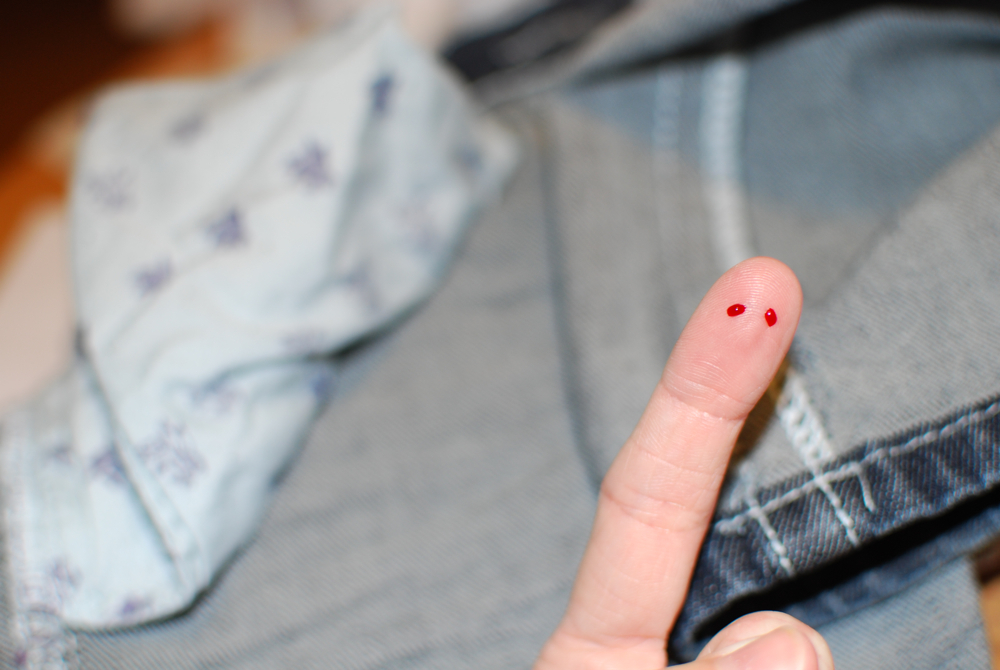
Yep, that sucker went in one side of my finger and out the other. My first reaction was actually surprise that this hasn’t happened sooner, given my extreme clumsiness and general spacial dysfunction.

ouch! I hope you’re up to date on your tetanus shot! just take a permanent marker and give your finger a smile! Welcome back to the states for awhile :)
Dang you’re skinny!
Oh! My stomach just did a flip flop looking at that finger! You poor thing! The jeans look great :)
ouch! Bet you have a newfound fear and respect for your sewing machine, eh? I’m convinced something like that will happen to me but will involve my serger and a lot more blood. fear, i tell you.
I like the subtle but definite improvement to the pants. Now tell me how to make them go the other way. Just kidding. I hope. I’m still wearing the same size jeans as when this baby started cooking. Theoretically. Goodness knows that tends to really mean nothing. I can always just keep wearing the same maternity jeans I’ve been wearing for the last week. That sounds bad unless you realize I wear jammie pants until right before my hubby comes home or I have to leave the house, so technically they’re getting a few hours a day wear max. hahaha.
i thought the same thing natalie did…it needs a smile!
Ow ow ow!!!
I worked in a sewing factory when I was first married. (You know back when America actually made things) I was on the tacker, it would sew eight stiches in a half a second. Yep one day I got a head of myself and sewed my finger four times before I pulled it out. I was sewn to the dress and everthing. I think I win.
I also sliced down the middle of my finger with the blade on my serger, right through the middle of my fingernail. Yep I win again.
I’ve honestly always wondered what that looks like…I’m also surprised I haven’t learned first hand.
I was making a quilted purse a few years ago and my machine “bit” me. The needle went right through my fingernail then through the underside of my finger. My first reaction was “What the heck? Why did my machine quit?” Then I realized my finger was sewn down and started freaking out. I ran the very next morning for a Tetanus booster. The jeans look great!
looks like an itty bitty vampire bit you???
ouch!
Hmmm, I also live in fear of my serger. Especially after replacing the blade last week. That sucker is sharp! It’s kind of like driving, eventually you will have an accident, especially if you drive everyday! And I def. sew everyday. Too bad there’s not a seatbelt for sewing machines? Or air-bags? No safety measures at all for that matter. And I’m always operating under the influence of wine if I’m sewing in the PM. Can you get a SUI? It’s really a rather frightening scenario. Anyways, A- kindly NEVER POST PICS OF YOUR 12 YEAR OLD BOY BODY AGAIN! Warm regards, Shannon (Curvacious Mother of 3)
YOWCH! I’m waiting for the day that I have a sewing accident. Each time I cut fabric with the rotary cutter I count my lucky stars that I still have all of my digits! I love what Rae said – it does look like an itty bitty vampire bit you! :)
totally awesome, awesome jeans and awesome that you sewed your finger (well, sort of). :)
I can’t believe I haven’t done it yet either!
Your poor finger! I can’t wait to try this on some jeans though.
awesome jeans!! not so awesome hole through your finger. I got mine on the side-hurt so bad!
Great jeans advice! I’ve actually did the same thing to my finger about a month ago.
ouch again! I did that once and only once while making a pile of tutus for my daughter’s dance school. I nearly cried but had no time for that. I liked your post and plan to do this sometime..just wish someone knew how to make a pair of jeans fit when your waist is bigger than your rear ; )
Adrianna! You’ve just ruined your best tip ever by making me feel like I’m going to be violently ill over my keyboard….it wasn’t so much the picture, but the words that went with it. It’s making me want to shake my head a lot to get the horrible thought to fall out…yes, there’s not much firmly strapped down in there if it can work like that.
But poor you…I must remember sympathy for you in my own bout of secondary pain.
Nice jeans. x
i love what you did to your jeans but i don’t get how you sewed it. can you see your seam? or do you see the jeans factory seam?