

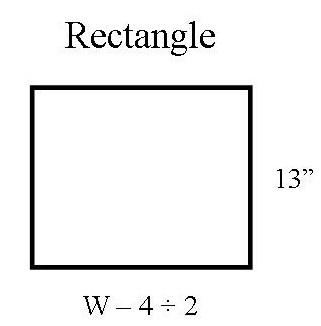
Measure about 1 inch below your belly button for your Waist Measurement = (W)_______

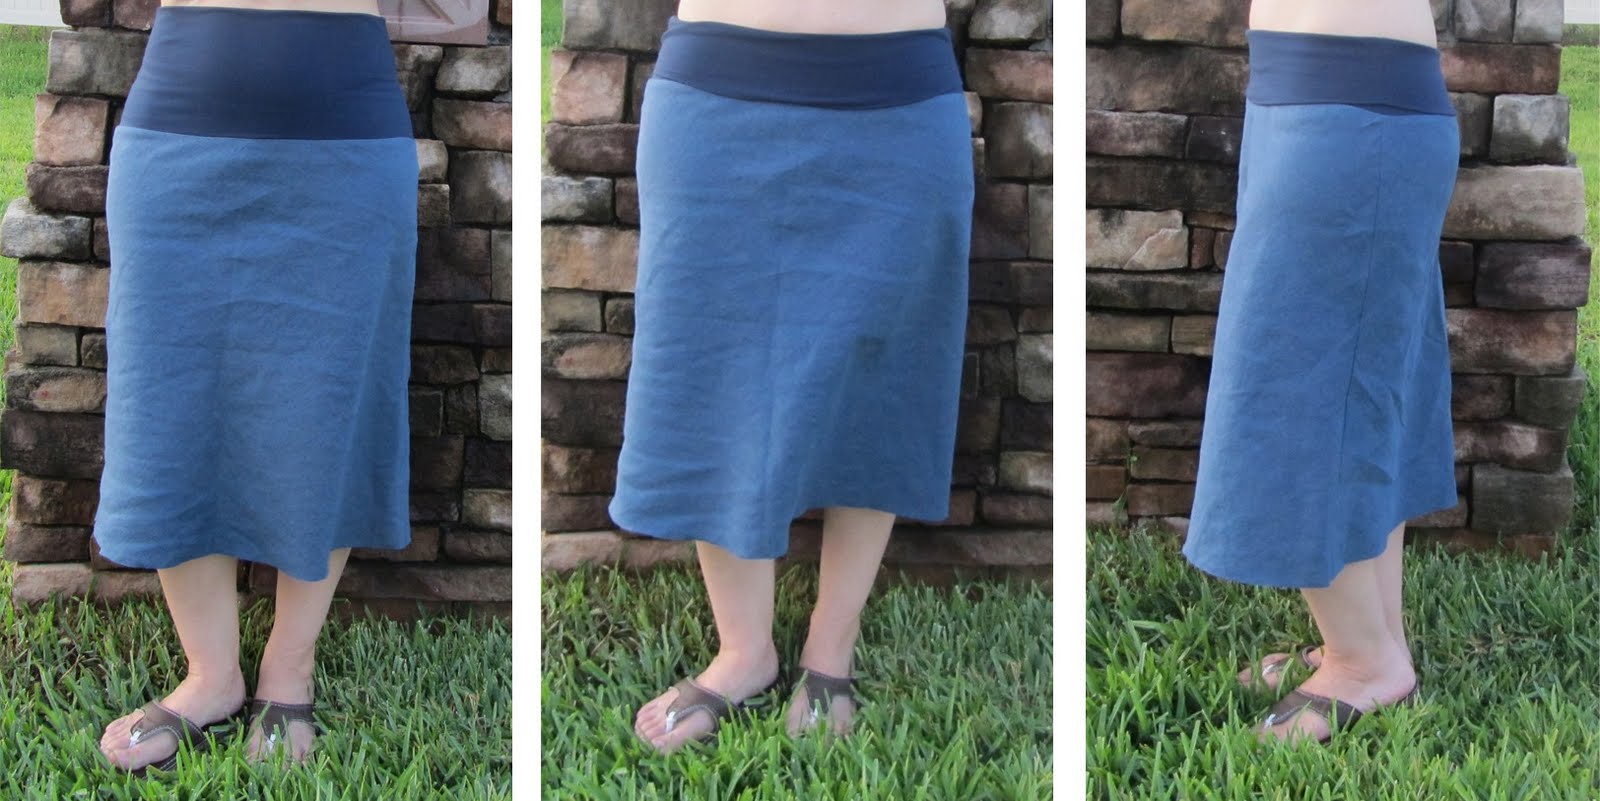
Skirt


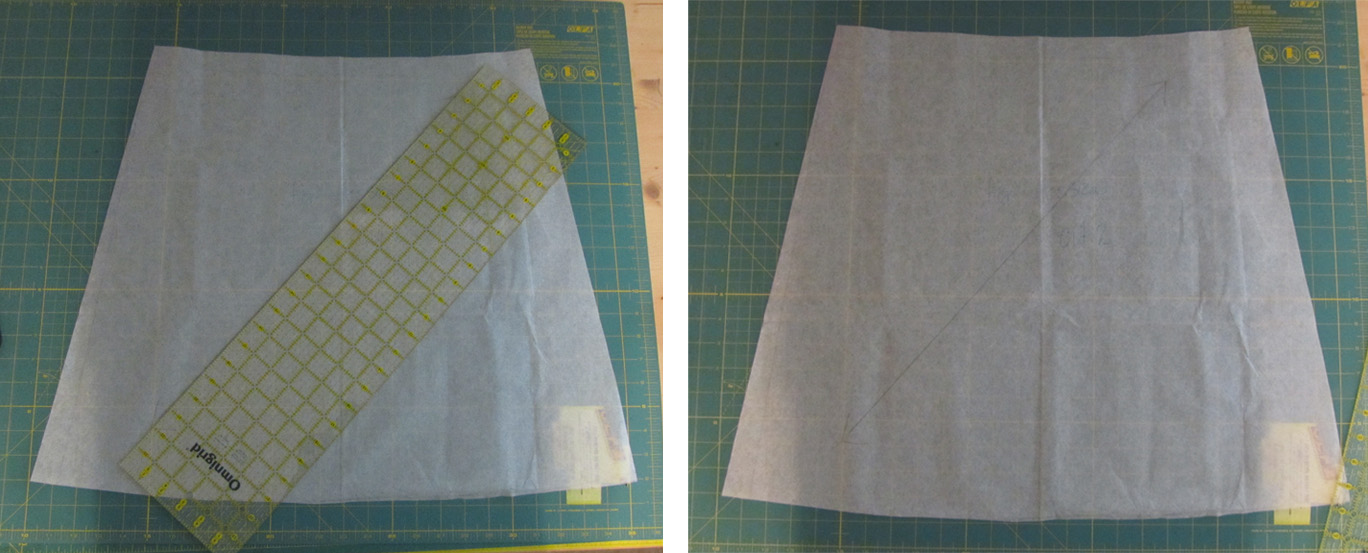
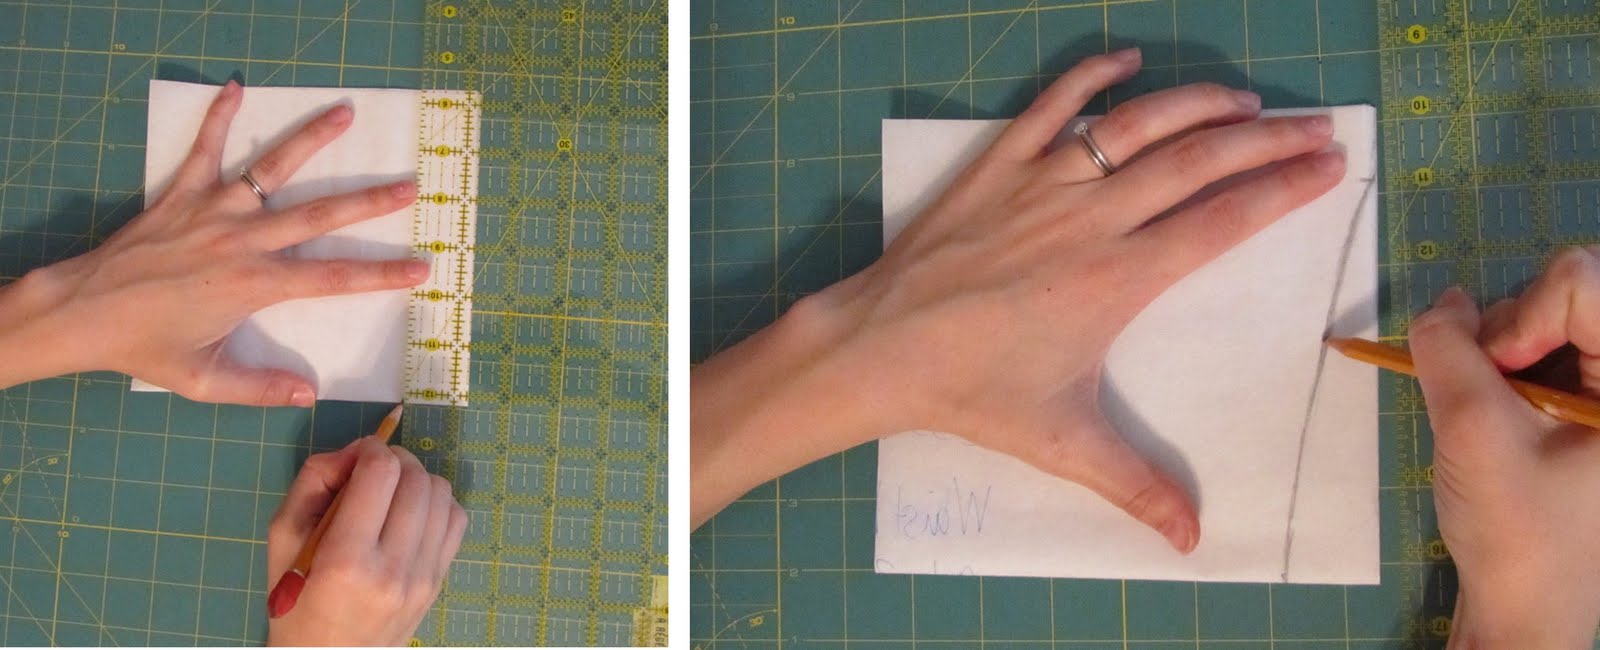
Mark 1 ¼ ” from side of pattern and 1 inch from top . Draw curving line to connect two marks
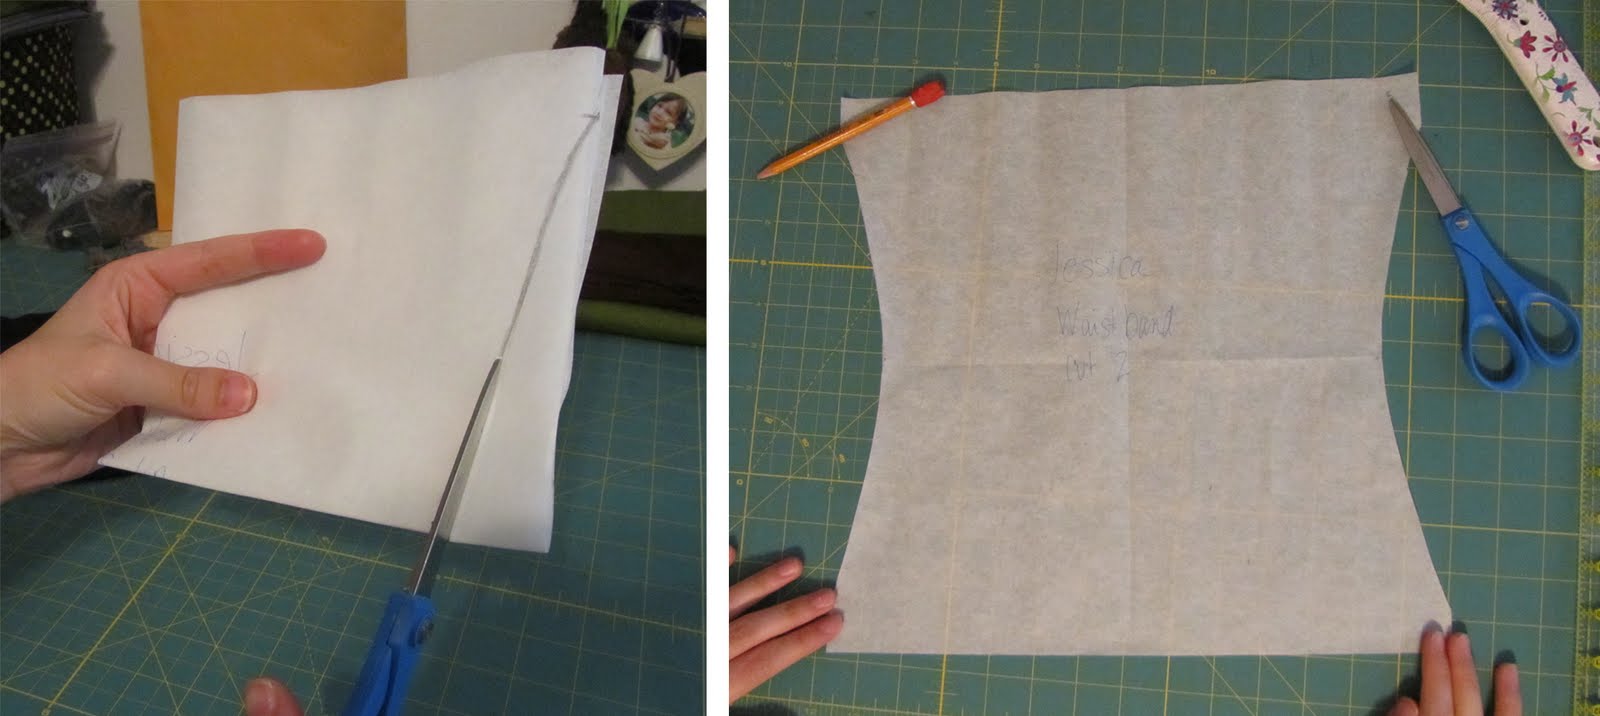
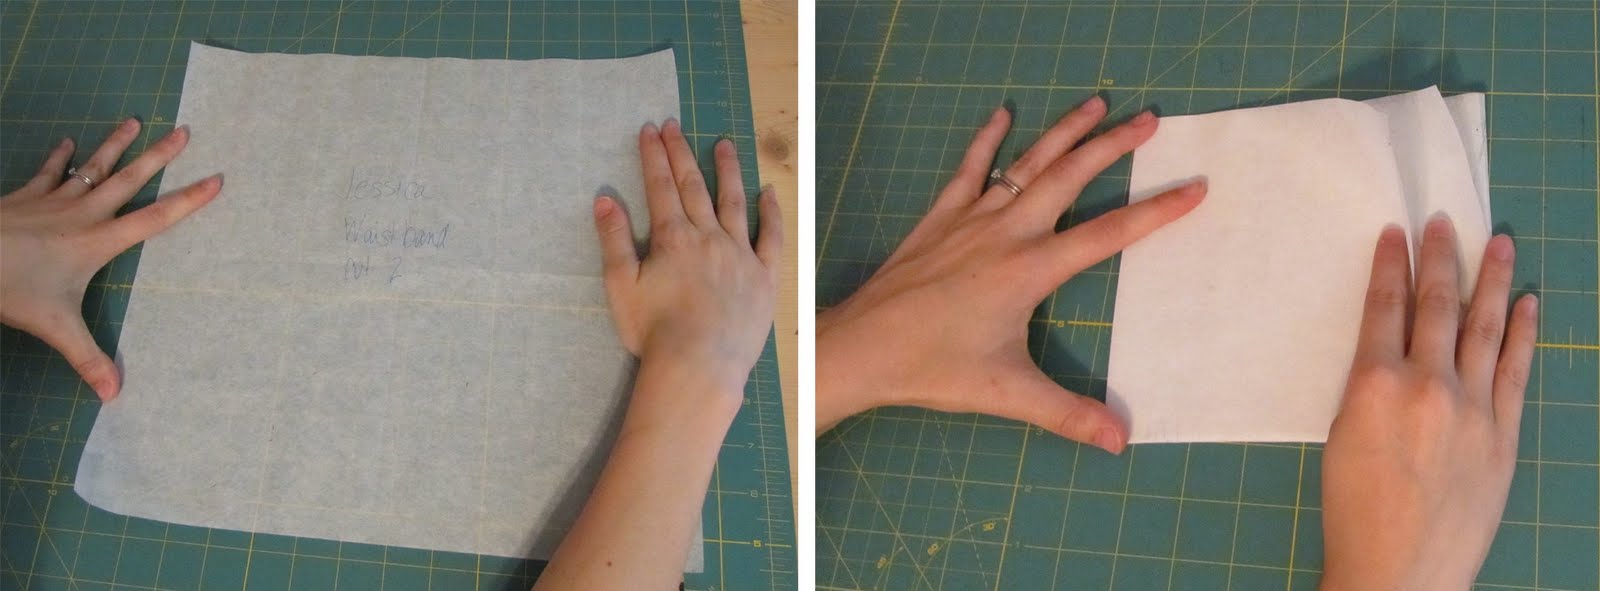
Cut out two waistband pieces from the jersey knit.
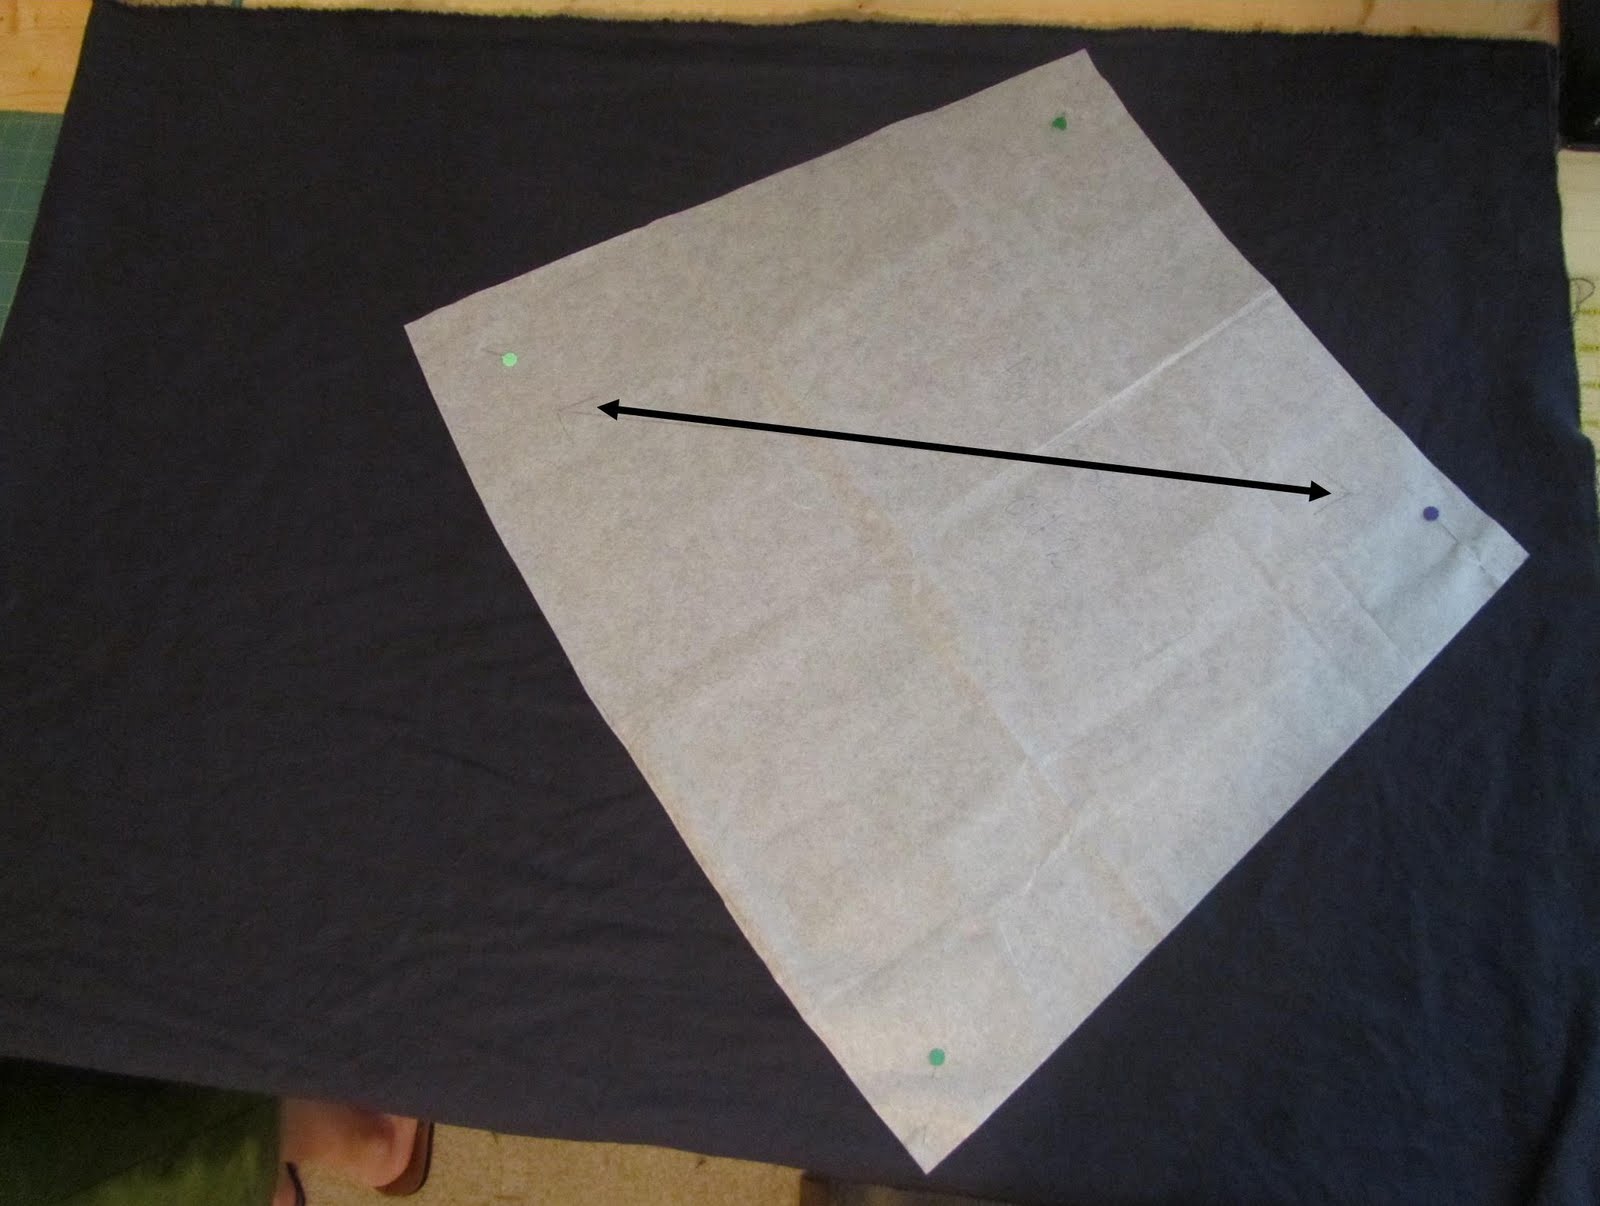
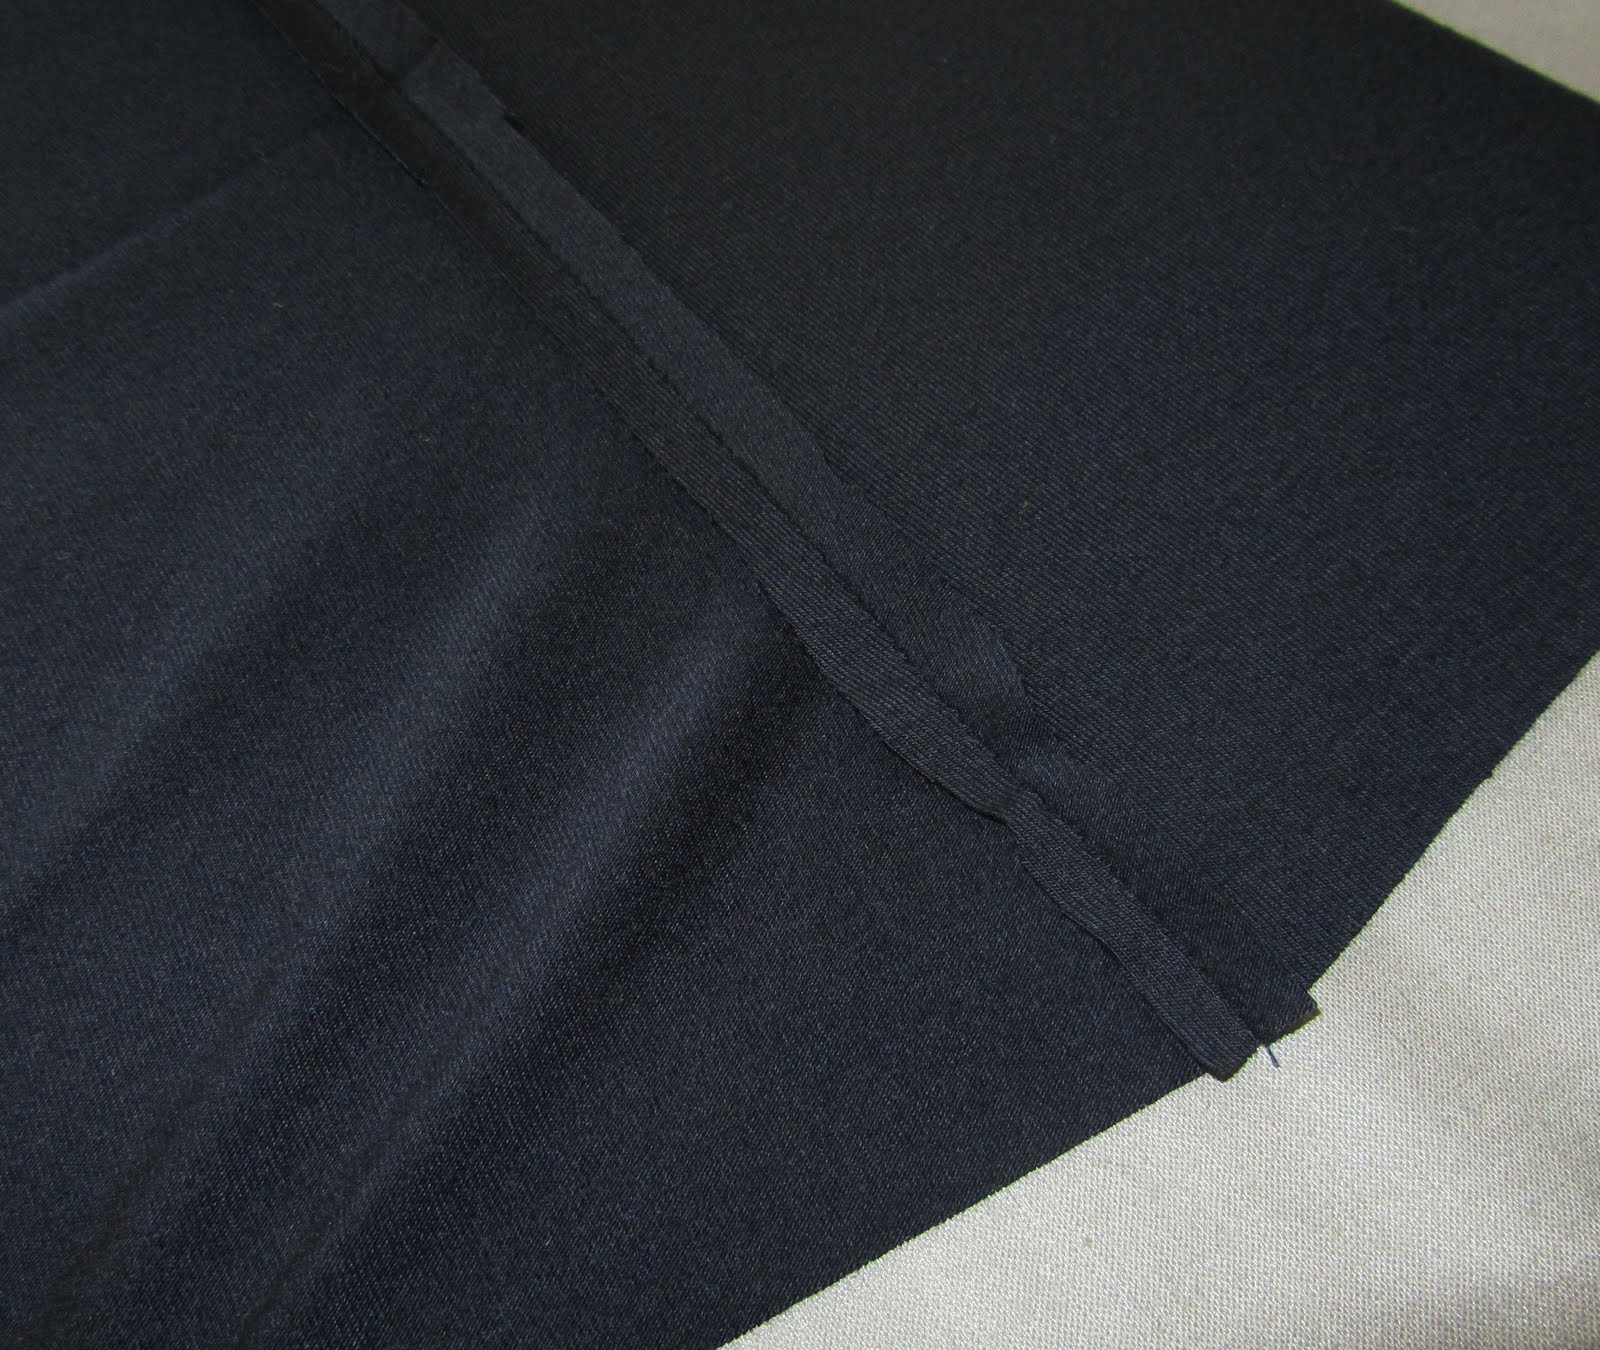
Cut out two skirt pieces from the linen. Fold your linen fabric in half widthwise matching the selvage edges. Make sure the line you have drawn diagonally across the skirt is on the straight of the grain. You can measure from the selvage edge to the line to make sure.
Waistband
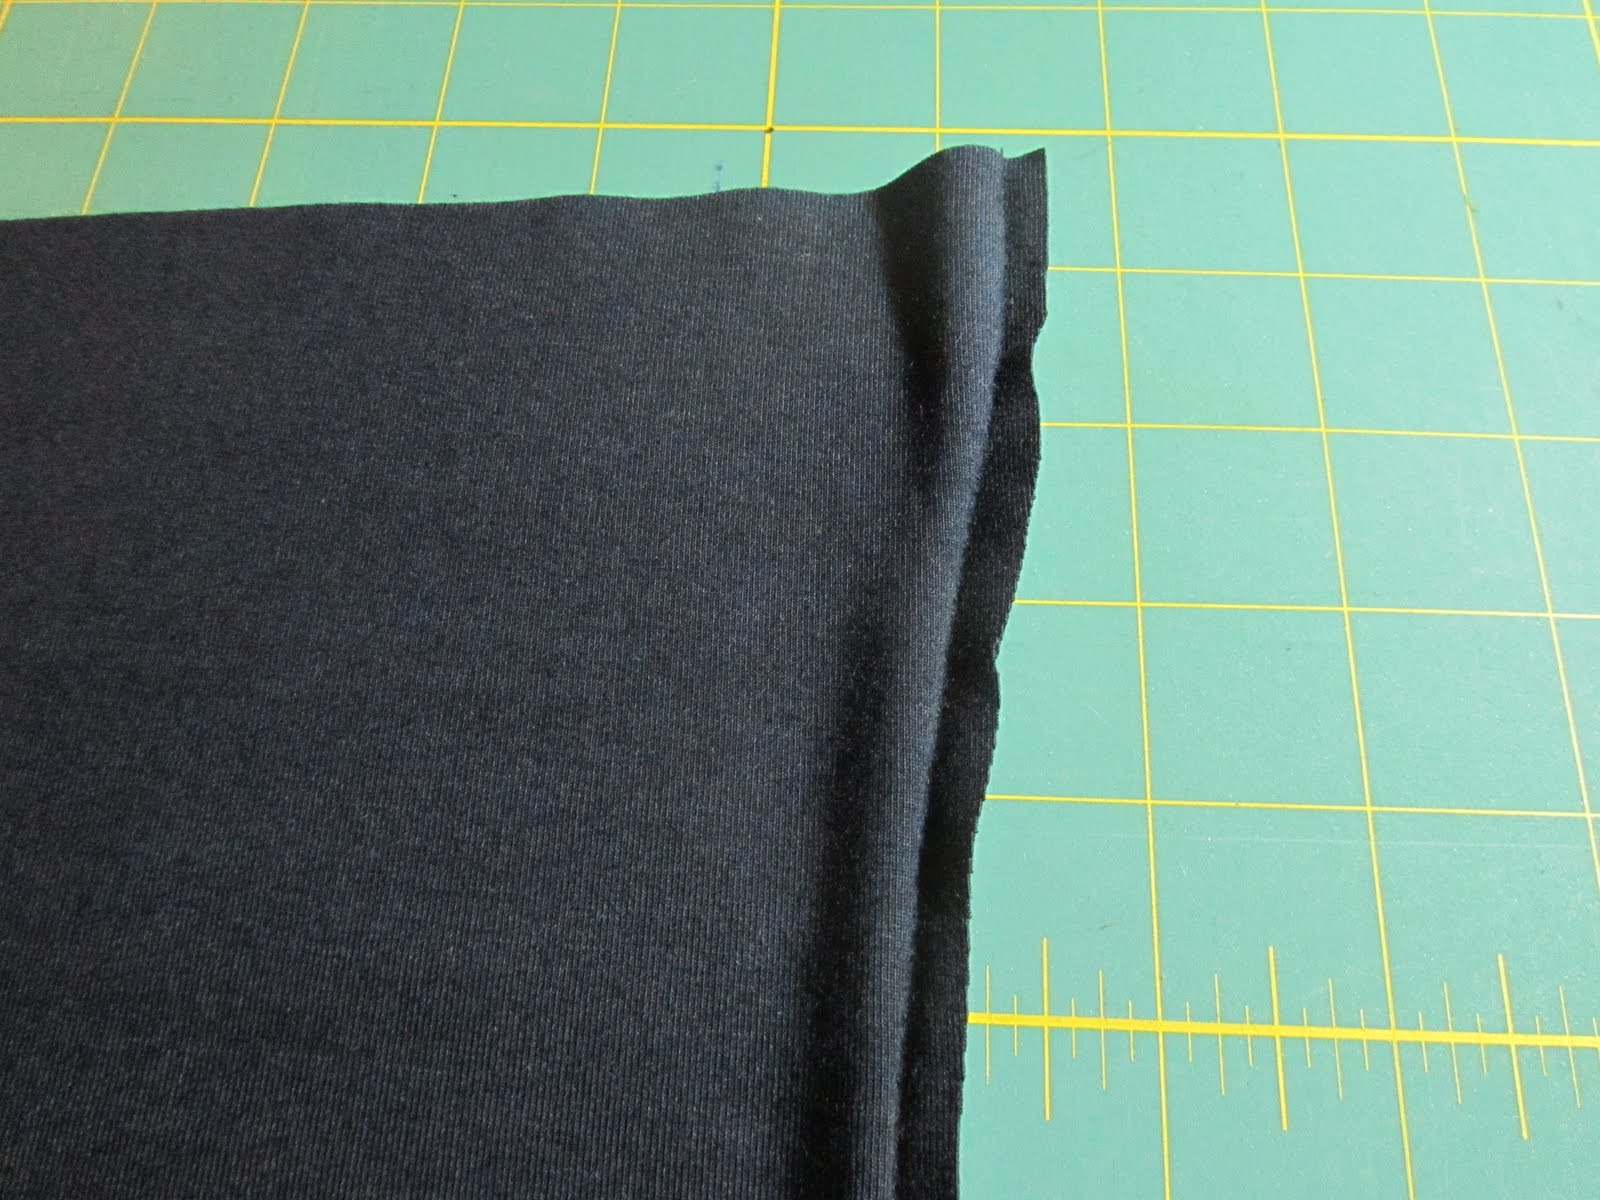

Fold waistband in half wrong sides together matching side seams. Press.


Divide waist into quarters and mark with pins.
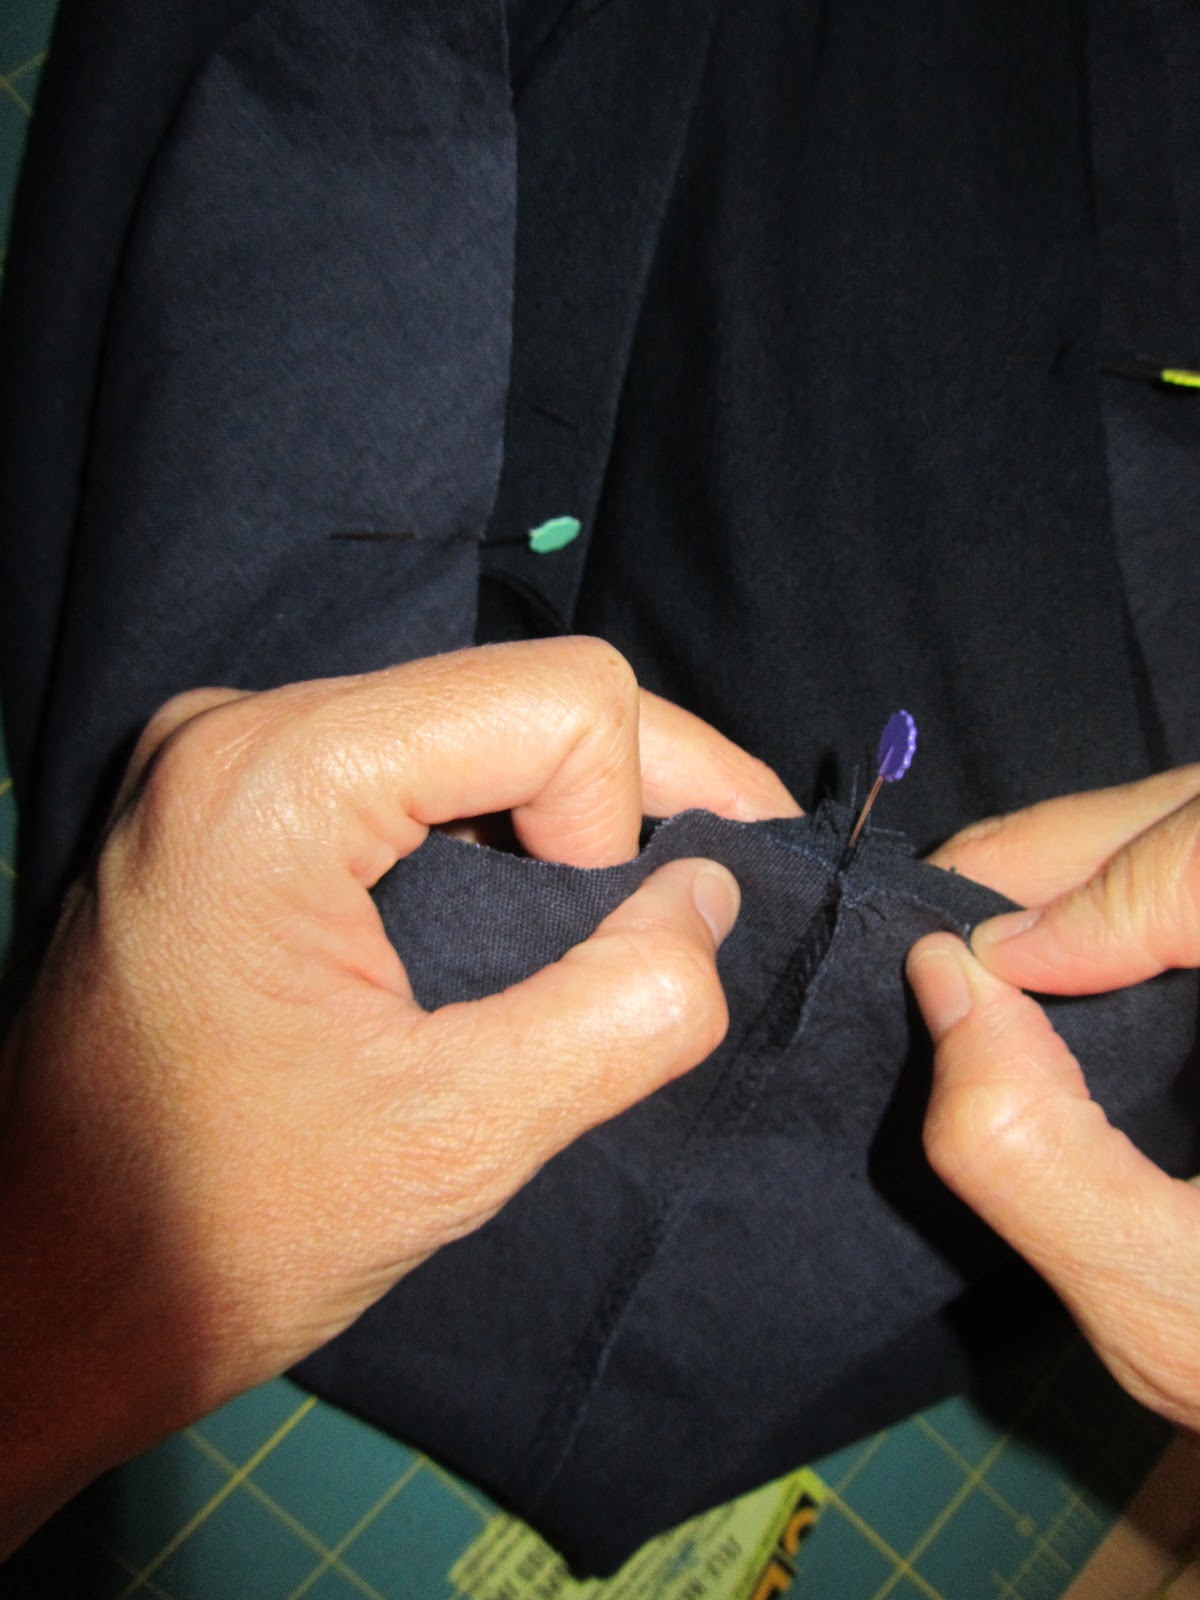
Place waistband to the right side of the skirt matching the pins at the side seams and in the middle of the skirt pieces.

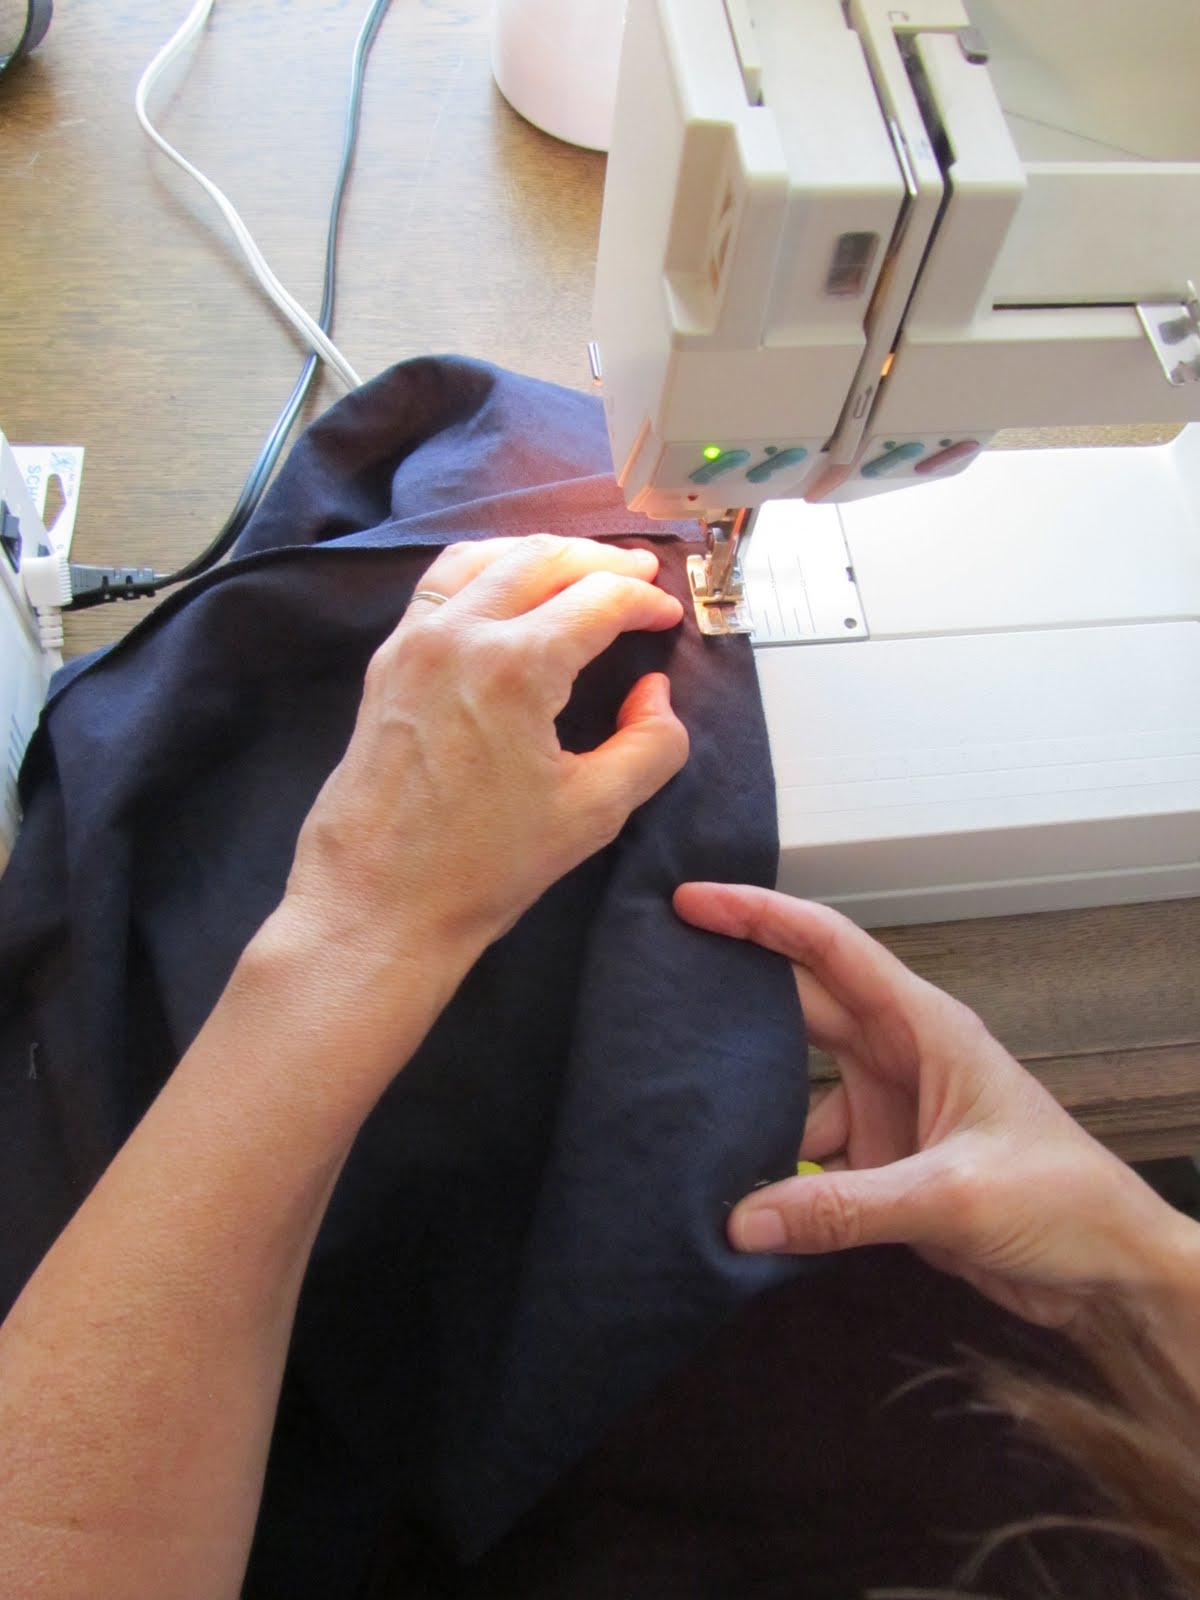

Hem with a narrow hem or go easy, don’t hem it and let it fray a bit. You can sew a zig zag or straight stitch around the hem edge to keep it from fraying too much.
When you’re done, try and keep yourself from wearing it everyday…… even out to the beach.

Please let me know if there’s anything I missed!
Thanks for stopping, come back again, I am still going to show you the other skirt.
This looks like a fabulous addition to the summer wardrobe. I’m totally digging the knit waistband. It’s perfect!
Love it!
oh SO great! Love it!! Want to make one right. now. So question tho: did you add a SA for the bottom skirt portion or just make it as wide as H at the top? I presume if not that there is enough give from the bias to account for the seams? Totally may have missed something though, thanks for the great tute! :)
Rae, see disclaimer, ha ha. As soon as I read your question, I slapped myself. I should have explained that, yes, the give of the bias allows for no seam allowance addition. That is were a good measurement and getting correctly on the bias comes in! Thanks for pointing that out! Happy sewing!
Ok, so I agree with Jessica…I totally think these would would work with “baby bumps”. I’m going to make one sooner than later—they look cool and comfortable and since I just started my third trimester cool and comfortable sounds wonderful.
Thank you for sharing.
This skirt is seriously comfortable. I LOVE it and will be requiring at least a few more colors be made for me! :)
Genius! I’m giving this a shot today!
Thank you so much! I bought a linen blend fabric with a large print and couldn’t decide the kind of skirt I wanted from it! This suits my need! Simple, chic, and comfy…. yes, chic and comfy.
I’ll have to try this after my sewing a top.
This looks like the most comfortable skirt.. Since we have very hot summer days, I prefer wearing a cool skirt instead of pants. Besides, it just looks so fresh and sassy to wear a skirt and sandals. As I think about it, I wear mostly skirts in the winter too. I need to try to make one.
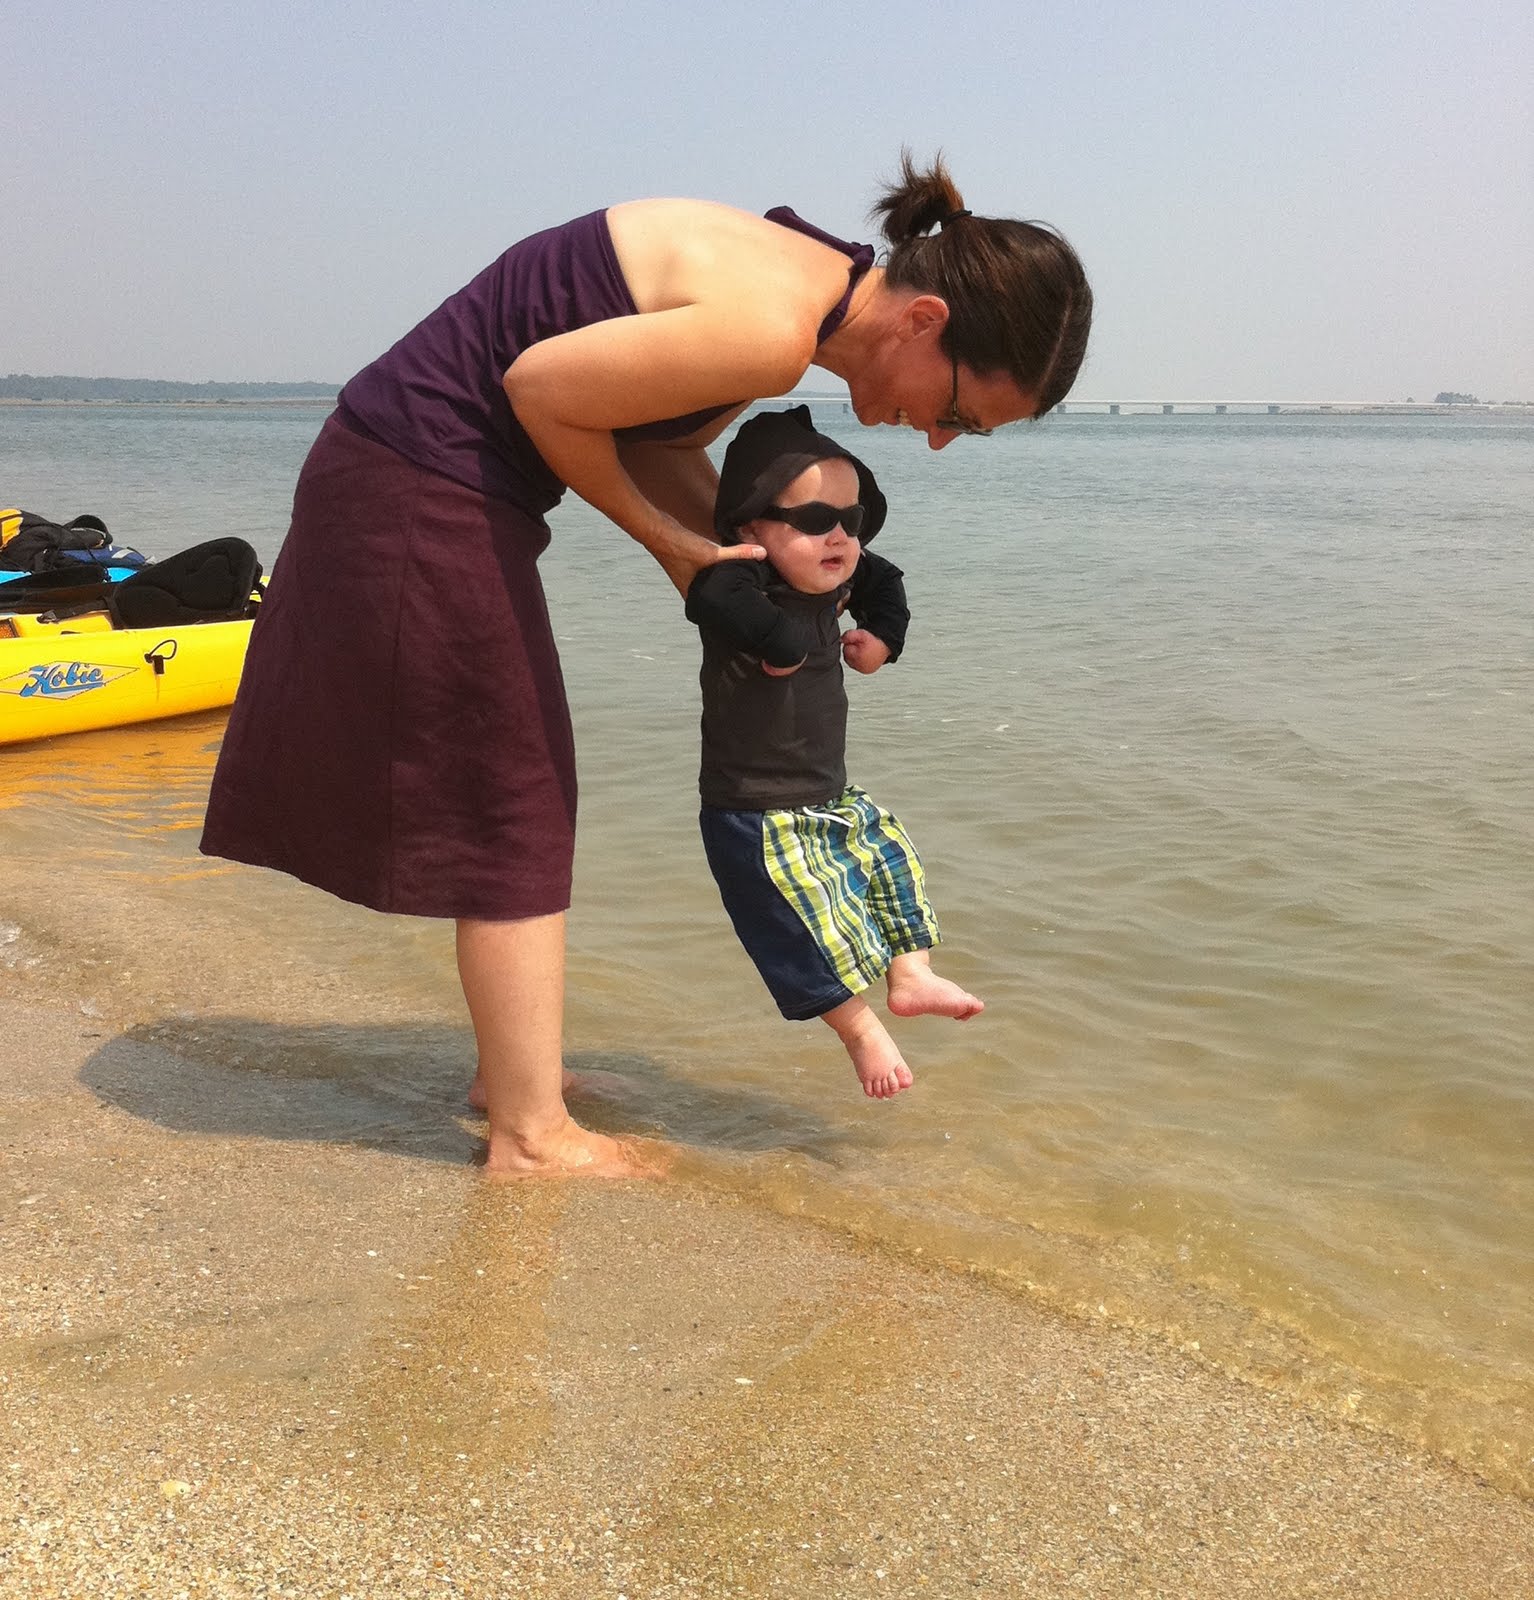
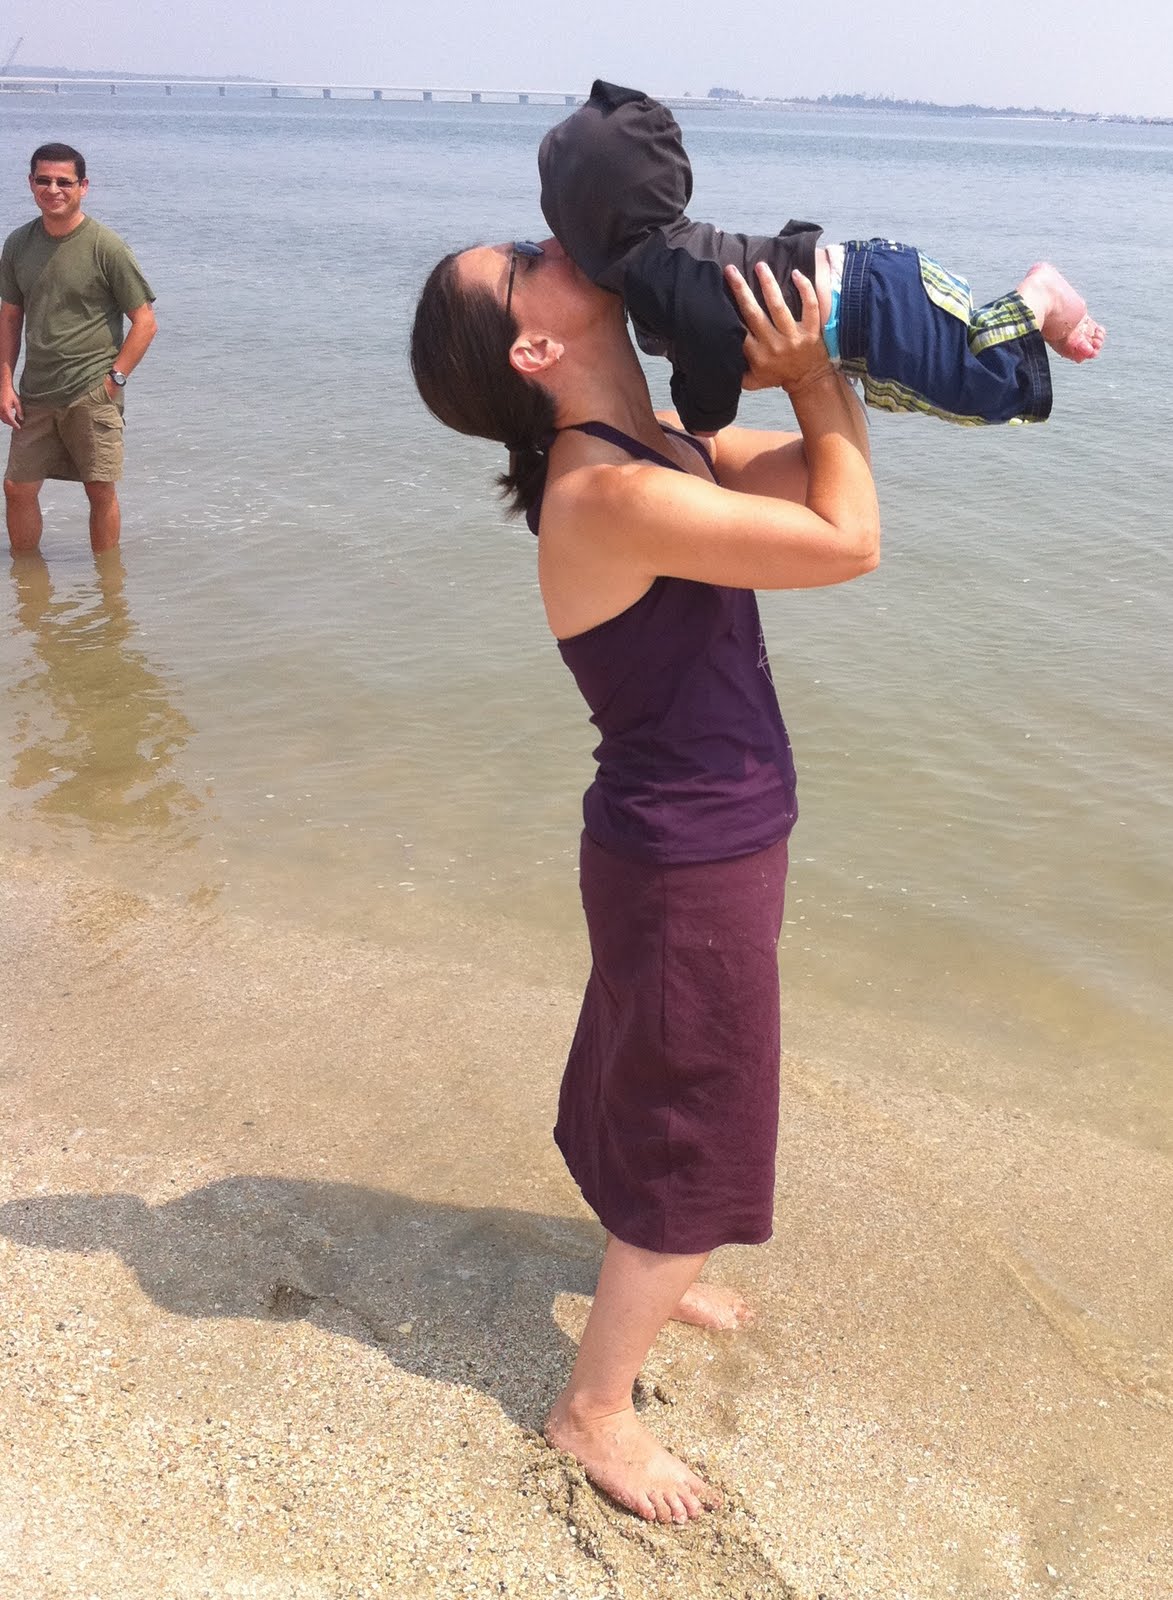
Good job Corinnea! They do look super comfy and great on the two of you! I’m loving the beach scene! :)
Oh and to our Crafterhours friends, Corinnea and Jess are AWESOME to hang out with!!
so cute!
This is an amazing go to skirt that I think looks fab on many different figure types. I love that you used linen. Often bias skirts are made in non-natural fibres (which is okay) but it is really nice to see this in linen. A total go to summer skirt. Love.
love this! Great tutorial; thanks for sharing!
Wow!! Great tutorial, lovely skirt!! I am going to try this!! Thanks for sharing! Melanie
I am a HORRIBLE sewer but I just made one of these tonight and I love it! It’s a little wonky, I don’t think I did the whole bias thing right but it fits perfectly and is super comfortable. I’ll keep practicing! Thanks!
I just made one of these skirts. Your directions were perfect.
I looked for linen at my local fabric store, but at $15 a yard, that was not an option. The knit fabric I needed was $10 a yard. $35 for a skirt! Yikes!
So, I found 2 yards of dress fabric in my stash and a stretchy outgrown knit turtleneck in my kid’s closet and got to work. $0 out of pocket!
Thanks so much for posting this. Now I’m looking for a good sale on linen.
-Mary
Just wanted to say thanks for such a great tute! I made four skirts today with these directions; the only thing I changed was to keep the lower corners at the side seam in a 90-degree angle for about an inch; I find this helps make the hemming easier. I posted pics of two on my blog.
Carrie
Thanks for the tutorial! I made two of them last night. Super fast and easy! :)
(http://www.flickr.com/photos/girlreactioncrafts/5895376597/in/photostream and http://www.flickr.com/photos/girlreactioncrafts/5896264964/in/photostream/)
Made one this afternoon. Will definitely be making more.
http://www.movesincurves.com/2011/07/bias-cut-skirt/
Update to the above: Wore the skirt yesterday while running errands. After two hours, it was completely unwearable: waistband had stretched all out, would not hold the skirt up. Had to go home to change. Will be cutting the waistband up a bit and inserting elastic. Man. Will not make this pattern again without changing the waistband.
Share this tutorial as a link on my skirt blog post today! Come by and see if you have time! Great job!
I especially love the wide waistband. Great minimizing effect. :)
I made one of these and it is sooooo comfy. Good for sitting at a desk at work and running around the park with the kids. Now I just need to do a better job of matching knit and linen so the next one doesn’t look so maternity panely. My mother wants me to make her one too.
I found your tutorial last night and made one of these skirts this afternoon. I used a poly light weight woven and was pleased at how it turned out. I put it on right away and wore it for a few hours around the house….just in case it slipped down like the girl up a few comments. It stayed up good and I will be making some longer ones. The fabric I used made a swishy bottom that is very high style. Love, love, love it.
Kathryn in Atlanta
OH
! I really love your blog. You are a wonderful teacher. I found it last night and I´m reading from home to older posts and i am finding a lot of things to do. Thanks for giving us your good experiences in sewing. I´m learning a lot. Kisses and a hug from Spain
Hi
I just made this skirt for the first time and it turned out pretty well! I was nervous because of the bias. I let it hang for two or three days before hemming and the length ended up okay.
I have a question, though…any advice on hemming? I did a staystitch 1/4″ around hem and then used my rolled hem foot (first time) to hem it. It’s okay, but not great.
Hemming is my nemesis. I almost gave up on skirts and dresses because it was so hard to get the hem right.
Thanks for the great tutorial! I have two kids and love wearing linen skirts in the summer. So much cooler and classy, too. And the waistband is excellent, after two kids. Somehow the baby bump lingers….
:)
Thanks,
Jessica
I love this skirt but would love some ideas for what to do with the leftover fabric. Its’ a great skirt precisely because of the clever use of the grain but it seems a huge waste of fabric! Is there another skirt pattern (made of perhaps panels) that we could use to make sure the relatively big scraps don’t go to waste (and the fabrics I am using are not really that good for kidswear so, I am asking for adult garment patterns!) Thank You!
Thanks for the tutorial! I would really appreciate some help though. My bias-cut skirt has stretched so much that it’s a few inches too big around the waist now! Did I do something wrong? Is there any way to get it back to its original size? Thanks!