Every year I get a little sicker of wrapping paper and paper gift bags. Last year I PINKY PROMISED myself that I’d finally start putting more fabric bags into the mix. (Well, technically I started with this for Santa gifts.) I decided I’d like to add a fun feature – a sheer front pocket to hold the gift tag! Looks cool, easy to tuck the tag in, doesn’t get in the way of opening the gift and easy to replace when you’re ready to re-use the bag. These are super simple to make — read on for the sheer pocket drawstring gift bag tutorial!
Here’s what you’ll need:
- Body fabric – two 13.5” x 11” rectangles – could be quilting cotton, poplin, light linen, anything that is light enough to gather nicely when the drawstring is pulled.
- Sheer pocket fabric – one 11” x 9” rectangle – I used a nylon tricot chiffon, but tulle or power mesh or vinyl will work too! If you’re using a fabric that frays you’ll need to finish the edges before assembling.
- Iron-on interfacing – one 1” x 2” rectangle
- Twine, ribbon or yarn for drawstring
- Large safety pin or bodkin
- Pins, thread
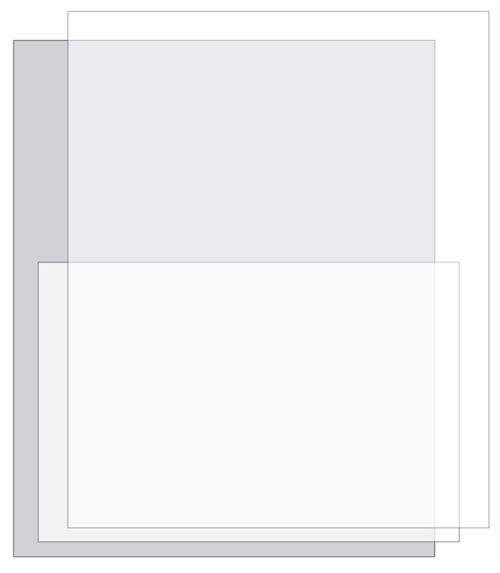
Start by making a sandwich with your fabric rectangles. Right sides together with the sheer fabric in the middle, all aligned at the bottom edge and on the sides.
 Pin and sew around 3 sides. Use whatever seam allowance you prefer! I usually default to ½”. There are lots of projects where seam allowance is CRITICAL. This ain’t one of those. HURRAY!
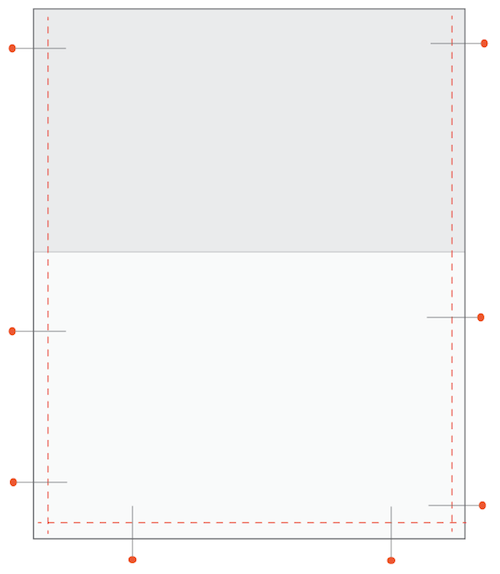 Flip the top opening down ½” and press. Iron your 2” x 1” rectangle of interfacing about an inch from the edge of the fabric and press.
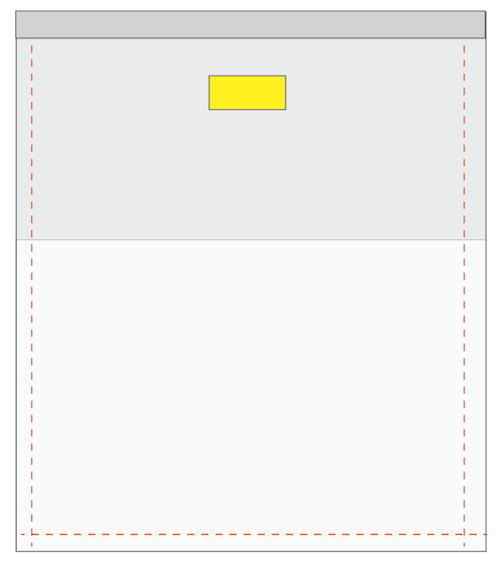 Flip the top opening down again about 1.5”. Press.
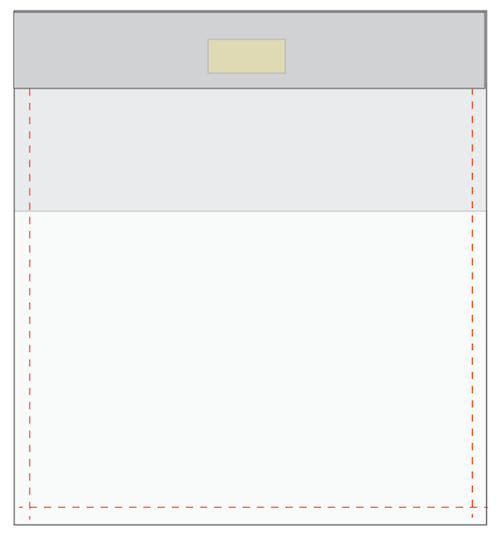
Turn your bag right side out and stitch along the bottom of the casing.
Locate the interfacing that’s now inside and at the front center of your drawstring casing. Snip two small slits and use a safety pin or bodkin to thread your twine or ribbon through!

Super simple and super fun. You can add a piece of double-stick tape to the back of the tag if you’re going to be traveling with it. The dimensions of the bag are completely variable, of course, but I suggest keeping the sheer piece at about half the height of the bag – if it gets nearer to the drawstring it would gape a bit when the bag is drawn shut.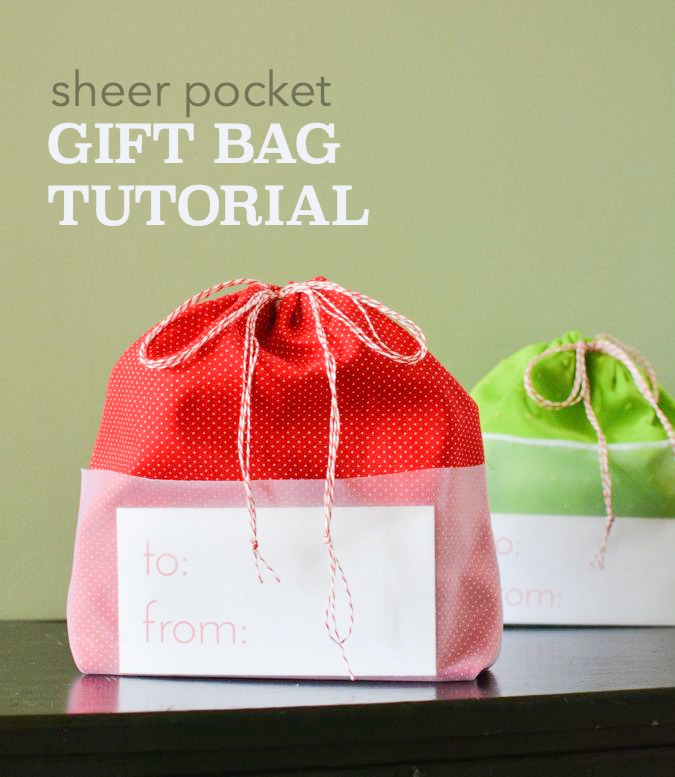
This was originally posted as part of the Skip To My Lou series here.
Love this idea!! I’m pretty sick of the wrapping paper and paper gift sack thing, too. I’ve got a Craft Gossip post scheduled for this afternoon that links to your tutorial:
http://sewing.craftgossip.com/tutorial-reusable-fabric-gift-bag-with-a-sheer-pocket/2014/12/10/
–Anne