This project was born from a number of thoughts and a need. The first thought was related to the need– a purse for an upcoming evening event. I had fabric left over from making the dress and a wrap, and was thinking of how to use it.
In thinking about how to make a purse, I thought about needing a closure. I like zippers. They’re nice and secure. Nothing falling out at one end or the other, and no making two tiny little spots meet up exactly in vain attempts at snapping it together when a corner of something just isn’t going to fit in as I’d like it to. Related thought: I don’t have a new zipper that’s the right size and color.
Another thought: I hate spending a lot of time on this thing to use it for one night. I like the design part, but not so much the engineering.
Yet another thought: I have this zippered bag a crib skirt came in. Hmmm… I can figure out how to use that. And the bag is sort of sturdy all by itself. I could make a cover… hmmm… a slipcover…. and after the shindig I can replace the cover with something less formal, and do the design part I like without having to re-engineer…. and… TA DA! The slipcover clutch.
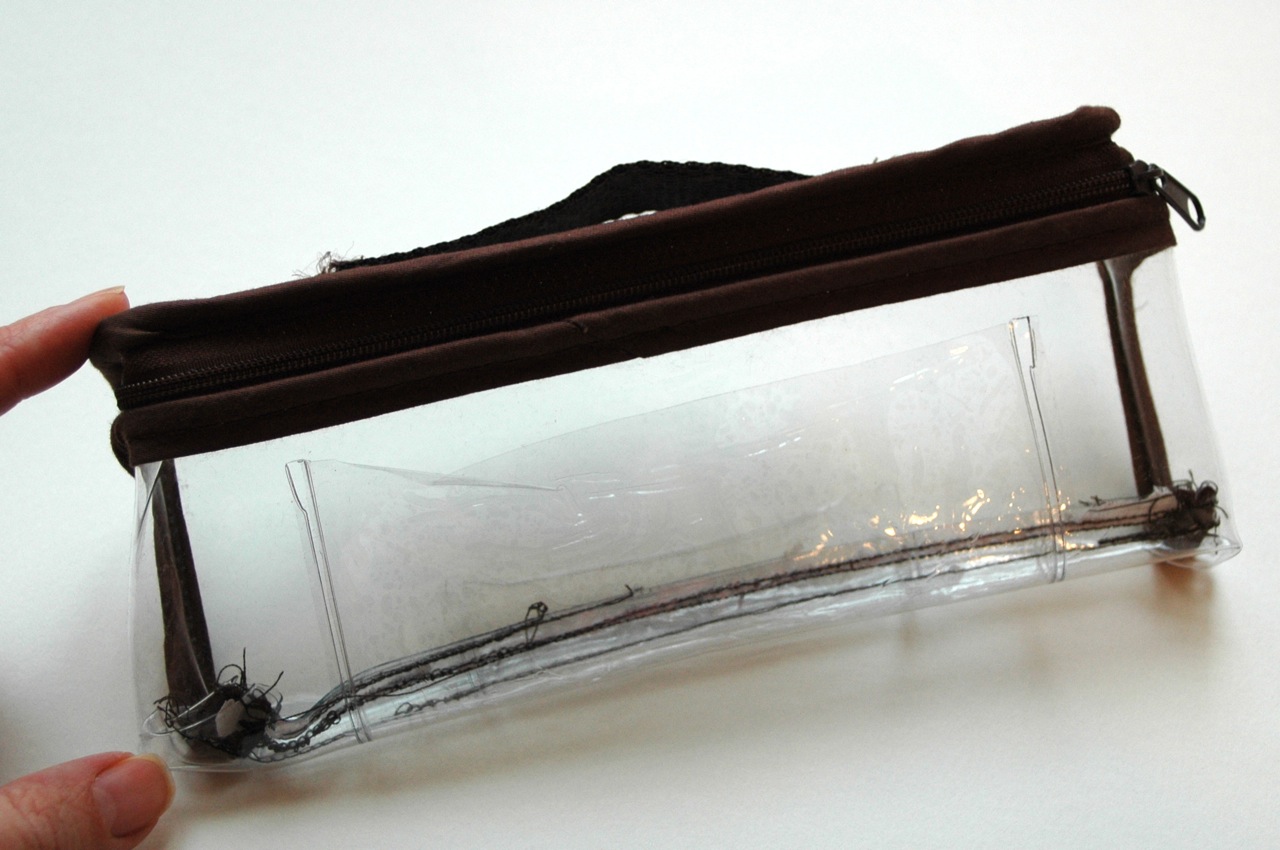
You may already have 3,245 of these around your house. Linens and baby gadgets come in bags like these. I love to use them to organize toiletries, travel items, meds, toys, out of season clothes, you name it.
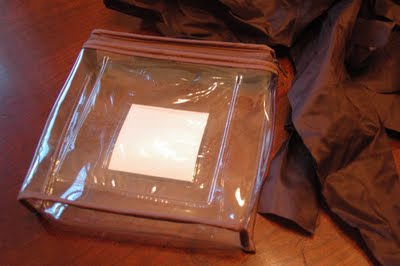
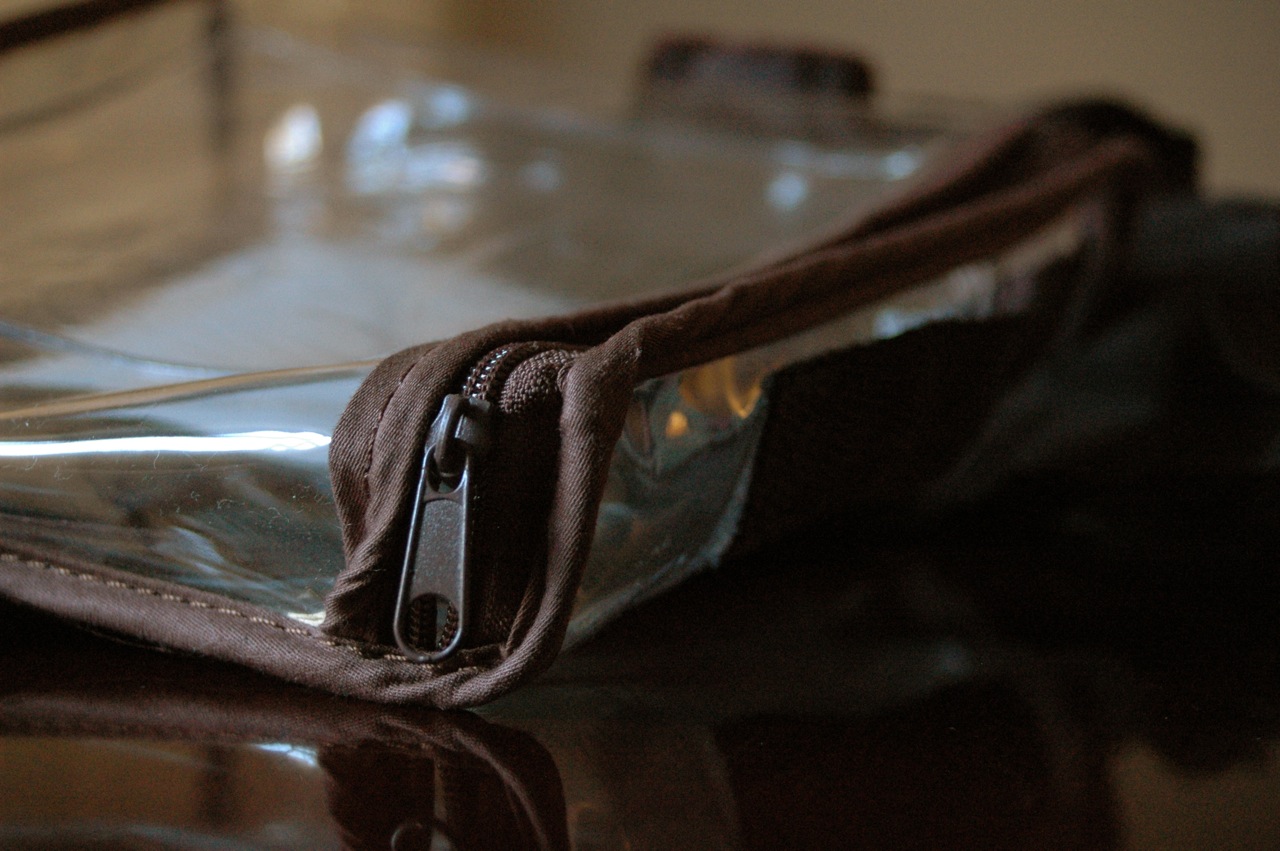
Look at that. A beautiful zipper, waiting to be used again. A freeee little lovely.
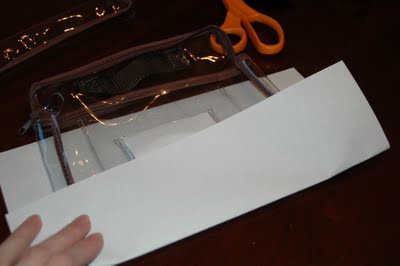
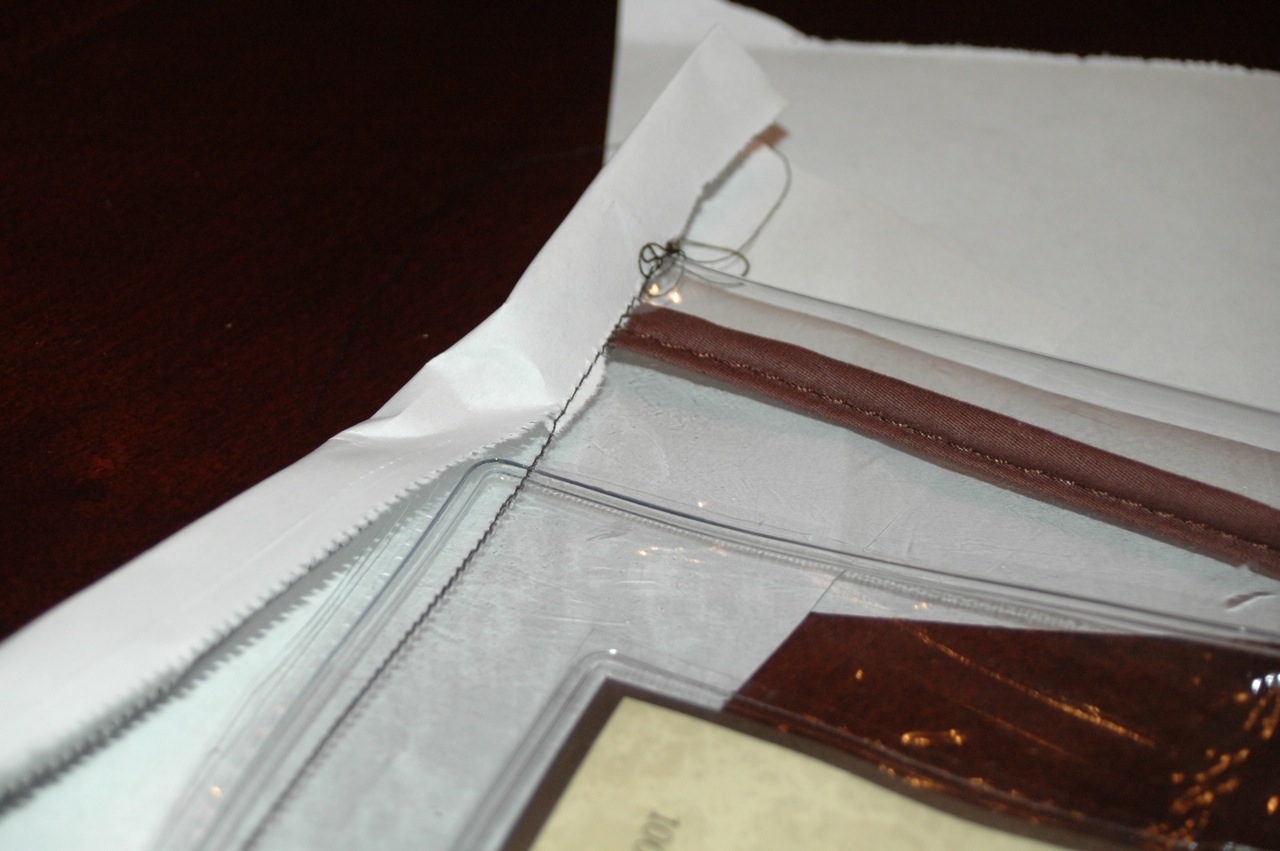
Now snip the bottom off about where you’d like. Okay, this requires some estimation, and to tell the truth, I did this part twice. The first round I decided it was still too square and trimmed it more.

To sew across the new bottom of the vinyl bag, (unless you have a rolling foot for sewing on sticky things) you’ll need to add a layer of thin paper. Stitch across.
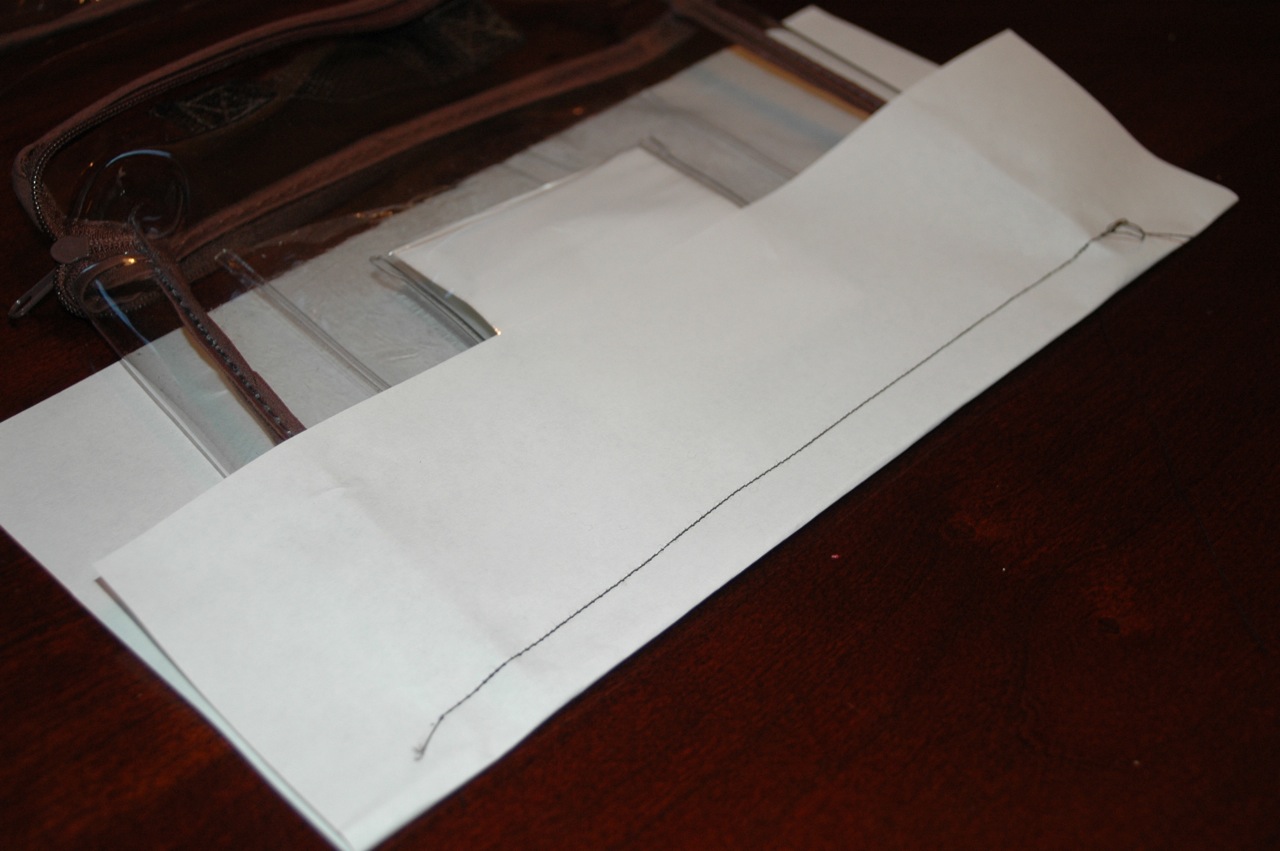
Fold the paper along the seam and then tear it off gently.
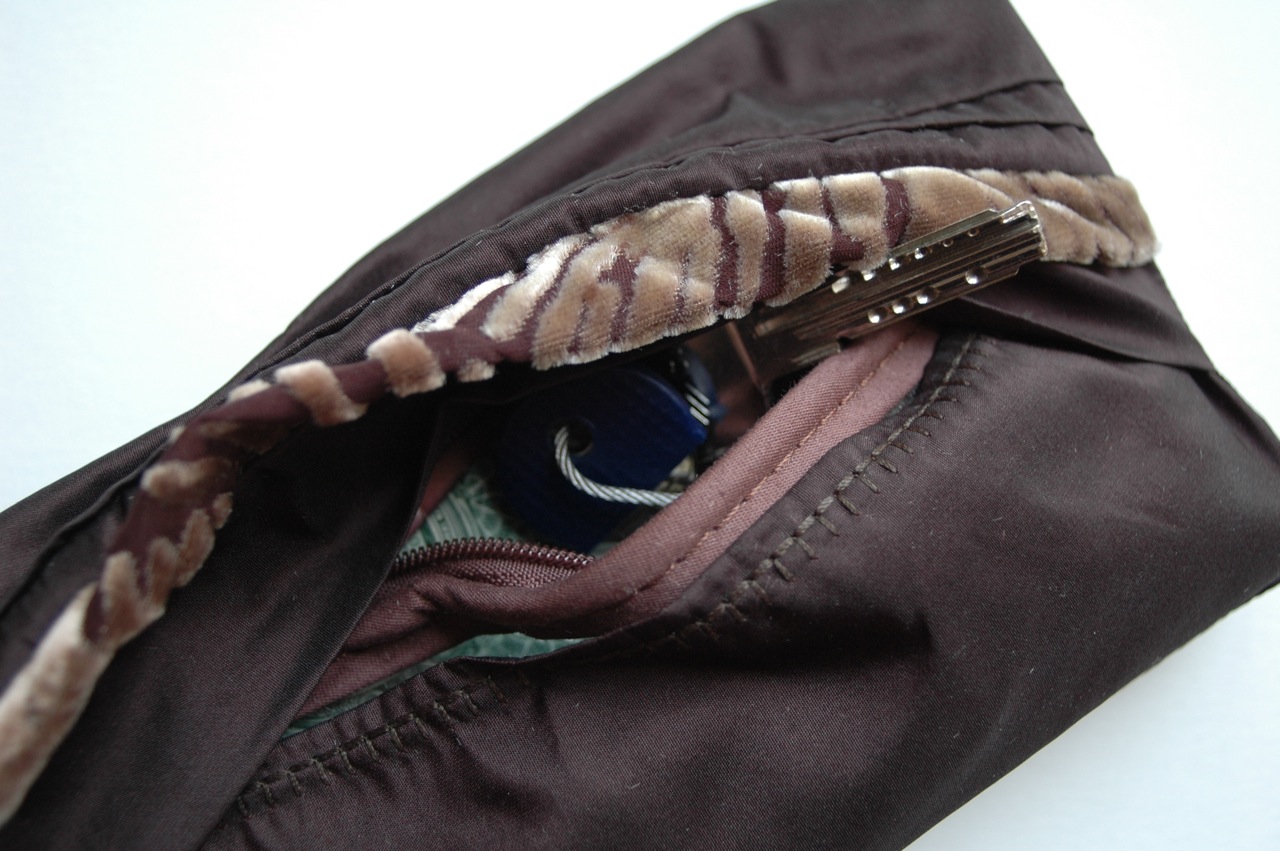
Here I made sure that the size would work for what I need to carry with me.
In this case, a camera, lip gloss, keys and a little emergency money.
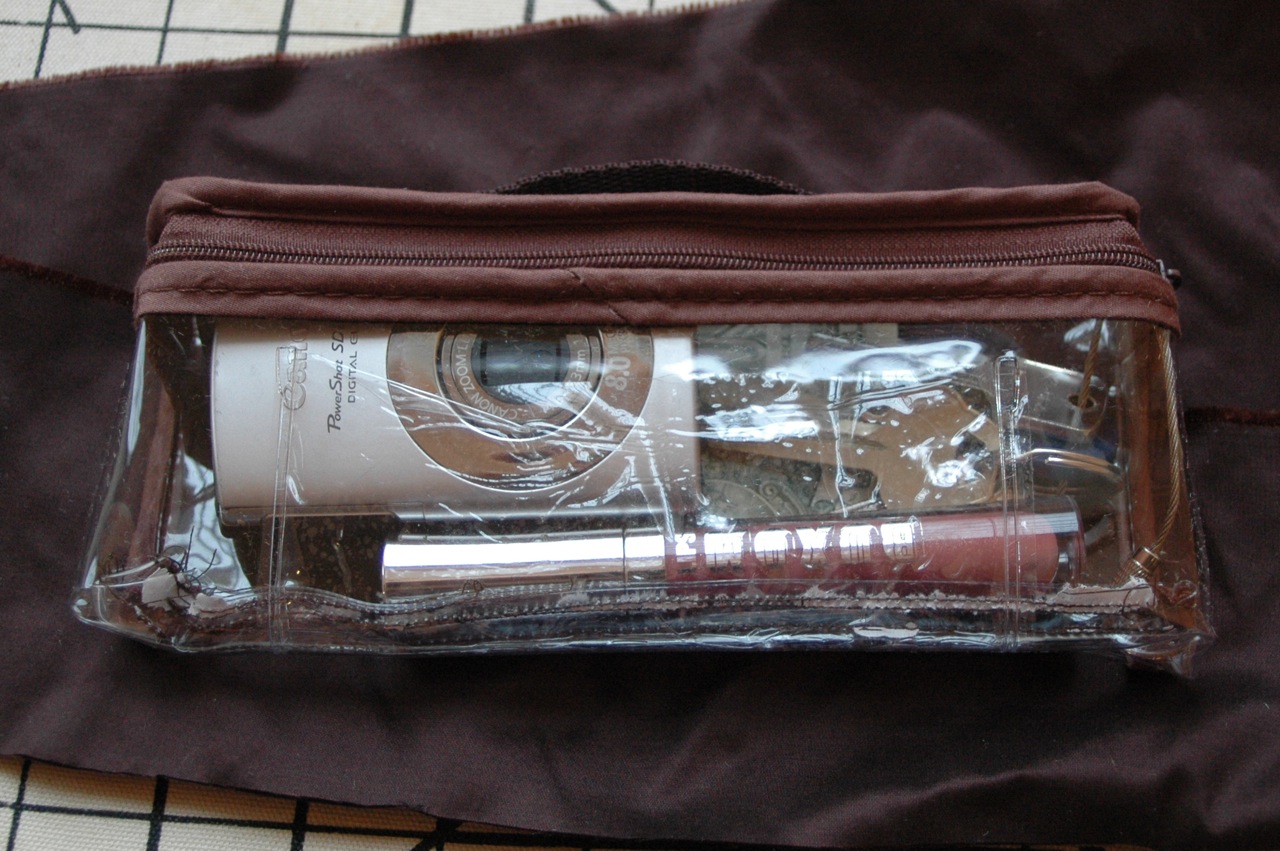
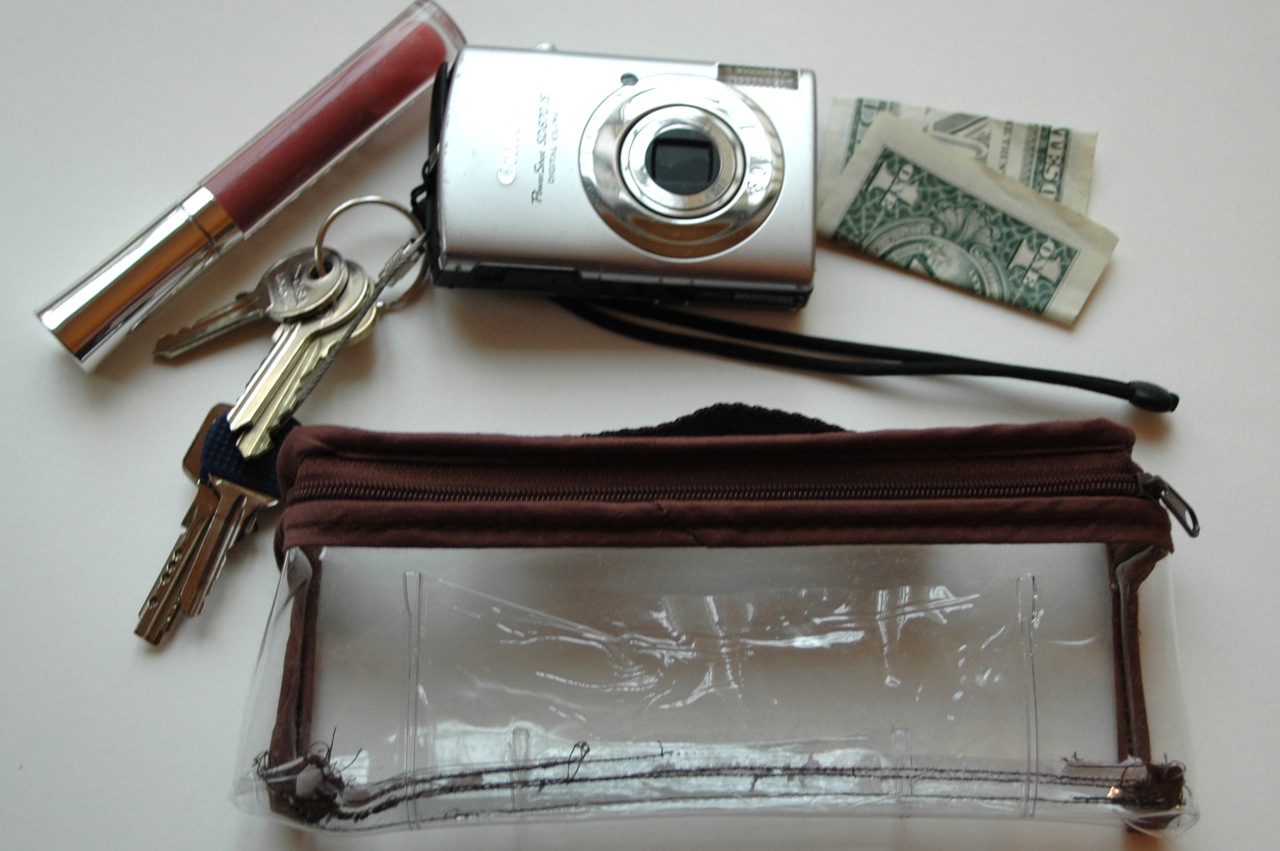
I’m loving it already.
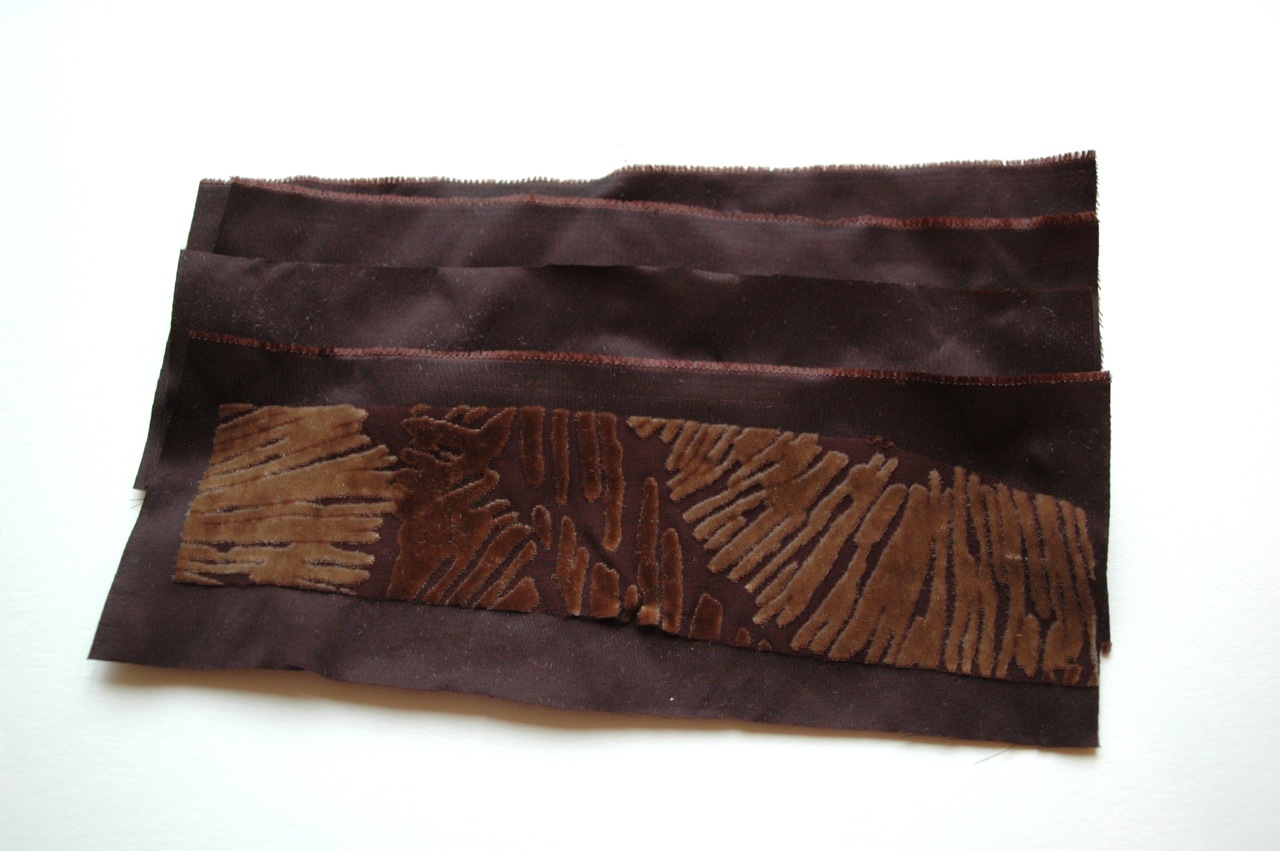
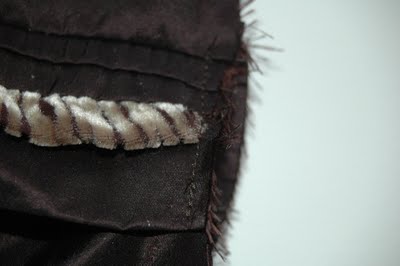
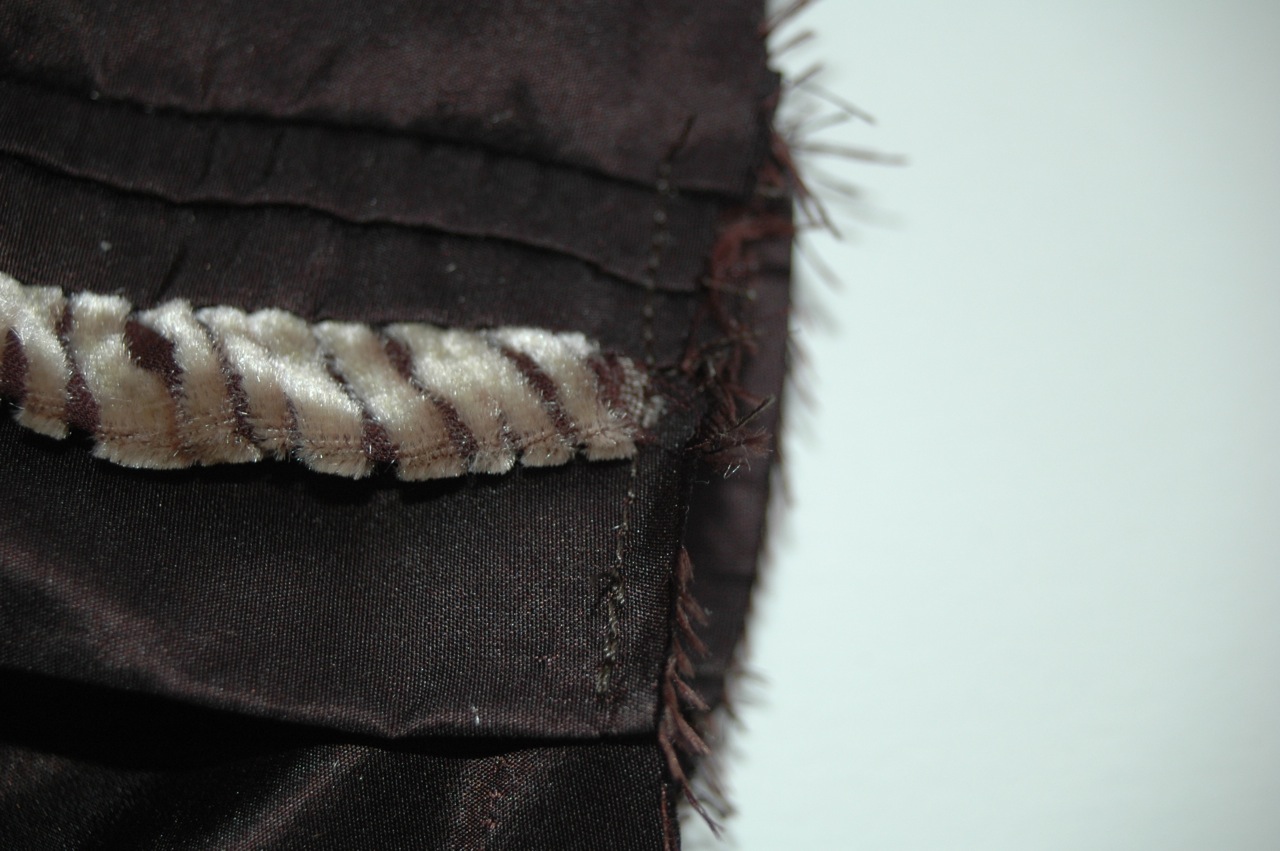
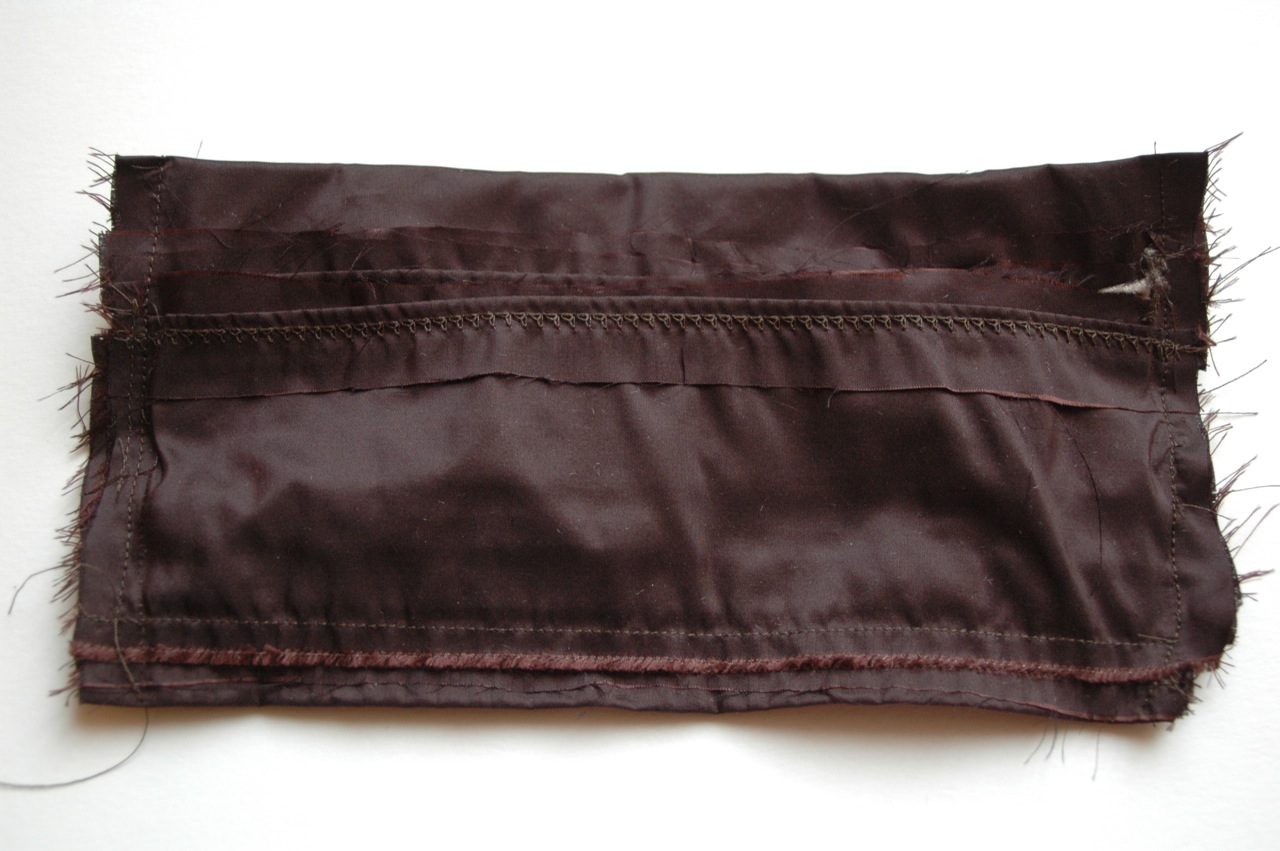
I used a stack of fabric strips to get started. I wanted a linear look. The solid is silk taffeta, and the pattern is a silk burnout velvet. I can’t give you measurements because the sizes all depend on the size of the vinyl bag you’re using as your base.

I sewed the top edge first with the velvet scrap, adding some lines of stitching that created a few pleats on the taffeta. Nice, neat rows.

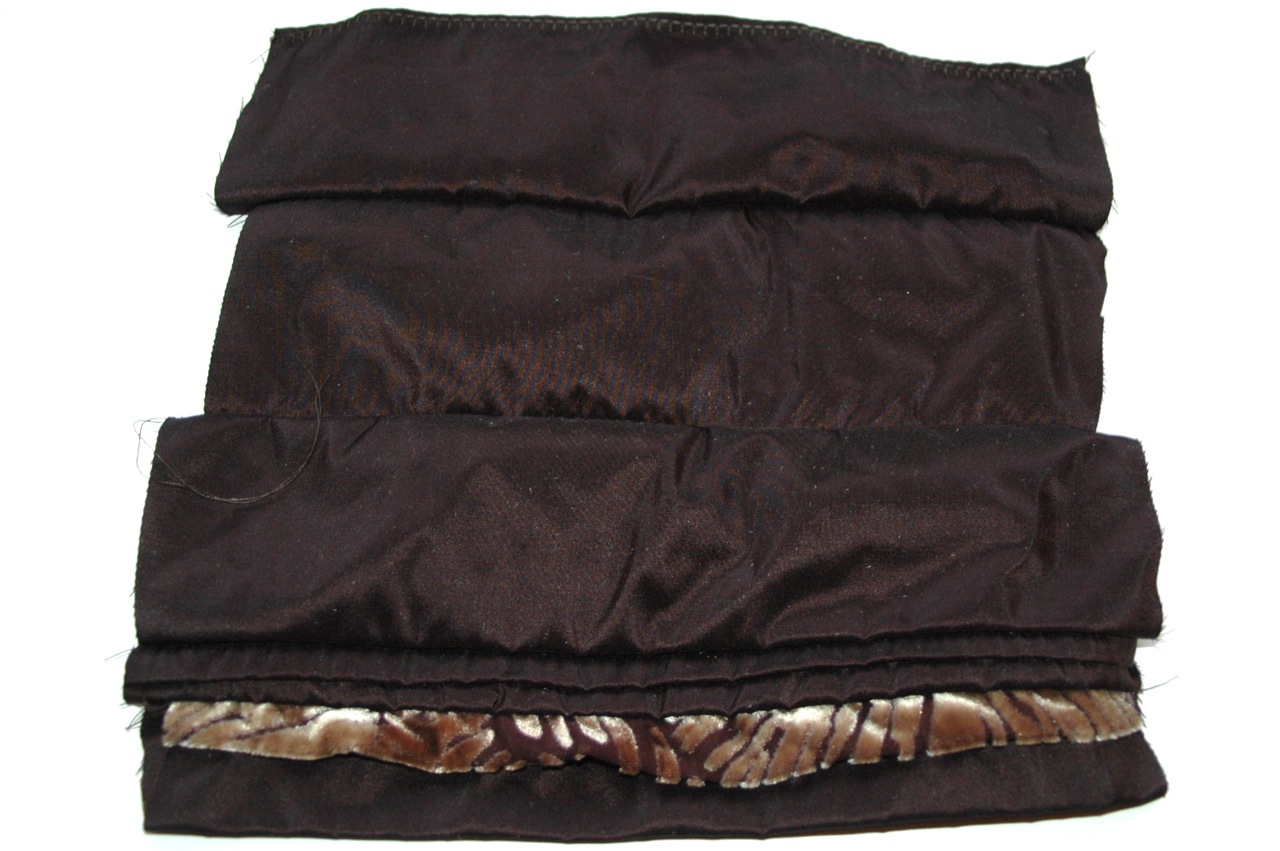
Here’s what the wrong side looked like with all of the strips sewn together and the bottom edge finished with a decorative stitch.
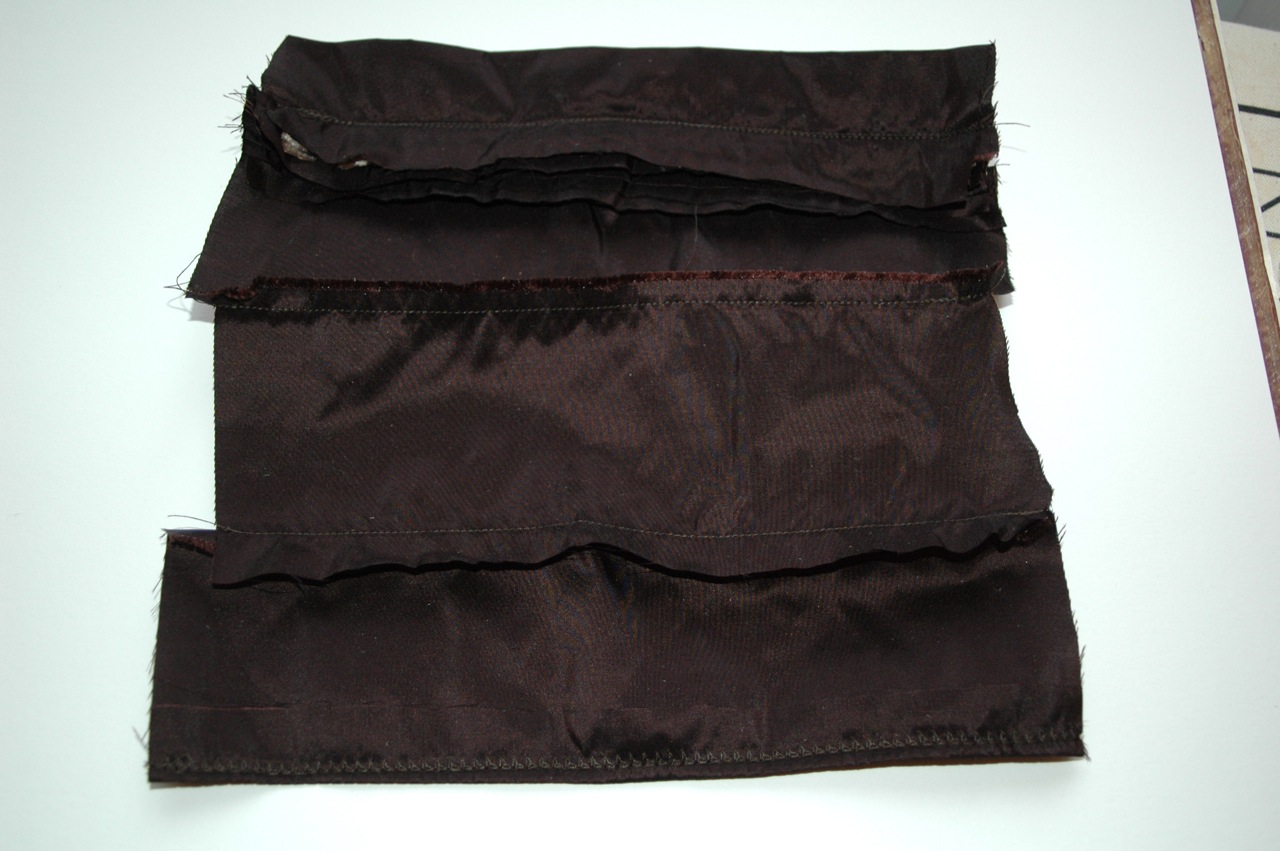
And the right side.
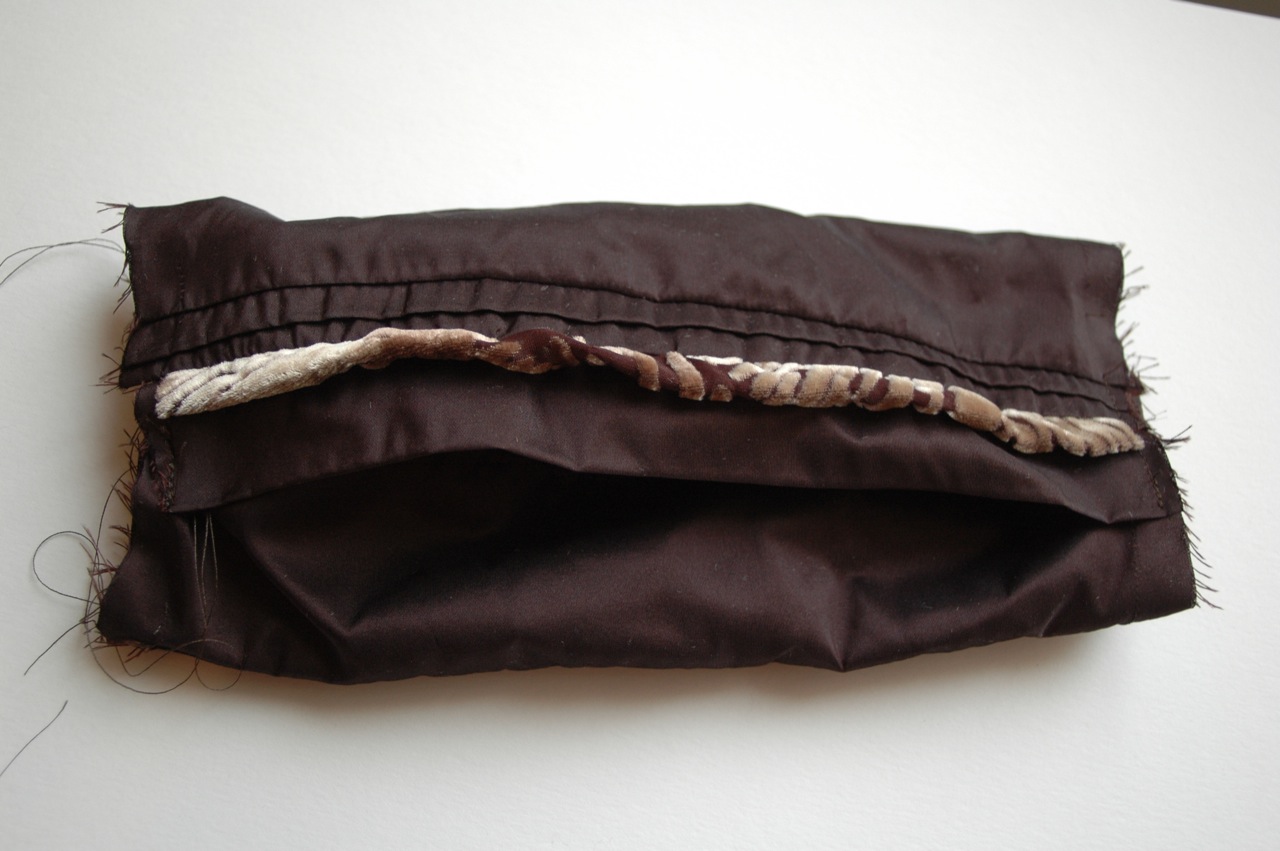
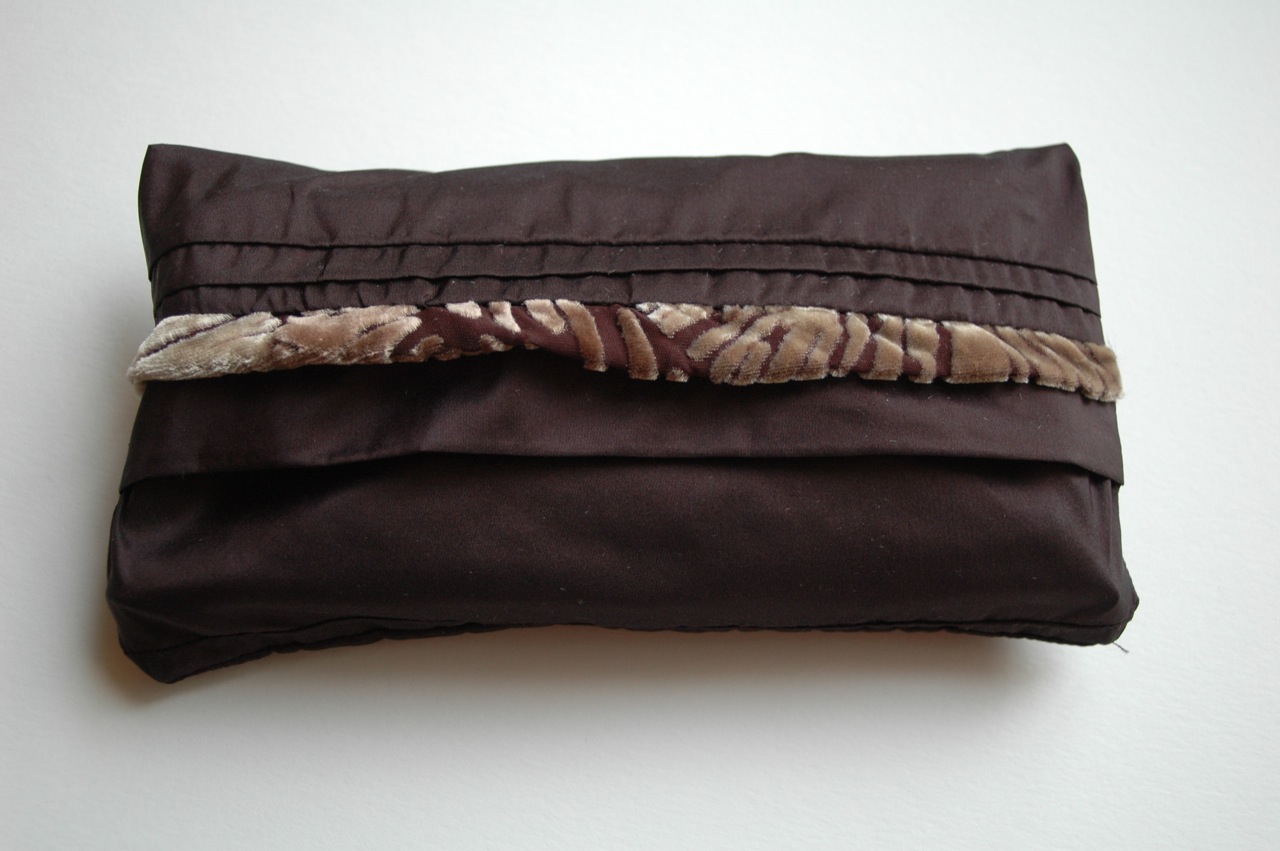
Pin the bottom side of this envelope closure where you want it and stitch it closed.

Do the same with the top side now in place. The side edges will be hanging all out loosey goosey.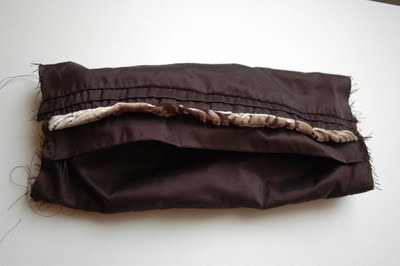

Now flip the clutch inside out and stitch down each side, being sure to sew inside of the
stitches that are holding the closure where you’d like it.
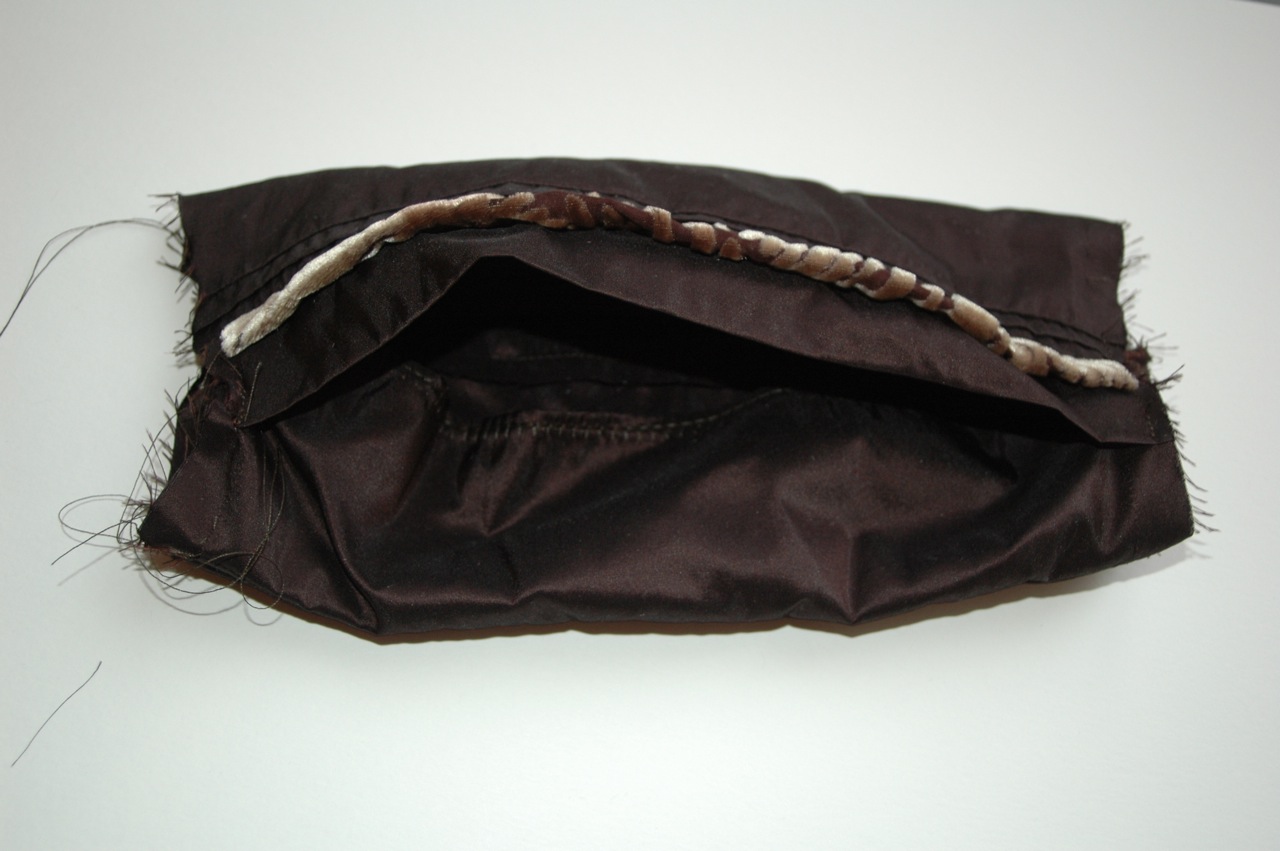
When you flip it right-side-out…. Ahhhh, magic.
I am so ready for this party.
The zipper is still accessible.
Here’s the back:

And I can still actually get to the things inside. All ready to go! I can’t wait to make the next slipcover. And because this is made with scraps and a found zipper, it costs nothing!

Susan
Amazing!! I love this idea! I always wondered what to do with all the extra pouches I have. Great tutorial!
That is SOOOOO awesome!!!!! Great job!
Cute idea…I love these little plastic bags (i also have 3,245 around my house and can’t seem to throw them away)!
Wow, it’s gorgeous! I would never have guessed it was DIY! You are so creative!
very creative! I have several of such bags lying around n never thought of using them this way..your idea is just fabulous..shall try it right away!
Awesome idea!!! I have TONS of these lying around and turning them into something cute would make my hubby happy :) Thanks!
i couldn’t help but notice your buxom. love it! awesome tutorial, thanks!!
ohmigosh, I l-o-v-e this. Just found you and I’m crazy about repurposing. Oh, and saving dough whenever possible.
Thanks for sharing. Now I know what to do with my stash of these bags! I might just leave them clear and put several of them together to make a hanging over-the-door toiletry holder.
Wow! Very creative idea! And I’m glad I’m not the only one who re-uses these bags, I especially love the ones with the little hangers on them. :)
Hi there. This is a great idea. It would be cook even slipcovering larger bags for nice looking storage.