My friend Jeremy, who recently guest blogged over here, also has a day job. At one point he received so many corporate t-shirts from that job that he gave me 5 of them and told me to go make something with them.
First, I used this tutorial to make these:

They’re kind of sloppy because they were just my trial pair. The second pair I made turned out much better. I made them boy shorts instead of bikini, and made a bias binding for the top and leg openings instead of elastic. It worked great! As long as your knit is stretchy and cut to fit exactly, it turns out elastic isn’t necessary for underwear. Unfortunately, I didn’t get a picture of them before giving them to Jeremy’s girlfriend. Mandi, want to model them for the blog? :)
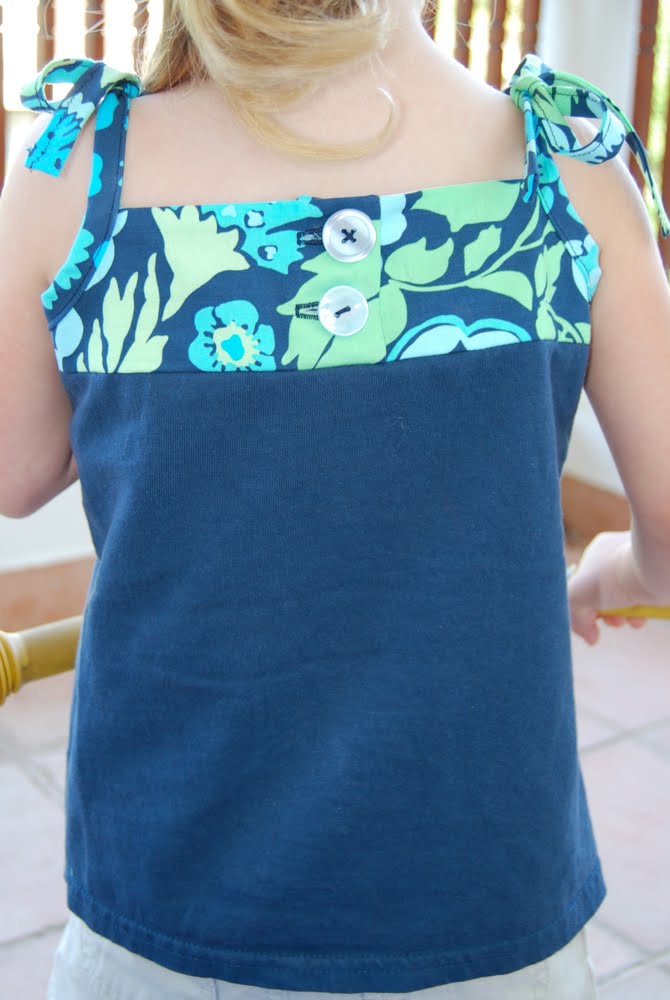
Next up, I made this:
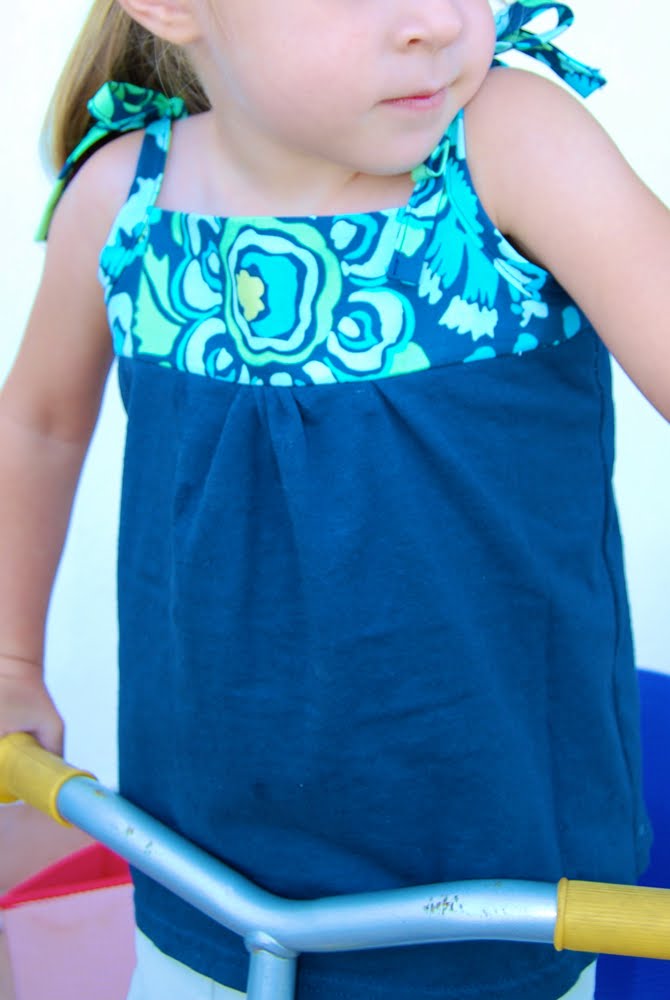
Here’s a short and not very detailed tutorial. I’m guessing you could make this shirt just by looking at it, but contact me if you have questions!
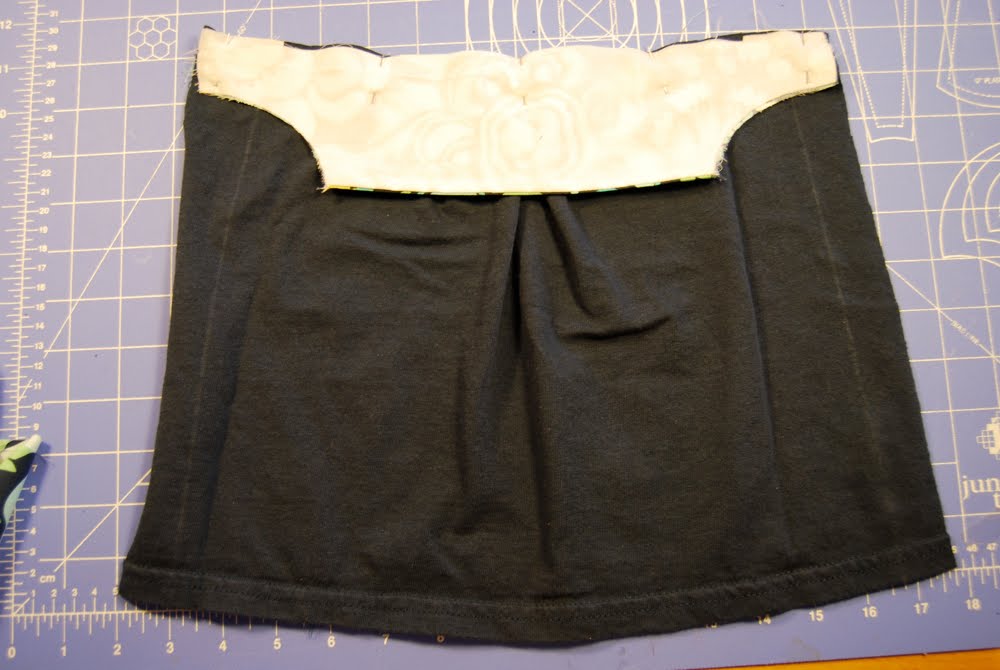
First draft a little pattern for the top (printed) part. Use your kid’s measurements and you should end up with a piece looking like the bottom one here:
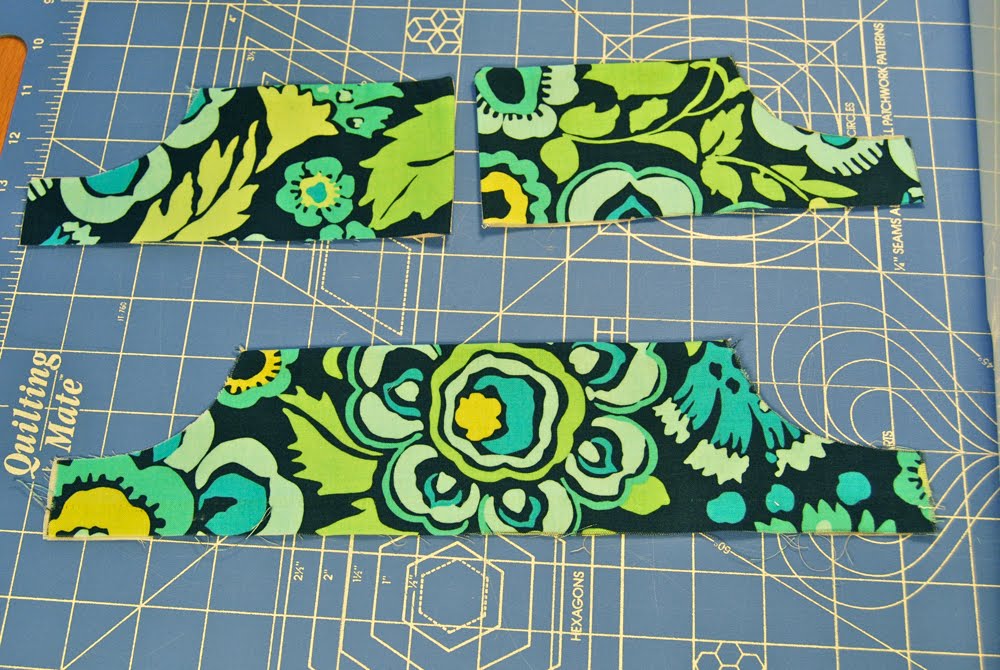
If you want, you can construct the back with two pieces like I did and add buttonholes, but since the shirt ties on top, it’s not necessary. Cut out the same pieces in facing fabric also. Sew the facing to the front and back pieces only along the top edge, then flip right side out and press.
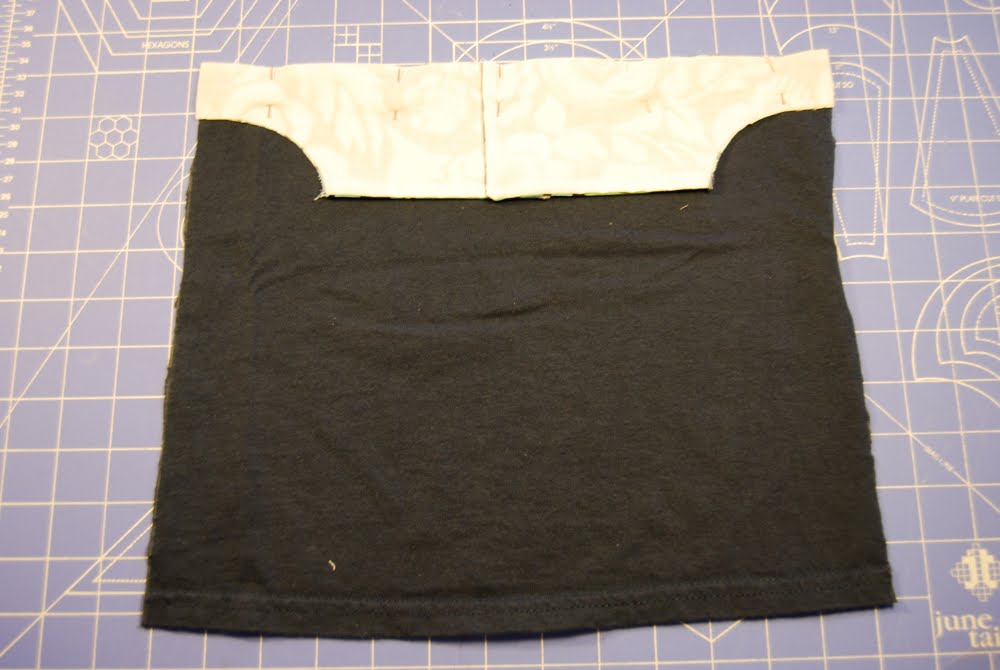
Then cut out two rectangles from the tshirt using the width and length measurements from your kid. The front rectangle can be a little wider because you’ll do a slight gather in the front. Pin the back pieces, right sides together, and sew across.
Then gather the front piece just at the center
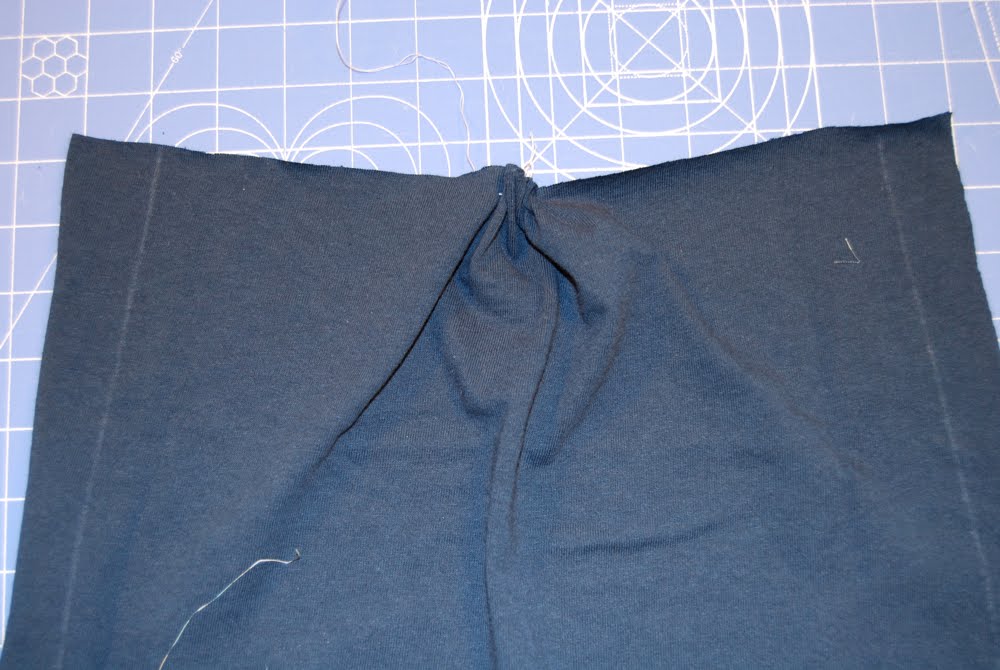
Pin the front pieces right sides together and sew across.
Now sew up the side seams and make or buy some bias tape to finish the armholes. Sew the tape down around the u-shape of each armhole, leaving about 10 inches free on each side to be the ties. I hope this is self-explanatory because I don’t have a picture of this part.

Just darling! Great idea!
This is a great idea! Thanks for the tutorial!
I just LOOOOVE the material for the top of the shirt. Hee, hee, hee.
So creative… With all the tshirts that float around our house and the way my kiddos grow. I am wondering, “Now why didn’t I think of that?”
Thanks for sharing!
Impressive designs buddy. Thanks for sharing with us.
I love your t-shirt remakes. You are very clever!
I love the designer fabric top paired with the solid t-shirt knit at the bottom! I’m definitely going to be making some of these for my daughter.
I blogged your tutorial at Craft Gossip Sewing:
http://sewing.craftgossip.com/tutorial-girls-tie-top-tank-from-an-old-t-shirt/2010/01/27/
–Anne
that shirt is way too cool! I love it
it`s SO PRETTY! thanks for the tutorial i`ll def try it out – tonight :D
I love it! I have a couple t-shirts just waiting for a project and this is it. I bet a version for ladies would be just as cute. Maybe under a cardigan for those of us with flabby arms. : ) Thanks for posting.
No, I will not model my undies for you. ;)
Very nice! You are really artistic.
I was wondering if you had a generic patter for the printed top portion of this re-do. I wanted to make one “just because” and do not have a little girl to measure. This is such a great idea for gifts.
Hi Cathy,
I’m sorry, I don’t have a pattern for this, but you could use an existing kid’s garment to trace, or buy a simple pattern and use the bodice for measurement purposes. Also, you could try searching the blogs for a free top pattern and use those measurements. I know there are plenty, and you only need a simple pattern just to get the width right.
Hope that helps! Happy sewing!